Templates /
Git Workflow

Git Workflow

Run this checklist to securely develop each instance of code during your sprints
1
Introduction
2
Preparation:
3
Log in to your project management software
4
Choose a task from your current sprint
5
Coding:
6
Navigate to your code repository
7
Fork the repository
8
Code your solution in the fork
9
Testing:
10
Merge your solution with the test environment
11
Run tests on the code
12
Make any necessary corrections
13
Polishing Off:
14
Merge the test environment
15
Celebrate (with customer support)
16
Sources:
17
Relevant Checklists:

Introduction

Your latest sprint is almost over and everything has been running smooth as butter; things are looking great! All you need to do is finish off your git workflow and publish that final, one-line update and then clock off for the evening.

Aaaaaaaaand everything’s broken.

…we all make mistakes. Some of those mistakes are unimportant, but some of them are expensive or dangerous‘ – ISTQB

Never fear! By following this template you can ensure that your git workflow will run smoothly every single time. From forking your repository to testing the living daylights out of your alterations, we here at Process Street have the perfect executable checklist for any and all updates to your code.

Let’s get started!

Preparation:

Log in to your project management software

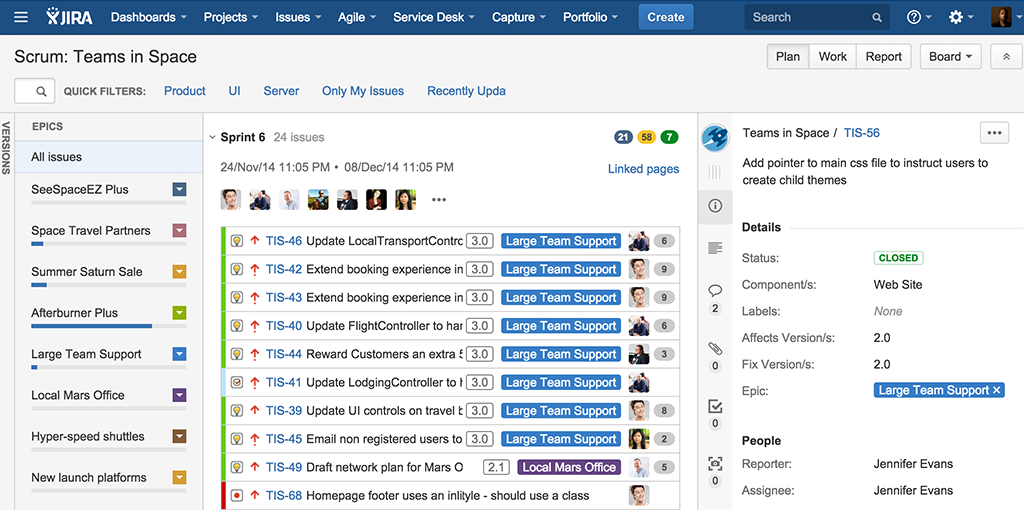
The first thing you need to do in your git workflow is to see what features and bugs need working on. To this end, log in to your project management app. Remember to fill in the form fields below to record all of the basic data you’ll need to refer to this later!


Whether you’re using JIRA, Wrike, Freshdesk or something completely different, log into your management software and open up your current sprint.

Choose a task from your current sprint

Next up, you need to select a task which has been assigned to you during the latest sprint. The selection is entirely up to you, but it is highly advised that you start with the highest priority issues. Record the ID and description of the chosen task using the form fields below.


If the sprint has not yet been planned, the rest of this checklist must be put on hold. In the event that your are unsure of any aspect of the planning process, we’ve got you covered with our sprint planning checklist and user story template.

Once you have selected your task, it’s time to crack on!

Coding:

Fork the repository

No matter what you’re working on, it’s never a good idea to work on the base code of your program. Instead, by making a copy of the code to work off, you have a safe environment to alter and test freely.

Forking the repository will make a safe copy for you to work off, and so this is what you must now do. Note that some repositories will prevent you from directly altering the fork, and so you must also download the copy directly to your computer.

Code your solution in the fork

You’ve got your copy set up and raring to go, so now it’s time to shine! Alter the existing code or add a new section (depending on the issue you’re tackling) with your favourite text editor. Also upload a copy of your solution to the file form field below.

Whether you’re using Atom, Sublime Text or UltraEditopen up your fork and locate the area which you need to be working in or on. Type away and, once you’re finished, submit the changes to the fork.

Testing:

Merge your solution with the test environment

The new code is ready to be put through its paces; next up in your git workflow is to merge the fork you’ve edited with the test environment. This process will vary depending on the repository you are using, but we’ll give a GitHub example to give you an idea of how to do it.

In order to merge your fork with the test environment in GitHub, you must make a pull request. To do this, navigate to the location of the project you have just updated with new code. Next, click on "Compare and Pull Request", filling in the title and description with as much useful information as possible.

Once you’ve done this, click on "Create pull request" and wait fo the project owner’s response.

Run tests on the code

Now that your test environment is ready to rock, you need to run tests on the alterations you’ve made to ensure that nothing has been broken and the code is working as intended. Record the results of these tests using the dropdown form field below.


It is worth noting that some tests may be set up to automatically run through the use of software such as Circle CI. If this is the case, then you don’t need to do anything for this step. If not, carry out unit and integration tests to ensure that everything is running smoothly.

We also have our very own software testing tutorial, if you need a little help with screening your new code for errors. After all, we all know what happens when you don’t follow your IT process

Make any necessary corrections

Once the results of your tests are in, the next step is to correct any errors which have shown up. Review the data and take note of any results which are undesirable.

Notify the development team of any issues (ideally providing a record of the test results) and assign them to rectify the problem. Repeat the "Testing" segment of the git workflow until the code is working as it should.

Once the code is working as intended, upload the final copy to the form field below.

Polishing Off:

Merge the test environment

The code’s written, backed up and has been tested so often that it’s run up one hell of a hospital bill. Now it’s time to publish the code and improve your product! Remember to record the time that it is published (and any required downtime) using the form fields below.

Do this by merging your test environment with the production code. As with much of your software development so far, the exact details will vary depending on the software you are using. However, in general, you’ll want to merge the test environment by ensuring that the new or altered code is inserted in the correct location (automatically or manually).

If the change is large, will affect the performance of what you are altering or even require downtime to implement, make sure that you announce the changes (or downtime) in advance so that none of your team or customers will be caught off guard. 

Once again, we’ve got you covered with our software deployment checklist if you’re having trouble with this latter stage.

Celebrate (with customer support)

Congratulations! You’ve successfully carried out the git workflow and completed your software development; it’s time to give your team a pat on the back, or have a cold beer to celebrate.

The only thing that you have left to do is to keep an eye on your software’s performance in the next couple of days and the support ticket feed. These will usually be your main method of finding bugs with the system which were not picked up in your pre-publishing checks.

Sources:

Relevant Checklists:

Take control of your workflows today.