Forms are the fastest and easiest way to collect information from a mass audience. Whether it is surveys, feedback, polls, measuring satisfaction or placing orders, using a form your users can send you any kind of information from anywhere, anytime.
With Process Street‘s Forms you can enhance your team’s ability to collect data. Your Form responses can trigger Workflows or send that data to other apps.

Users: To create, edit, or share Forms, you must be an Administrator or a Member with “edit” permissions.
If you have already built a Workflow, you may be familiar with the form fields that you can add to your form.
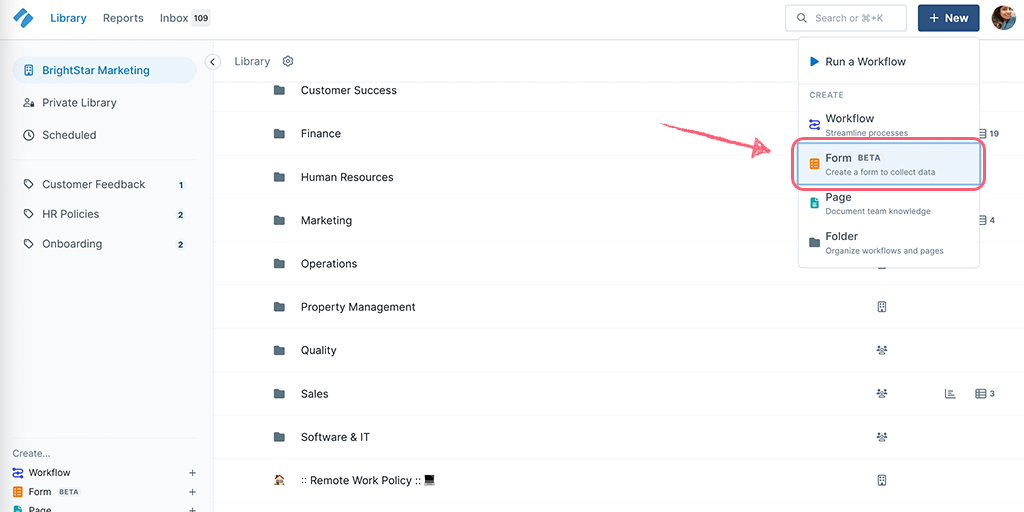
To create a new form, click the new “+ New” button in the top-right corner and then select “Form” from the dropdown, as shown below.
If you click New when in your organization library your form will be created there. If you’re in your reports dashboard, inbox, or any other part of the site when you add a new Form, it will be created in your private library.
Note: Only admins can create Forms on the home folder in your Library. Members and Guests (Internal) can create Forms in folders to which they have edit access.
If you’re not sure where to start, you’ll find some great tips to help you learn the basics below.
As soon as you start a new form, you will be prompted to name your form. You can also edit your form name after creating it, as shown below.
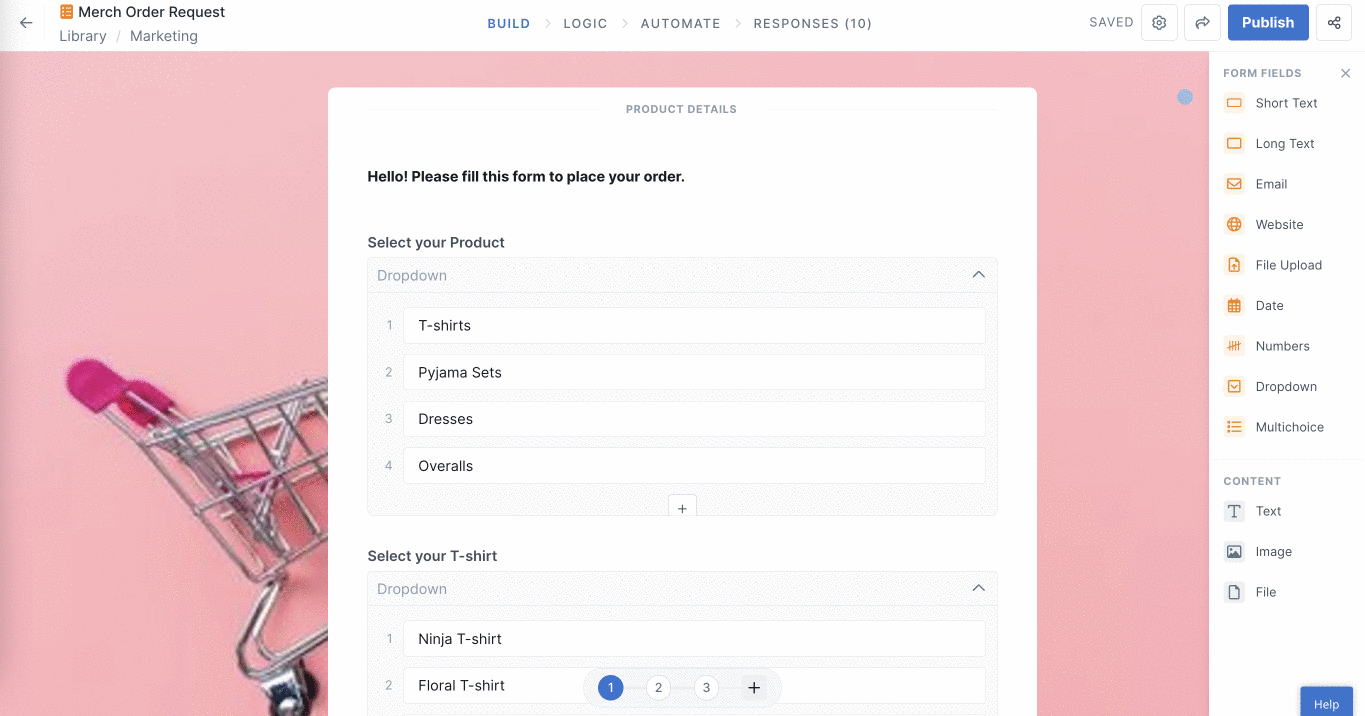
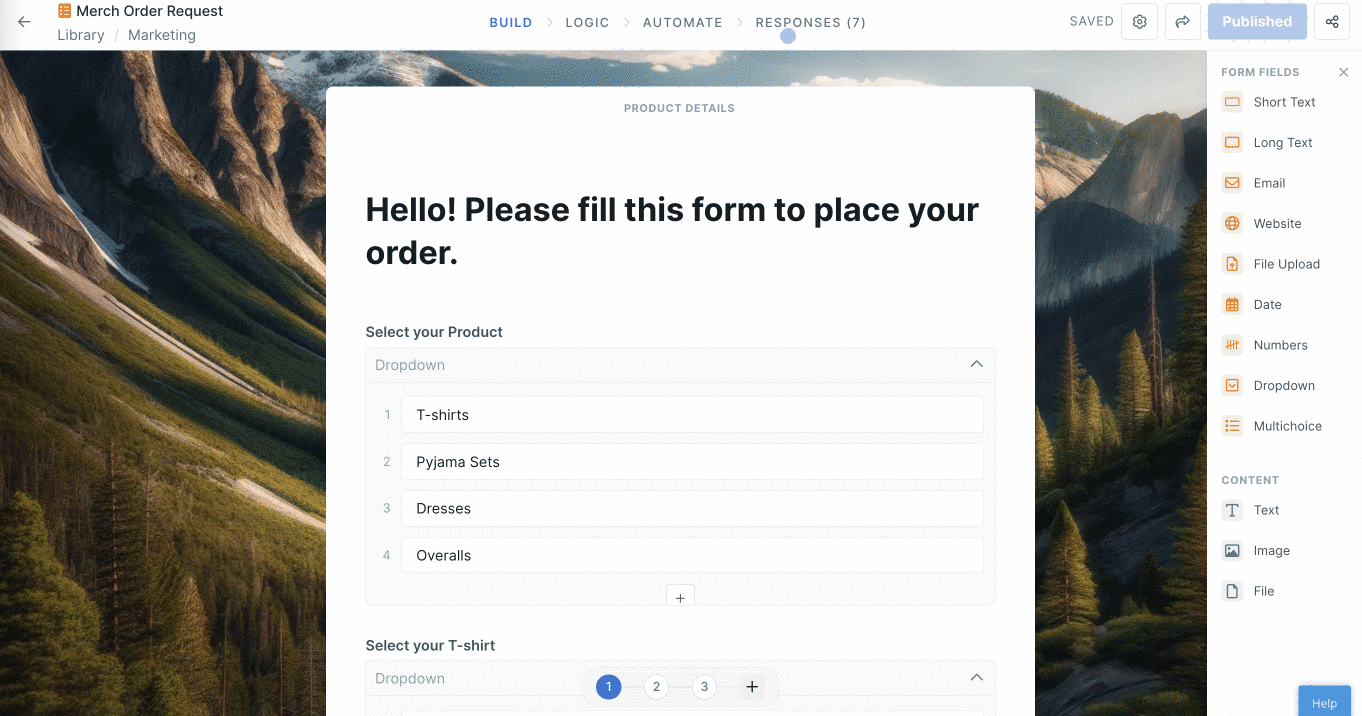
The main body of your form is in the center of your screen where a short text form field is added by default. You can edit this field and add more form fields from the right-hand menu.
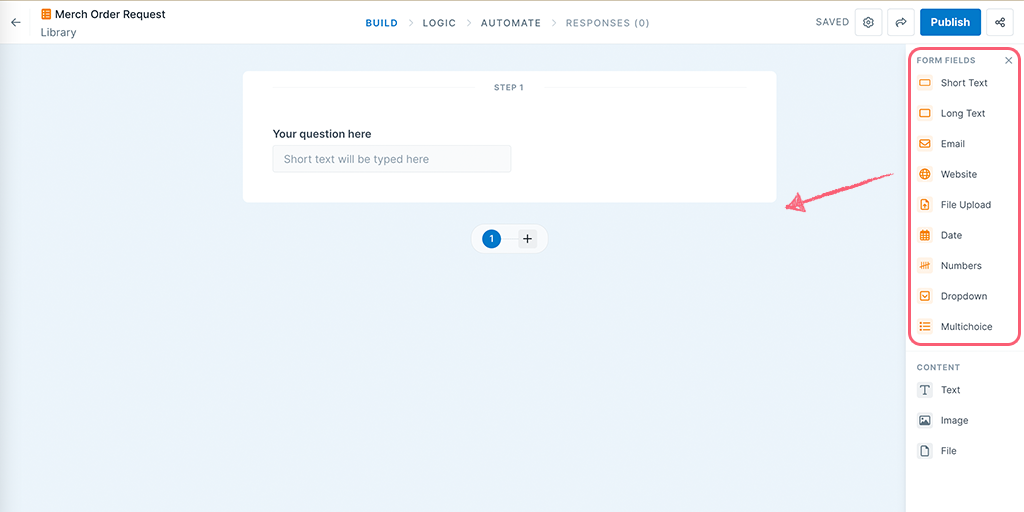
Next, you can add some content fields like text, images, or files to add some context to your questions.
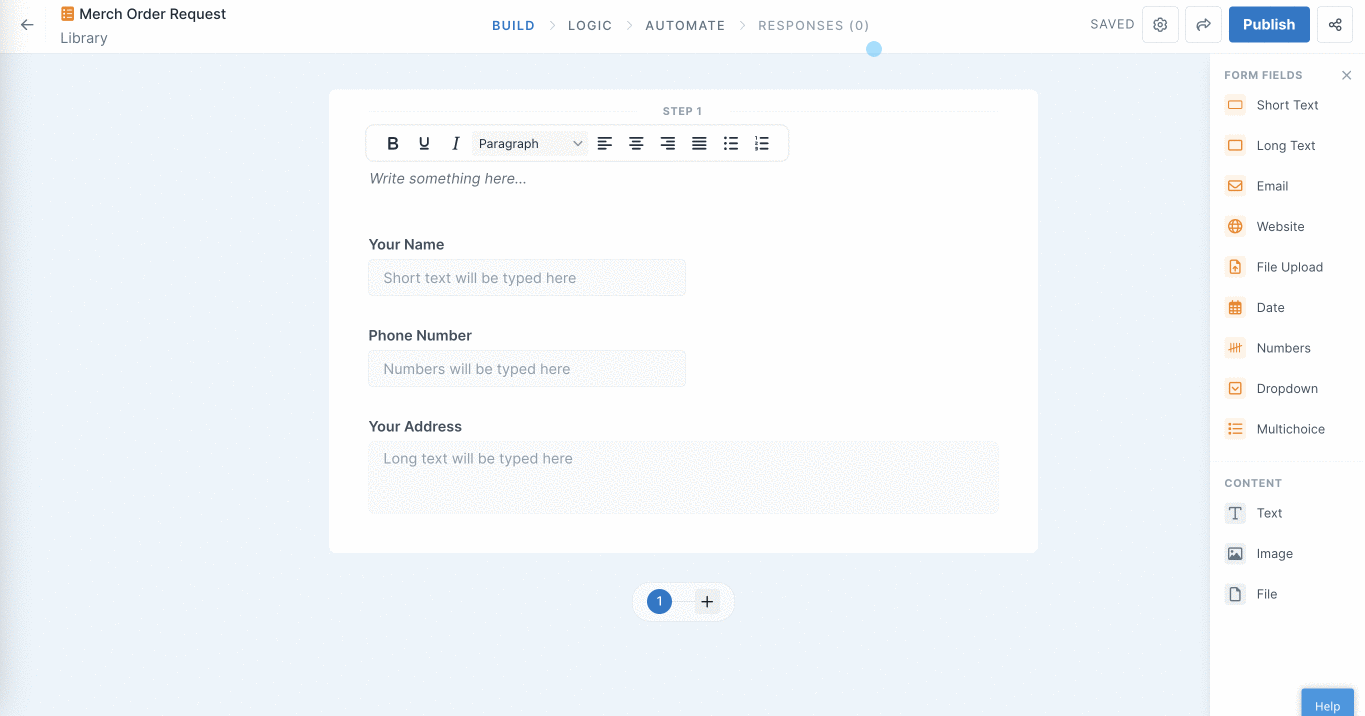
Your forms can contain different types of fields to collect all the dynamic data you need. You can also add form field validations like default answers and placeholder text.
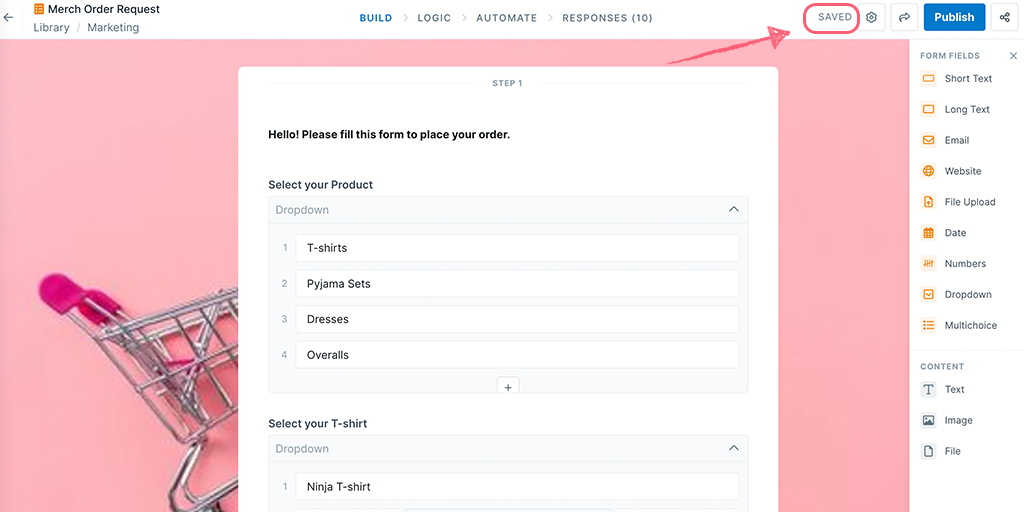
Your form is auto-saved every few seconds and will display the latest version if you refresh the page or return to the form later.
Note: You will still have to publish your form to update it to the latest version.
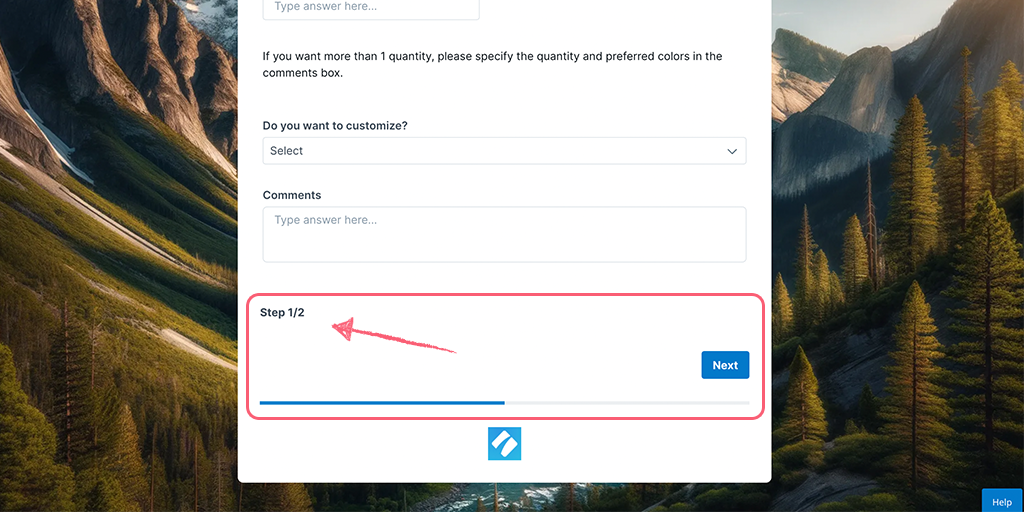
You can add multiple steps in your form to segregate your questions. To do this, scroll to the bottom of your form and click the + icon to add a new step.
You can add form fields in the new step just as you did in your first step.
You can then rename your step, duplicate it, move its position in the form, or delete it. To do this, hover over the step name at the top of your screen and click the settings cog next to it, as shown below.
Pro tip: You can use these multiple steps to create “if-this-then-that” logic in your form. More on this below.
These steps will also display a progress bar to the user while filling out a form response.
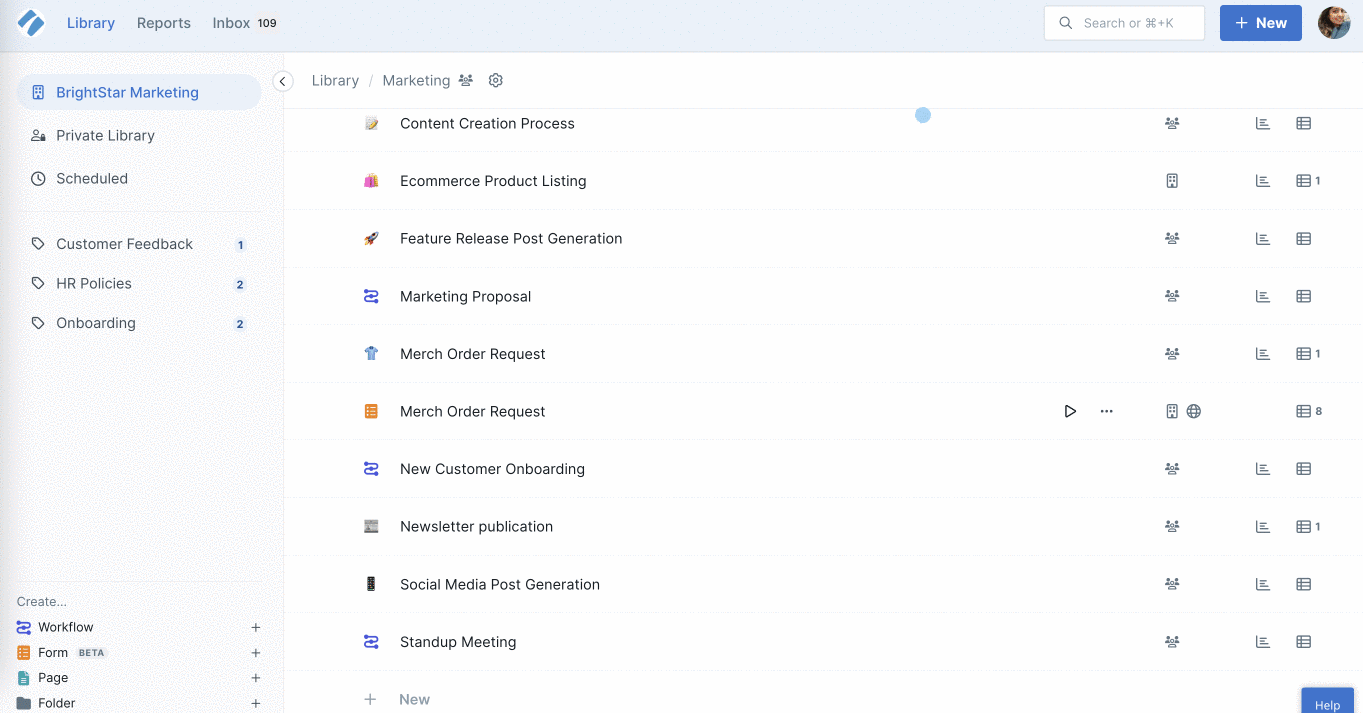
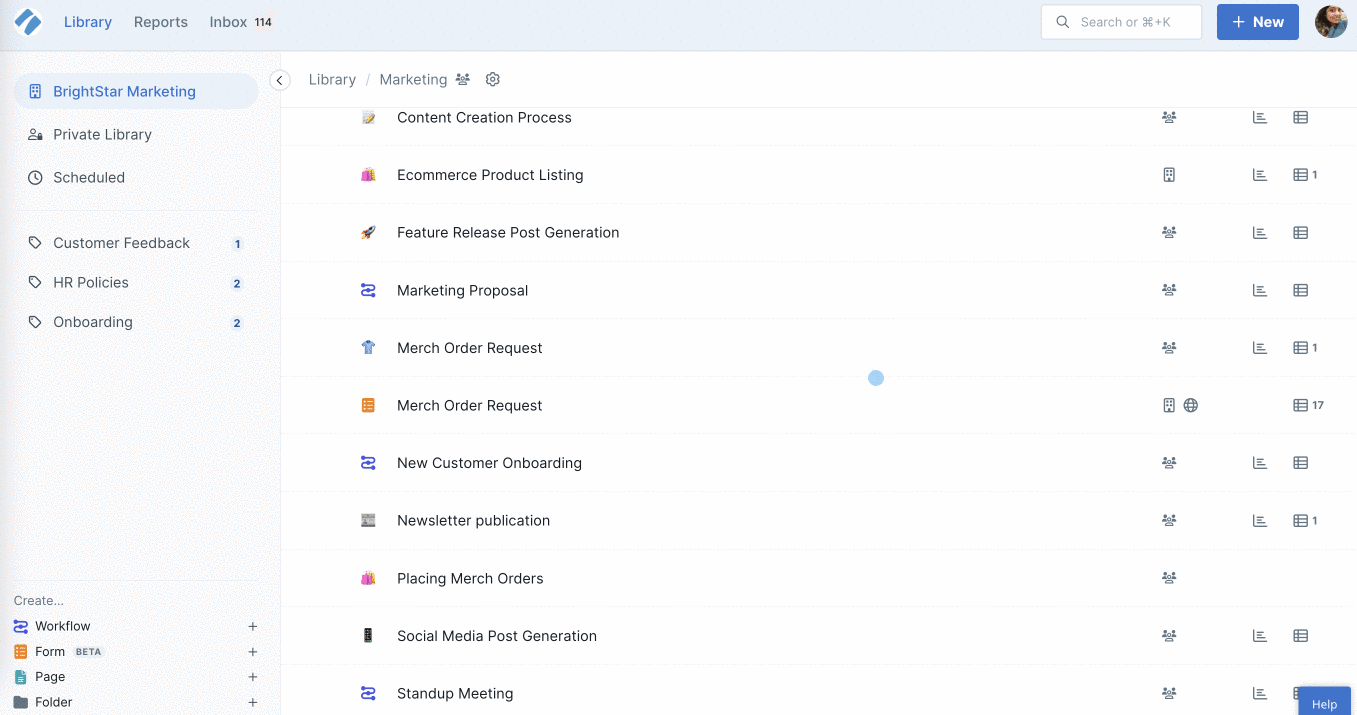
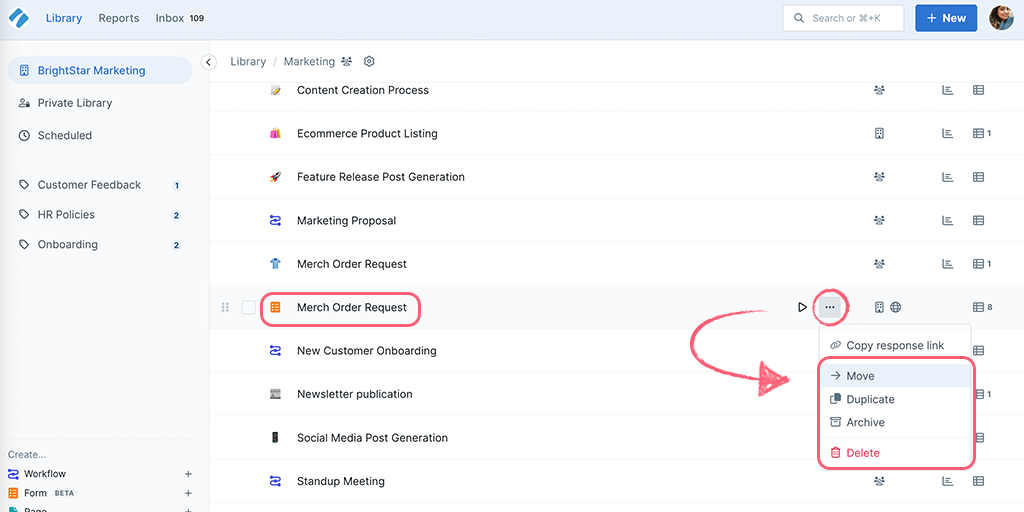
Navigate to your form in your Library, click the three dots next to its name, and select “Edit”. You can also click your form’s name in the Library, as shown below.
Now edit any of the form fields or steps, delete them, or add more.
You can edit your forms as many times as you need to keep them fresh and up to date.
Make your edits, and click “Publish” to save your changes.
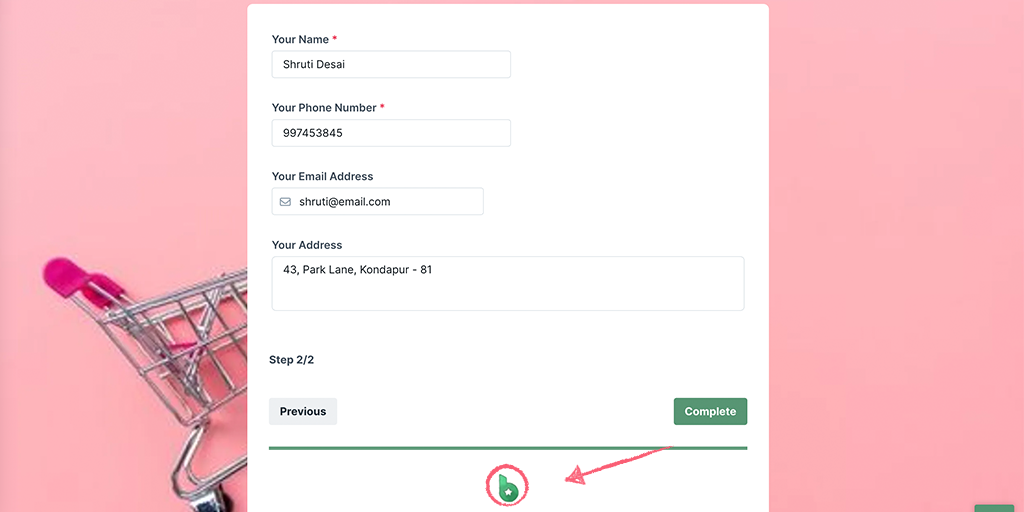
You can customize your forms with your brand logo and colors and by adding a background image, as shown below.
Learn more about customizing your forms.
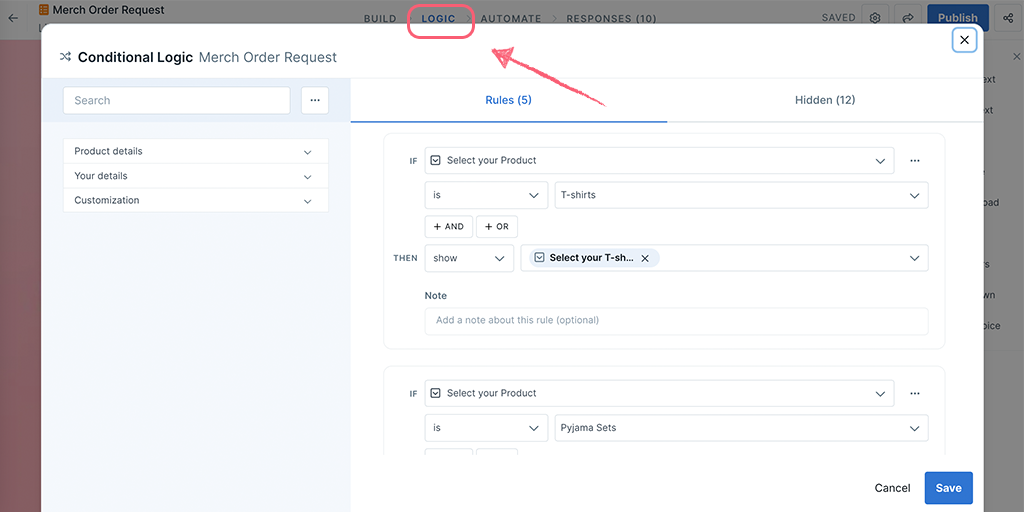
By adding conditional logic to your forms, you can further customize it to collect dynamic information in a single form.
Navigate to the Logic tab to add Conditional Logic to your form.
When you’re done creating (or editing) your Form click “Publish” in the top-right corner to save your changes.
As soon as you publish your form, you can choose to share or embed it, send it via email, or add automations.
When you publish changes, any of your active forms also get updated automatically.
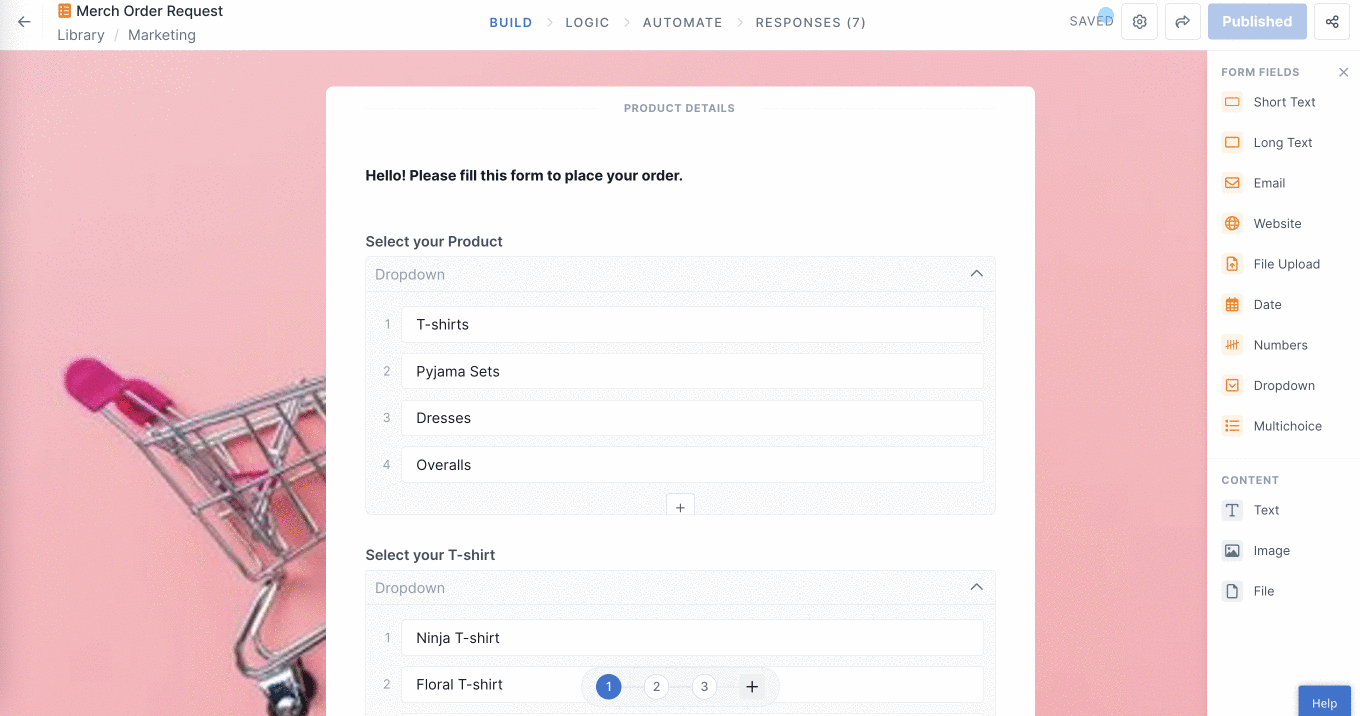
Pro-tip: Once you’ve published a form, you can start a new form response directly from your Library by clicking the Respond icon next to the form name, as shown below.
You can view all the recent updates made to your form in the activity log.
Click on the Settings Cog in the top right corner then click Activity in the right panel, as shown below.
You can also restore any deleted form responses from your activity log, as shown above.
To make your form super powerful, you can automate the actions to be triggered once a form response is submitted. For example, a new form response could trigger a new workflow run or send a Slack message.
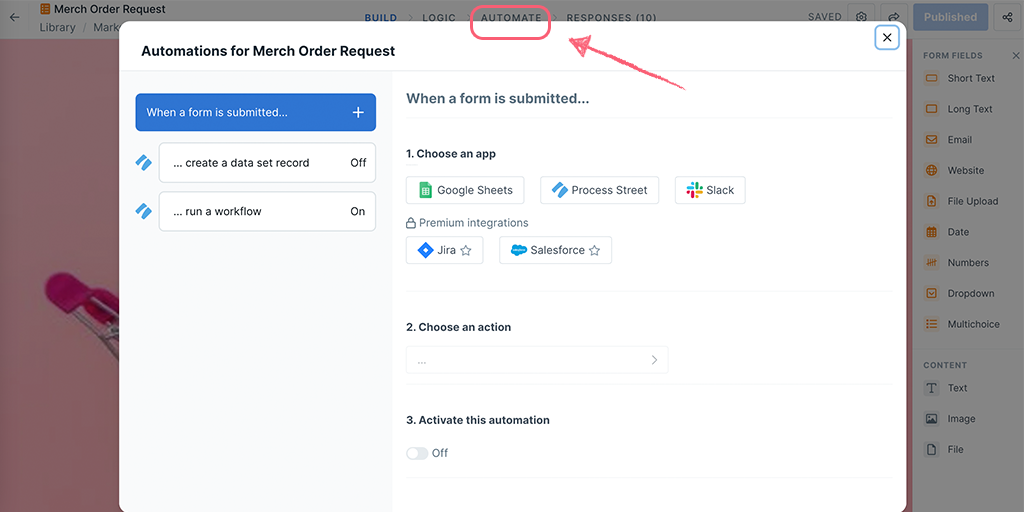
Note: If you create or edit automations, you need to publish your form to see the updates.
Learn more about form automations.
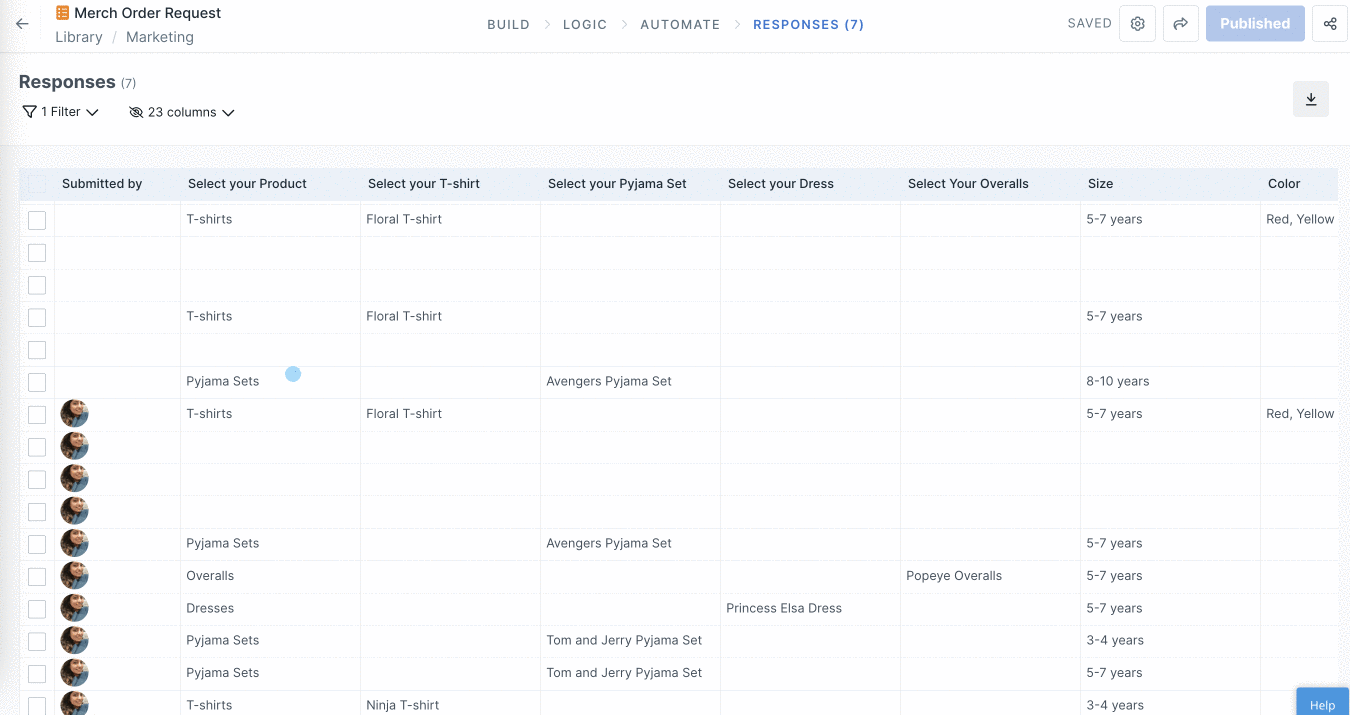
You can view your form responses alongside your form editor in the Responses tab.
You can filter your responses to see forms that were completed or are in progress. The response count shows you the number of completed forms. You can also filter your responses, as shown below.
Note: Internal Guests can view only their own form responses.
You can also access your form responses directly from your Library by clicking the Responses icon next to your form name, as shown below.

If you want to delete any responses that were not filled out properly, select them using the checkbox to the left and click Delete from the floating menu at the bottom of the screen.
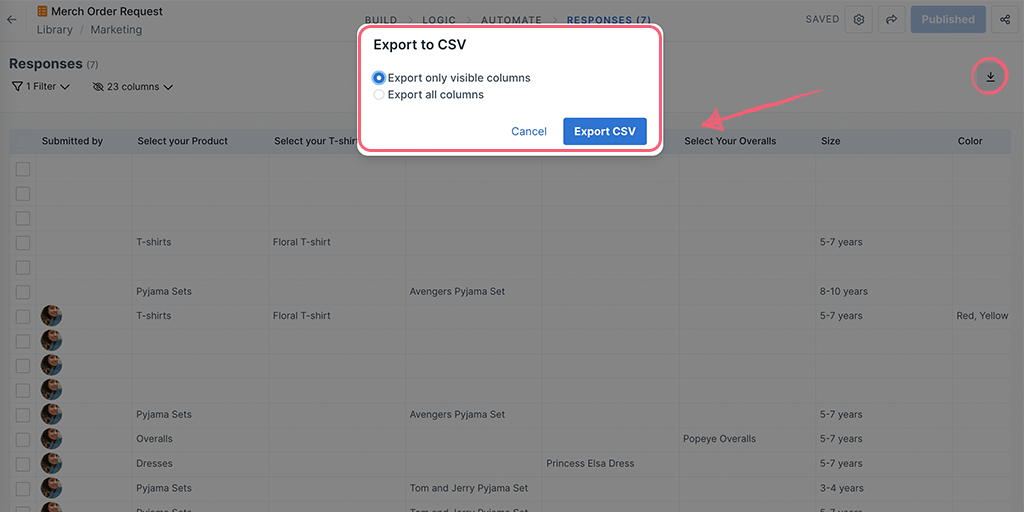
You can also export your form responses to CSV by clicking the export button in the top right corner of your screen, as shown below.
When viewing your published form in the Library, you can move or copy it to a folder, archive, or delete it.
Learn more about managing your forms.