 Workflows
 Forms
Forms Data Sets
 Pages
Pages Process AI
 Automations
 Analytics
 Apps
Apps Integrations
 Property management
 Human resources
 Customer management
 Information technology


Whether eye-catching, irritating, or actually useful, there’s no denying them. Gifs have never been more popular than they are right now.
Why’s this? It could be because mobile phones dropped Flash support. It might be because they’re so immediate and will automatically ‘play’ without the friction of a click. I think it’s both of these things, but most of all it’s because you can say more with a gif than you can with actual words. Gifs help us make connections with our audience, to explain, engage, entertain and tell stories. And, of course, boost reader engagement.
I’ve been using many, many gifs in my blog posts recently, partially thanks to the fact that I’ve been exposed to many more since we added Giphy to our Slack on that fateful June 26th.

Anyway, Giphy has caused enough distraction for one lifetime. Time to crack on with the post and share with you what I’ve learned about using and creating gifs in blog posts.
Well, there’s Giphy, of course…
If the gif you’re looking for already exists, then you’ve hit the jackpot! Maybe you’ve thought of a paragraph that goes perfectly with a moment from a film…
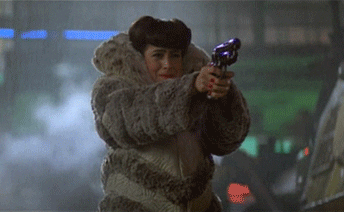
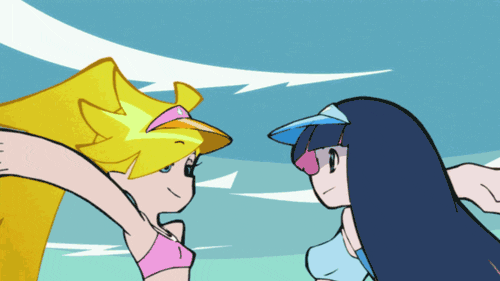
… Or wanted to lighten the mood a little.
Giphy (the Google of gifs) has a huge amount of gifs uploaded by users, and some scraped then automatically tagged from around the web. Go there now and search for your favorite film. Unless you’re only a fan of French Marxist Art House cinema, there are probably several famous clips immortalized in animation.
There are, however, some limitations. If you like your images to be full-width (as we’d prefer here at Process Street), then Giphy’s images are just too low res for your needs. If you find that to be a problem, you’ve got a couple of options.
- Edit the image code to stretch the gif to 100% width (there will be some distortion)
Somewhere in there you should see something likewidth="420"— that wants changing towidth="100%". Don’t forget to remove theheightattribute entirely, or you’ll end up with a distorted monstrosity. - Find the clip elsewhere and make your own, hi-res gif. If that’s what you want to do, you’re in the exact right part of the article, because the rest of it is going to be about the DIY approach.
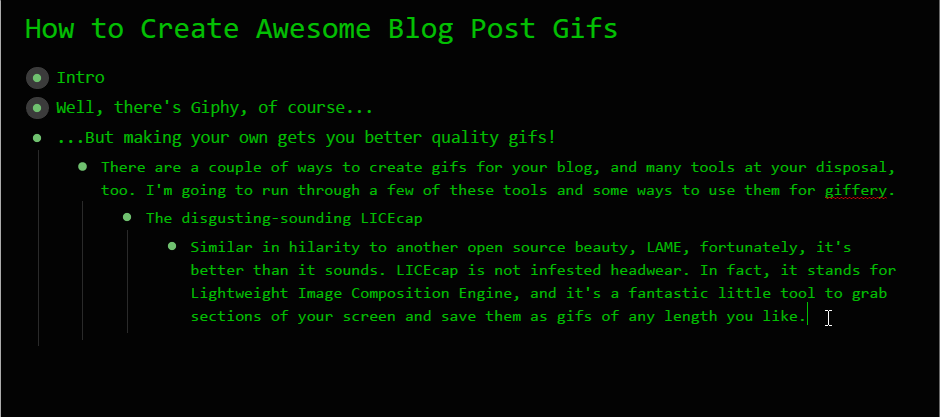
…But making your own gets you better quality gifs!
There are a couple of ways to create gifs for your blog if they don’t already exist — and many tools at your disposal, too. I’m going to run through a few of these and some ways to use them for optimal giffery.
The disgusting-sounding LICEcap
Similar in hilarity to another open source beauty, LAME, fortunately, it’s better than it sounds. LICEcap is not an awful hat. In fact, it stands for Lightweight Image Composition Engine, and it’s a fantastic little tool to grab sections of your screen and save them as gifs of any length you like.
I used it to capture myself writing this blog post, and it works like a charm. In honesty, I use LICEcap for 80% of my gif requirements. It’s all well and good until it needs editing in some way, or, if you get your mouse in the way like I always do. That’s when it gets more complicated and you’ll have to edit it with some other tool. (More on that later.)
The illegal-sounding YouTube-to-Gif
Since LICEcap can be a bit of a pain when recording Youtube as gifs without editing, sometimes you just want to get the job done without desperately trying not to get your mouse in the shot or accidentally cause YouTube’s pushy overlay to crop up and ruin your perfectly loopable specimen.
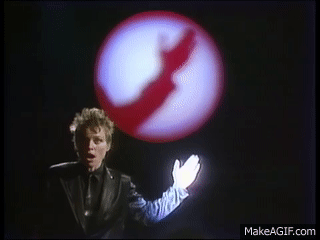
For these moments, there’s Make A Gif’s Youtube-to-Gif creator. Here’s a quality one from Laurie Anderson’s O Superman. I just knocked it out using that app, and it’s watermarked so you know I’m not lying.
Replace ’youtube.com’ with ’gifs.com’ in any URL
Gifs.com (formerly gifyoutube.com) is a service which can create a gif out of any section of a video on YouTube. To get there quickly, just edit out the ‘youtube’ section of your URL and replace it with ‘gifs’.
So, https://www.youtube.com/watch?v=QH2x5pARGdE becomes https://gifs.com/watch?v=QH2x5pARGdE
From there, gifs.com will load you up a quick editor where you set the start time and duration and off you go. This is a nicer looking, non-watermarked alternative to Make A Gif, and something I used to capture this rare footage of the lads at the match.

…And back round to Giphy
Something I omitted earlier: Giphy can make gifs too! The reason I omitted it, even though it’s a user-friendly way to do it, is because the gifs it makes are pretty small and seem capped at ~480px wide.
Even still, if you’re churning out a quick gif and don’t want to spend ages on it, it’s a good solution.
Get a little more complex with Photoshop
So, what happens if you want a gif of an exact size, with frames chopped out the middle, text overlays, and all sorts of other complicated nonsense? Unfortunately for those who like simple solutions such as the ones I’ve already explained, that’s not as easy as I’d like it to be.
Here’s the step-by-step to making something like the header on this post!
- Grab your selection with LICEcap. The higher quality the initial material is, the better it’ll come out. Zoom in awkwardly on the YouTube page if it helps, and make sure to keep your mouse not only out of shot, but out of the way entirely.

Put your mouse in the corner somewhere and use shift + space to start the recording. Be wary that you’ll have to save the file before it starts recording, and then there’s 3 seconds of pre-roll before the capture goes live. Timing is, unfortunately, a big part of it.
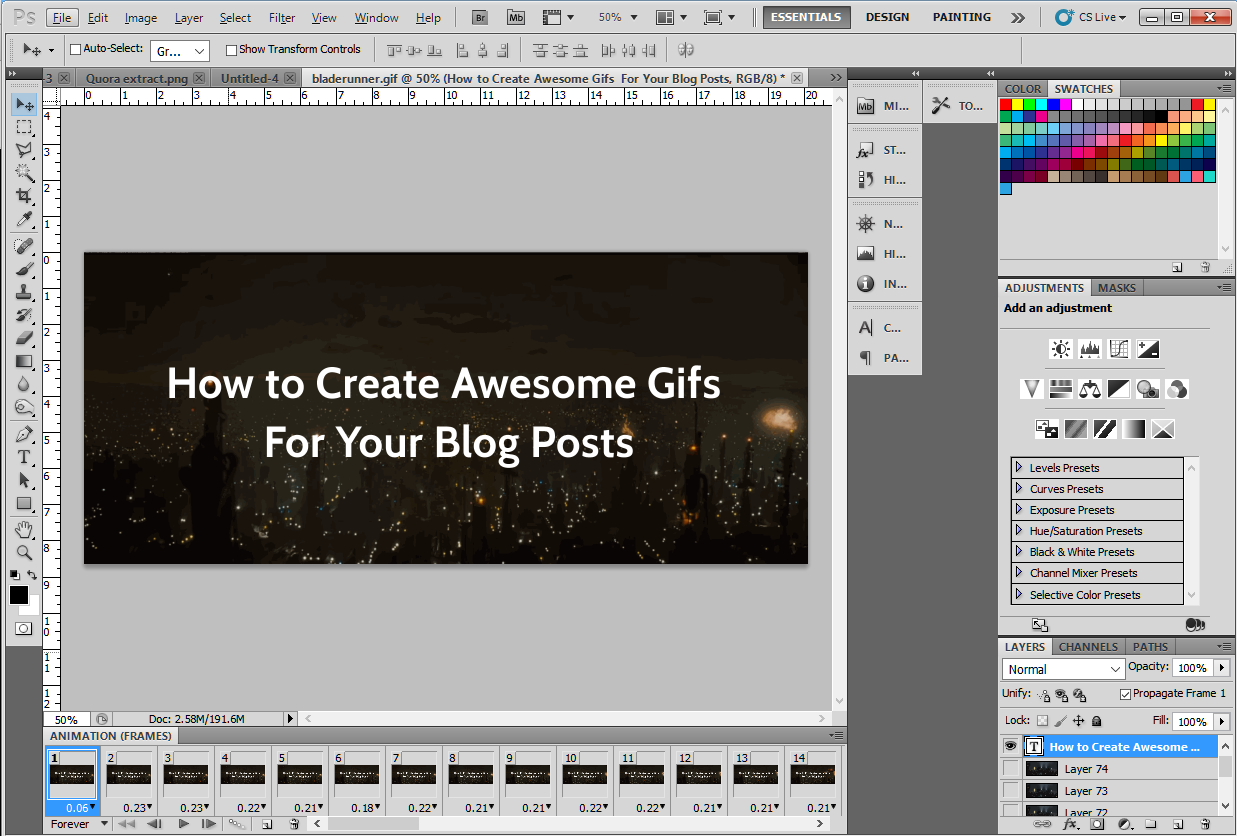
- Open the resulting .gif file in Photoshop. Add a new text layer to the on top of everything else. For me, that’s layer 70-something!
- Play it through. Does it look right? Don’t just save it as a .gif and expect it to work, now. You have to ‘Save for Web and Devices’ by pressing Ctrl+Shft+Alt+S
- Press ‘Save’ in the dialog and give it a name. You’re ready!
If you’re looking to do more than just add text, then don’t worry. All you have to understand to take it further is that the frames of the gif are treated as layers in Photoshop, so by editing those layers (only one of which isn’t hidden per frame, by default), you can have a lot of control over what your gif looks like.
…Or quick, rough edits using Ezgif
If you don’t have the patience to figure out how to interpret what you want into the right clicks in Photoshop, Ezgif is a powerful alternative.
Resize, crop, reverse, speed up, split and overlay text on gif files in a few minutes. While it’s not as customizable as Photoshop, it’s a quick way to whip up an edit if your source material isn’t quite right.
For how-tos, gifs are better than screenshots
If you’re demonstrating how to use a product, whether that’s yours or something you’re writing about, gifs show quick extracts of the user flow much more effectively than images and with less friction than a full demo video.
Instead of saying ‘go to Process Street, find the right folder, etc…’, a gif for a few seconds will do.
The method is exactly the same: Use LICEcap to capture a segment of your screen (squeeze the window size down to get a clean view) and hit record.
Alright?
Alright. Nice.
Go have fun with it.
Benjamin Brandall
Benjamin Brandall is a content marketer at Process Street.