Templates /
Linux Apache Server Setup Checklist

Linux Apache Server Setup Checklist

Get a working Apache server running on your Linux machine in minutes.
1
Introduction:
2
Record server and user name
3
Install firewall:
4
Update package list
5
Install UFW
6
Allow SSH connections through the firewall
7
Enable UFW
8
Install web server software:
9
Install Apache
10
Test server:
11
Check Apache system status
12
Enter server IP in browser
13
Add content:
14
Go to the server's html directory
15
Add content to the html folder
16
Sources:
17
Related checklists:

Introduction:

If you want to host content on the web — or just want to serve html files internally — there’s little more reliable, better documented, and wholly supported than Apache. Its strengths justify its ubiquity: Apache serves 46% of all active websites.
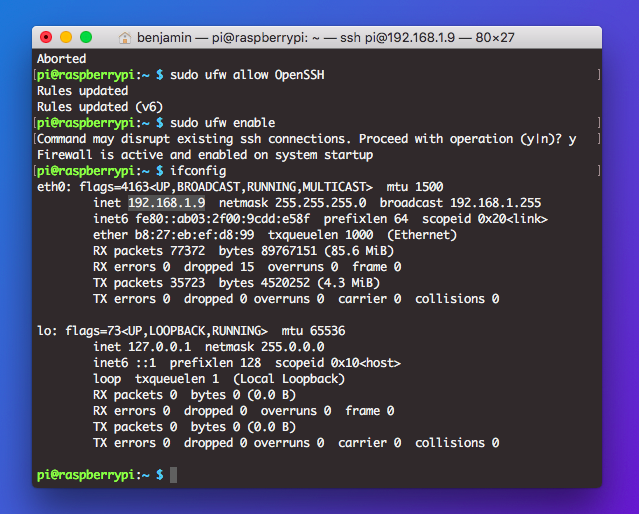
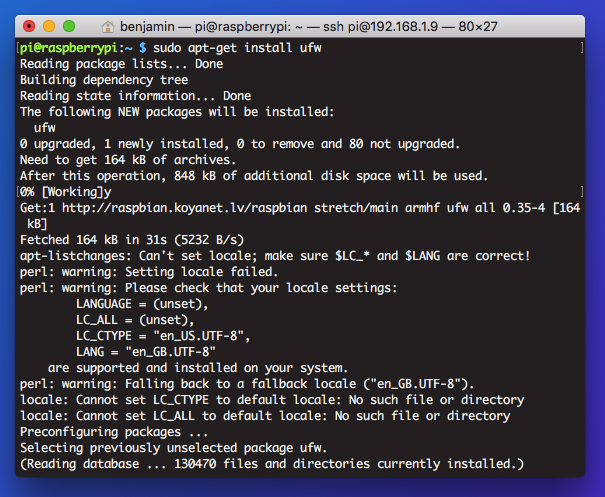
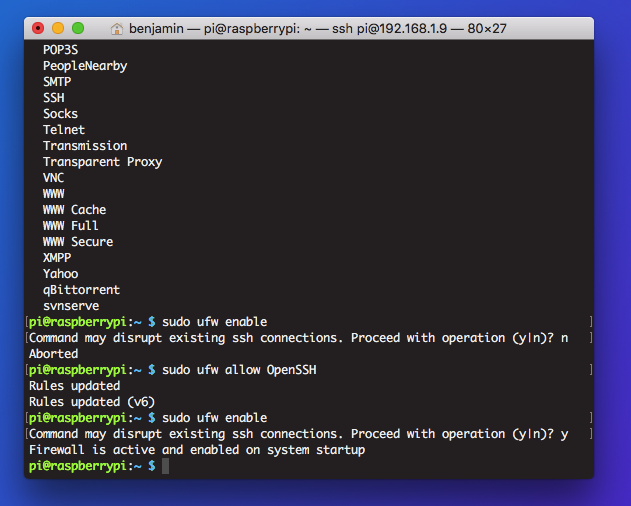
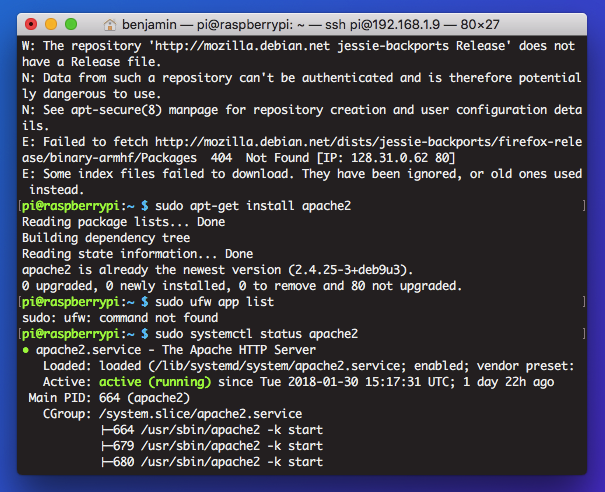
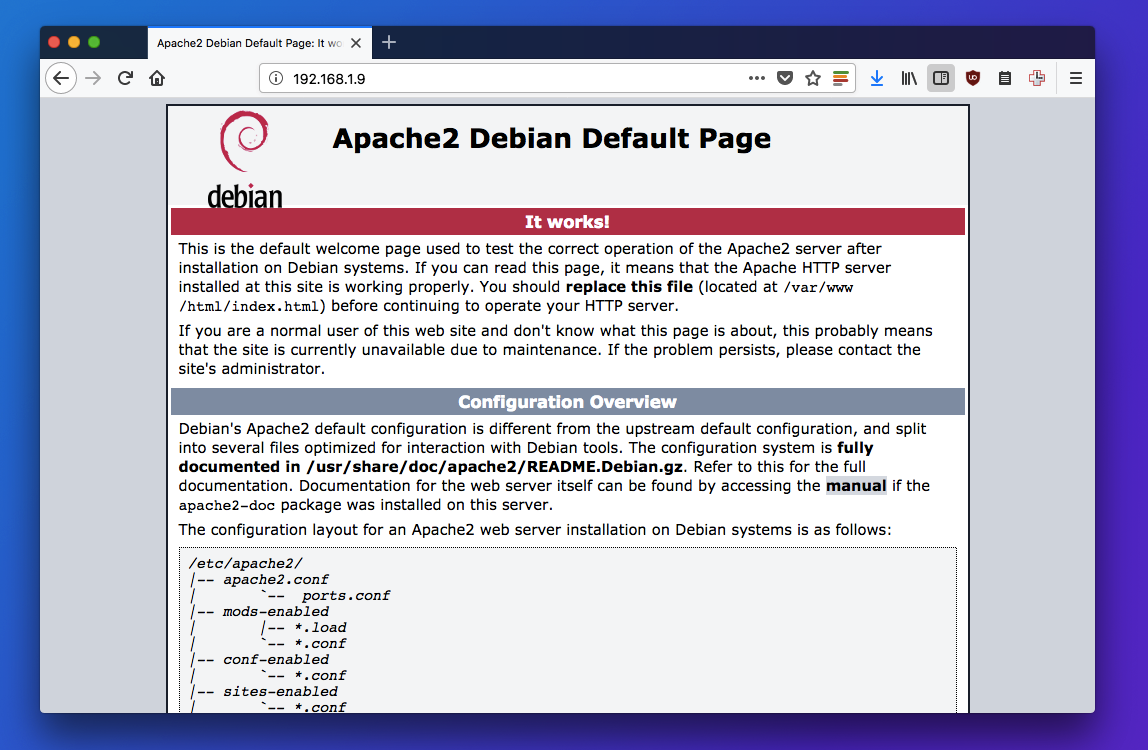
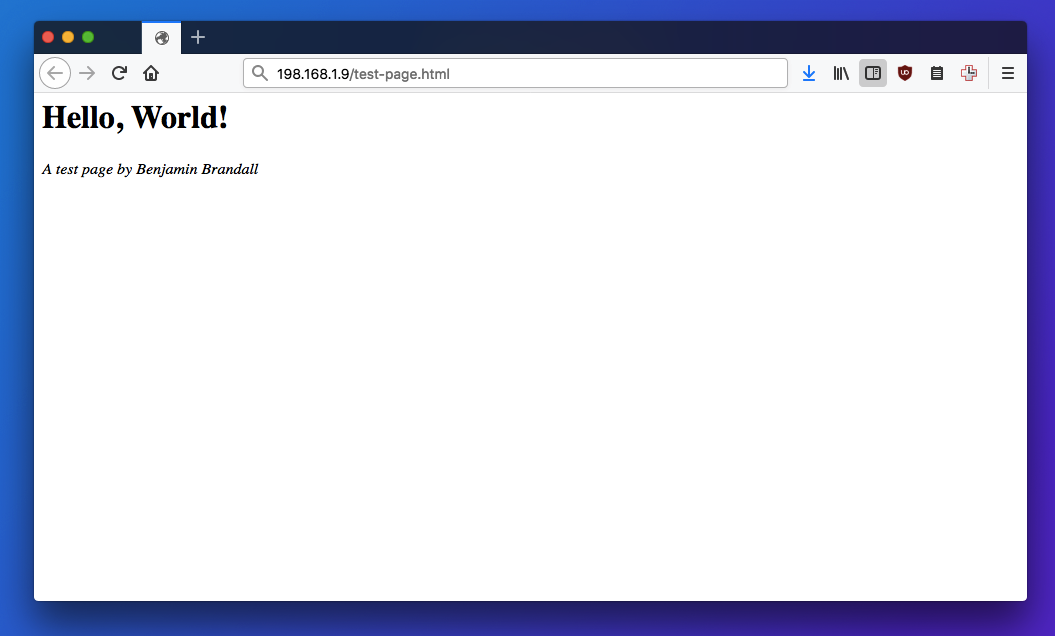
In this checklist, we’ll walk through a basic Apache setup that lets you serve HTML content to clients connected to the same network as the server (locally). This involves configuring SSH, installing a firewall, installing Apache, testing the server, and adding content to serve. It doesn’t include instructions on serving content to the web, because that is a much more involved process with many moving parts.

This checklist is for Linux, the OS running 92% of Apache servers. For a Windows setup process, click here.

Record server and user name

Throughout this checklist, you’ll refer back to your server and user names. This checklist will auto-fill these variables into commands, making it easier to run through the checklist.

Use the form fields below:


Use ifconfig to see your server’s host name or IP address.

Install firewall:

When running a server, you always need to be careful to protect your data from being intercepted.

Either:

Log into the machine you’re going to install Apache on and open Terminal

Or:

Join the same network as the server from another machine, find the hostname of the server, and use SSH to access the server like this:

$ ssh {{form.Root_username}}@{{form.Server_IP}}

This will give you control over the server, and allow you to install the firewall and Apache.

Update package list

Before installing anything afresh, you should update the package list to get information on the newest versions of packages and their dependencies.

$ sudo apt-get update

It’s also advisable to run the below command right after, to prevent any errors later on down the line:

$ sudo apt-get upgrade

Install UFW

UncomplicatedFirewall, or UFW, provides a command line interface for manipulating the firewall. It simplifies iptable commands so it’s simple to enable SSH and specific ports.

$ sudo apt-get install ufw

Allow SSH connections through the firewall

If you’re accessing the server through SSH, you’ll need to allow SSH connections to avoid cutting yourself off.

First, confirm SSH exists:

$ sudo ufw app list

You should see OpenSSH as a list item. Before we turn the firewall on, we want to make sure OpenSSH connections are allowed.

$ sudo ufw allow OpenSSH

Enable UFW

Turn the firewall on with:

$ sudo ufw enable

And now check its status with:

$ sudo ufw status

You’ll see "Firewall loaded" if it’s working properly.

Install web server software:

Installing Apache is extremely simple, and it works right out of the box.

As soon as the server is installed, you can see the test page by visiting your host name (or by typing localhost) in your browser.

Install Apache

Simply type:

$ sudo apt-get install apache2

Test server:

Before going any further, you should confirm your server is working by checking the system status, and then trying to access the server as an end user.

Check Apache system status

Check whether the Apache service is running with systemctl:

$ sudo systemctl status apache2

You should see a line like this:

systemd[1]: Started The Apache HTTP Server.

If the status of the server is inactive, try the following:

$ sudo systemctl start apache2

Enter server IP in browser

To confirm the Apache server is running, enter the IP address ({{form.Server_IP}}) in your browser. You should see the Apache start page.

Add content:

By default, your Apache server will show the index.html page located at /var/www/html

You can easily add content to your server by transferring files from another machine, as we’ll cover next.

Go to the server’s html directory

Apache comes with a folder directory for public HTML files, located at:

/var/www/html

Navigate there with:

$ cd
$ cd /var/www/html

Add content to the html folder

If you have your server content available through a URL on your network, you can use wget to download it. To demonstrate with a dummy URL:

$ wget -p var/www/html https://yourserver.com/files-for-server.zip

Alternatively, transfer your server files via SSH with scp:

$ scp /path/to/local/file {{form.Root_username}}@{{form.Server_IP}} /var/www/html

An html file uploaded in /var/www/html is accessible in your browser by appending the html file name to the server IP after a forward slash, like this:

192.168.1.9/test-file.html

Sources:

Take control of your workflows today.