Templates /
Linux Samba File Server Setup Checklist

Linux Samba File Server Setup Checklist

Easily serve files from Linux to Windows and Mac, and manage access rights.
1
Introduction:
2
Establish SSH connection with the server
3
Install Samba
4
Create a shared folder
5
Edit Samba configuration file
6
Set a password
7
Restart the server
8
Test access
9
Configure user access
10
Sources:
11
Related checklists:

Introduction:

While the back end of an office might be pure Linux, the machines that see daily use by employees probably aren’t. Without a file server, it’s difficult to make Linux and Windows computers share files nicely.

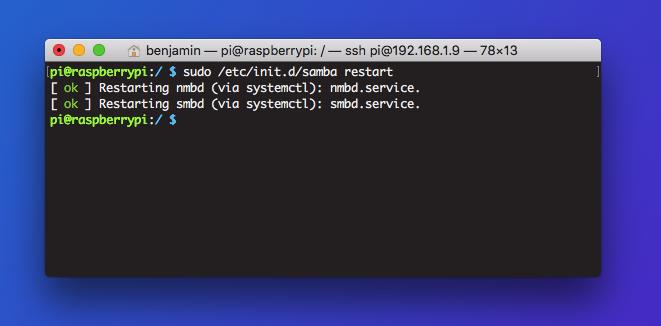
he solution is to install Samba on a server, and store the files that should be shared on that server, in a shared folder. These files can be added to or updated by connecting to the server with SSH, FTP, or (once set up) directly through Samba.
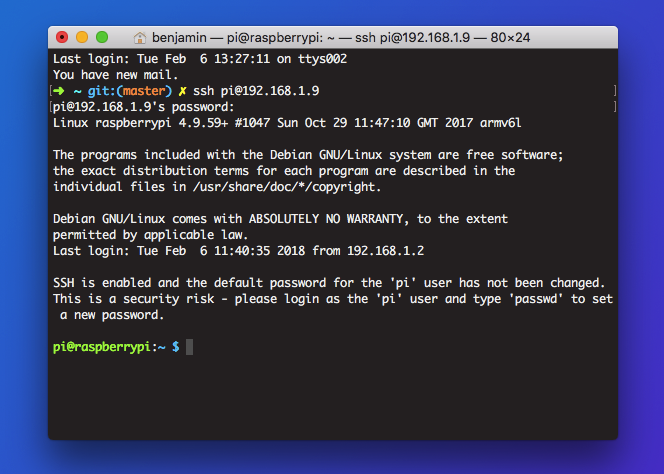
We’ll go through SSH in this guide but to use FTP in the future see this guide to setting up an FTP server.

Samba was created in 1992 and released under the GNU license. It has remained an important part of seamlessly integrating computers ever since.
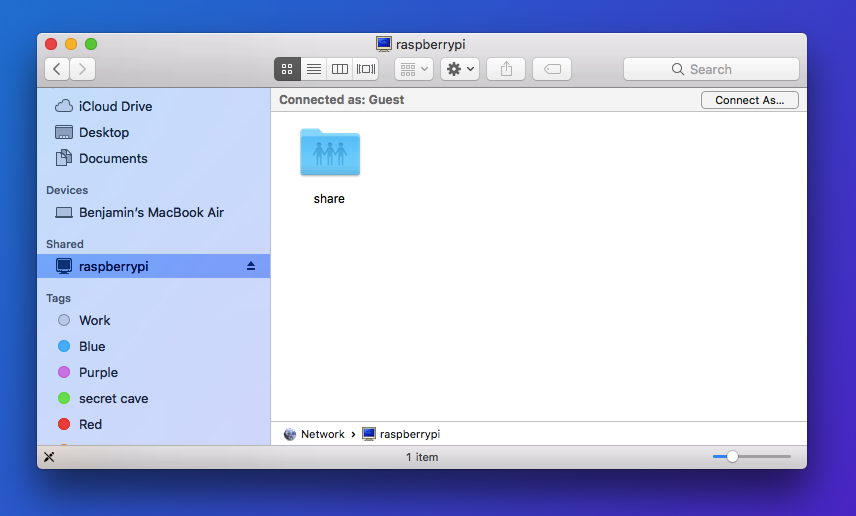
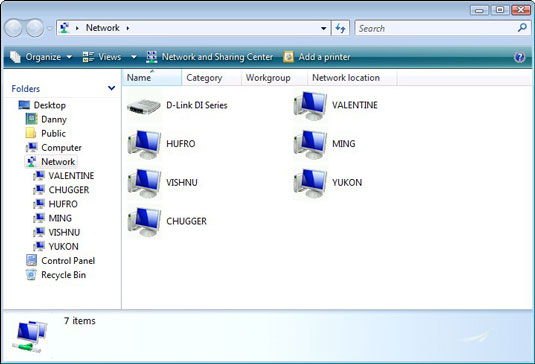
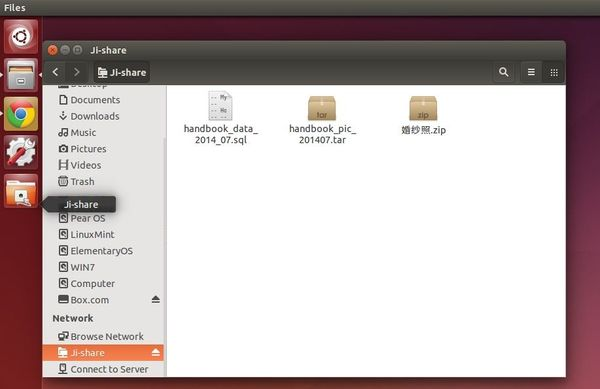
When the server is set up, you’ll see your Samba server files on any authorized machine on the network, like this:

Establish SSH connection with the server

In this checklist, you’re going to control the server remotely through an SSH connection.

Input your server’s IP and root username below β€” we’re going to autofill it throughout the checklist.


In a remote terminal:

$ ssh {{form.Server_root_username}}@{{form.Server_IP}}

This will prompt you for the root password, and then establish an SSH connection:

Install Samba

Before installing any packages on the server, you should run:

$ sudo apt-get update

$ sudo apt-get upgrade

This will refresh the package list, and then install any updates necessary.

After that’s complete, install Samba:

$ sudo apt-get install samba samba-common-bin 

Create a shared folder

You don’t want to share everything by default, so make a new shared folder where you can put everything you want to be accessible over the network.

$ sudo mkdir -m 1777 /share

This creates a directory called ‘share’ in root.


If you already have a share folder, then you’ll instead need to update its permissions:

$ sudo chmod -R 1777 /share

Edit Samba configuration file

Open the Samba configuration file with nano:

$ sudo nano /etc/samba/smb.conf

Append this block at the bottom of the file:

[share]
Comment = shared folder
Path = /share
Browseable = yes
Writeable = Yes
only guest = no
create mask = 0777
directory mask = 0777
Public = yes
Guest ok = yes

Press CTRL+O, then enter, and CTRL+X to save and quit.

Set a password

Generate a strong password by getting the output of this openssl rand function command (replace 14 with the number of characters to output):

$ openssl rand -base64 14

Copy the password to your clipboard, and then:

$ sudo smbpasswd -a {{form.Server_root_username}}

Save your server’s password in a password manager.

Restart the server

Restart the server to apply the changes you made to the configuration file:

$ sudo /etc/init.d/samba restart

Test access

Accessing the file server on Windows

The server should be visible in the Network pane of Windows Explorer.

Accessing the file server on Mac

Your shiny Samba server is located in the left sidebar of Finder.

Accessing the file server on Linux

Similar to Windows and Mac, the server will show up under Network in the file browser.

Configure user access

The Samba config file, located at /etc/samba/smb.conf, has everything you need to control directory access and user permissions for your office.

Edit it:

$ sudo nano /etc/samba/smb.conf

For example, to give the user Ben access to his own folder, you’d add this to the configuration file:

[ben]
        path = /home/ben
        comment = Ben's home directory
        writable = yes
        valid users = ben

To give the sales organization their own shared folder with one member as the admin, you’d add this:

[sales]
        path = /home/sales
        comment = Sedona Real Estate Sales Data
        writable = yes
        valid users = sofie shelby adilia
        admin users = mike

To read more about setting up user permissions, read this doc.

Sources:

Take control of your workflows today.