Templates /
HOA Home Cleaning Checklist

HOA Home Cleaning Checklist

Provide your homeowners with this checklist so they can perform an efficient deep clean of their property once a month
1
Introduction:
2
Record basic details
3
General:
4
Dust everything
5
Remove marks on surfaces
6
Wash inside windows
7
Clean light fixtures
8
Kitchen:
9
Clean the cupboards
10
Clean and disinfect countertops
11
Scrub the stove
12
Clean overhead components
13
Make the sink shine
14
Bathroom(s):
15
Clean mirrors
16
Clean the toilet
17
Clean the bathing equipment
18
Clean any shower screens
19
Exterior:
20
Wash outside windows
21
Clear the garage
22
Trim the garden
23
Clean the pool
24
Final step:
25
Take photos
26
Sources:
27
Related checklists:

Introduction:

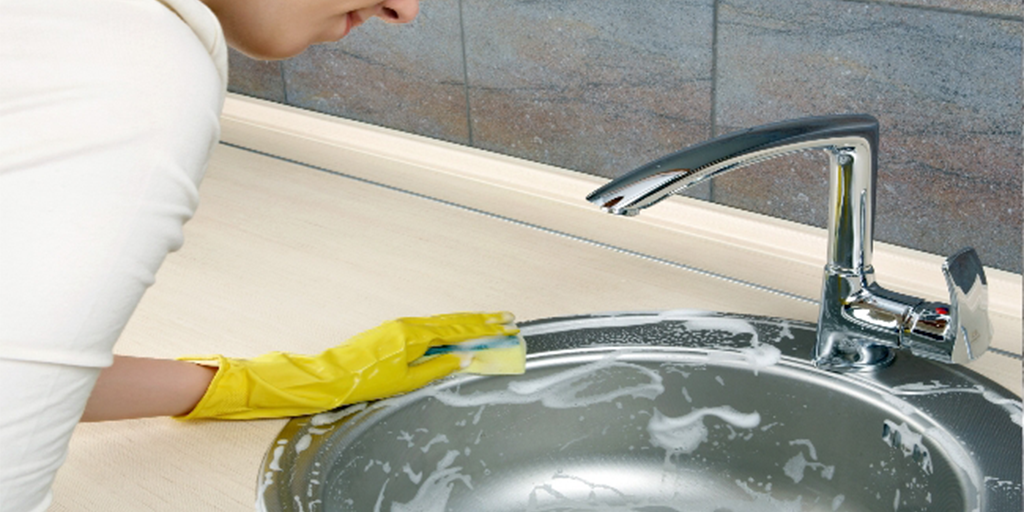
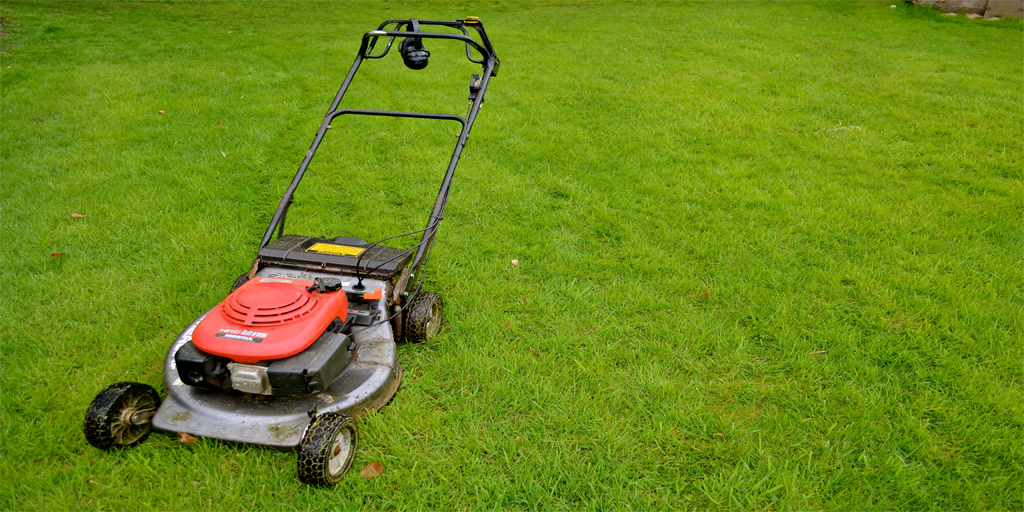
Cleaning a property is of course not a unique responsibility of an HOA, but could be considered more important than other residential areas because the board has a responsibility to ensure all properties are being kept in good condition.

This simple HOA Home Cleaning Checklist is designed to be provided to homeowners by the HOA board, as an easy process for them to follow when performing a deep clean of their property.

We recommend that this checklist is completed by each homeowner once a month. By doing so, the HOA will be able to clearly see if homeowners are doing their part to maintain the condition of the property they are living in.

A little info about Process Street

Process Street is superpowered checklists. By using our software to document your processes, you are instantly creating an actionable workflow in which tasks can be assigned to team members, automated, and monitored in real-time to ensure they are being executed as intended, each and every time.

The point is to minimize human error, increase accountability, and provide employees with all of the tools and information necessary to complete their tasks as effectively as possible.

Record basic details

The first thing to do diving into the cleaning is to record all the relevant details of the property and homeowner. 


General:

Dust everything

Start off by dusting every room from top to bottom; this will be one of the more time-consuming steps due to the amount of surfaces.

Remember to remove all dust and cobwebs from:

  • 1

    Ceiling fixtures
  • 2

    Blinds
  • 3

    Ledges
  • 4

    Skirting boards
  • 5

    Window frames
  • 6

    Window sills
  • 7

    Above and inside cupboards
  • 8

    Picture rails
  • 9

    Both sides of all doors
  • 10

    All other fixtures

Remove marks on surfaces

Be sure to clean all walls and doors, removing any marks (including those above heaters).

Use a solution of warm water and colorless dish soap to avoid damaging the surface, paint or wallpaper whilst cleaning. Apply with a soft cloth or sponge and wring out excess water to prevent causing the wall or door damage.

Repeat the process with pure warm water, and pat dry with a cloth towel.

Wash inside windows

This is far easier than cleaning the outside. All that is needed is two clean cloths and some glass cleaning fluid (or a dishwashing fluid solution).

Simply apply the cleaning fluid or solution to the window and proceed to wipe it off using a clean cloth. Then use the second cloth to buff away streaks.

Clean light fixtures

Now you need to take care of the light fixtures, ensuring all dead bugs are removed and any dead bulbs are replaced.

Using a clean cloth, remove any dirt from all light switches.

Make sure that the light is turned off before using a dry cloth to wipe any light bulbs

Kitchen:

Clean the cupboards

Incredibly simple and easy to do, ensuring that all cupboards are cleaned with general purpose cleaner and a wipe down with a cloth is vital. 

Remember to cover inside and out; cupboard doors must also be cleaned. Follow this up with some multipurpose disinfectant on the inside of the cupboards, and wipe away.

Clean and disinfect countertops

Likewise, kitchen countertops should be disinfected.

Each type of surface has slightly different rules for cleaning to avoid damage in the process. Check out this article for guidance on how to clean your specific type.

With all of these surfaces clean and dry, the bulk of the kitchen is done! Time to move on to the individual appliances.

A simple guide to cleaning kitchen counters

Scrub the stove

To clean a gas stove, first you need to remove any grates and knobs (if possible) and leave them to soak in warm, soapy water. Then put a small amount of soap onto the sponge and dip in warm water, squeezing the majority out again. Now proceed to wipe / scrub away any stains, food or grease, reapplying the soap and re-wetting the sponge as necessary.

Rinse out your sponge until the water coming out of it is clear and clean, and proceed to wipe away the soap and grime on the stove top. Rinse the sponge as often as necessary to remove all but water from the stove top. Buff with a kitchen towel and use a scourer to scrub clean the grates and knobs. Dry off the components and place back on the stove.

An electric stove requires much the same treatment, with warm soapy water to scrub off grime, a clean sponge to wipe down, and then drying it off.

Clean overhead components

If a kitchen exhaust fan is present you need to clean both the mesh filter and the fan itself. To do this, first ensure that the fan is unplugged or the circuit in the breaker box which controls the fan is switched off. Next remove the mesh filters and pour boiling water over them. Scrub with a warm, soapy solution and leave to dry after rinsing out all residue.

Now mix 1 quart of warm water with 2 tablespoons of baking soda and 1/4 cup of ammonia. Use this to scrub the fan housing and blades, drying each segment as you go. Bear in mind that if this has not been done recently several repeats of this process may be required.

One complete, replace the filters and plug the fan back in, or turn on the circuit in the breaker box.

Make the sink shine

Sinks, drains, plug holes and taps should all be clean and clear. To do this, use a sponge with a solution of warm water and dish soap to remove marks or stains. Tougher patches may require all-purpose cleaner and rust can be removed by applying WD40, leaving for an hour, then rinsing.

To ensure clear drains, either use some drain unblocker or mix 1 cup of baking soda, 1 cup of salt and 1/4 cup cream of tartar. Pour 1/2 a cup of this mixture down the drain followed by a quart of boiling water.

Garbage disposals should be cleared by running ice cubes through them.

Bathroom(s):

Clean mirrors

Mirrors are relatively easy to clean; the key is to use clean microfiber cloths.

Apply warm water and then buff with two separate cloths. For those with more grime, make a warm, soapy water solution and apply with a sponge. Then apply warm water and buff with two separate microfiber cloths.

Clean the toilet

The exterior should be cleaned with warm, soapy water.

The toilet bowl can be cleaned by applying bleach (ensure the room is well ventilated) around the underneath of the rim. Once applied, scrub the interior with a toilet brush, removing all marks in the bowl and underneath the rim.

Rubber gloves should be worn when dealing with the toilet

Clean the bathing equipment

Although tiles have already been covered, it’s time to move on to the shower and bath themselves.

First off, remove the shower head and tie it inside a sandwich bag 1/4 full of white vinegar. Leave it to soak for 15 minutes, then rinse off, dry and replace. Use a toothpick to get into the crevices in the shower hose and controlling unit (e.g: the plastic casing or taps).

Baths are to be cleaned with a half-water, half-white vinegar solution sprayed over the entire surface. Leave it to stand for 15 minutes, then wipe away with a sponge, rinse with water and wipe again with a clean cloth.

If tougher stains are present apply baking soda before praying with the vinegar solution, leave for a few minutes and then scrub until a paste forms. Then carry on with the previous method by leaving it for 15 minutes.

Clean any shower screens

All shower screens can be cleaned by using a dedicated bathroom cleaner and a clean sponge. After this, rinse the screen and wipe down with a squeegee. If you need to buff the door (for example, if the glass is covered in watermarks), do so with a microfiber cloth and a solution of white vinegar and water.

Shower curtains need to be taken off their rail and put in a washing machine with two bath towels (to prevent crinkling or damage). Add 1/2 cup of baking soda to your detergent during the wash cycle and 1/2 cup white vinegar during the rinse cycle.

Hang to drip dry, and remember to clean the curtain rail with bathroom cleaner before re-hanging.

Exterior:

Wash outside windows

You have the option here of either hiring a professional window cleaner or doing the task yourself. The Family Handyman provides a concise guide to cleaning windows if you wish to tackle it yourself. 

If you do decide to do it yourself, you will need:

  • A scrubber
  • A squeegee
  • A bucket
  • Dishwashing liquid
  • Hot water
  • A microfiber rag

Mix up some warm, soapy water and use the scrubber to apply. Once the entire pane has been wiped down, use the rag to wipe off any remaining suds.

Clear the garage

Ensure that the garage is swept and completely clear. Wash down the garage door with warm water and dish soap. You should also remove any oil stains in the garage, on the driveway or on the pavement outside the property.

To do this combine dish soap with baby oil in a 50/50 mix, and scrub into the area with a brush. Let it soak for 5 minutes before washing away, and if the stain persists repeat until it has gone.

Trim the garden

If you are responsible for garden care, you must ensure that you mow the grass and that there is no rubbish left on the site. Trim all edges and remove weeds where appropriate. Take this opportunity to also

Take this opportunity to also put out all rubbish bags accumulated during the cleaning process.

Clean the pool

If you are lucky enough to have a swimming pool on the property, it must be maintained in good condition. INYO Pools provides a fantastic guide for doing this, however, to summarize remember to:

  • 1

    Remove any leaves or debris
  • 2

    Scrub the walls of the pool
  • 3

    Clean the filter
  • 4

    Test the water pH (7.4-7.6 is ideal)

Final step:

Take photos

Take photos in order to prove that the house has been cleaned to a high standard.

Record a link to the photos in cloud storage (or copies of the photos themselves) using the form fields below.

Sources:

Take control of your workflows today.