Templates /
ISO Container Inspection Checklist

ISO Container Inspection Checklist

Run this checklist every month to make sure your shipping containers are in good condition
1
Introduction
2
Preparation:
3
Note container identification
4
Record ISO container inspection checklist details
5
Make sure the container is empty
6
Exterior checks:
7
Check the doors
8
Inspect the roadside of the container
9
Examine the front
10
Investigate the curbside of the container
11
Survey the roof
12
Review the bottom
13
Interior checks:
14
Check the container's floor
15
Inspect the roof
16
Examine the roadside
17
Investigate the front
18
Review the curbside
19
Summary:
20
Give your final verdict
21
Sources:
22
Related checklists:

Introduction

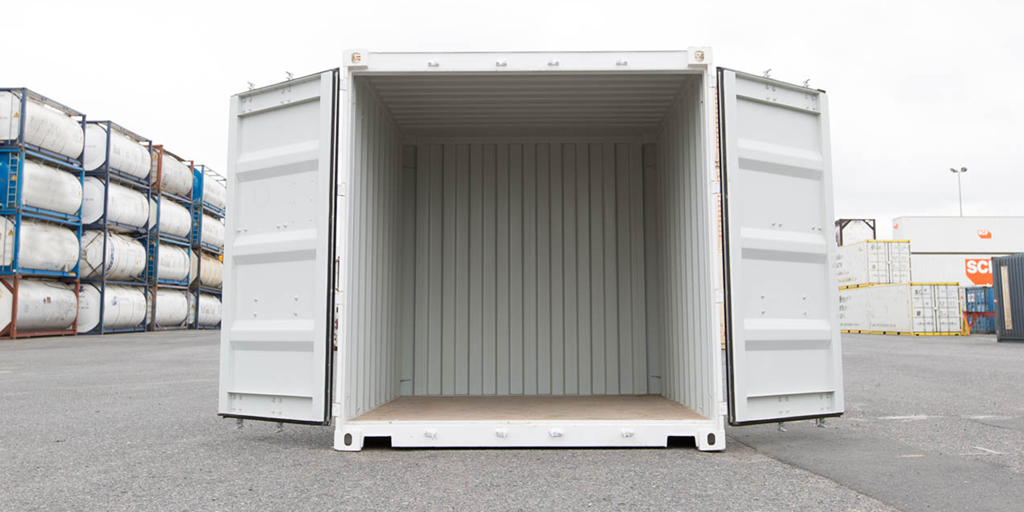
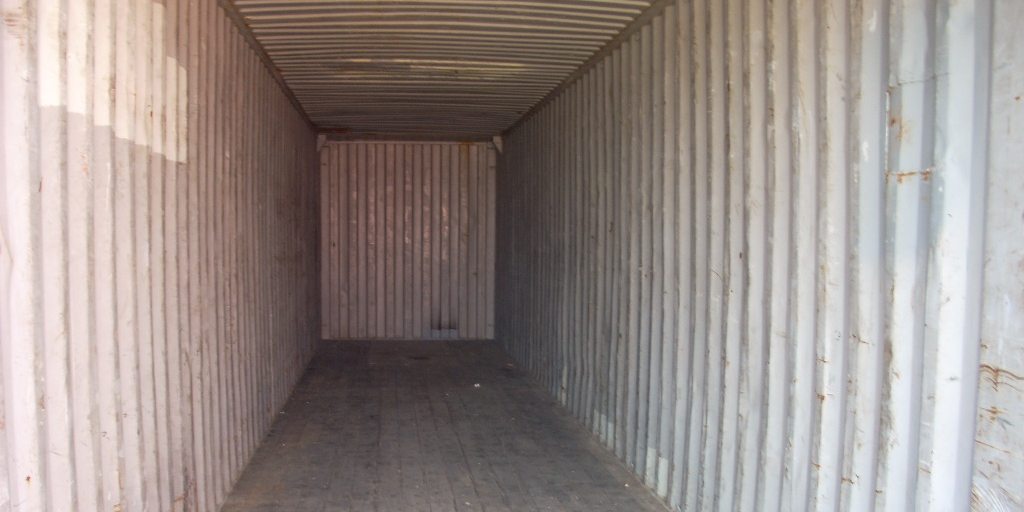
The last thing that any company wants is to pay for a product to be made and then have it destroyed in transit because the container gave way. As such, this ISO container inspection checklist should be run every month to prevent that from happening.

By taking you through every element of every side of your shipping containers, this checklist ensures that anyone can effectively assess the safety and quality of your shipping methods.

Not only that, but with space to record details such as the container ID and date of inspection, you’ll be able to easily view the inspection record of every container you own to make sure that your stock is safely housed during delivery.

So, what are you waiting for? Let’s get started.

Preparation:

Note container identification

First up in this ISO container inspection checklist you need to identify the container you’re examining. This will make it clear to any future reviews precisely which inspection was linked to which container.

Use the form field below to note this down.


Record ISO container inspection checklist details

Next you need to record the details of the inspection itself. This should include your own details, along with the dates of this inspection and the last one carried out on the container.

As with the previous step, record these using the form fields below.


Make sure the container is empty

The final stage before moving on to the actual inspection is to make sure that the container is empty.

It’s impossible to effectively inspect a container which still has stock in it, so be sure to arrange for alternative storage at least for while the container is being inspected.

If, at the end of this checklist, the container fails the inspection then you’ll need to arrange more permanent storage for the removed stock (such as a replacement container)

Exterior checks:

Check the doors

Now we come to the actual checks in the ISO container inspection checklist. First up is the exterior of the container, and so you need to start by checking the doors for any defects, be they minor or major.

Work through the sub-checklist below to inspect all elements of the door, and fill in the form fields to indicate minor or major defects and damage.

  • 1

    CSC plate
  • 2

    Stencils
  • 3

    ISO numbers
  • 4

    Corner posts
  • 5

    Corner fittings
  • 6

    Door header
  • 7

    Door sill
  • 8

    Door fittings
  • 9

    Door lining
  • 10

    Door gaskets
  • 11

    Rods
  • 12

    Rod retainers
  • 13

    Cams
  • 14

    Cam retainers
  • 15

    J-bars
  • 16

    Rain guttering
  • 17

    Placard holder


Inspect the roadside of the container

Next you need to inspect the roadside of the container, this being the side to the left of the doors as you face them.

As with the doors of the container, use the sub-checklist to track your progress and the form fields to note any defects.

  • 1

    ISO number
  • 2

    Corner fittings
  • 3

    Corner posts
  • 4

    Top side rail
  • 5

    Bottom side rail
  • 6

    Forklift pockets
  • 7

    Panel
  • 8

    Placard holder


Examine the front

Examine the front of the container next – the opposite side to the doors. The same method applies, and will continue to do so for the rest of this checklist; follow the sub-checklist and make notes in the form fields.

  • 1

    ISO number
  • 2

    Corner fittings
  • 3

    Corner posts
  • 4

    Top end rail
  • 5

    Bottom end rail
  • 6

    Panel
  • 7

    Placard holder


Investigate the curbside of the container

The curbside of the container is to the right of the doors as you face them and is next up in your inspection.

Investigate for any defects and damage as before, using the sub-checklist and form fields below.

  • 1

    ISO number
  • 2

    Corner fittings
  • 3

    Corner posts
  • 4

    Top side rail
  • 5

    Bottom side rail
  • 6

    Forklift pockets
  • 7

    Panel
  • 8

    Placard holder


Survey the roof

Now it’s time to survey the roof of the container to look for anything that could pose a problem when using it.

Again, follow the sub-checklist below to make sure that you don’t forget to check a vital element. and note any findings using the form fields at the end of this task.

  • 1

    ISO numbers
  • 2

    Corner fittings
  • 3

    Top end rail
  • 4

    Door header
  • 5

    Top side rails
  • 6

    Roof panel


Review the bottom

Rounding off the exterior checks in this ISO container inspection checklist is the task of examining the bottom of the container.

Obviously this will be impossible if the container is sitting right-side-up, and so you’ll have to turn the container over in order to carry out this step. Make sure that the appropriate equipment is used and that the container is secure before performing the checks.

As with previous steps, use the sub-checklist to record your progress and the form fields to note any defects.

  • 1

    Corner fittings
  • 2

    Bottom end rail
  • 3

    Bottom side rails
  • 4

    Door sill
  • 5

    Cross members
  • 6

    Forklift tunnels


Interior checks:

Check the container’s floor

Moving on to the interior section of the ISO container inspection checklist, you first need to examine the floor for defects.

Make sure that the floor of the container is not facing down when you do this, since the easiest way to check for holes is to look for areas where light is leaking through.

Work through the sub-checklist and form fields below as you examine it. Only once you’ve finished this stage of the inspection should you exit the container and turn it right-side-up once more.

  • 1

    Flooring
  • 2

    Floor fasteners
  • 3

    Threshold plate
  • 4

    Tie-down devices
  • 5

    Light leaks


Inspect the roof

Next you need to examine the roof of the interior for damage and defects.

As with all previous tasks, use the sub-checklist and form fields below to make sure that you perform an effective inspection.

  • 1

    Roof panel
  • 2

    Roof bows
  • 3

    Light leaks


Examine the roadside

Only a few more steps to go! Now you need to examine the interior of the roadside of the container. Remember, this is the left side of the container as you look through the doors.

As usual, work through the sub-checklist and form fields to achieve a thorough inspection.

  • 1

    Plywood lining
  • 2

    Kick rail
  • 3

    Vertical plate
  • 4

    Horizontal rail
  • 5

    Light leak


Investigate the front

Now you need to investigate the front of the interior. Remember that this is the opposite side of the container to the doors.

The sub-checklist and form fields below should be followed and filled in to give a complete inspection.

  • 1

    Plywood lining
  • 2

    Kick plate
  • 3

    Load bearing surfaces
  • 4

    Light leaks


Review the curbside

The final checks that you need to perform are to the curbside interior. This is the right side of the container if you’re looking through the doors towards the front.

One last time, use the sub-checklist and form fields to search for defects and damage and note your findings.

  • 1

    Plywood lining
  • 2

    Kick plate
  • 3

    Vertical rail
  • 4

    Horizontal rail
  • 5

    Light leak


Summary:

Give your final verdict

The final stage in the ISO container inspection checklist is to give your final pass/fail verdict. Do so using the form field below, along with providing a summary of the inspection.

If you’re unsure as to whether the container has passed or failed, a rough guide to use is that any major defects immediately fail the container. Depending on their severity, having more than 5 minor defects indicates that the container is at least in need of repair, and so should be failed.


Congratulations! You’ve completed the ISO container inspection checklist. Now you can move on to the next container and repeat the process.

Sources:

Take control of your workflows today.