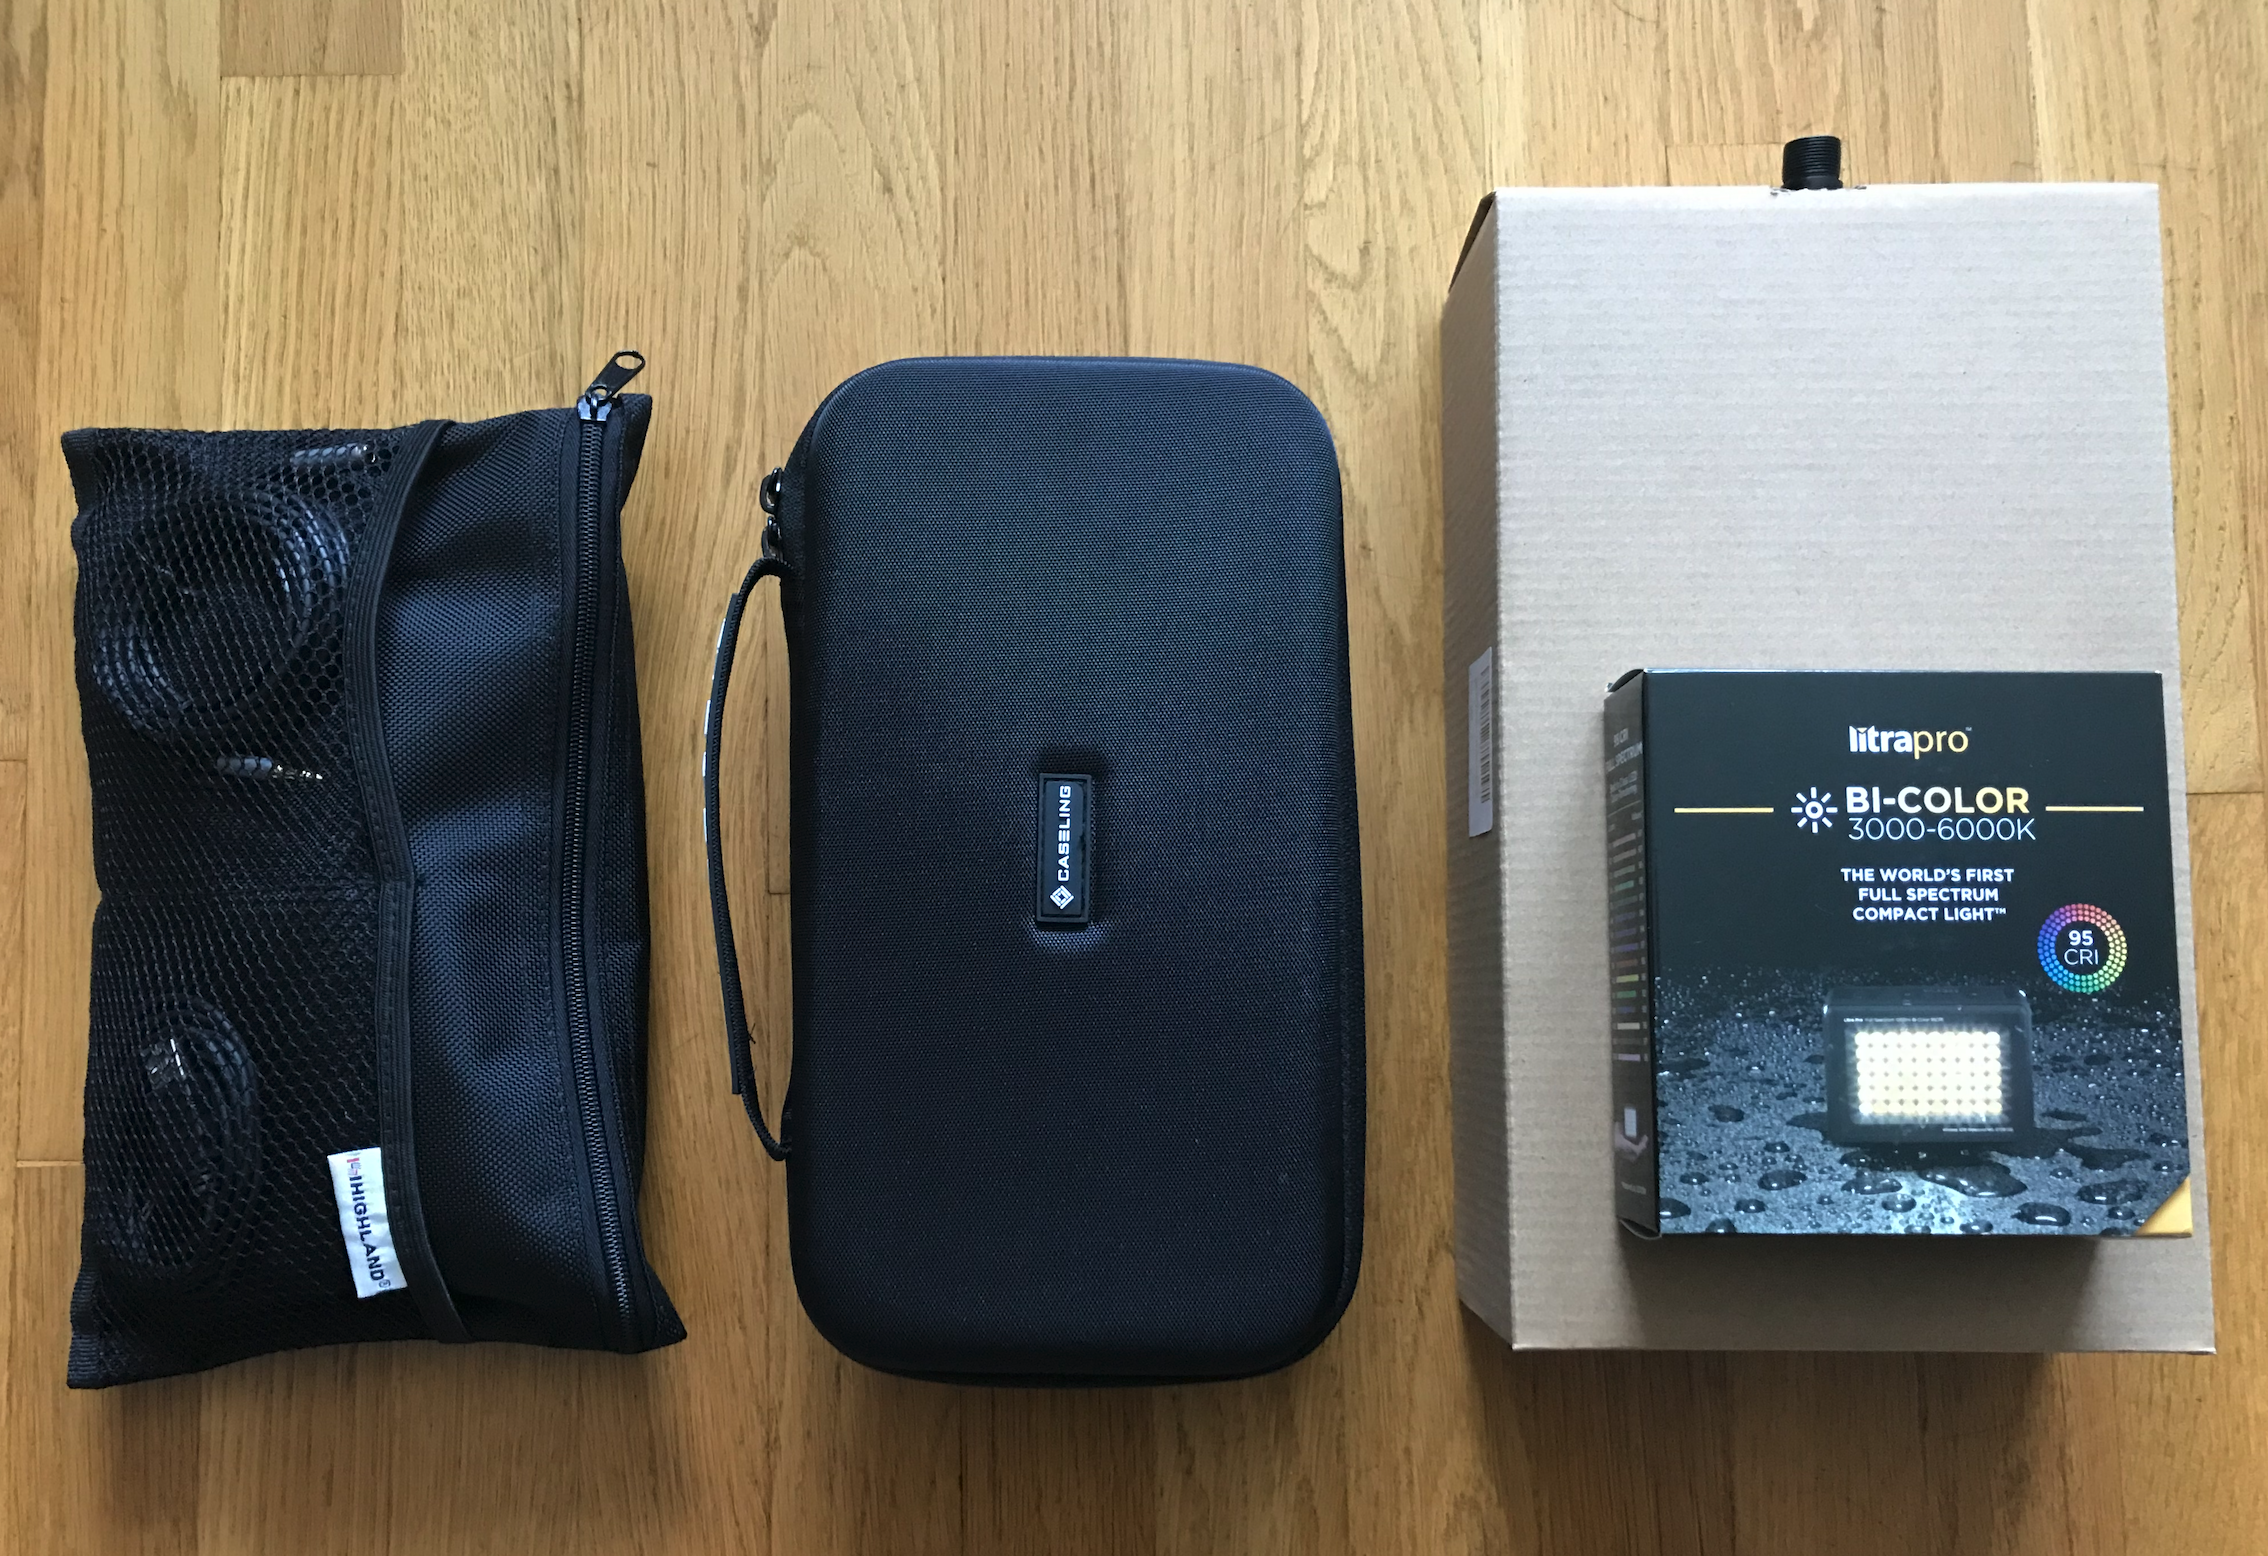
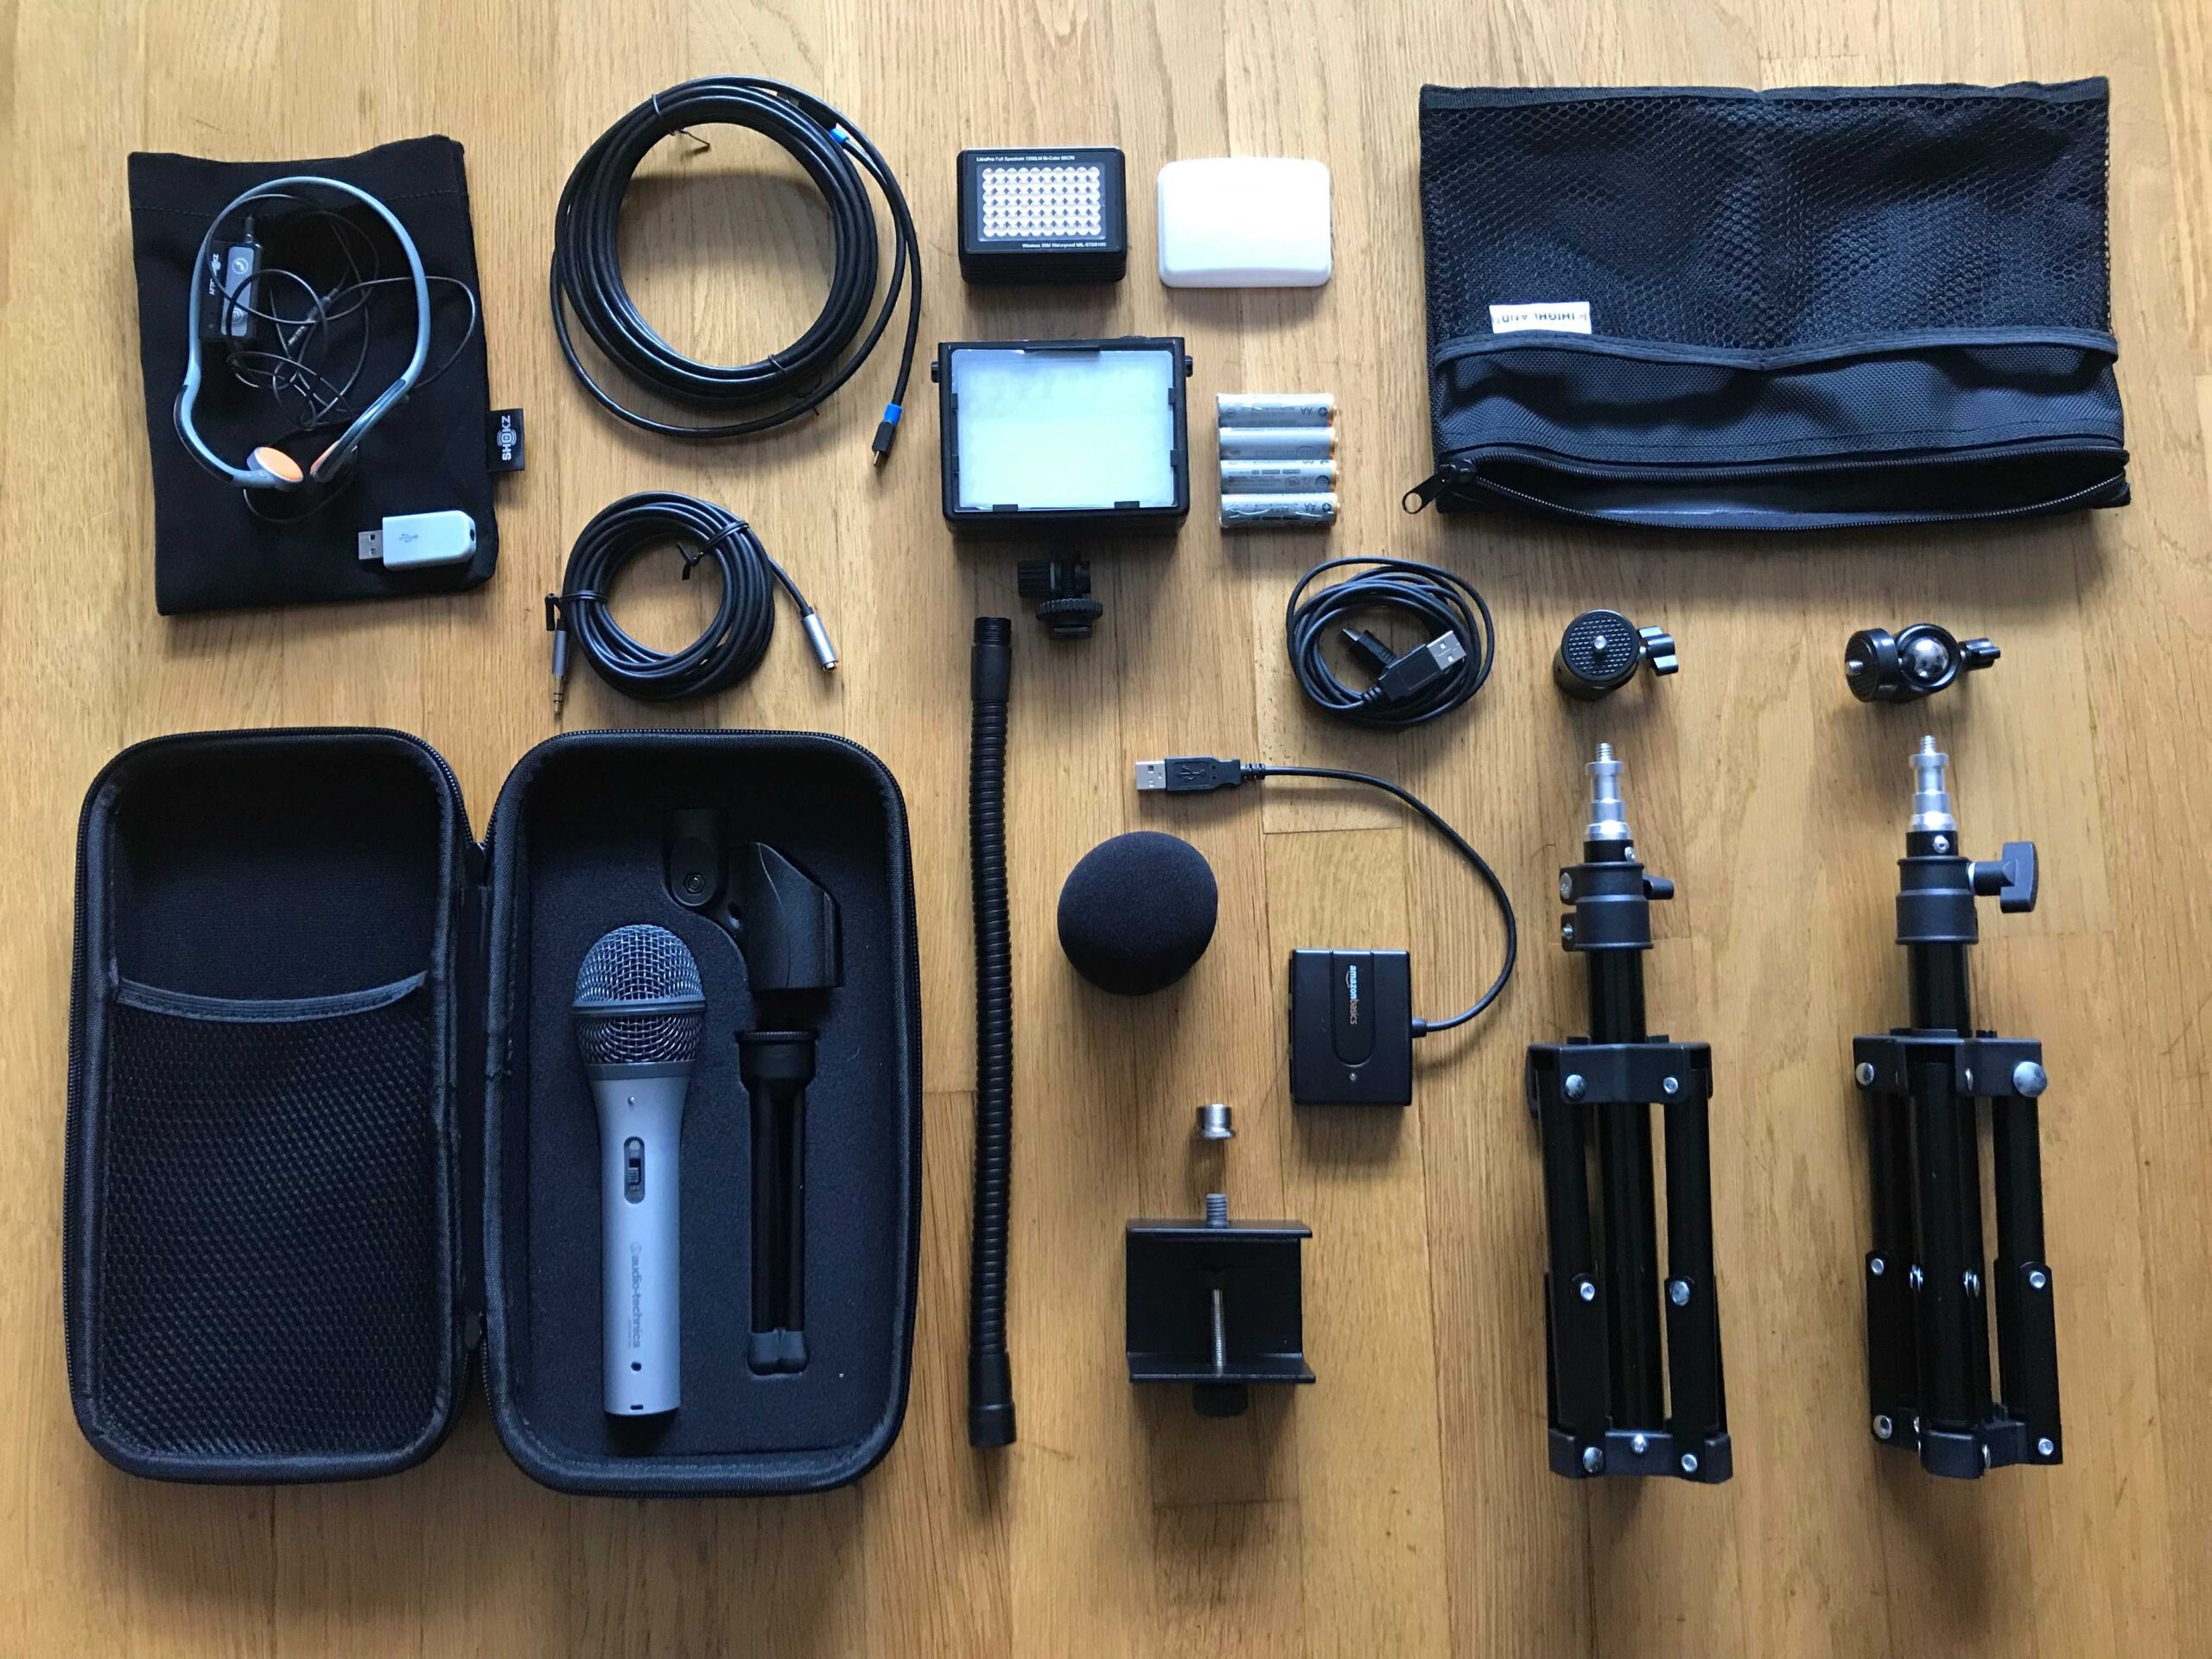
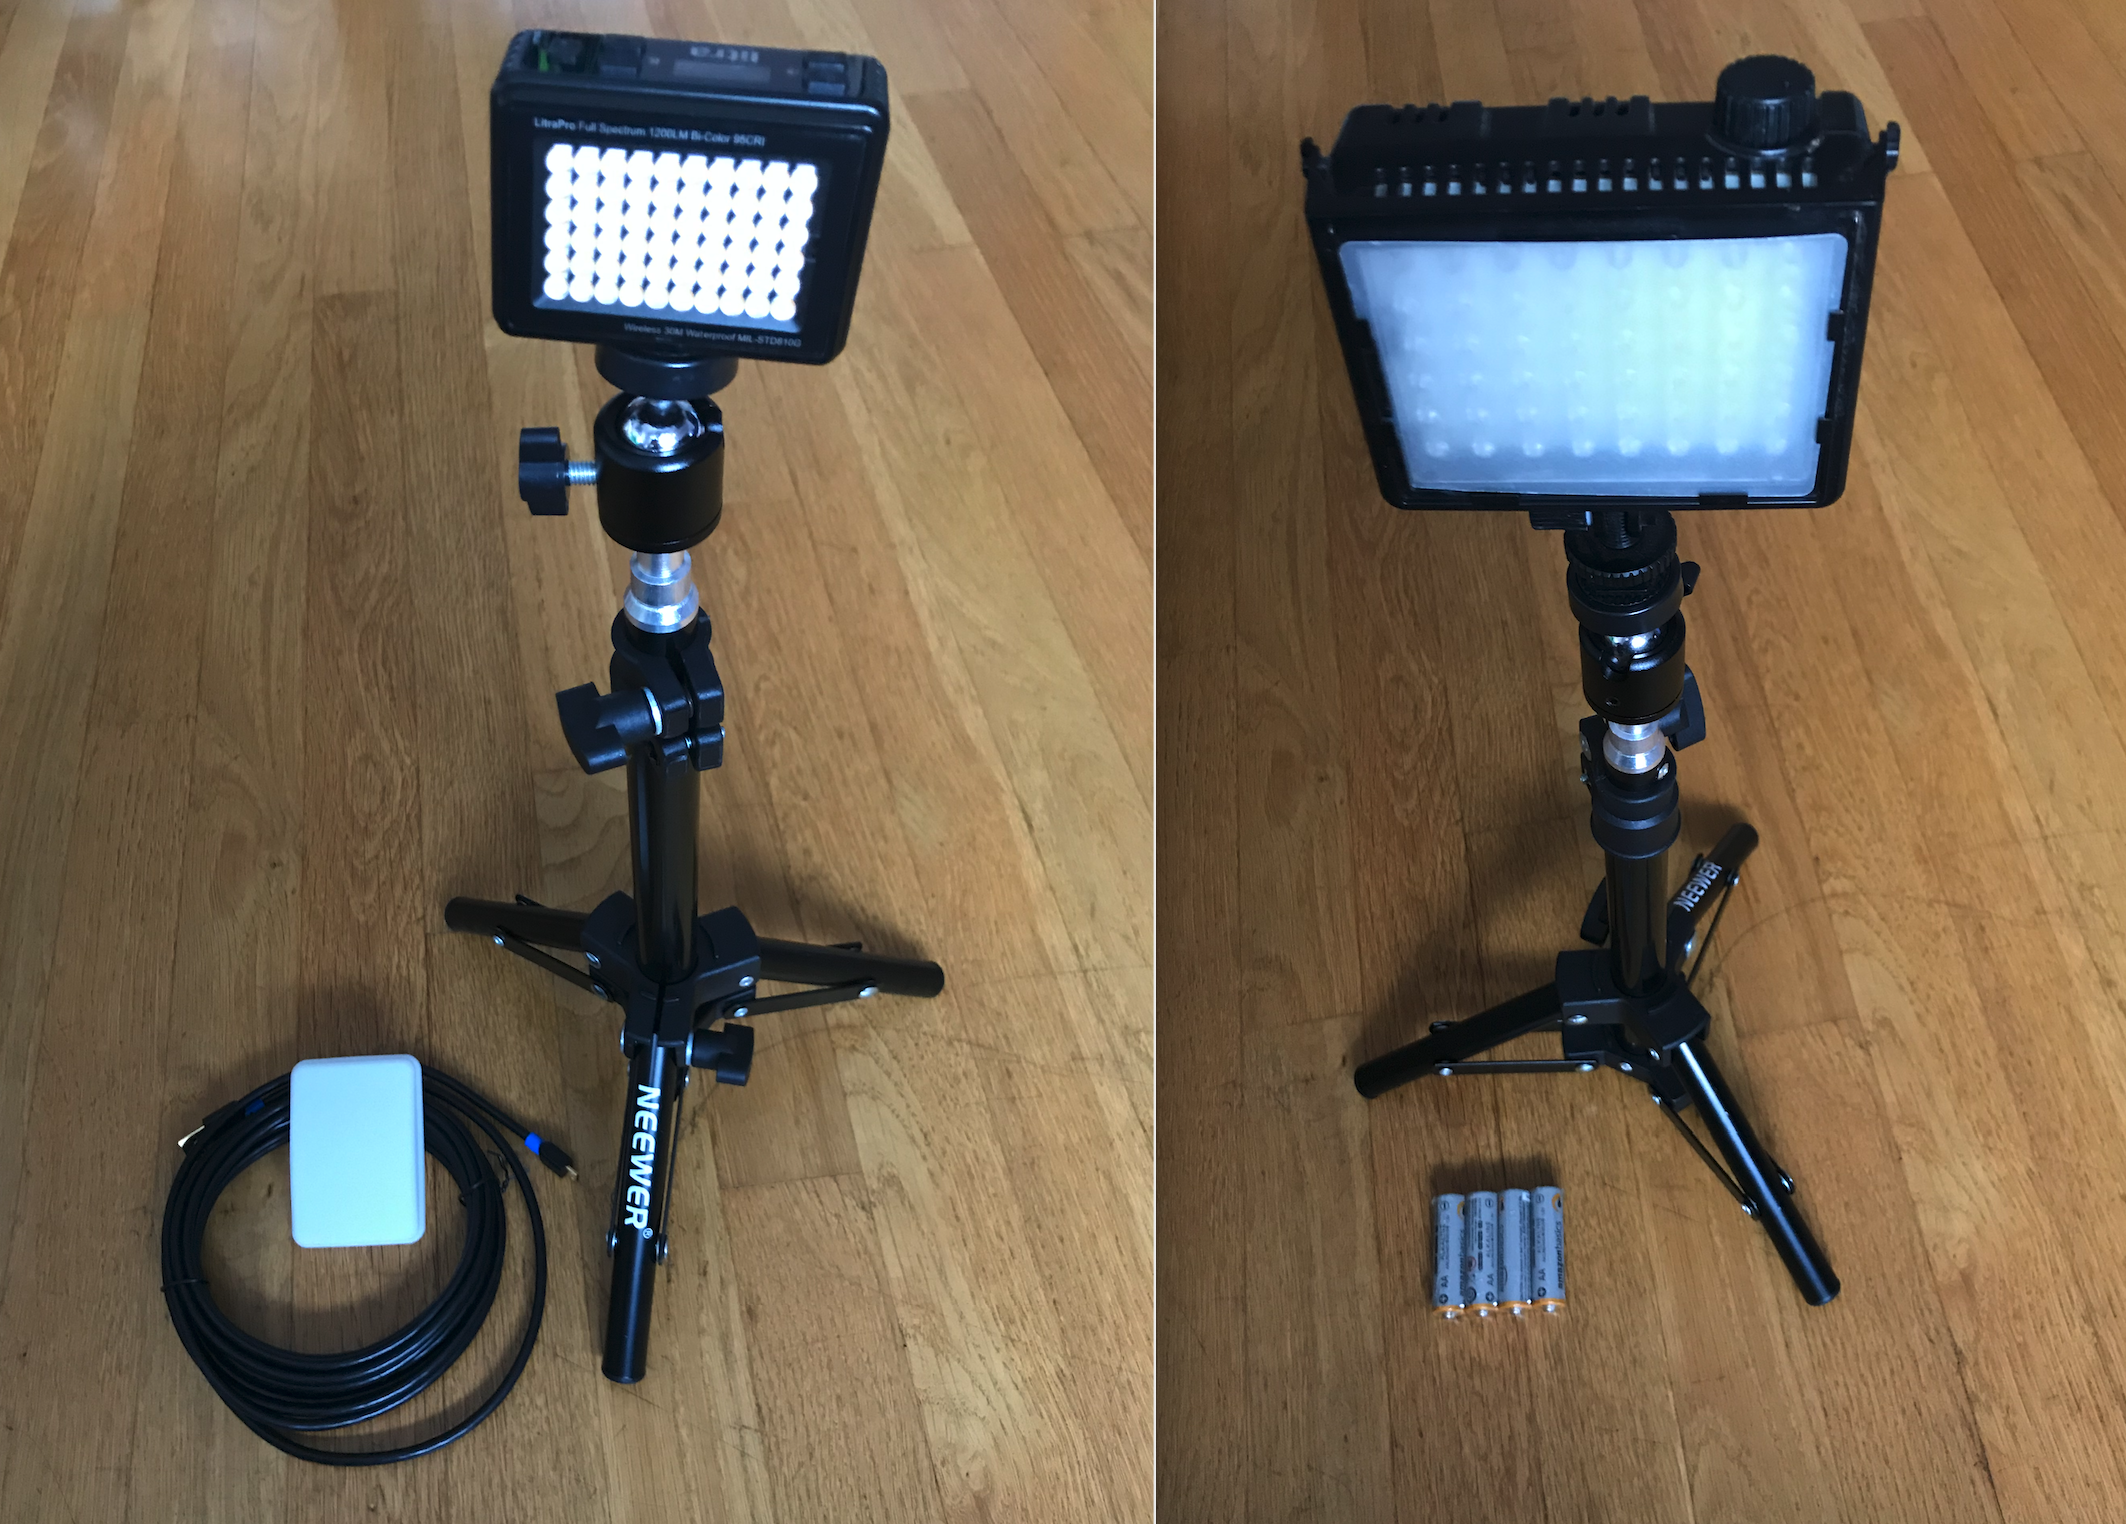
We've included two different lights along with several options for mounting. The typical setup is to assemble both the LitePanel & Mini LitraPro and mount them to the collapsable desktop tripods. (In some cases, depending on your environment and surroundings, we may have included a C-clamp with a Magic Arm as an alternative option.) Simply install the four AA batteries into the LitePanel (the larger of the two).
The smaller LitraPro light should be fully charged which will last from 90min (on Max) to 10h (on level 1). This can charged up before filming. Simply plug it into to the wall using the provided USB power adapter and the long 15" cable. (If longer filming is required, the light can operate while being plugged in to a power outlet and the cable.)
Both lights have a dimmer function to adjust the brightness, while the Mini LitraPro also has a color temperature control option.
NOTE: Try and keep this light off when not in use to preserve the batteries.
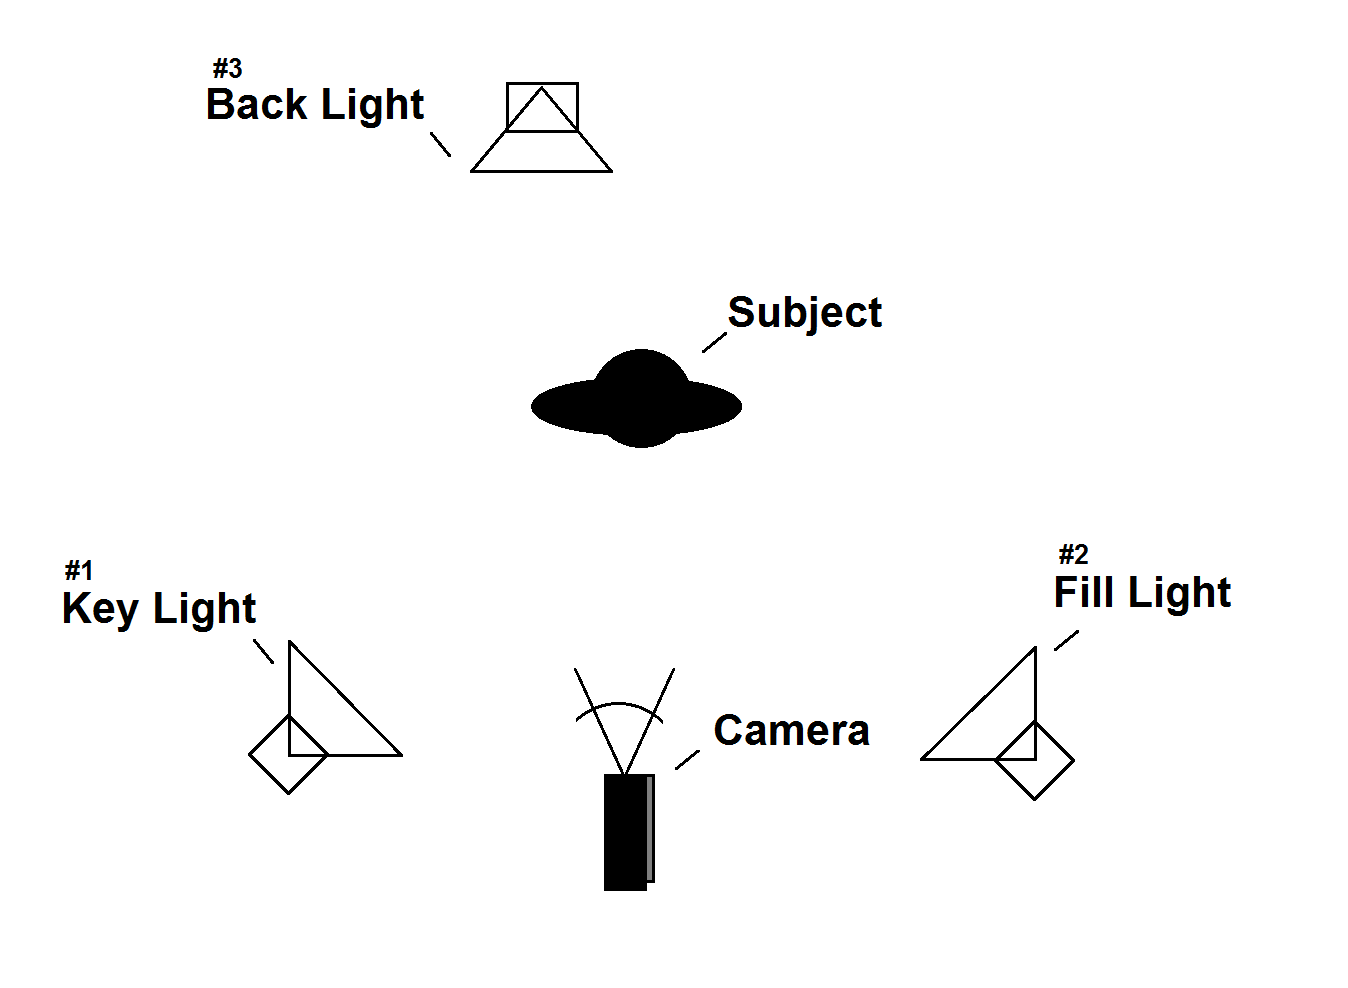
The above diagram shows the configuration for a standard 3 point lighting setup. Although we've only provided two lights (key and fill), most people usually have some other light source they can use. This could be a lamp, overhead light, etc.
We can walk you through the exact placement during the tech test.
The primary thing to know is that the LitraPro (the smaller of the two) is usually setup as the Key Light, while the larger LitePanel is the Fill Light.
In most cases, your laptop will act as the camera (unless you were provided with a camera in your interview kit).