Go to brew.sh and follow the instructions for Mac
Go to linuxbrew.sh and follow the instructions for Linux
Go to brew.sh and follow the instructions for Mac
Go to linuxbrew.sh and follow the instructions for Linux
brew will probably install the latest version of postgresql, but it's preferable to have the same version as on production to avoid issues with syntax incompatibility. Current version on the production server is 9.3.
From the Terminal app:
brew install postgresql
brew services start postgresql
createdb USERNAME
psql
Troubleshooting. In some cases, there is might be an issue when starting postgresql:
sh: 1: list: not found
Error: Failure while executing:
load -w /home/user/Library/LaunchAgents/homebrew.mxcl.postgresql.plist
This is a known issue and it can be solved using this solution.
Download and run the Windows installer.
Choose the default locations for program and data files.
Choose the default port number.
After installation is complete, open Windows Services and verify that the PostgreSQL service is running.
Use pgAdmin to connect to the database server and verify its operation.
From the Terminal app:
psql -c "create user process_street with superuser"
If you are already in psql
create user process_street with superuser;
From the Terminal:
sudo -i -u postgres
createuser --interactive (name same as above)
Launch pgAdmin.
Right click on the local development server and select Connect.
Enter the password for the postgres superuser.
Right click Login Roles and select New Login Role.
Using the database credentials defined in environment variables, define a new database login.
Postico is a PostgreSQL client for mac. It makes it a lot easier to navigate SQL commands and see the database.
sudo -i -u postgres
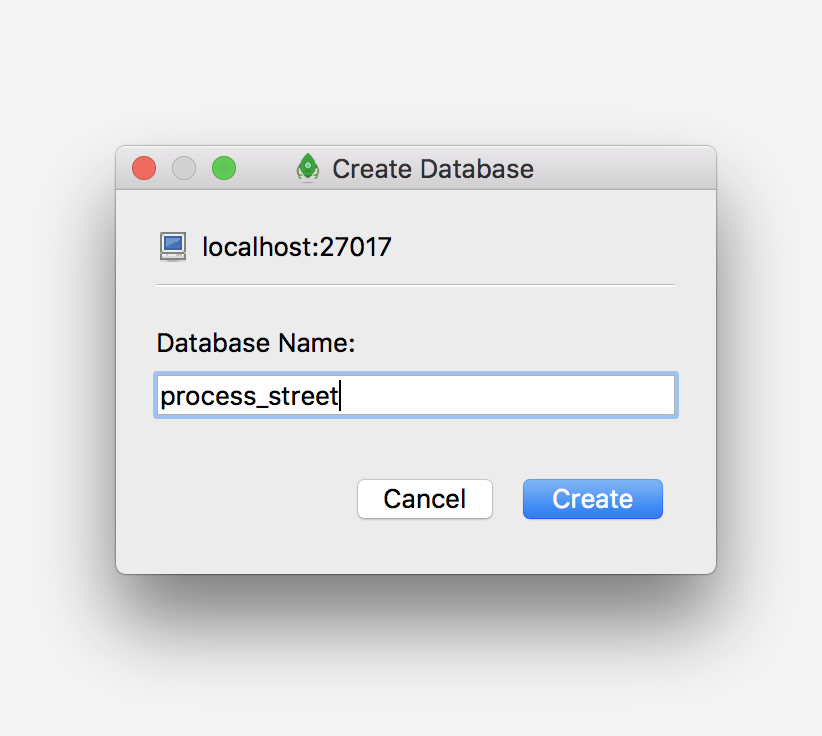
createdb process_street
To create the local database:
psql -U process_street -c "create database process_street"
or:
create database process_street;
You will need to add extensions if you don't do the database dump:
CREATE EXTENSION IF NOT EXISTS "ltree";
CREATE EXTENSION IF NOT EXISTS "uuid-ossp";
CREATE EXTENSION IF NOT EXISTS "hstore";
From the Terminal app:
brew install scala
brew install sbt
http://www.scala-sbt.org/index.html
Make sure Java is installed and up to date:
scala: Java 1.8+ is required to install this formula.JavaRequirement unsatisfied!
You can install with Homebrew Cask:
brew cask install java
Ensure that the GitHub Windows Desktop app is installed on your computer.
Visit the process-street repository page in GitHub and use the Clone in Desktop button to initiate cloning.
I add these to my .bash_profile file in my home directory.
nano .bash_profile
# App
export APP_NAME='Process Street (Development)'
export APP_SECRET='XXX'
export APP_STAGE=dev

# PostgreSQL
# ...
The most manageable way to set the required environment variables is within a batch file that is used to launch the command window that will host compiling and running the process-street server:
REM App
SET APP_NAME='Process Street (Development)'
SET APP_SECRET='XXX'
SET APP_STAGE=dev

... define other environment variables, as above ...

CD "process-street"

cmd.exe /k
sudo nano /etc/hosts
It should look something like this:
127.0.0.1 localhost app-dev.process.st api-dev.process.st
::1 localhost app-dev.process.st api-dev.process.st
On Windows, hosts entries are stored in the following file:
C:WindowsSystem32driversetchosts
Entries must be created on separate lines, with each IP addresses and its alias separated by at least one space character:
127.0.0.1 app-dev.process.st
127.0.0.1 api-dev.process.st
::1 app-dev.process.st
::1 api-dev.process.st
From within the process-street directory, start the server with this. If you just set-up your environment variables, you need to open a new terminal window and run:
sbt ~run
Then, confirm that it works by going to http://api-dev.process.st:9000.
Here are a few troubleshooting steps:

If your computer accidentally shuts down and you can't connect to postgres:
You need to remove the PID file
rm /usr/local/var/postgres/postmaster.pid
and then run postgres again:
brew services start postgresql
brew install node
If you use brew, this will also install npm.
Download and execute the Node.js Windows installer, which includes both Node.js and NPM.
Ensure that the GitHub Windows Desktop app is installed on your computer.
Visit the front-street repository page in GitHub and use the Clone in Desktop button to initiate cloning.
npm install -g grunt
npm install -g grunt-cli
npm install -g bower
bower install
brew install libsass
brew install sassc
npm install -g grunt-sass
First Time in front-street:
grunt server
If you get: Fatal error: Unable to find local grunt. Then run:
npm install
brew install mongo
brew services start mongodb
Then following the instructions the Brew gives about how to make it auto-launch, or make sure to start it again if mongodb was closed accidentally.
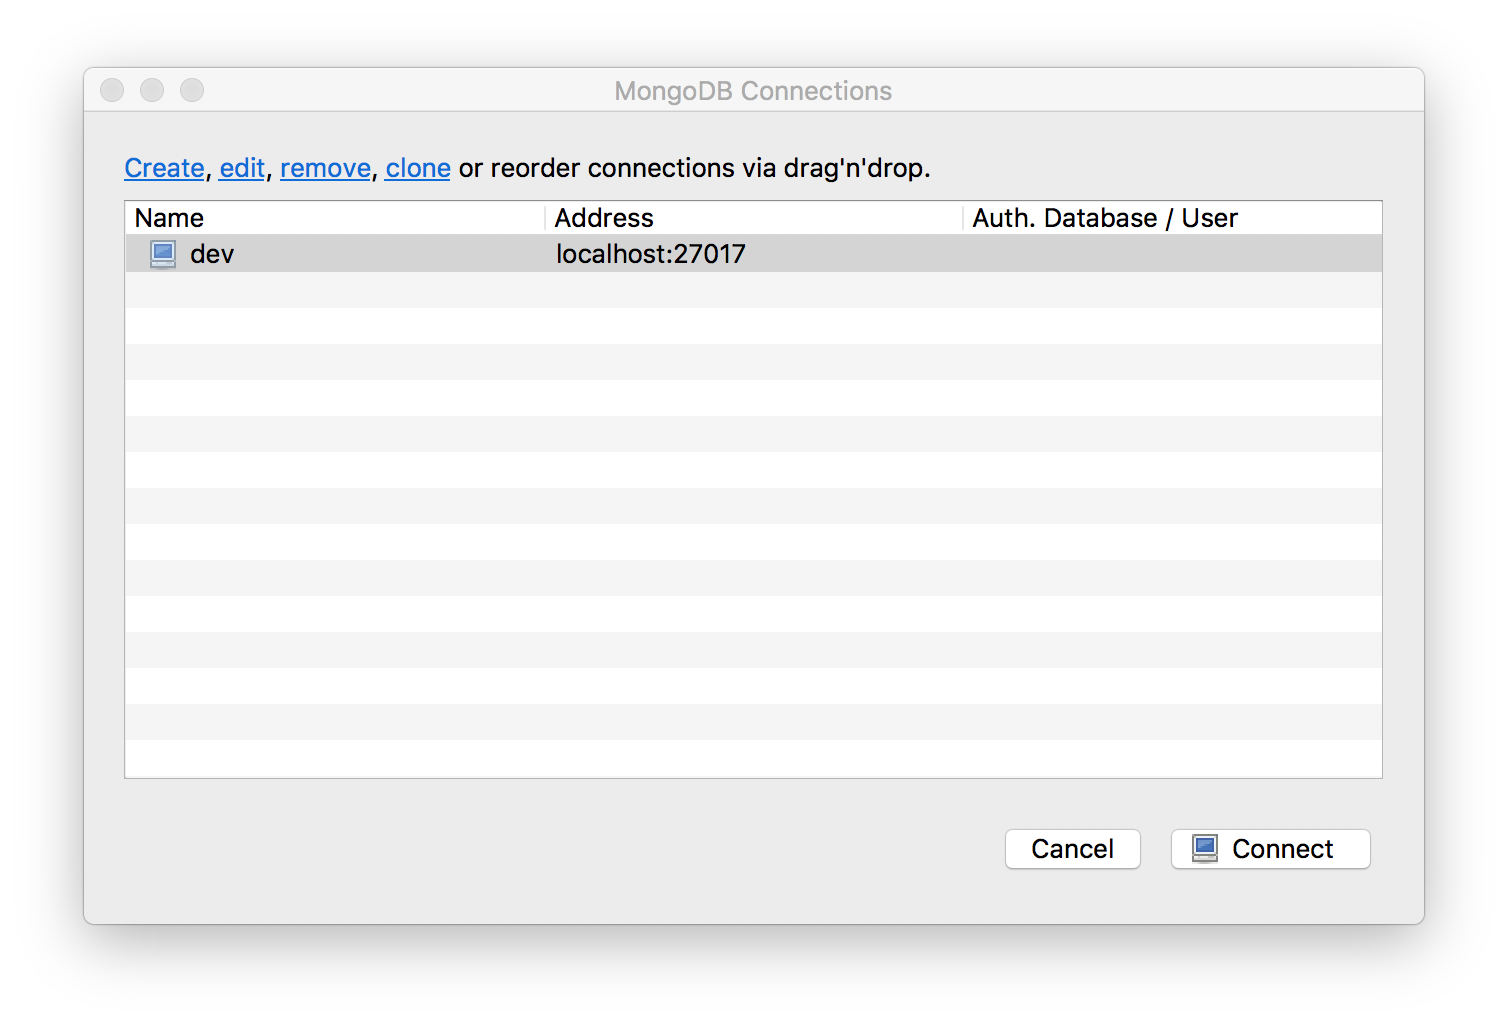
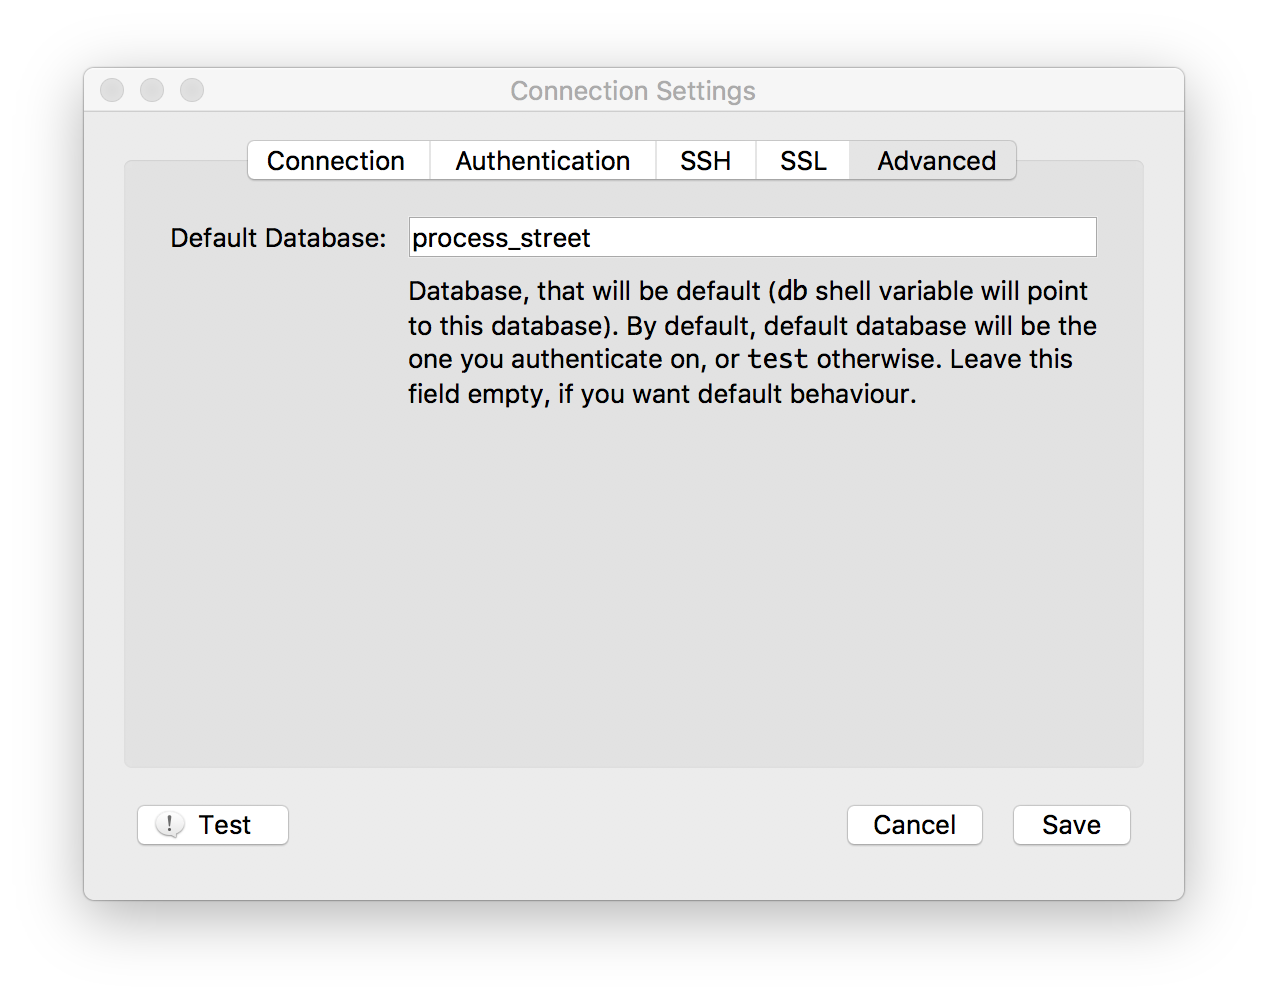
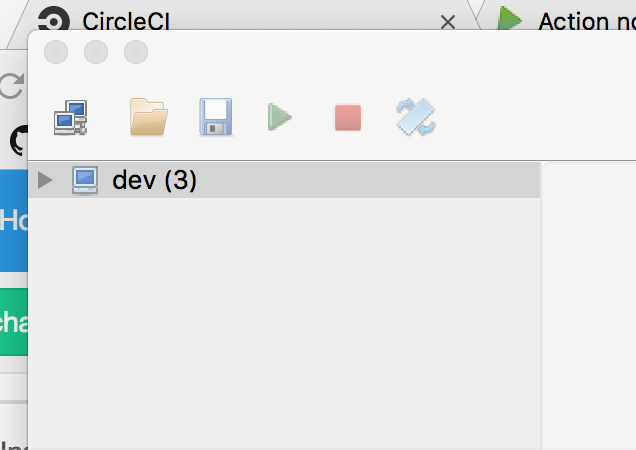
This is the best GUI tool we've found so far. Get it here:

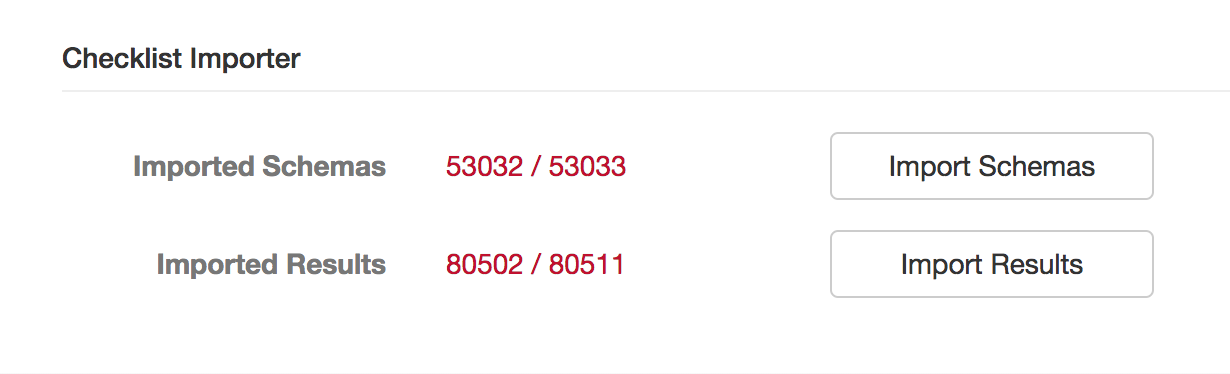
Go to the Developer Console and click over to the Mongo tab.
Click "Import Schemas" first and wait for it to complete.
Click "Import Results" next and wait for it to complete.
Presto! Overview should work now.