Templates /
Software Debugging Process

Software Debugging Process

Run this checklist every time you need to correct a known bug or error
1
Introduction
2
Preparation:
3
Take a look at the initial report
4
Log in to your code repository
5
Navigate to your bug fix fork
6
Create a new branch
7
Reproducing the Issue:
8
Replicate the branch's conditions
9
Reproduce the bug
10
Finding the Bug:
11
Insert initial breakpoints
12
Analyze your code with a debugger
13
Deploying Your Fix:
14
Write your solution
15
Make a pull request
16
Sources:
17
Relevant Checklists:

Introduction

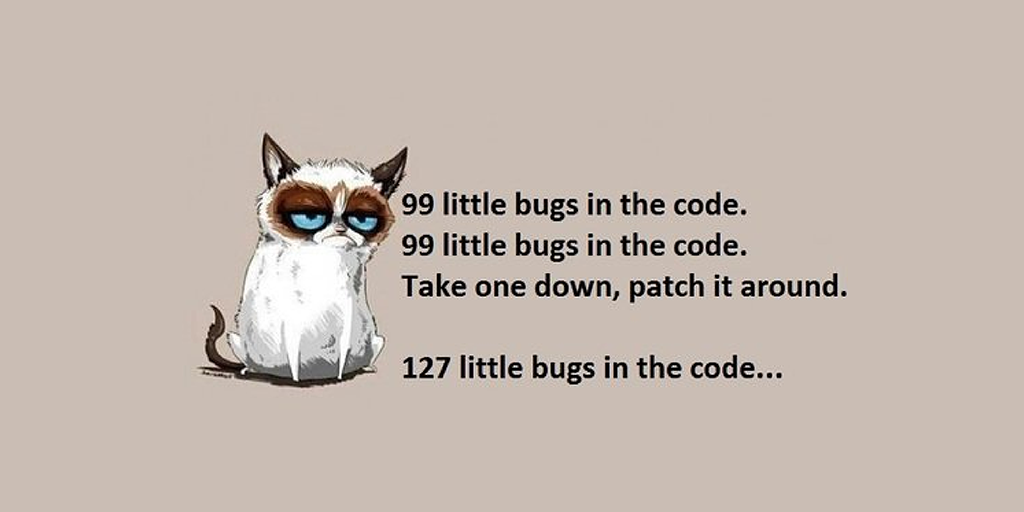
From being unable to login to an entire rocket going up in flames, software bugs can cause problems which nobody wants to deal with. When coupled with the fact the bugs will always be a problem, the entire software debugging process can seem daunting or even a little futile.

… mistakes are inevitable… good programmers make cheaper mistakes in order to avoid making more expensive ones” – Yegor Bugayenko

That’s why we’ve come up with this software debugging process; big or small, use this process to solve your bugs step-by-step. From reproducing and breaking down the issue to analyzing, solving and publishing the fix, read on to go through every step you’ll need to debug your software!

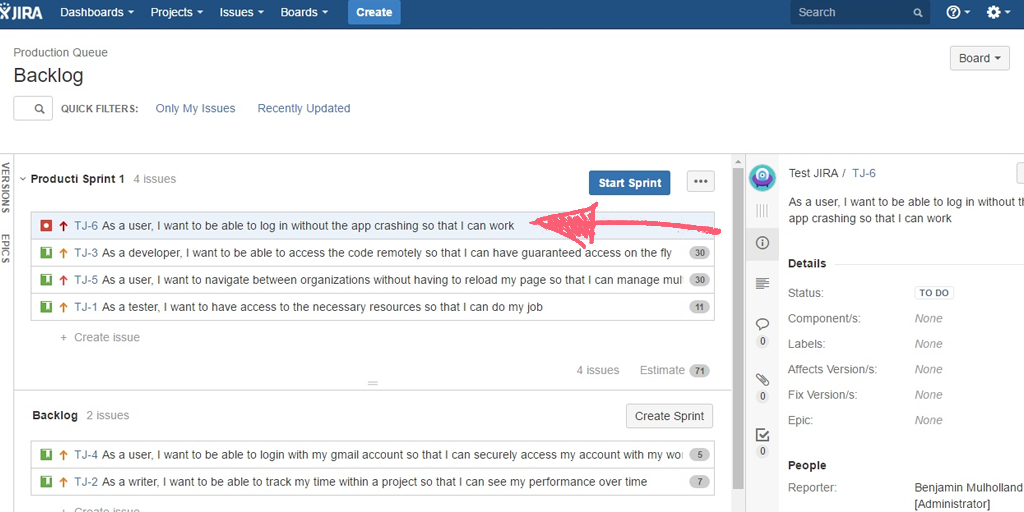
Note that we have assumed you are working on a bug assigned within a sprint, ergo you should already have a standardized user story with some basic information to go off.

Let’s get bug swatting!

Preparation:

Take a look at the initial report

This goes without saying, but in order to fix a bug, you first need to have some clue of what the problem is. 

If set up correctly, use the form fields below to see the issue’s ID, title and description instantly.


Alternatively, go into your project management software and take a look at the user story for the bug report.

Pay attention to any potentially relevant context or attachments (such as screenshots of the issue, or any detailed description of the topic).

Log in to your code repository

Now that you have a rough idea of what is going wrong, you’ll need to log in to your code repository in order to get a look at the offending code.

Whether you’re using GitHub, Bitbucket or ProjectLocker, log into your account and navigate to the relevant project.

Create a new branch

The final stage of preparation is to create a branch of the fork to work on your specific bug.This helps when reviewing your bug fixes, as all fixes can be viewed as separate branches, rather than one huge clump.

Again, the repo you are using will alter this step, but we’ll use GitHub as a typical example. All you have to do is to navigate to your repo’s branch selector menu and type in the name of your new branch. When the branch is not detected through a general search, you will be given the option of creating a new one.

Reproducing the Issue:

Replicate the branch’s conditions

The first active step in debugging your work is reproducing the problem, as this will allow you to focus down on the exact piece of code which is causing the problem. To this end, you need to combine what you have seen from the bug report with your new branch.

Essentially, take any conditions that were mentioned in the original bug report and apply them to the branch. This could be pretty much anything, so work with whatever information you have been given. For example, you could be entering conditions such as:

  • A particular user attempting to log in
  • Any detailed software configurations
  • Widgets being used
  • Any set action being carried out

Obviously, there are hundreds and hundreds of potential conditions, but your user story should give you enough concise information that specifying these will not be an issue.

Reproduce the bug

Now that you’ve entered the relevant variables, it’s time to run your branch and reproduce the bug which has been reported. This will allow you to begin focusing down on the section of code which is causing the issue.

Make sure that you note down your method in the form field below, which can be linked back to the original user story to automatically update it.


Whilst this step is as easy as running your branch of code with the new conditions and checking for the presence of the bug, its success will entirely depend on the conditions of the previous step – or rather, their validity. During this step, it is also worth noting down any extra bugs you find in a new user story within your project management app.

If the reported bug does not make an appearance, chances are that you need to go back in the software debugging process and alter the conditions of the branch.

Finding the Bug:

Insert initial breakpoints

There’s no sense in analyzing your entire code repository in order to find a single bug; the sheer number of variables would be unmanageable. Instead, you need to enter breakpoints into your branch so that you can pause and review manageable chunks of data.

Once again, the method for entering these breakpoints varies, depending on the software and code structure you are using. To use Chrome Developer Tools as an example, you can either click the number of the line of code where you wish the breakpoint to be, or you can type the debugger keyword into your code itself.

The location of your breakpoints is pretty much up to you, and will vary greatly depending on the bug in question. If you are certain that a particular feature is causing the issue, a good practice would be to isolate that feature’s code with breakpoints.

Analyze your code with a debugger

You’ve reproduced your bug successfully and have breakpoints to split up your data into manageable chunks. Now it’s time to break out the debugger itself!

Run through the code with your choice of debugger, examining the variables every step of the way. Line for line (yes, it’s tedious, but it works) verify what the program is doing and flag any segments which are not playing along.

There are several techniques which can make this analysis easier, such as:

  • Talking to a rubber duck (explaining your code out loud until you cannot explain what a line does; this will likely be a source of the bug)
  • Writing technical specifications (examining what should happen against what actually occurs)
  • Using test cases (running smaller segments of suspicious code with sets of test variables to check functionality)

Remember to cordon off sections of your code with breakpoints as you go along; if you find that a section is working correctlyput a breakpoint to prevent yourself going over that same segment again.

Keep going until you’ve found the precise location of the errant code which needs fixing!

Deploying Your Fix:

Write your solution

Once you have the bug isolated, you can actually work on correcting it! Import your code branch into a text editor of your choice, then get to work on your solution.

Remember to use the form field below to note your fix down!

Remember that any changes you make are not final; they still need to be checked and put through your software deployment method before going live. Nevertheless, be as thorough as humanly possible – any error you make here will only require your attention later, when the resulting bug from it is reported and slotted into the next sprint.

Once you have completed your fix, note it in the form field below.

Make a pull request

Once you have identified the bug and drafted the most valid solution, the final step in your software debugging process is to deploy your fix. Remember to record the date of this action in the form field below.

To this end, you need to save the newly corrected branch of code into the fork repo and submit a pull request. Note that this may not be the last you see of this bug, as if your code does not pass testing it will just be returned to your pile, so keep an eye out for that.

Congratulations on completing the software debugging process! Give yourself a pat on the back (or a beer after work) and remember that every time you run this process it will go quicker. In no time at all you’ll be flying through the steps, wondering why bugs are even still a problem!

Sources:

Relevant Checklists:

Take control of your workflows today.