Go to "Get paid" tab on the left-hand side. Click the "Request a payment"
There are lists of verifications you need to submit before you can request payment.
First, click the "Submit" on Business Profile
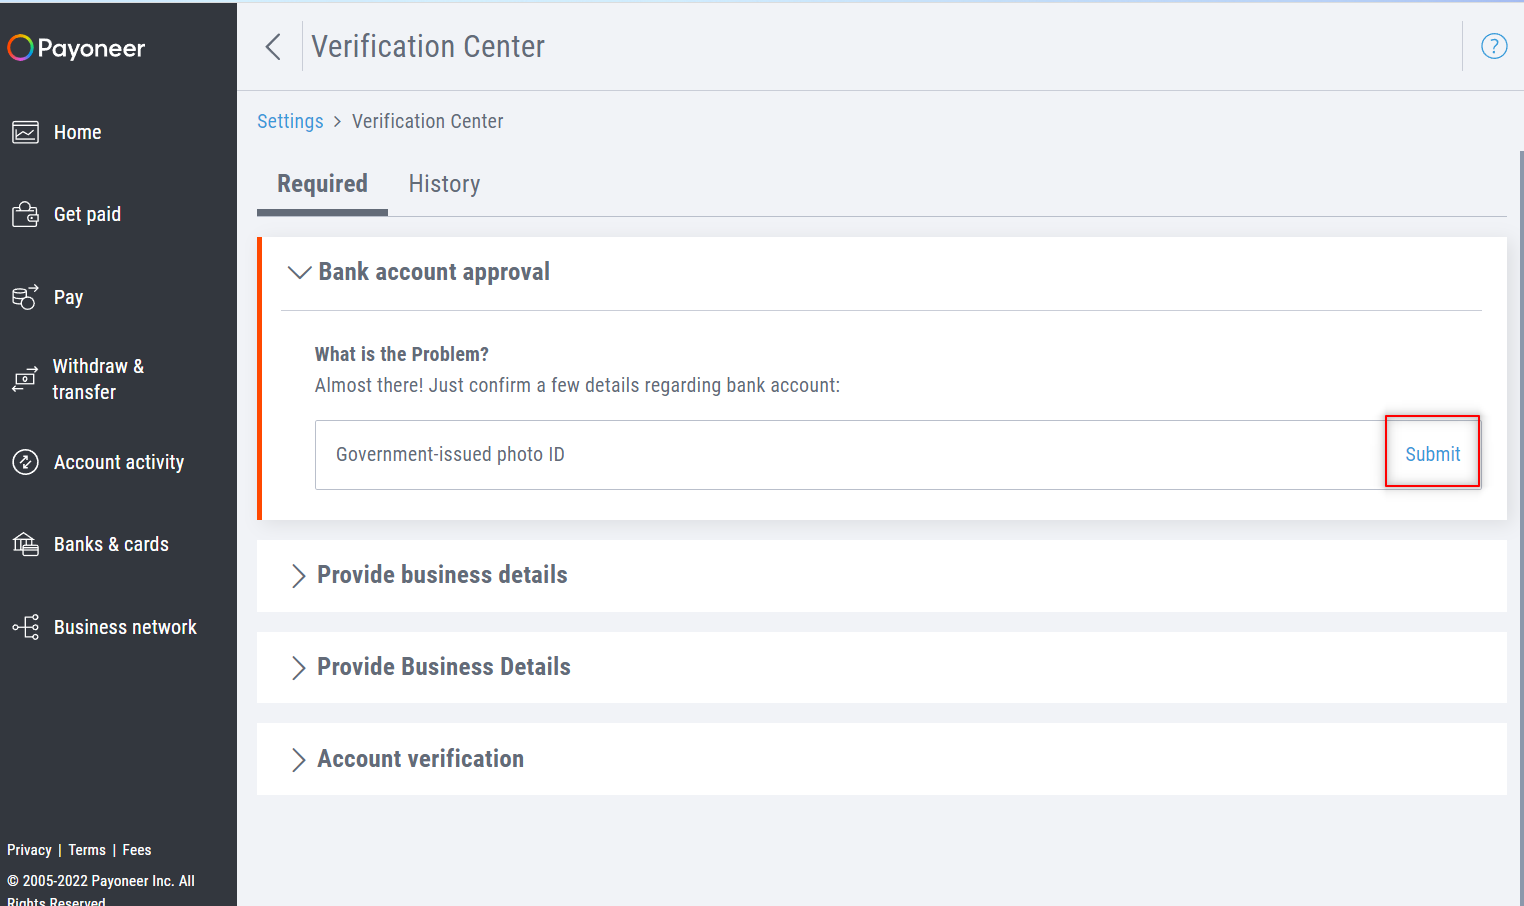
Click the "Submit" button for Government-issued photo ID.
Note: Payoneer only accepts Passport and Driver License for Filipino users.
Upload your ID. And hit "submit"
If successfully submitted, you will see this successful window. Click on the "View additional required actions" link in the same window.
Now, let's set up the Business Profile section. Click the "submit" button.
Fill-up the necessary fields.
Notes:
You can use your FB profile link for the website URL field.
Submit the form, if you completed to filled it up.
If successfully submitted, you will see this successful window. Click on the "View additional required actions" link in the same window.
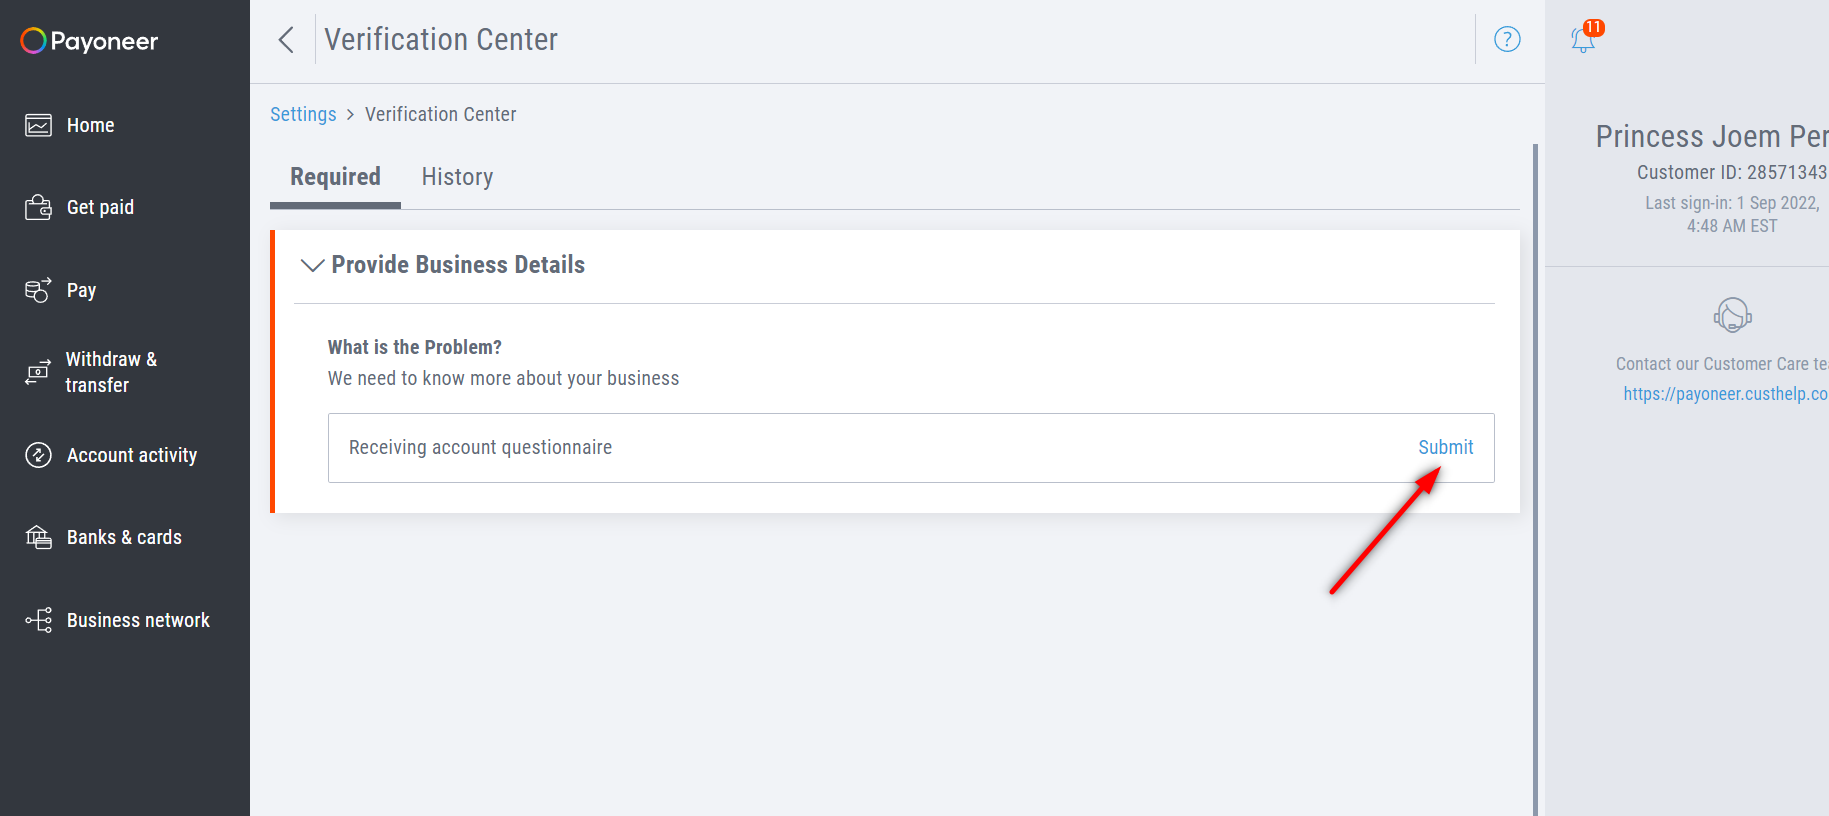
Now, let's set up the Receiving account questionnaire section. Click the "submit" button.
Fill-up the necessary fields.
Notes:
You can use your FB profile link for the website URL field.
Submit the form, if you completed to filled it up.
If successfully submitted, you will see this successful window.