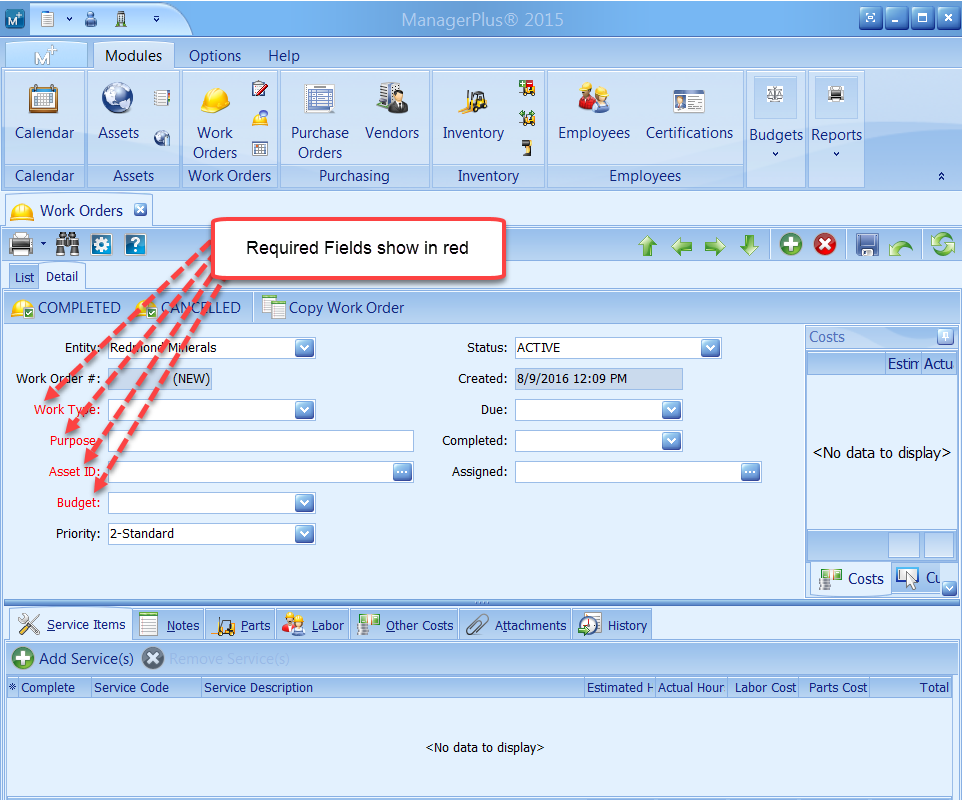
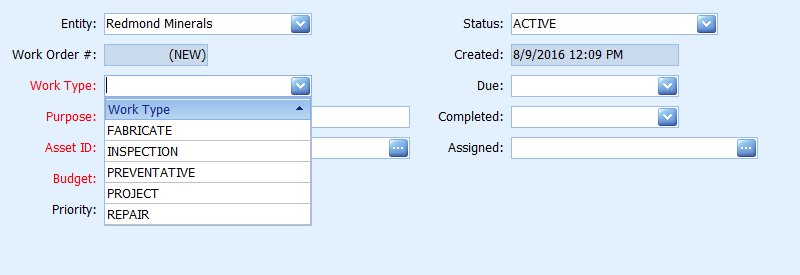
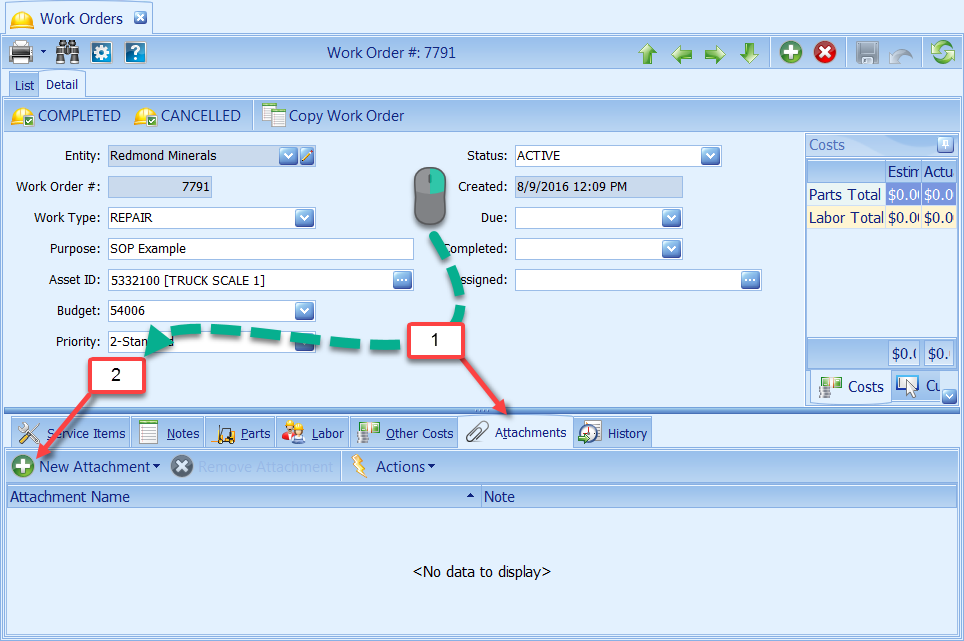
All of the items with red lettering are required.
Work Type: Select the general work task that the work order
is for. REPAIR for nonscheduled repairs and PREVENTATIVE for scheduled repairs.
Purpose: This is one of most critical areas to fill out correctly as it is what Maintenance Associates see in the time card program. Name of Asset - and a brief summary of the work that is needed. ie OLD 988F - Cruise Control Not Working
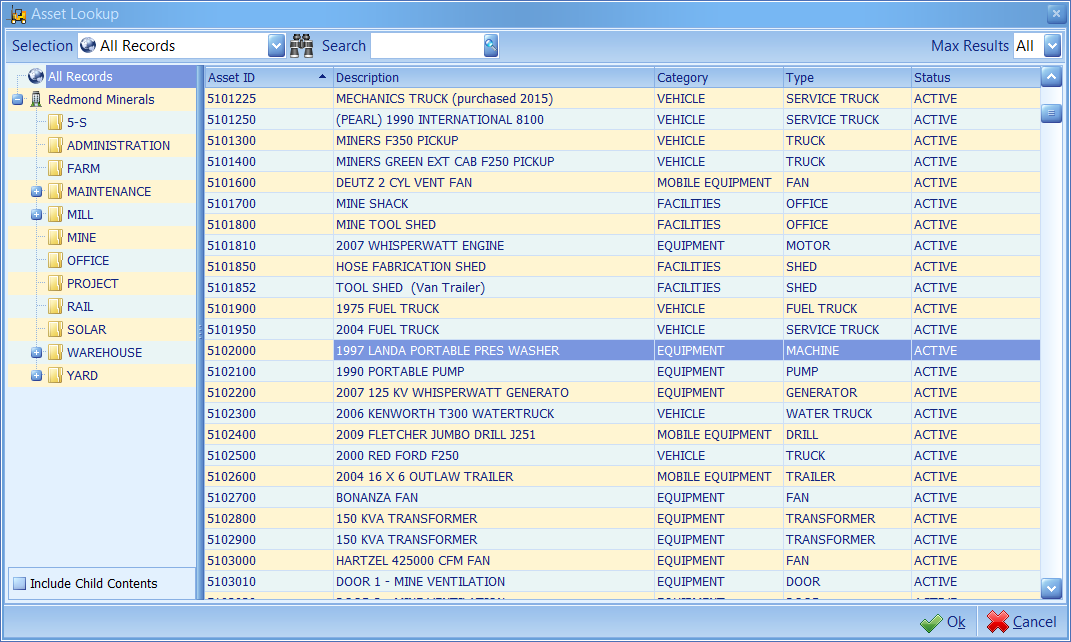
Asset ID: Select the asset by following the steps shown below
The Asset Lookup form will pop up.
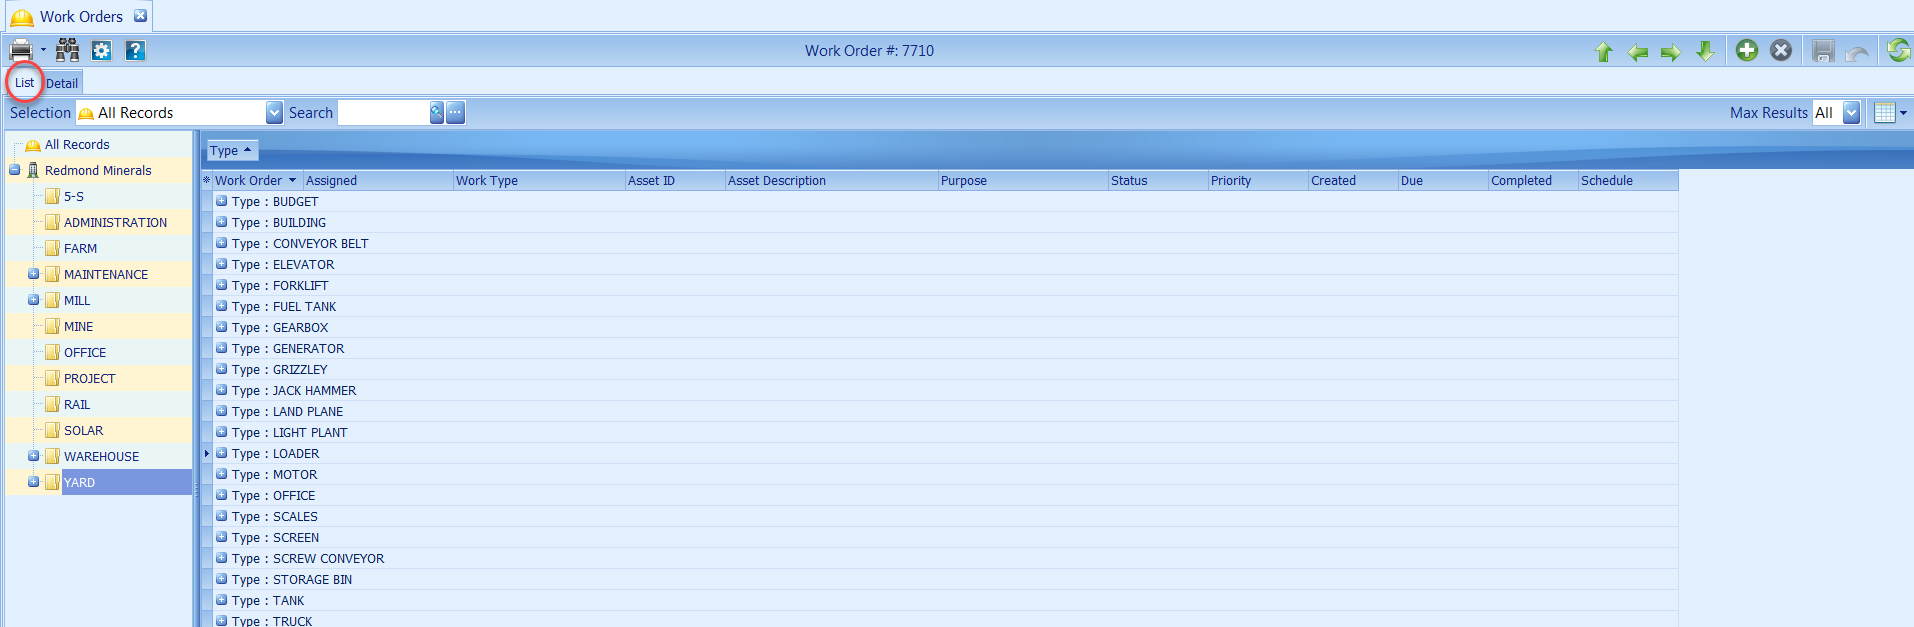
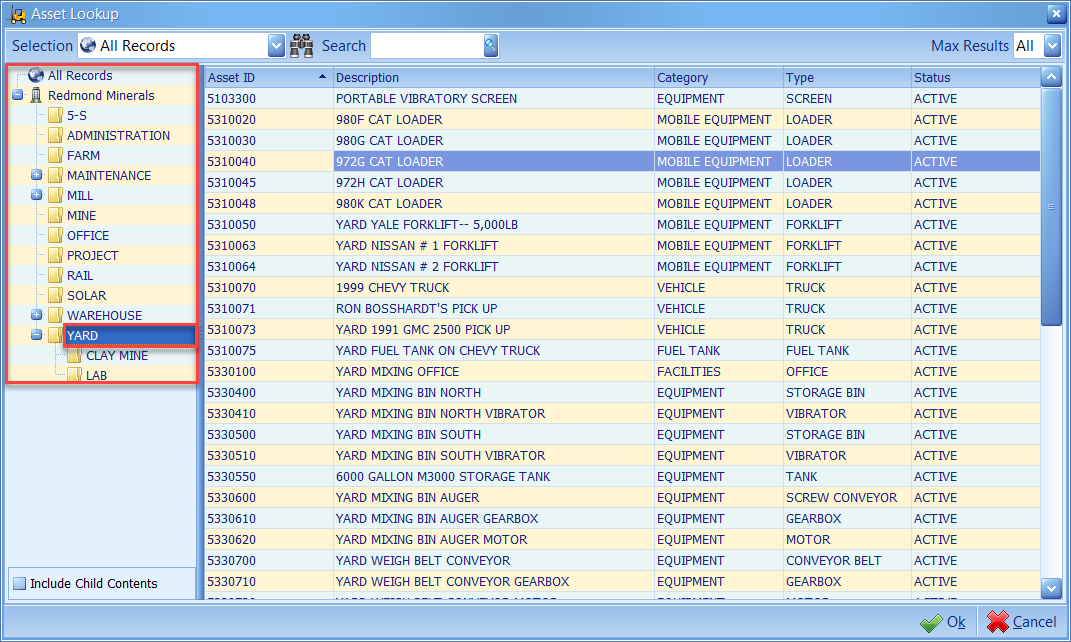
To quickly find your asset id first select the area the asset belong to. In the picture shown below we selected the YARD folder. So only yard assets would show
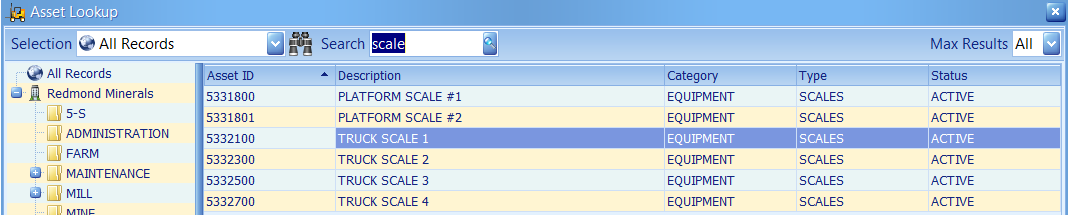
Then in the Search field type a key word for the asset that you are looking for and then click on the magnifying glass icon located just right of the search box, or press the enter key. In the picture below we typed scale and pressed the enter key.
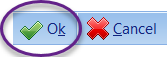
Click on the asset that you want, and then click the Ok button on the bottom right.
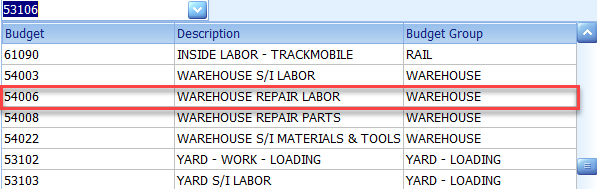
Budget: The Budget field is automatically filled out when you choose the asset, but if another team is paying for the repair select that teams repair labor gl code by clicking on the down arrow located on the right side of the Budget field. IMPORTANT- Make sure that it is a repair labor account. In the example below we will change the repair labor budget id from the Yard to the Warehouse.
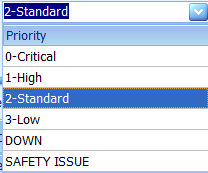
Priority: Select the priority for this work order - See the key for the selections below.
Priority Translation Key:
0- Critical = We can't run without this please make this your top priority.
1 - High = We need this very soon, only critical and Safety items are higher.
2 - Standard = This is important to us please fix (this is normally what you will choose).
3 - Low = We would like to have this done, but at your convenience.
Down = Same as Critical, but it tags this to record the down time.
Safety Issue = We can't and we won't run without this being done, make this your top priority.
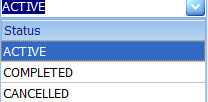
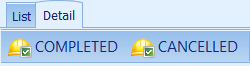
Status: This is the status of the work order. Active means it is actively showing in the maintenance list. Do not change this ... if you want the work to be done.
Selecting the completed or cancelled button in the detail ribbon also changes the Status to what ever button you selected.
DUE: As an option you can select a date in which you need the work to be done by.
Completed: The person performing the work fills this with the date that they finished the work that was requested.
Assigned: This is optional, but you can select the person that you would like to perform the work, similar to choosing the asset id.
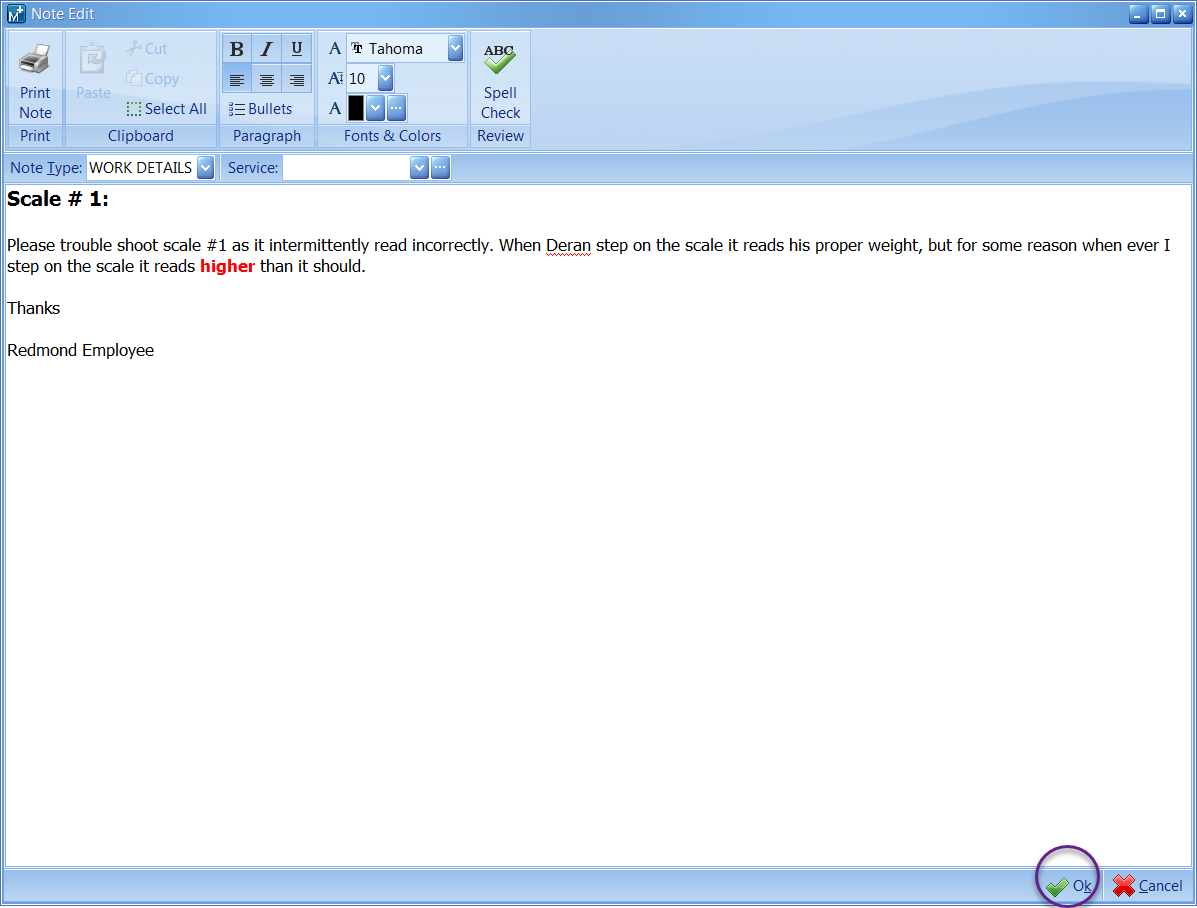
Notes: A detailed description of the work that you would like to have done. See the steps below.
1) Select the Notes tab, then 2) click the add New Note icon. This will open the notes pop up form.
Add a good detailed description of what needs to be done. The Maintenance team is good, but they cant read minds.
Once you are done adding a good description, Select Ok at the right bottom to close the editor and add it to the work order.
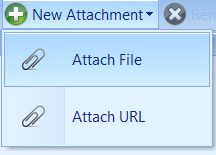
Attachments: You can add documents, hyperlinks, and pictures to your work order. The more helpful information the better. Remember a picture is worth a thousand words.
Much like adding Notes, select the Attachments tab and then click on the New Attachment icon.