In this workflow you'll make changes to an existing schedule in your system
1
What You Need:
2
Before You Start
3
Export the XLSX:
4
Go To Admin > Roster & Schedules > Schedule
5
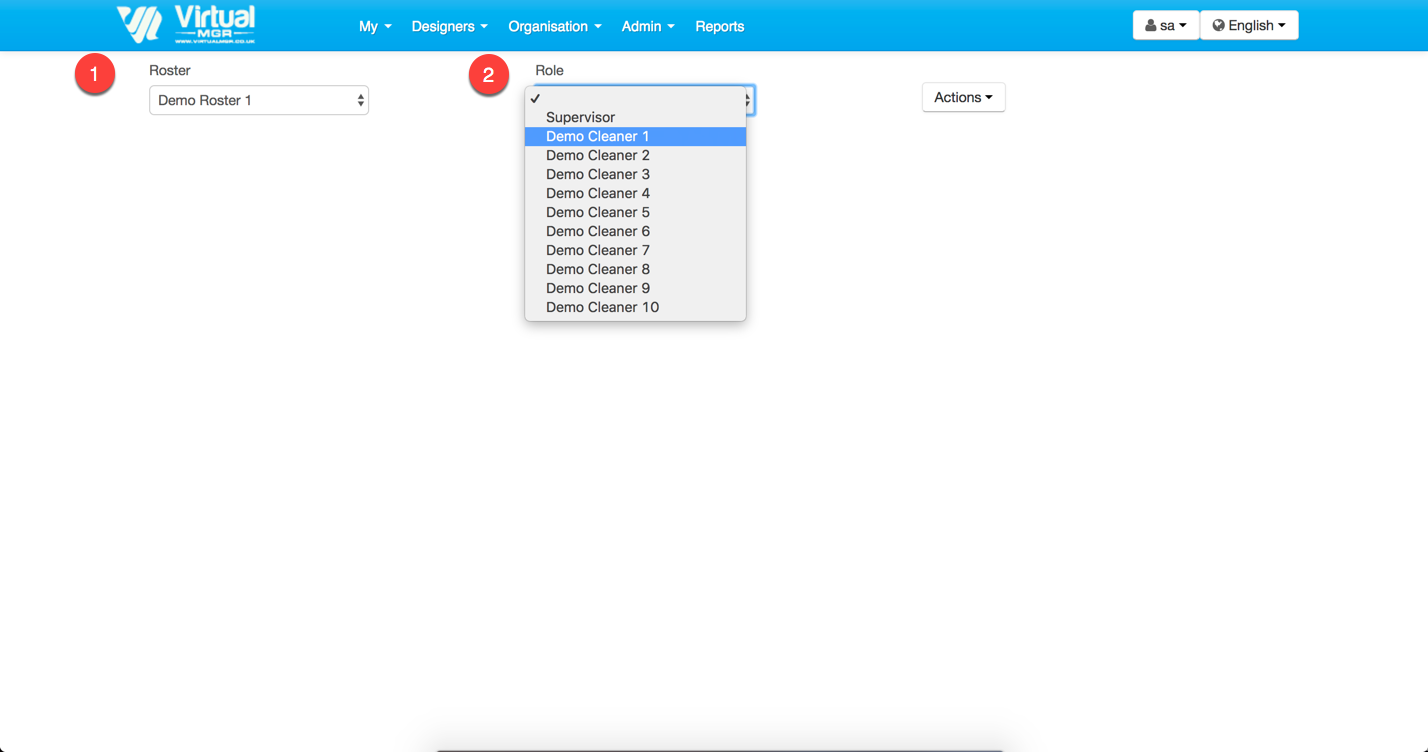
Choose the Roster & Role from their respective dropdowns
6
Choose Actions > Export to XLSX
7
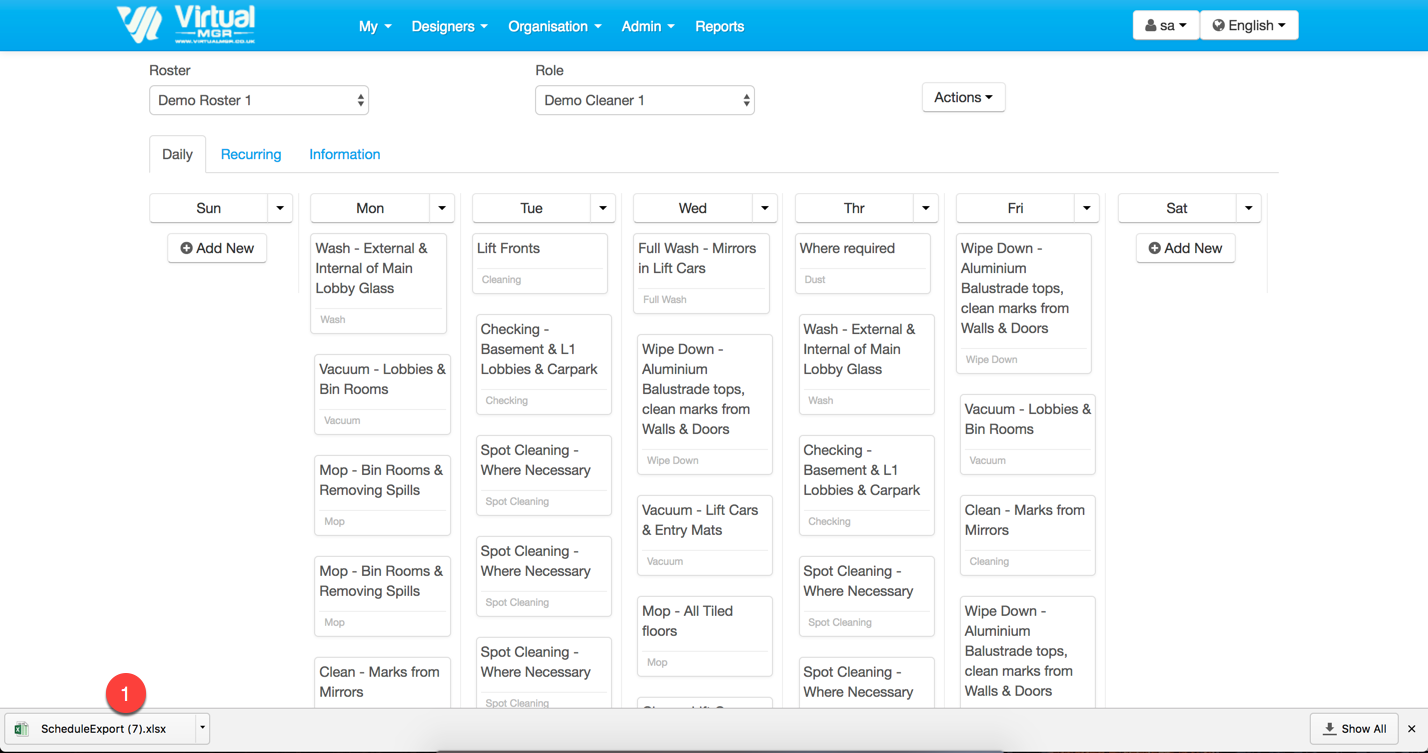
Click the downloaded file to open
8
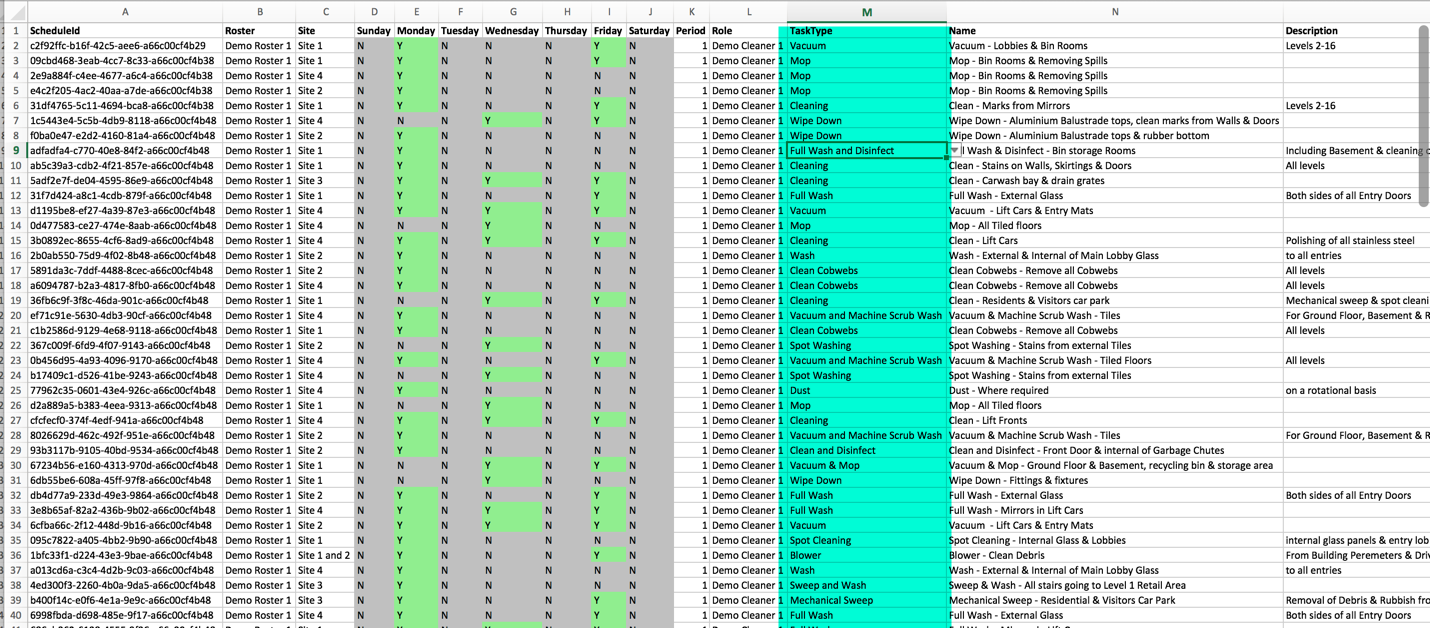
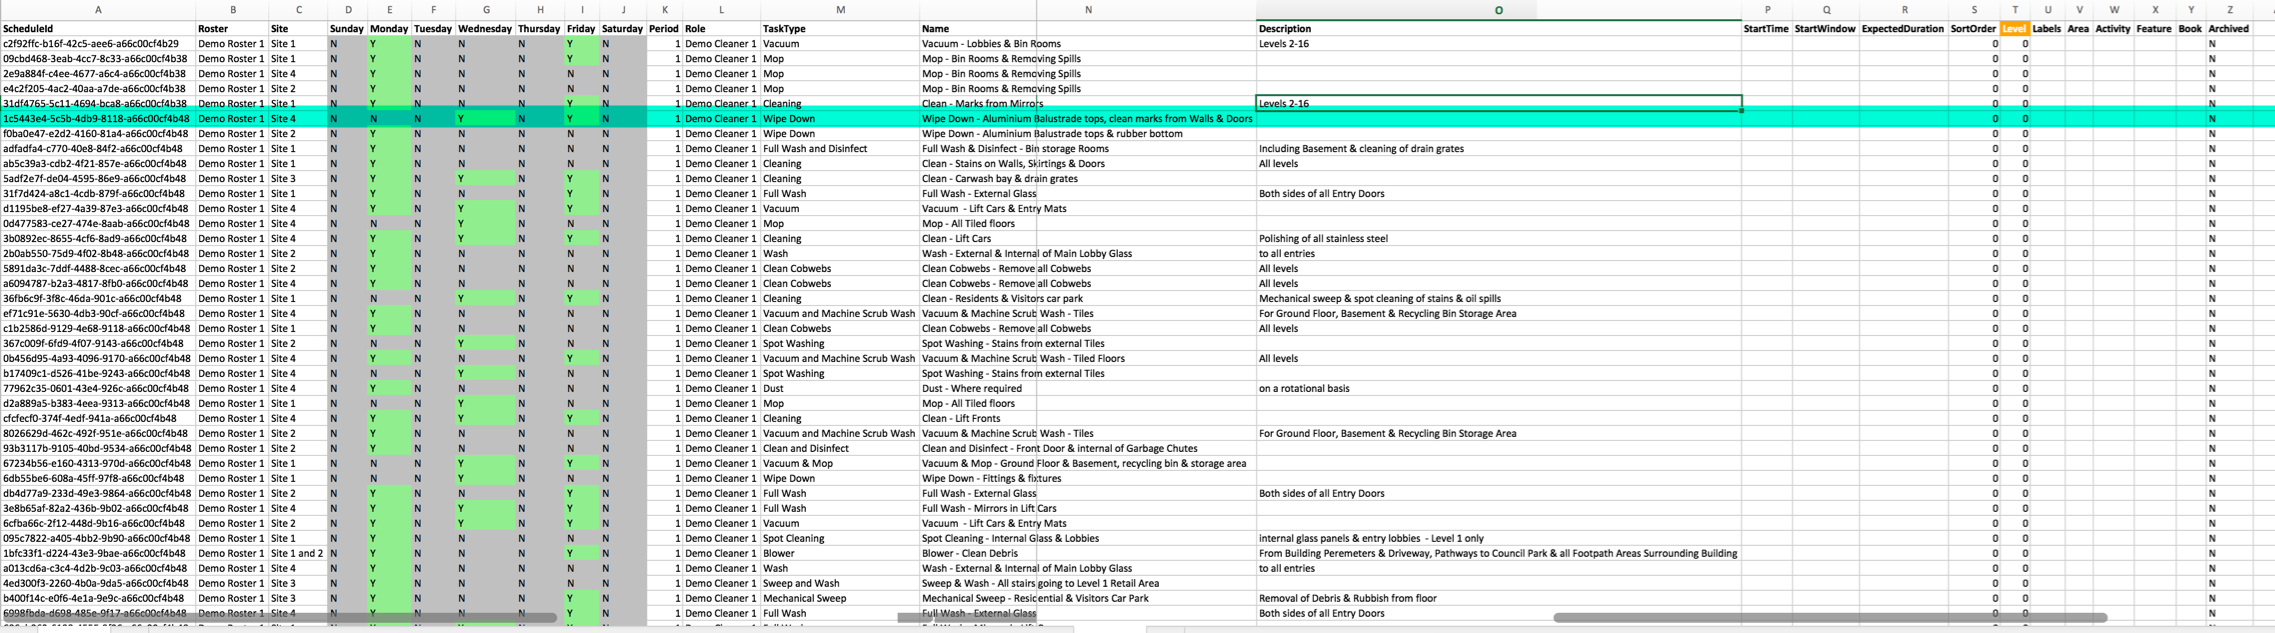
Understand Columns in the XLSX:
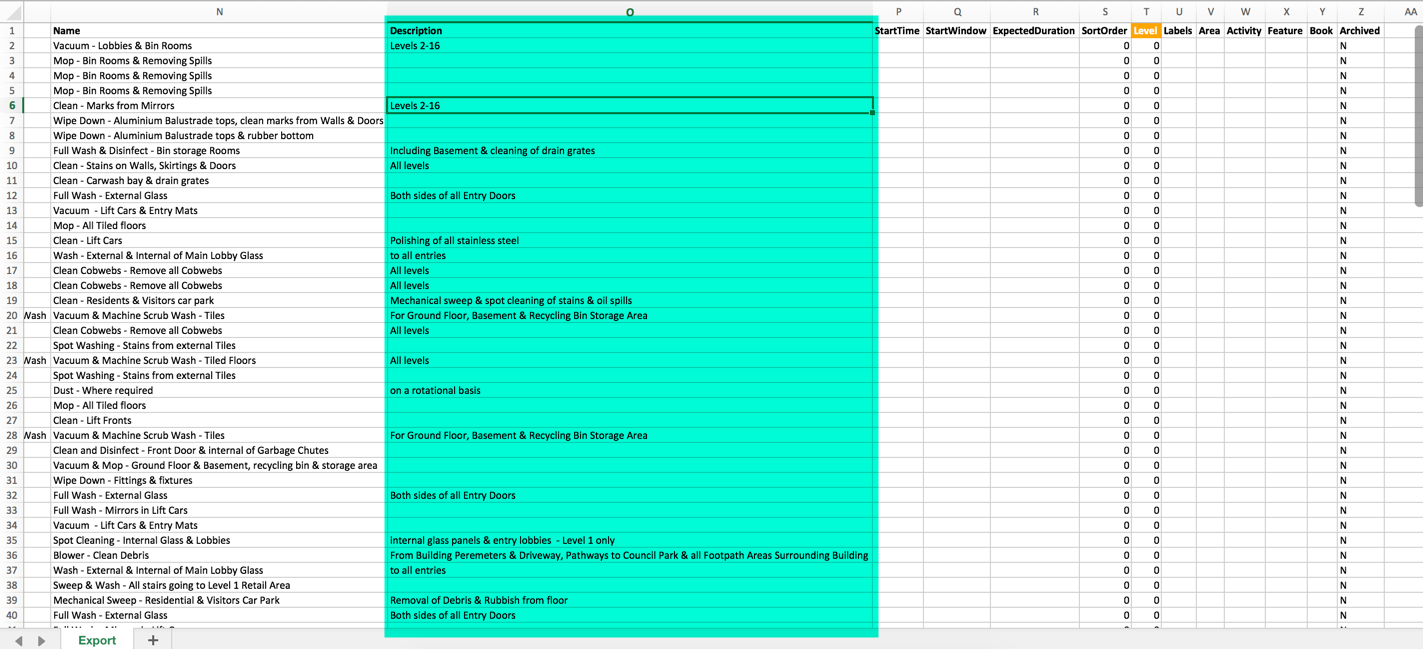
9
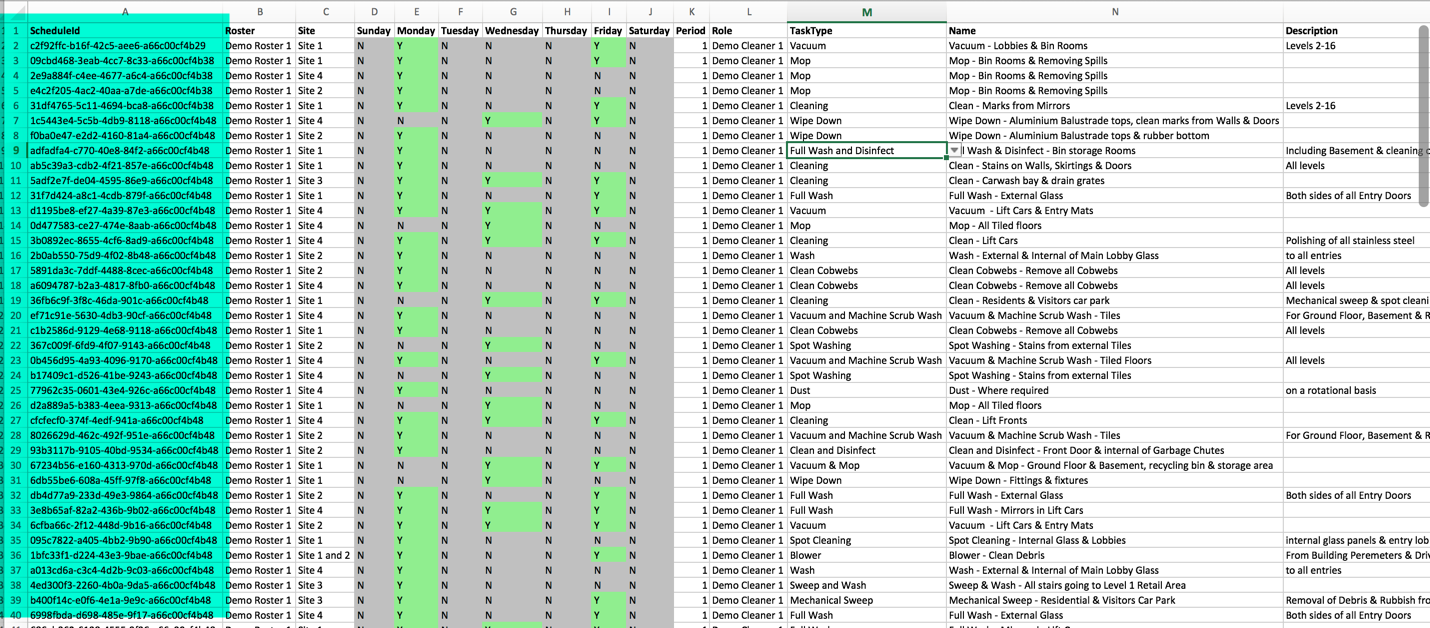
ScheduleID
10
Roster
11
Site
12
Sunday-Saturday
13
Period
14
Role
15
TaskType
16
Name
17
Description
18
StartTime
19
StartWindow
20
ExpectedDuration
21
SortOrder
22
Level
23
Labels
24
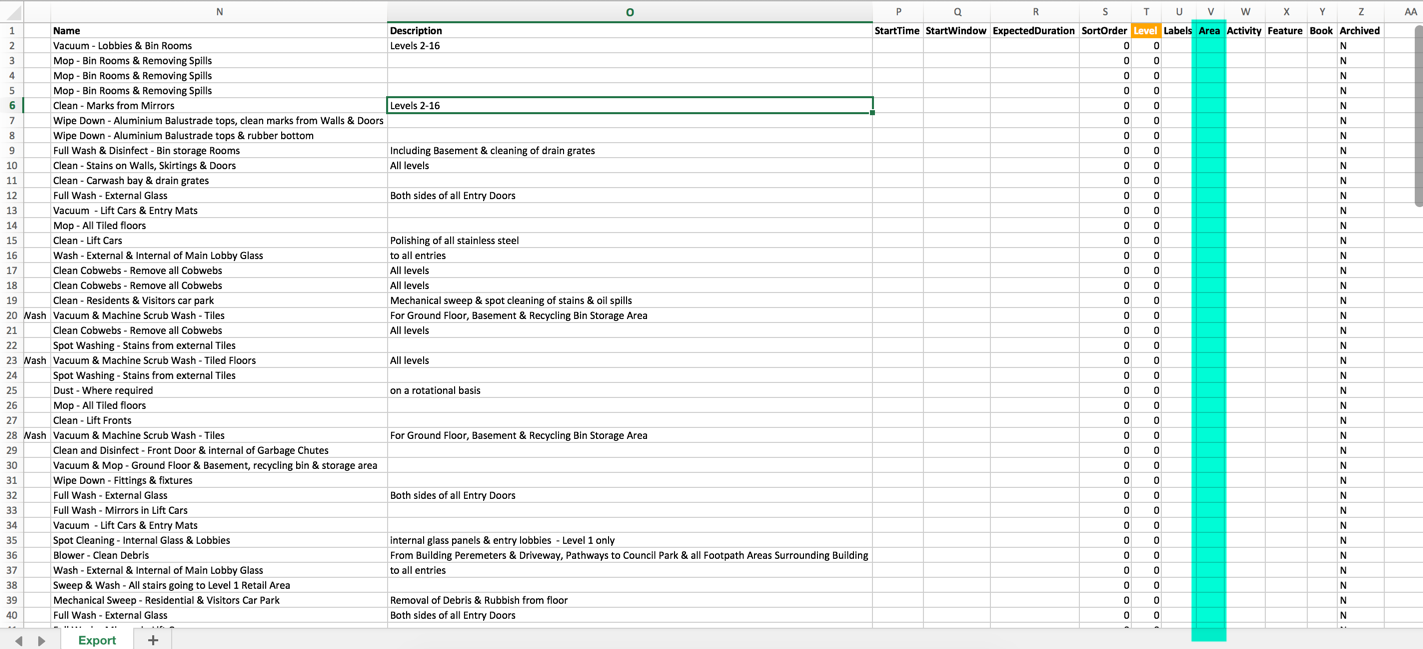
Area (Workloading)
25
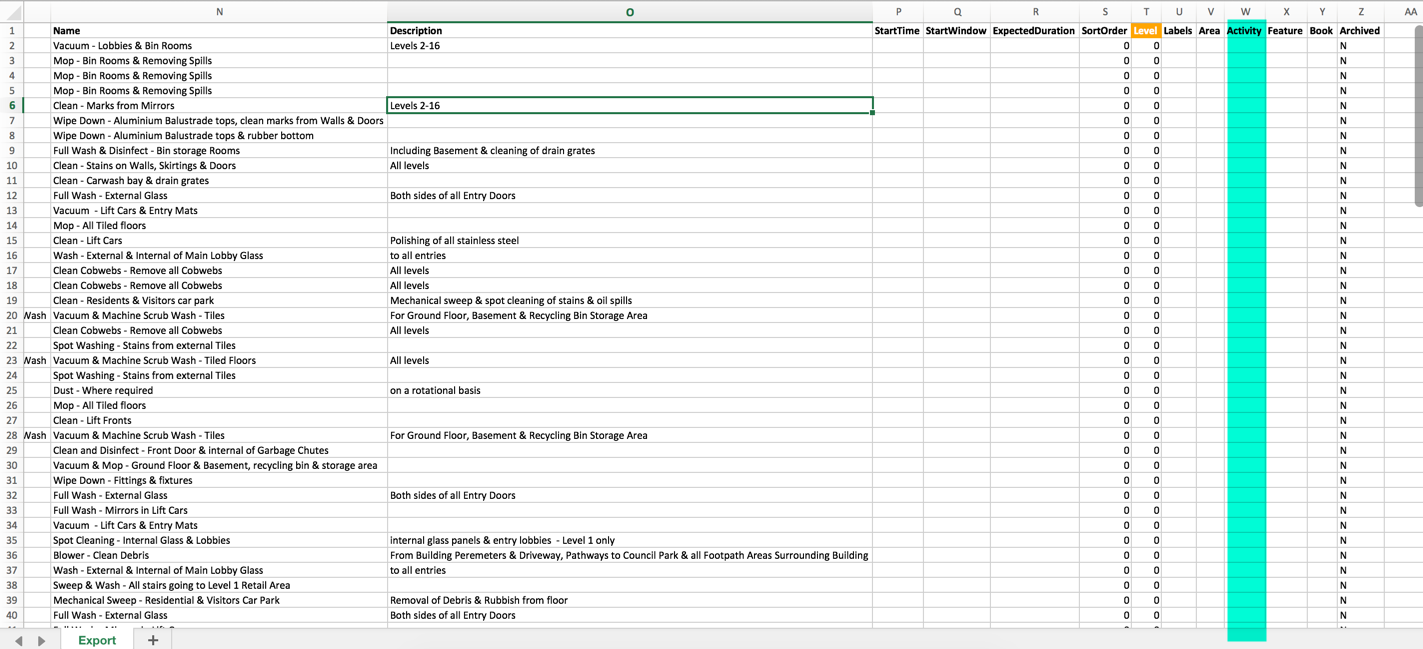
Activity (Workloading)
26
Feature (Workloading)
27
Book (Workloading)
28
Archived
29
See Some Examples:
30
Change The Dates A Task Occurs
31
Delete a Task
32
Add a new Task
33
Upload Your Completed File:
34
From the schedule screen, click Actions > Import From XLSX
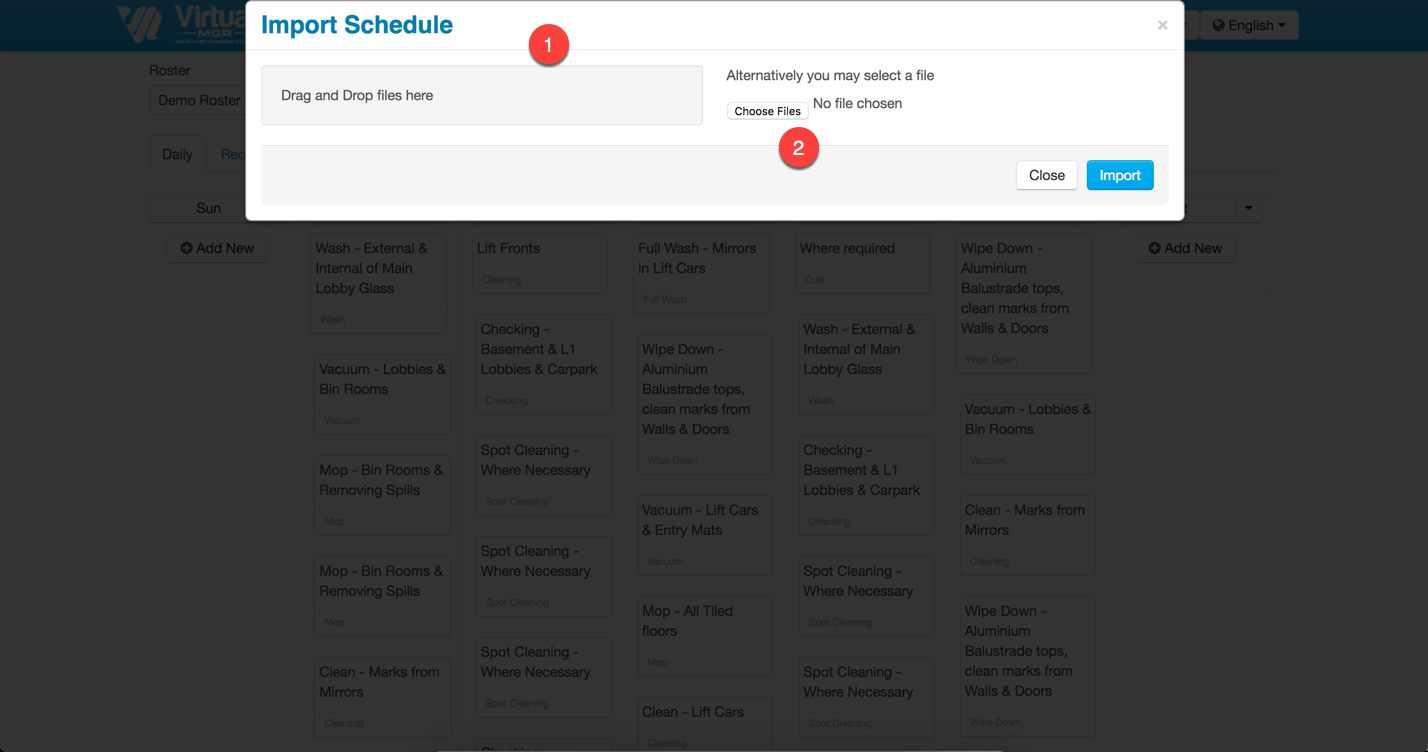
35
Add your file
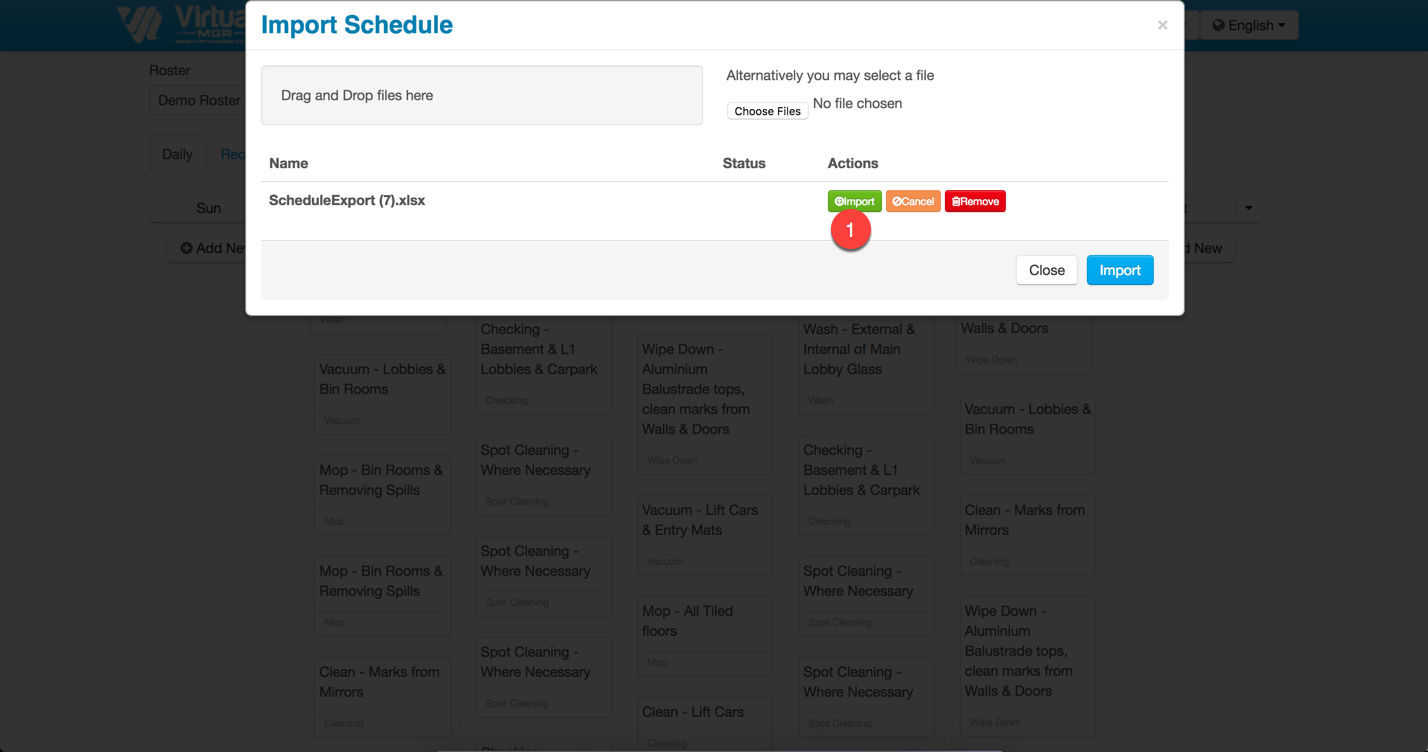
36
Click Import
37
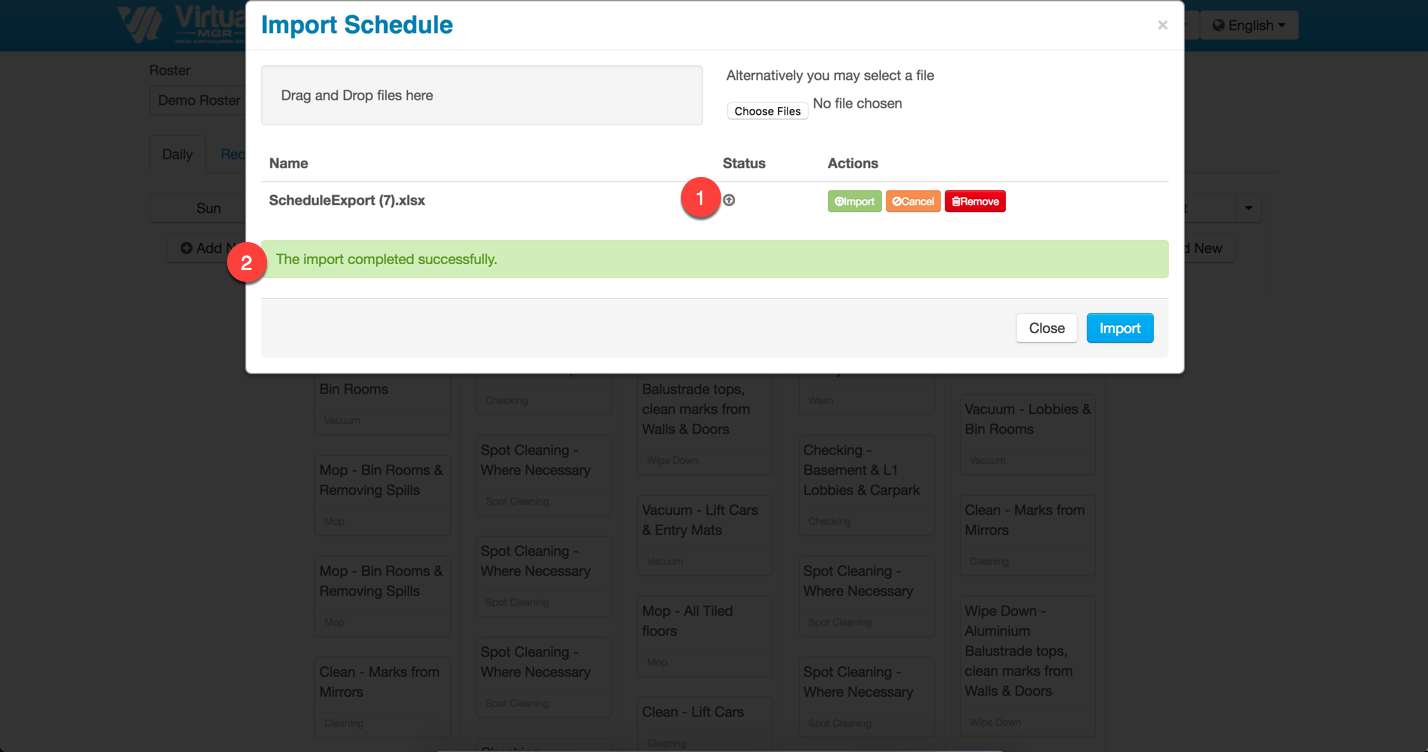
See Feedback On Your Import
What You Need:
Before You Start
Make Sure You Have:
1
Access to the schedules for your system. Contact the Support desk if you need assistance
2
Microsoft Excel
Export the XLSX:
Go To Admin > Roster & Schedules > Schedule
Your menu items might look different to this
Choose the Roster & Role from their respective dropdowns
A Roster is a collection of 1 or more Roles
A Role is like a job description, for example "Cleaner 1" or "1st Floor Cleaner" or "East Coast Manager"
Choose Actions > Export to XLSX
Click the downloaded file to open
Understand Columns in the XLSX:
ScheduleID
Roster
Site
Sunday-Saturday
Period
Role
TaskType
Name
Description
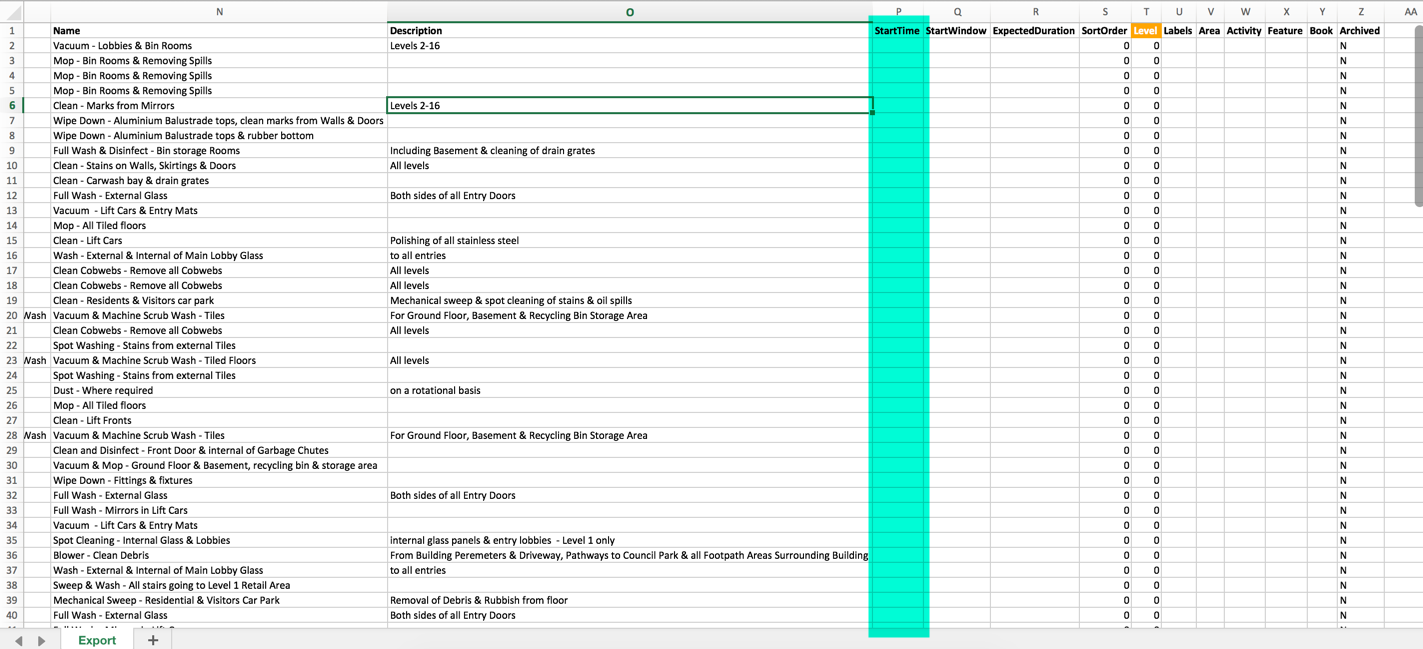
StartTime
StartWindow
ExpectedDuration
SortOrder
Level
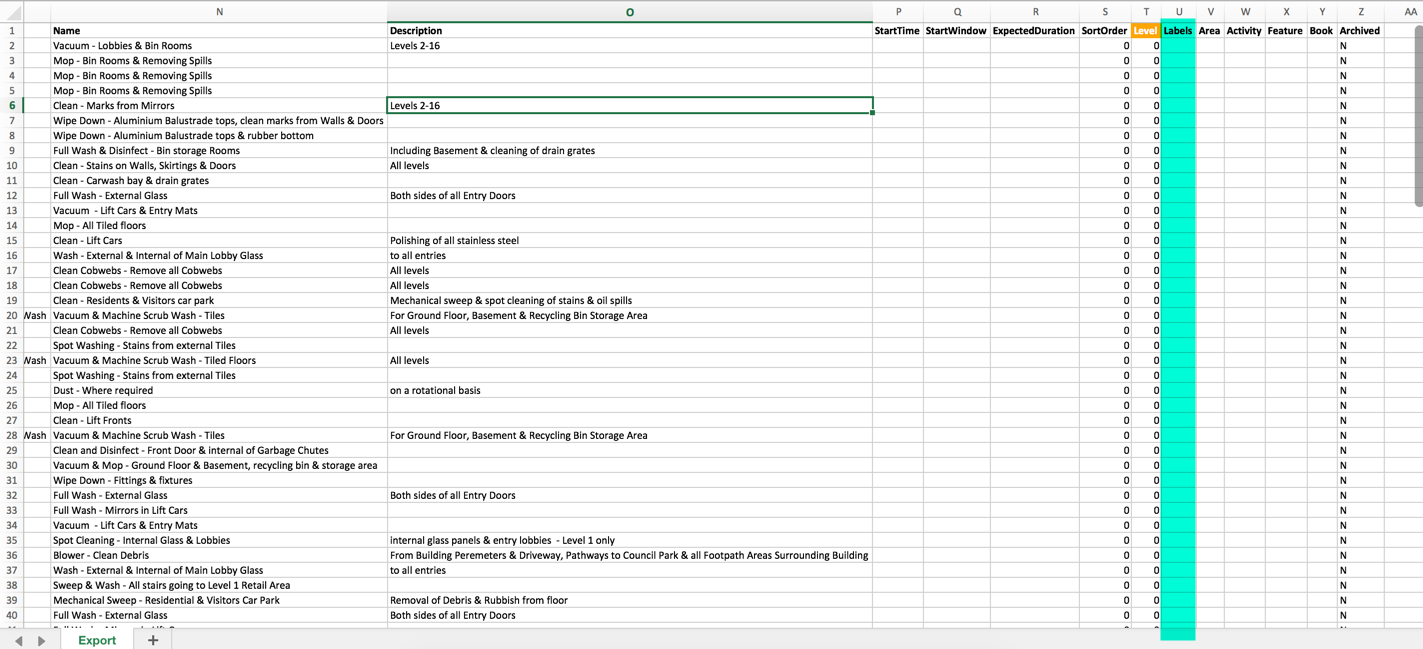
Labels
Area (Workloading)
Activity (Workloading)
Feature (Workloading)
Book (Workloading)
Archived
See Some Examples:
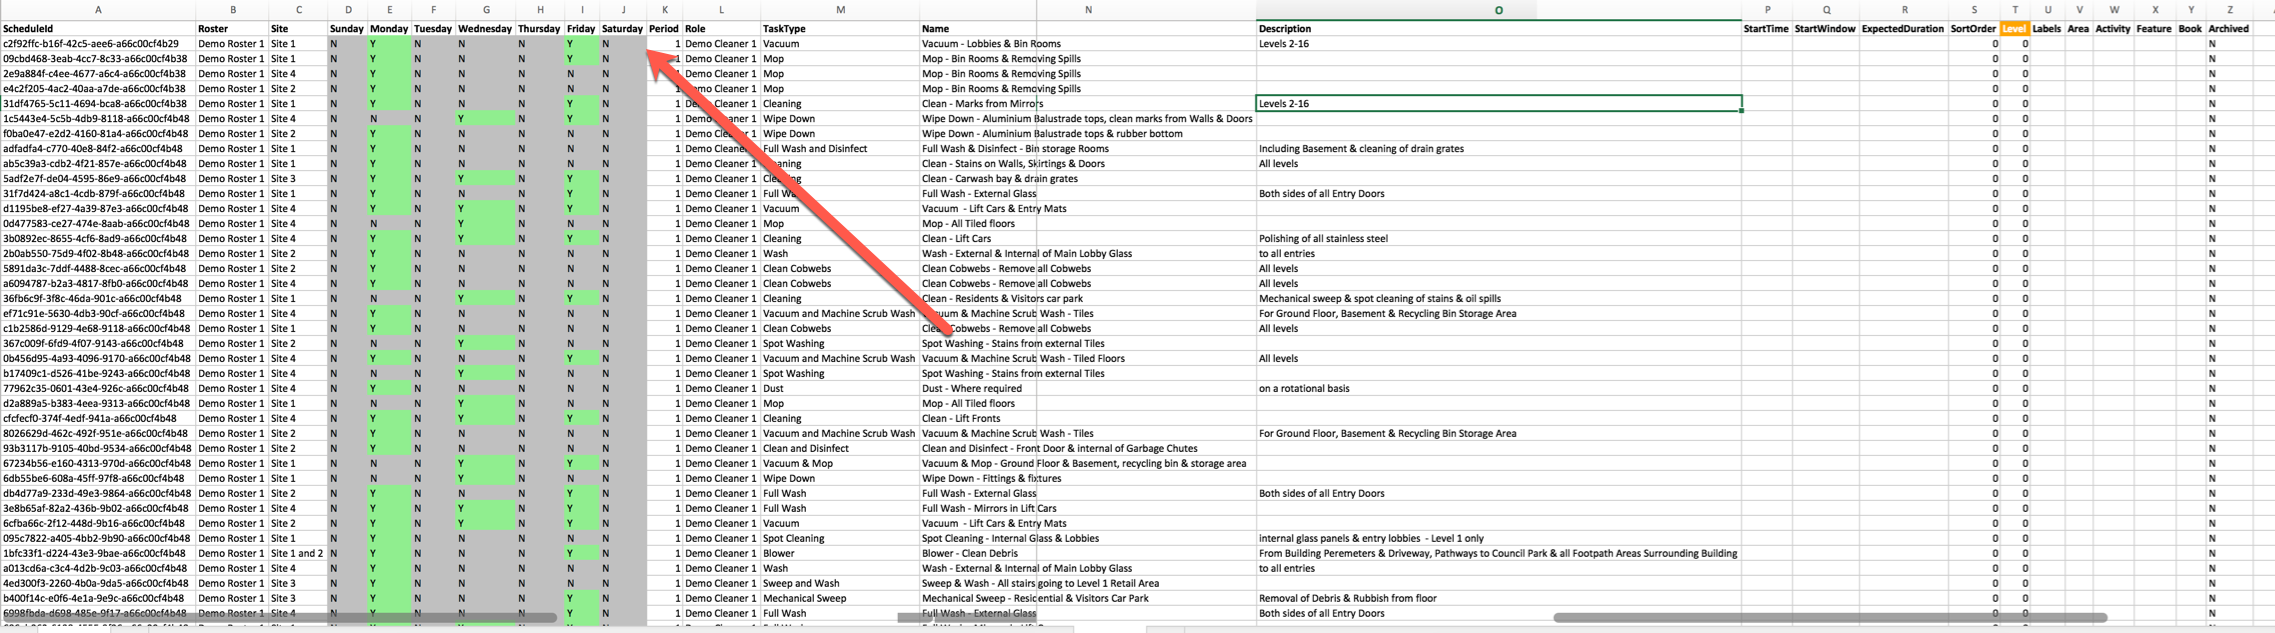
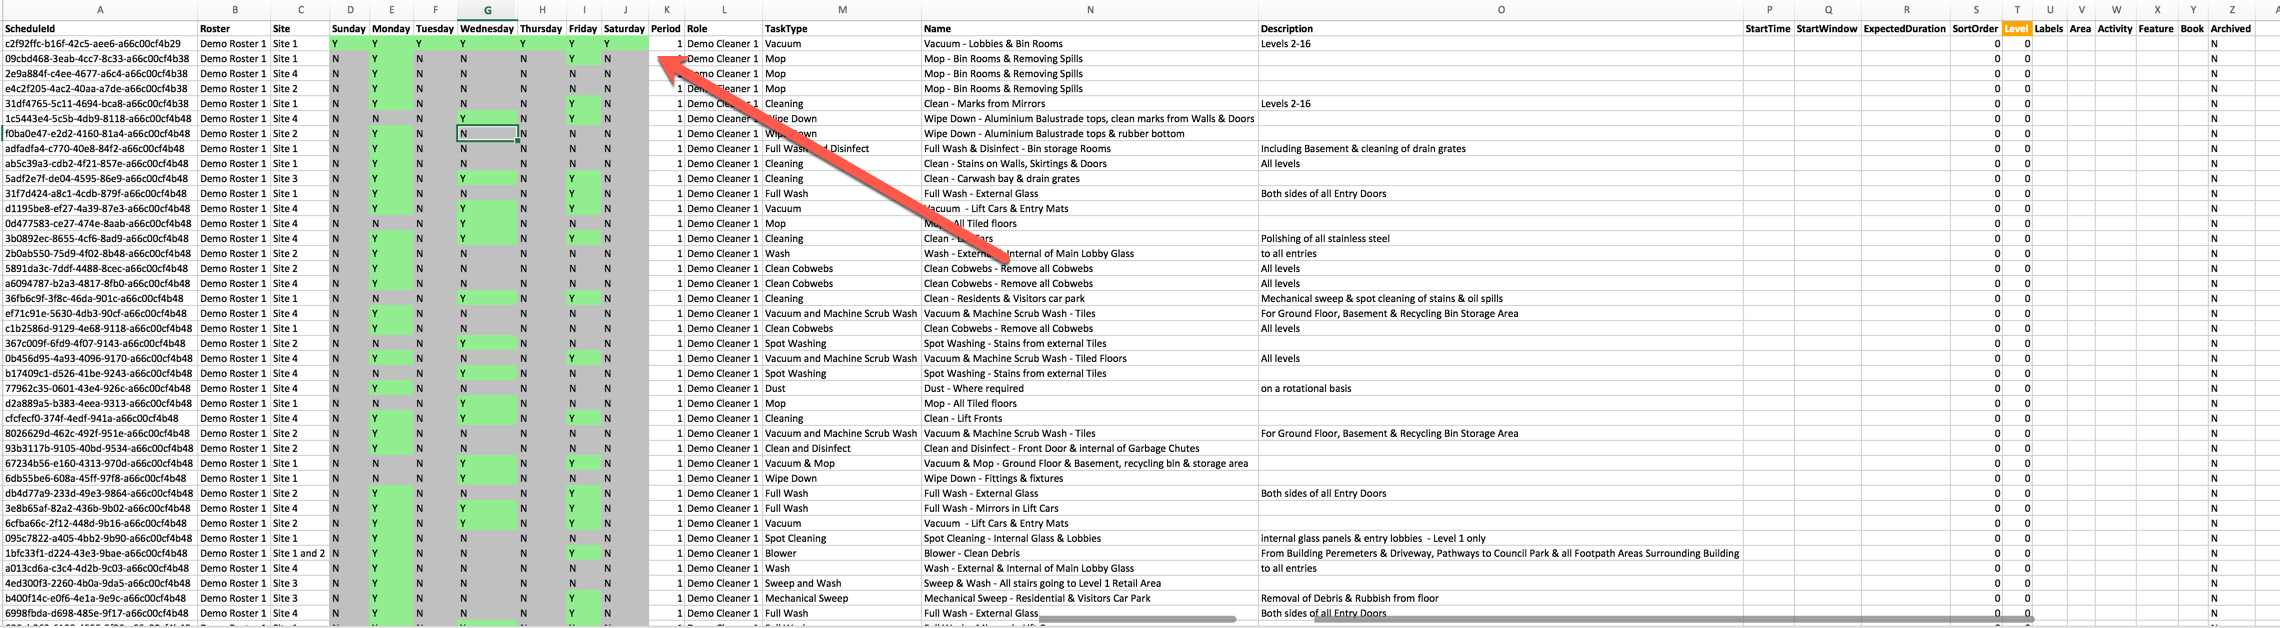
Change The Dates A Task Occurs
In this example we'll change a task from Mon & Fri, to 7 Days a Week:
Before
After - notice how we've typed "Y" into all the columns for days of the week
Delete a Task
All We need to do here is changed the Archived value from "N" to "Y"
Before
After
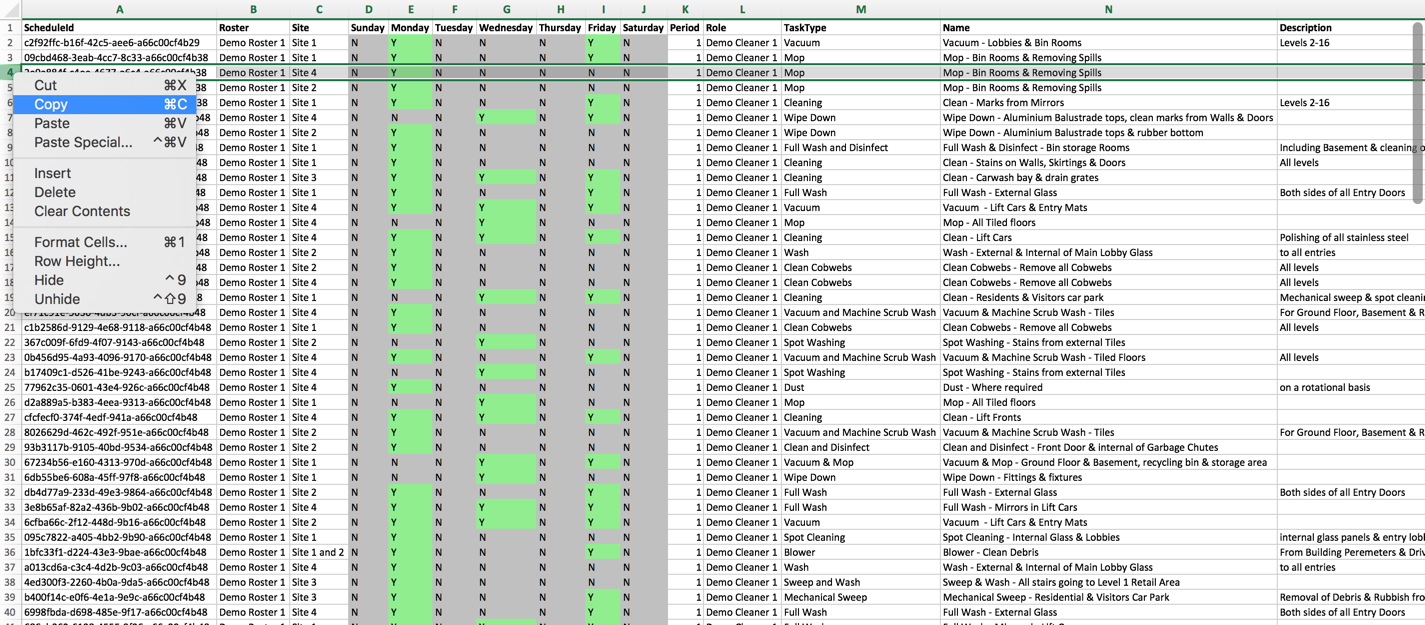
Add a new Task
Generally one of the best ways to add a new task to an existing schedule is to copy an existing row of the spreadsheet. But be sure to delete the ScheduleID in your copy or your changes won't be saved.
1
Copy the row you want to use as your guide
2
Immediately delete the ScheduleID in the cell you just copied
3
Make any changes you see fit
1) Right click on the row you want to copy, be sure to click the number of the row on the far left hand side. In this case we've clicked row #4 2) Click Copy
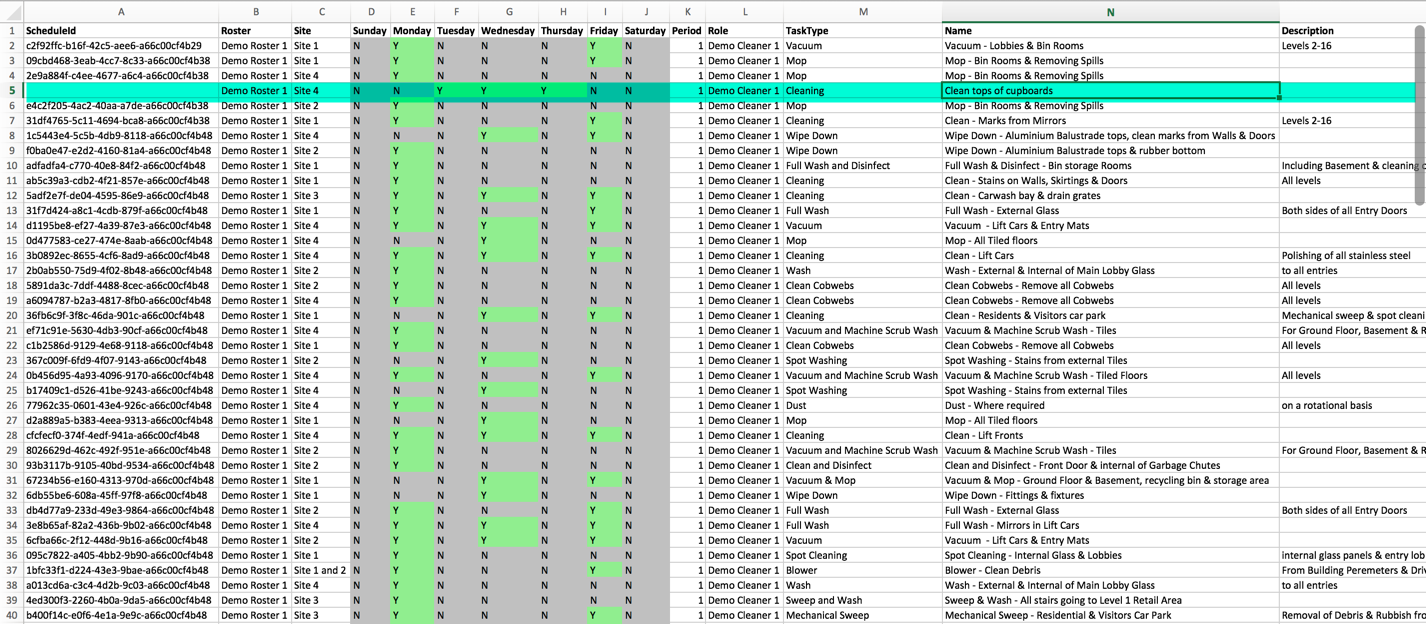
Click the row underneath, in this case it's row #5 Click "Insert Copied Cells"
Immediately delete the ScheduleID in the row you've just created (highlighted red here for clarity)
Make any other changes to your new task. Note how the ScheduleID cell is blank, this tells the system that you want to make a new task, rather than edit an existing one
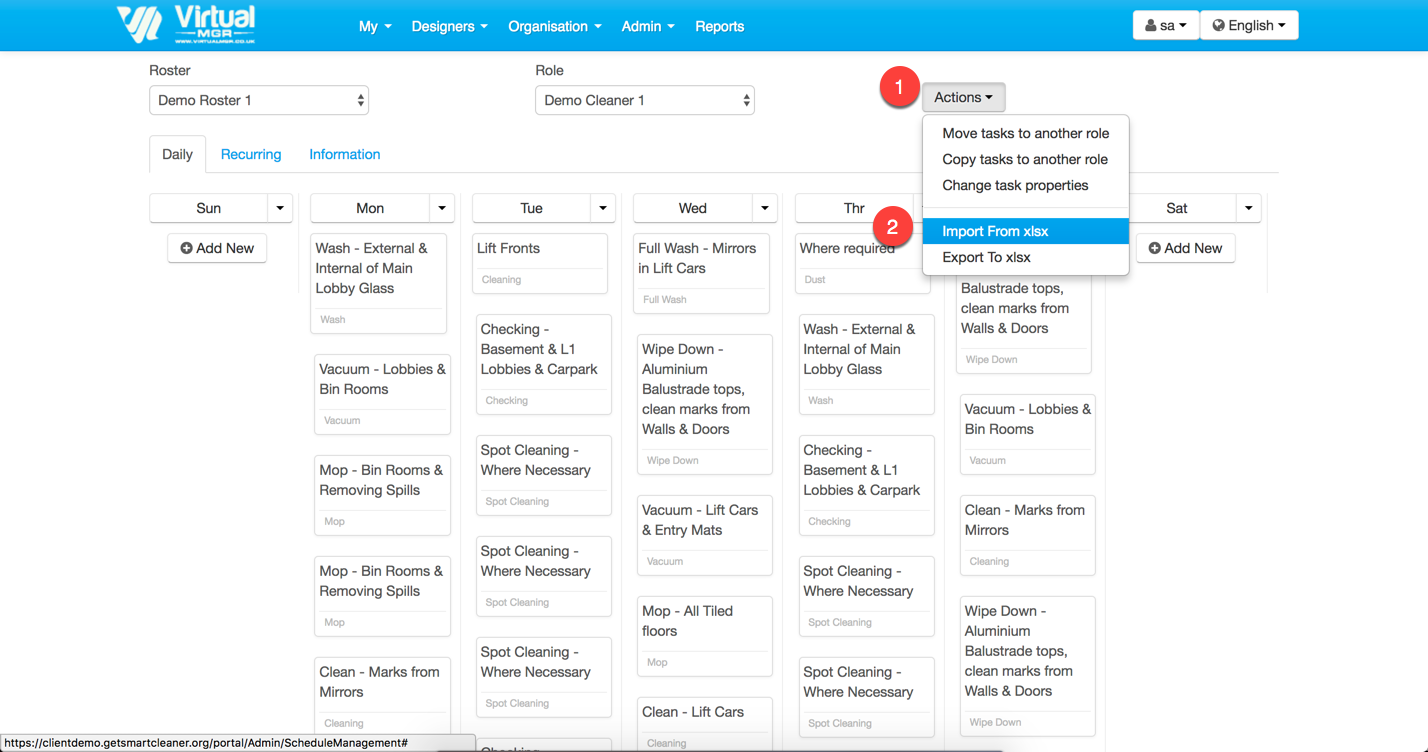
Upload Your Completed File:
From the schedule screen, click Actions > Import From XLSX
Add your file
Click Import
See Feedback On Your Import
You'll know the file successfully uploaded by seeing the "Up Arrow" (#1) You'll know your import worked if you see the green ribbon saying "Success" (#2)