Purchase Order Number is a unique number given to a specific transaction that helps businesses to manage the inventory by giving information about the purchase price, the number of quantities ordered, date ordered, etc.
1
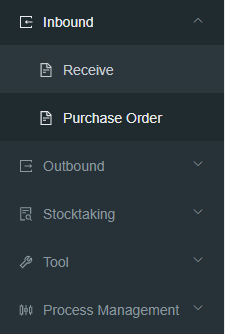
Select inbound on RWMS 2.0
2
Click Purchase Order
1
Click Add as highlighted in green.
1
Select the client name which you will be based on. for example MELB TLC for the testing center.
2
Type your purchase order number
3
Fill in the delivery date, sender, carrier name if given. Then click add line
Add line info product name can be searched by scanning as shown below.
1
Go to the product name box
2
Scan the barcode and select the highlighted product in green
3
Select confirm
The Purchase Order number is being created as 01012022 as shown below.
Receive- Normal Inbound
Inbound allows users to receive the product using the purchase order number. You must have a purchase order number to start any inbound.
1
Click inbound in RWMS
2
Then click on receive
1
Scan the barcode of the station or type the station number if you know. For example, ws01 as receive work station 1.
1
Allocate POD as normal
2
Call empty bins yes
3
Select storage bin type based on the bin face that you require.
1
Type in the purchase order number from the purchase order.
2
Scan the barcode of the product.
3
Scan the target bin barcode from the POD and store it where it was scanned.
4
Enter the quantity received and confirm receipt.
When the product is received, the POD can be released in the following ways.
Use release current POD face to release that specific face to allow other sides to come back in the station.
Use release entire POD to release the current POD.
Log out to release POD/ queuing POD in the station.