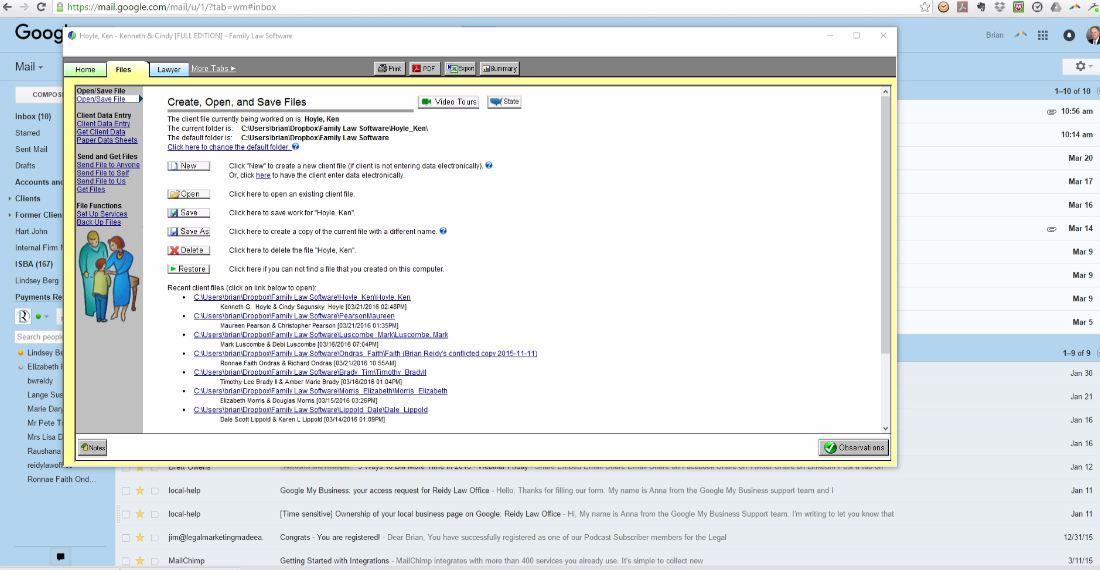
This is the process for scanning documents into our system, then labeling the documents. Putting them into our filing system , which is in Dropbox, and then taking those items to share them with the clients through Clio.
Labeling and transferring the documents
1
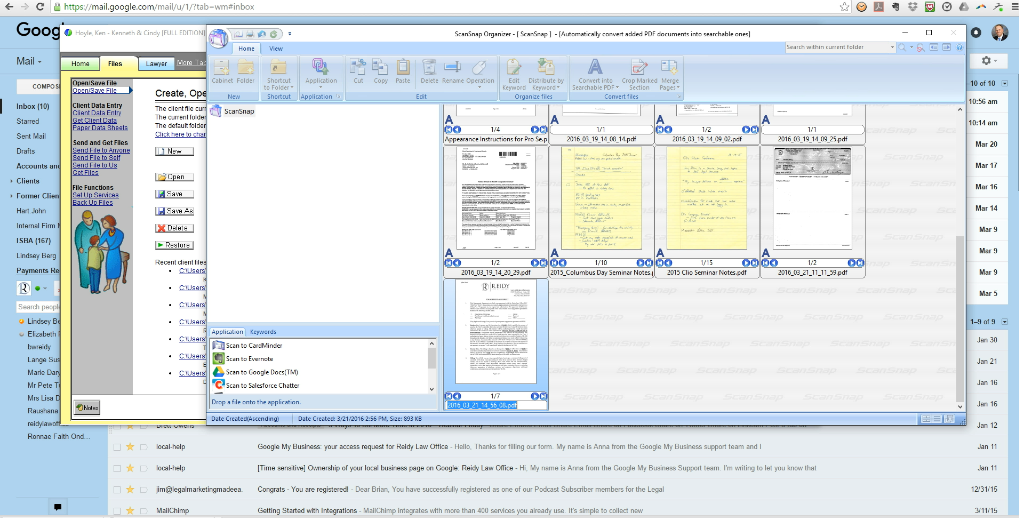
Name the document with the date first. (YYYY_MM_DD) eg. 2016_03_21
2
The date of the document must be the date relevant, not the date the file was scanned.
1
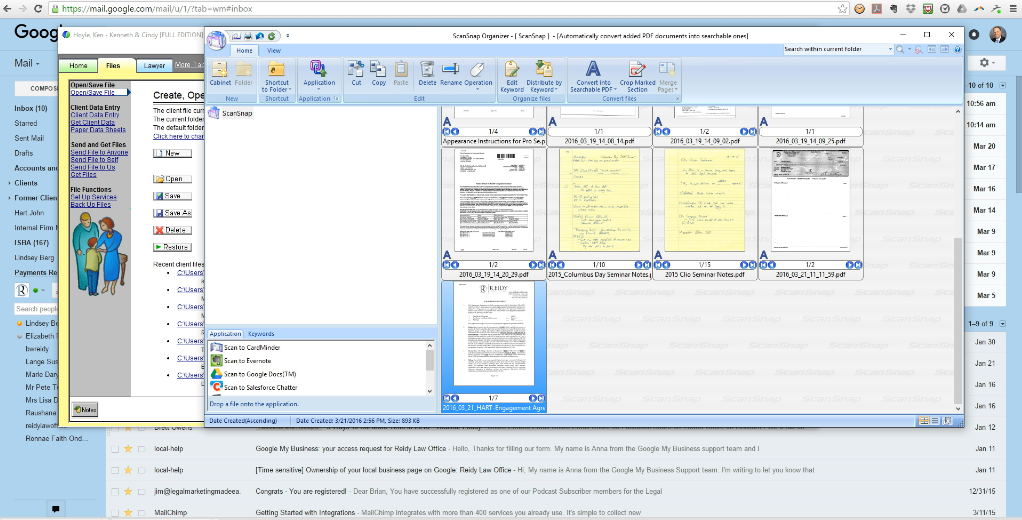
After the date, add an underscore followed by the client's name.
2
Put a dash and type in the case name.
3
eg. 2016_03_21_HART-Engagement Agreement
1
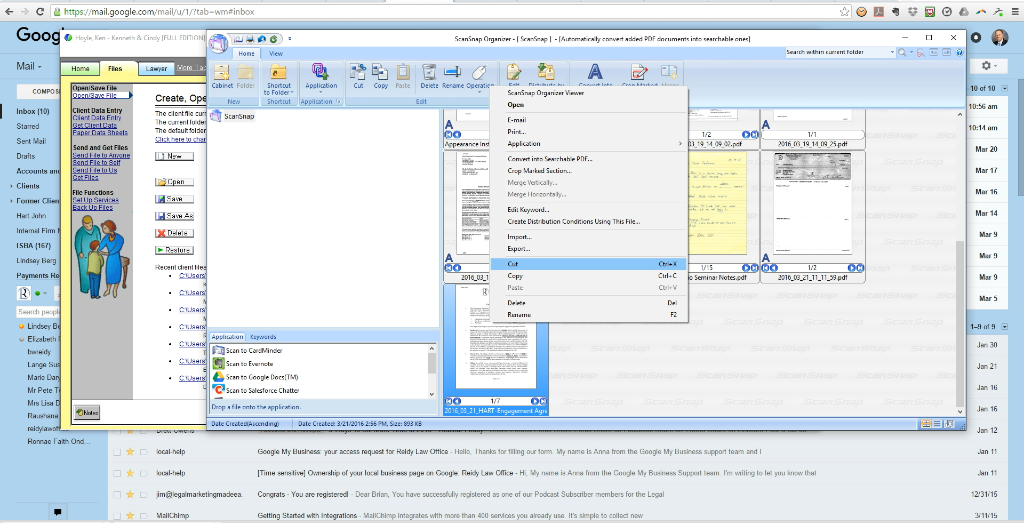
Right click on the file and cut it.
1
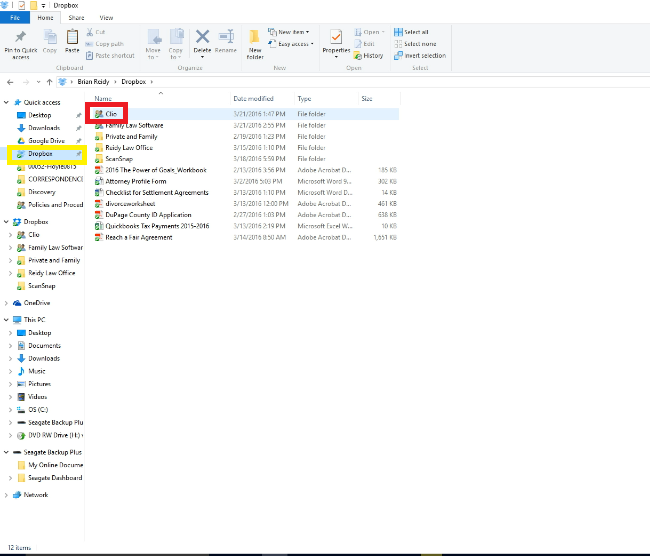
Go over to the Dropbox and click on Clio.
1
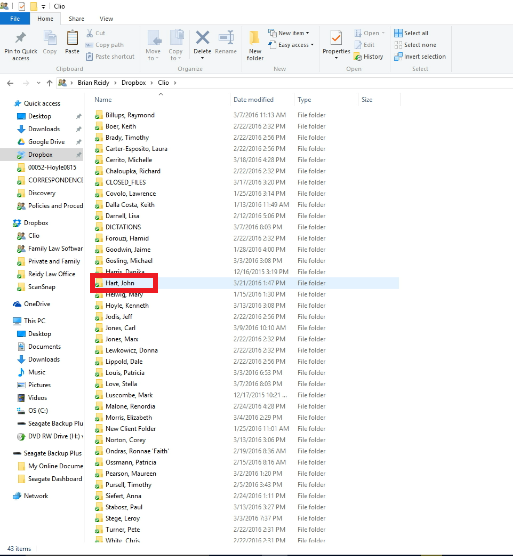
Look for your client's folder.
1
Paste the selected item onto the "CLIENT DATA AND WORK PRODUCT" folder found in your client's folder.
Uploading the document to Clio
1
Go back to Clio.
2
Type in your Client's name on the Search bar found on the upper right of your screen.
1
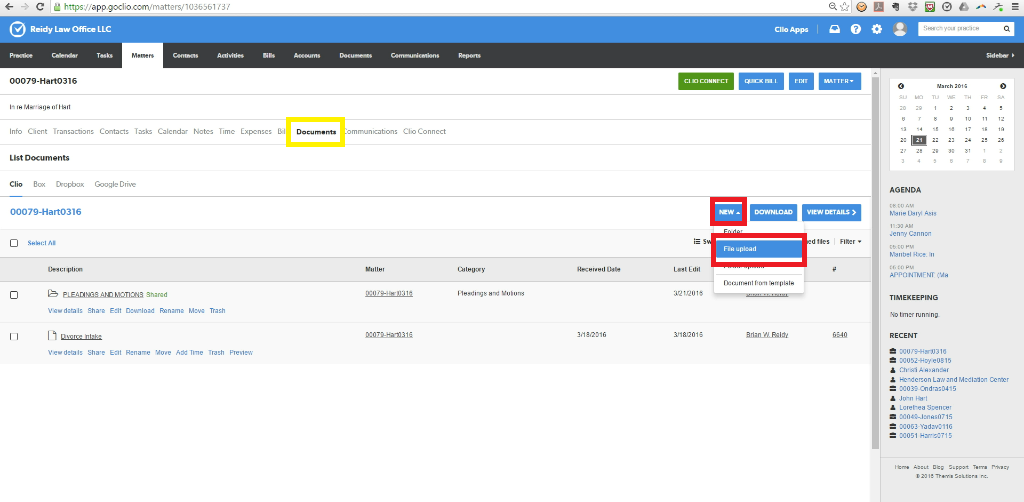
Go over the Documents section.
2
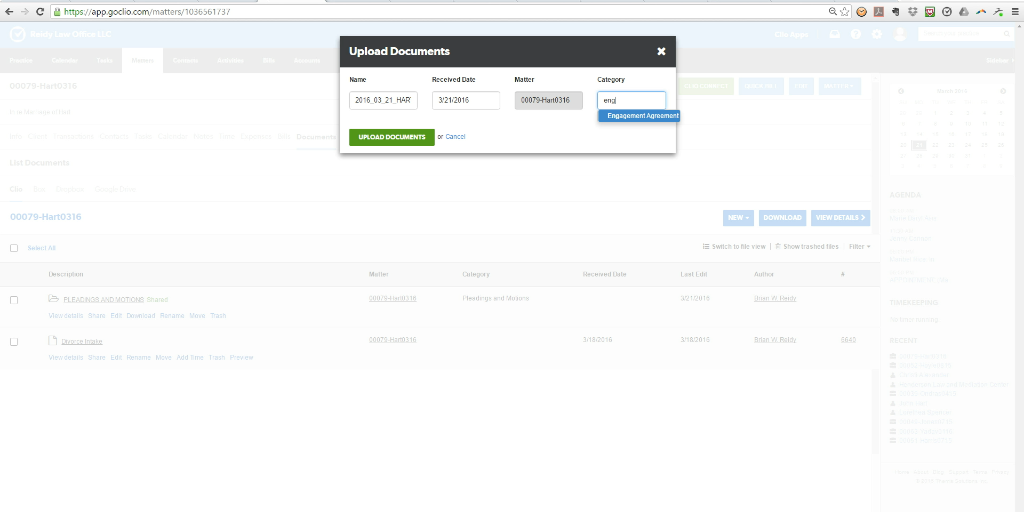
A drop down menu will appear when you click on the "New". Select "File Upload".
1
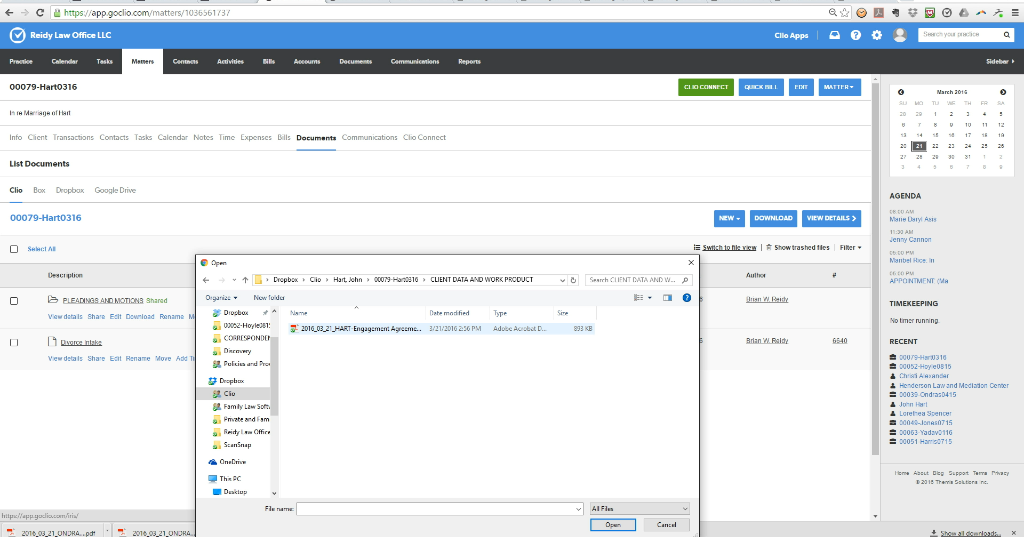
Select the file you wish to upload.
1
Type in the category name so it will be easier to find.
1
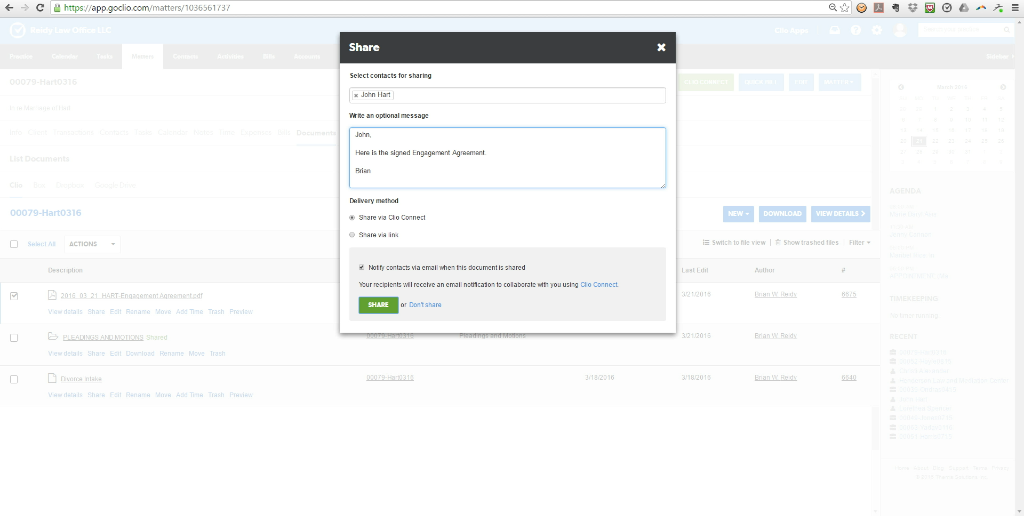
Once the upload is complete, you can now share the document to your client.
2
You may or may not add a message for your client.
Once the documents are scanned, a scanned stamp and entered stamp will be used. The stamps are used to let us know that the documents are completed by just glancing at them.