CSP Billing allows us to purchase Office 365 licenses via Westcoast rather than having to have a debit card on the clients account.
1
New CSP Clients:
2
Accept CSP Invitation
3
Disabling Auto Renew for Existing Subscriptions
4
Adding licences:
5
Placing an order
6
Moving/Activating Purchased Licenses
7
Adding the service to an Autotask Invoice
8
Adding the service to a KashFlow recurring invoice
New CSP Clients:
Accept CSP Invitation
Before we can order licenses via Westcoast we must add them as a delegated Admin to the clients account.
We will do this ourselves but first log out of Office 365 sessions and login to uk.cloud.im
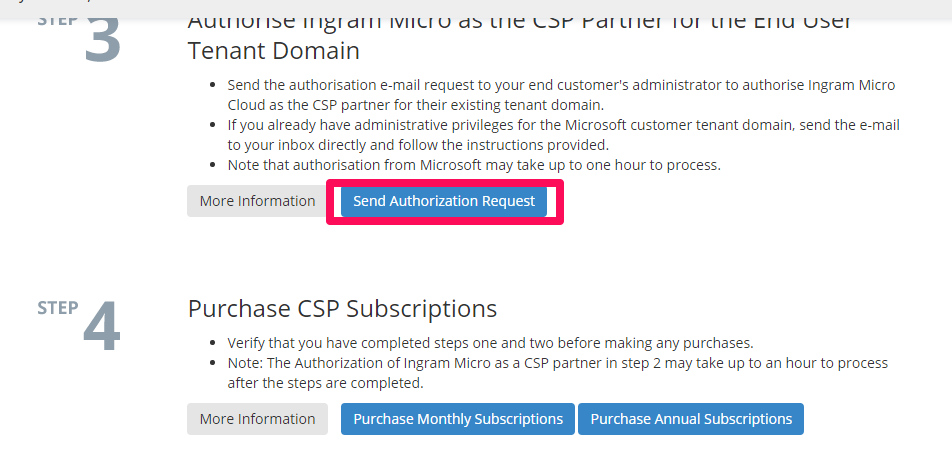
Scroll down and click send authorization request in section 3. Sections 1 & 2 have been completed.
Get the authorization request sent direct to you, and follow the instructions in the email.
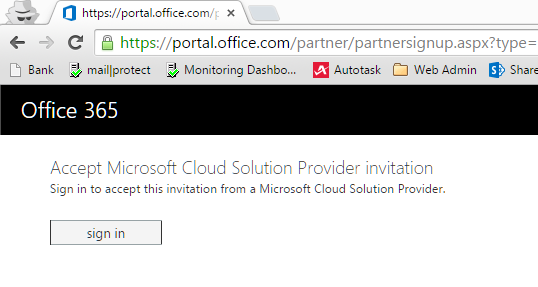
Click the link to load the login screen to accept the CSP invitation.
Click the Sign in button and continue to log into Office 365 using the clients cloudadmin account.
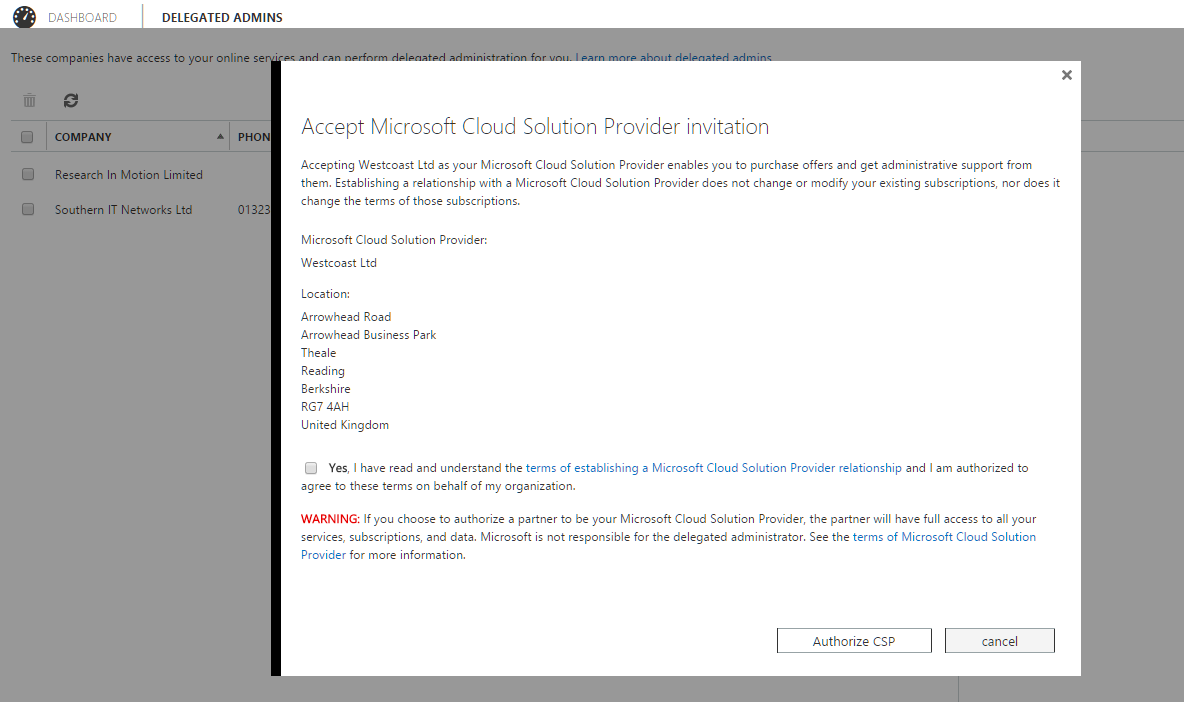
Accept the invitation notice and click 'Authorize CSP' Check the details are correct for Ingram, not Westcoast. Ingrams details are: Ingram Micro CBXII West Midsummer Boulevard Milton Keynes MK9 2EA United Kingdom
After a few minutes browse to the Users/Delegated Admins section in Office 365 and confirm 'WestcoastCSP' shows up in the list.
Disabling Auto Renew for Existing Subscriptions
When you activate CSP billing you will need to disable the auto renew feature for subscriptions you are replacing.
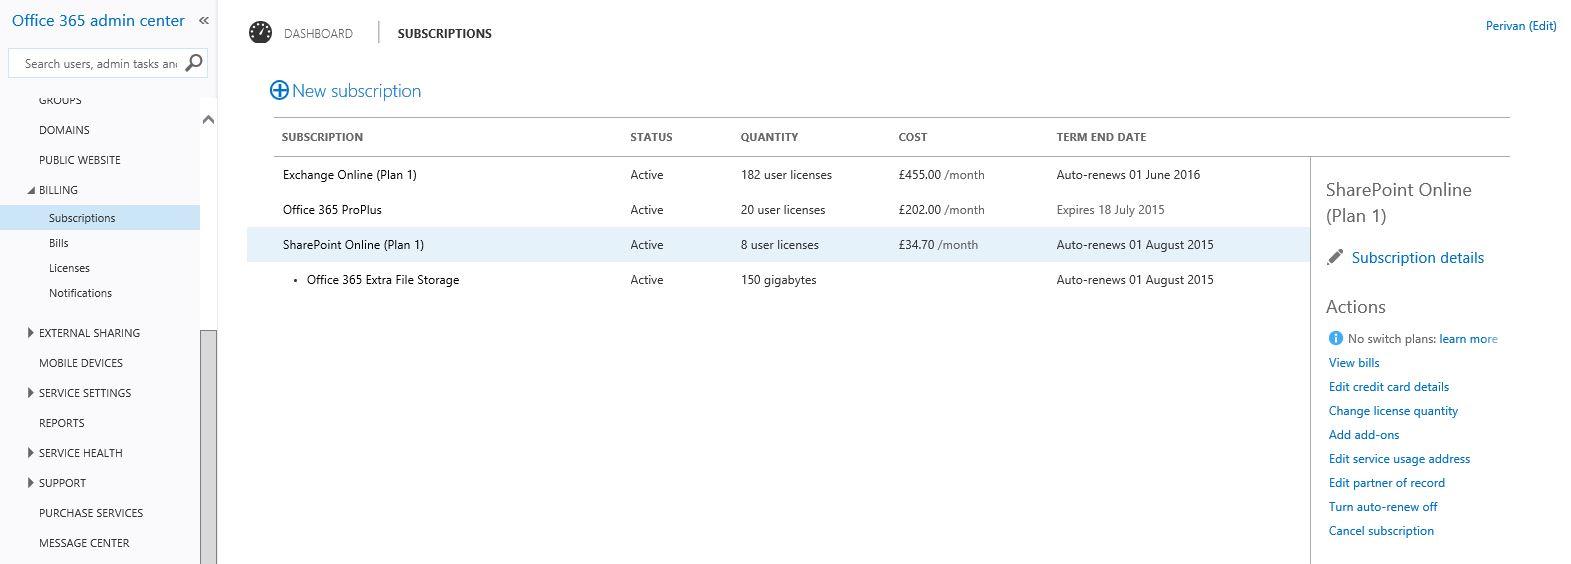
To disable auto renew log into the portal using the cloudadmin credentials and browse to billing then subscriptions. Highlight the subscription you wish to disable and click 'Turn auto-renew off'
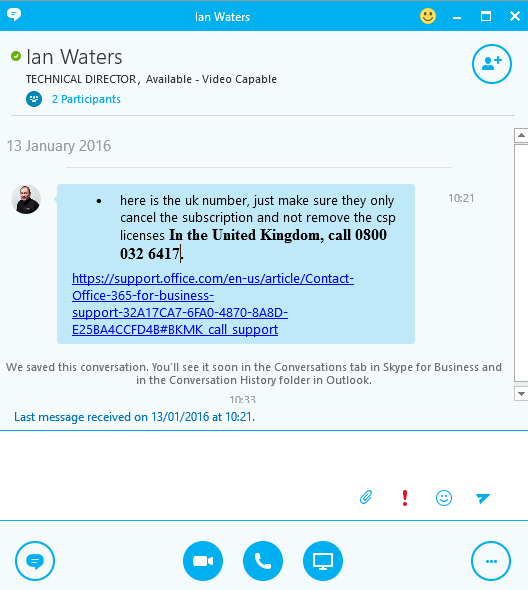
https://support.office.com/en-us/article/contact-office-365-for-business-support-32A17CA7-6FA0-4870-8A8D-E25BA4CCFD4B#BKMK If you need to cancel a subscription, call the Microsoft Online Support team and request cancellation. You may be asked the following security questions: 1. Company Domain 2. Company Address 3. Mobile Number associated with the account 4. Alternate Email
Adding licences:
Placing an order
Once the client has been set-up to use CSP billing you can now place orders for new subscriptions as required.
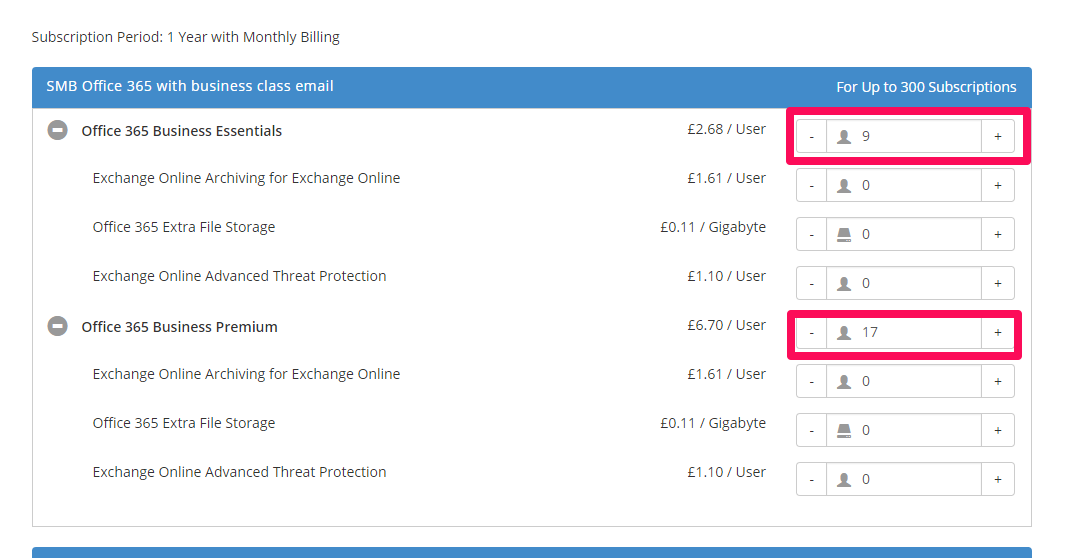
Scroll down to step 4, and select Purchase Monthly Subscriptions. Do not select Annual Subscriptions, as this will charge for a full year. We bill our clients monthly, so pay monthly although they are still tied into a year's contract to receive the lower pricing.
Select how many users require which licences, be sure to double check you have selected the correct licence.
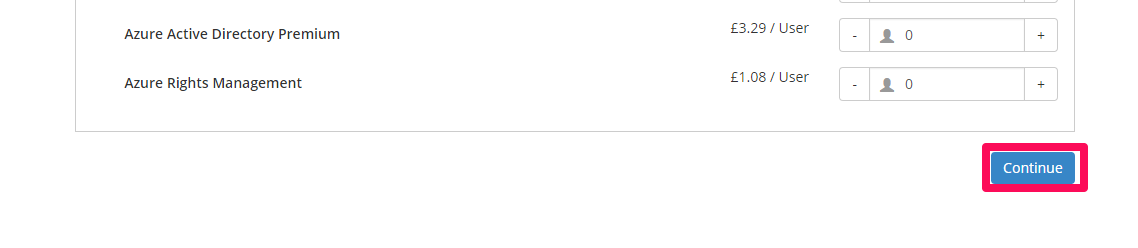
Scroll to the bottom and click continue to load the order.
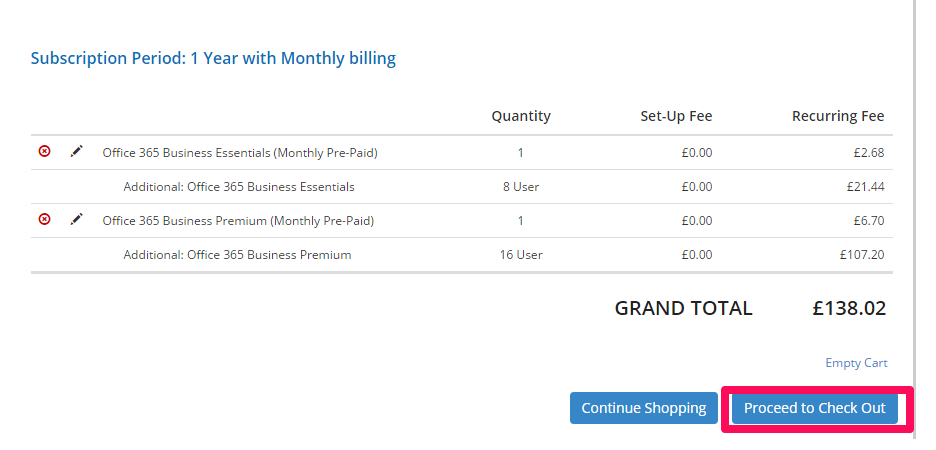
Check the details are correct. Will always say 1 + additional users. For example, 1 + 8 additional users means 9 in total. When you are happy that the details are correct, click proceed to checkout in the bottom right hand corner.
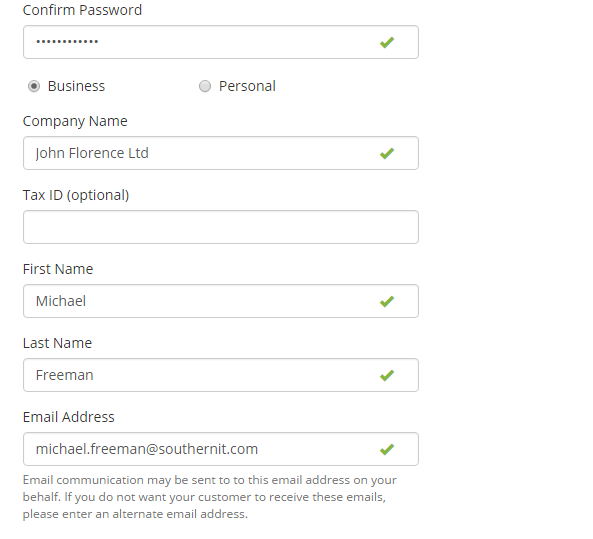
If the client is already registered, select them from the 'customer account' tab, otherwise select new user. Input a username for the client, normally something similar to the client name is fine and create a password using at least 1 number, 1 capital and 1 special character. Save these details in passportal under the title 'Ingram Micro CSP'.
Input the client name but with Michael's name and email address. This stops the client receiving unnecessary emails.
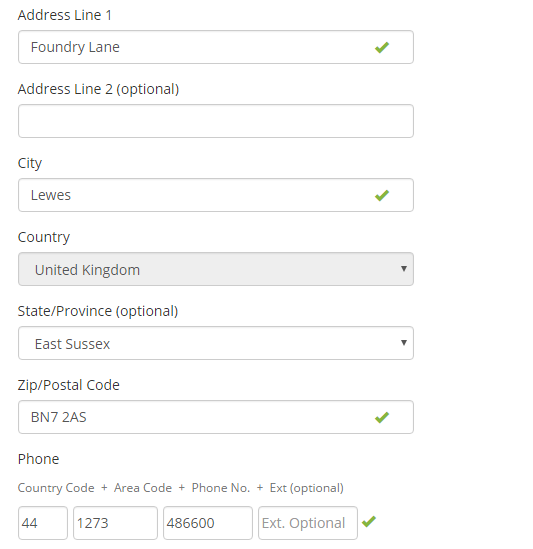
Put in the full client address and telephone number, leaving out the first '0'.
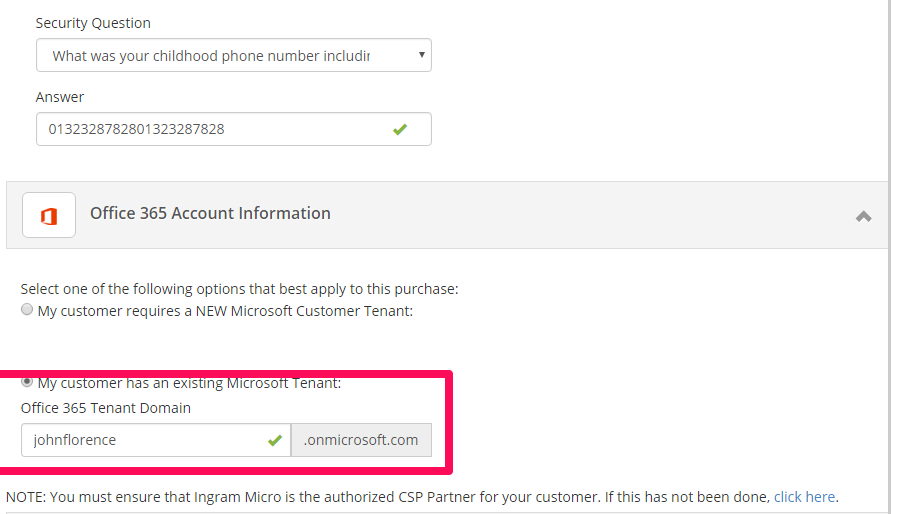
For each client use the security question 'What was your childhood phone number including area code' and input 013232878201323287828 as the answer (our phone number twice)
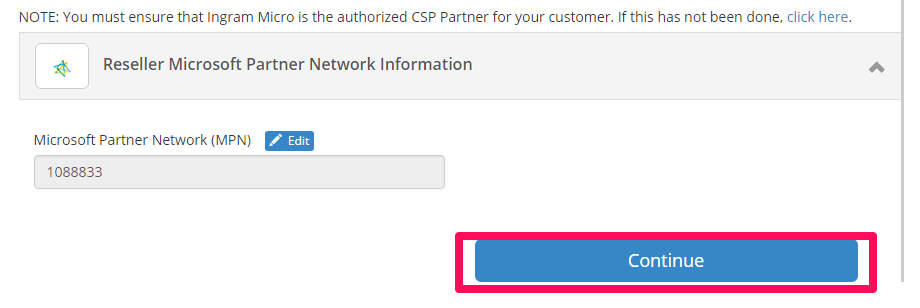
The MPN will be filled in automatically from you logging into your account. Click continue when all information is input and correct.
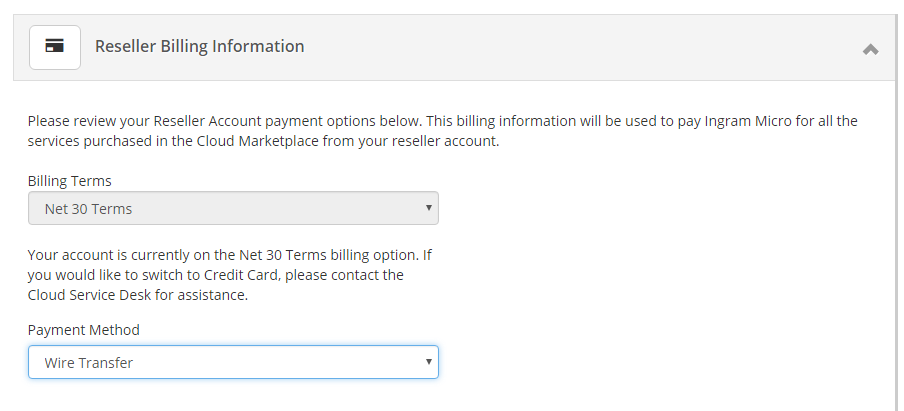
Select Wire Transfer for the payment method and scroll down.
Check the information is correct again, as this ties the client (and us) into a yearly commitment, so if the information is wrong, we will be spending money that wasn't meant to be. Tick the boxes to confirm the information is correct and that you agree to and Terms & Conditions applicable. Click Submit when happy.
A confirmation will appear on the next page, confirming that your order has been received and is being processed. Double check that the licences have appeared in the client portal 15 minutes after submitting the order.
Moving/Activating Purchased Licenses
If you are replacing an existing subscription and moving from debit card billing to CSP then let the existing subscription expire or cancel the subscription early which can incur a cancellation charge.
Once the subscription has expired or been cancelled remove the expired licenses from the user accounts and reassign them to activate the new subscription licenses.
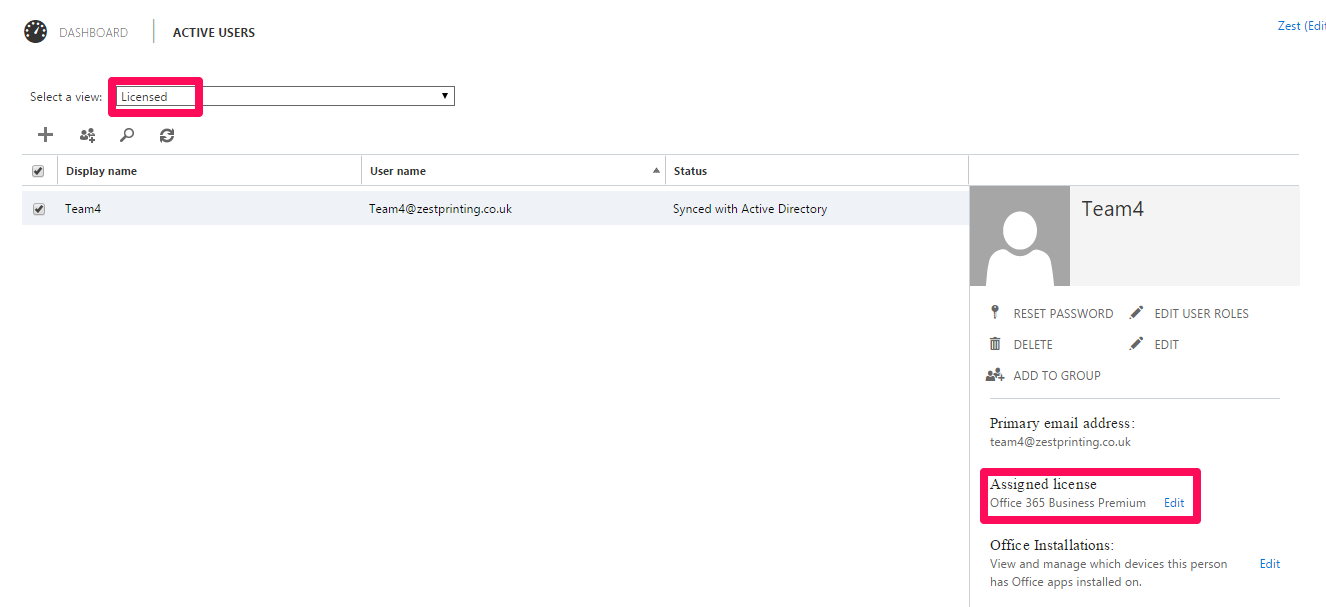
Load the users tab in the microsoft portal and create a list to view all licensed users. Click on each user and check they have a licence assigned. Click 'edit' next to their licence.
Sometimes licences need to be applied manually, so select the other licence that has been applied.
Adding the service to an Autotask Invoice
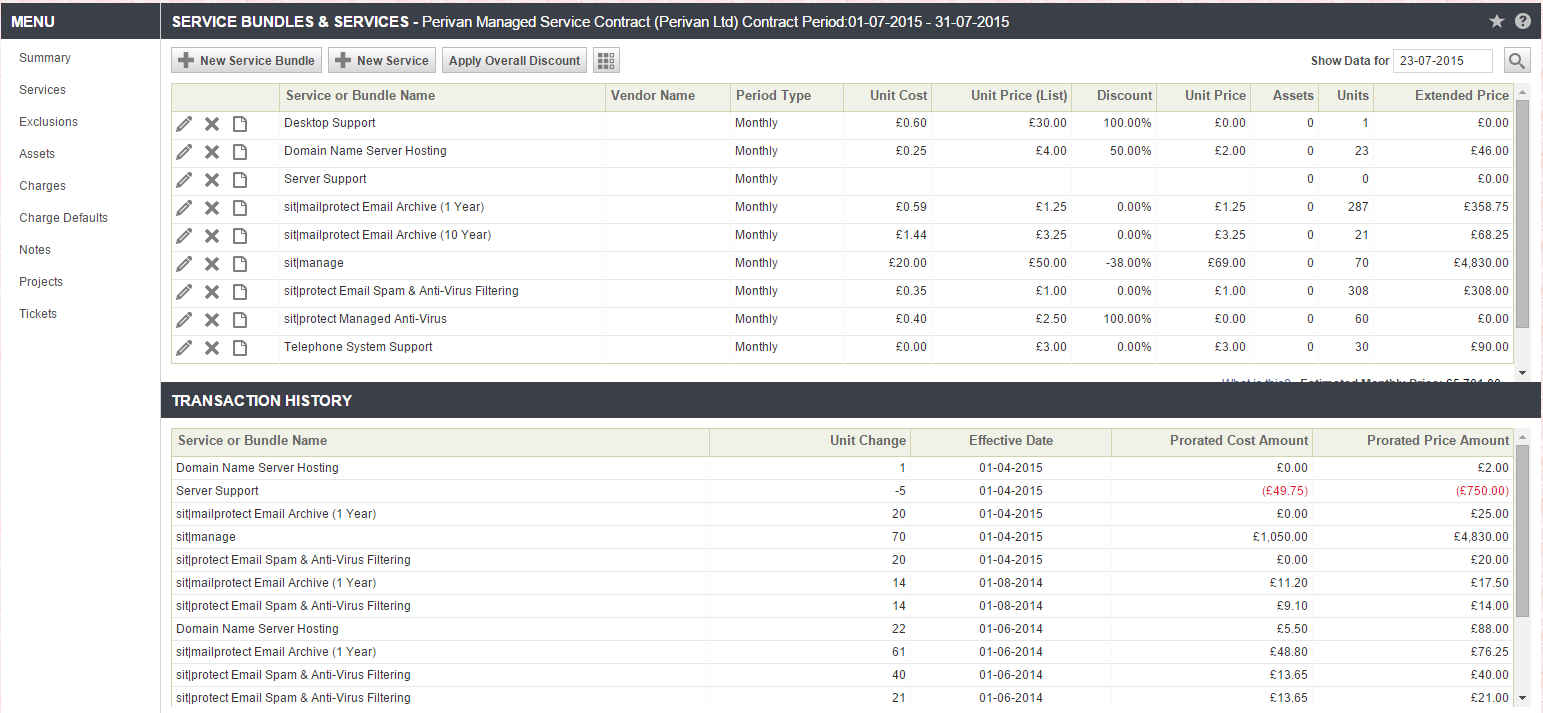
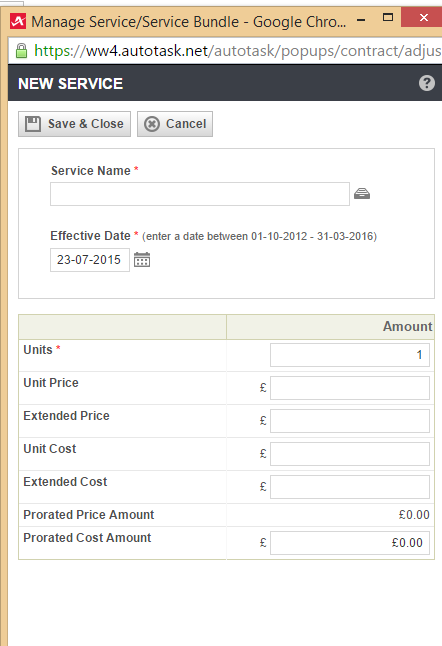
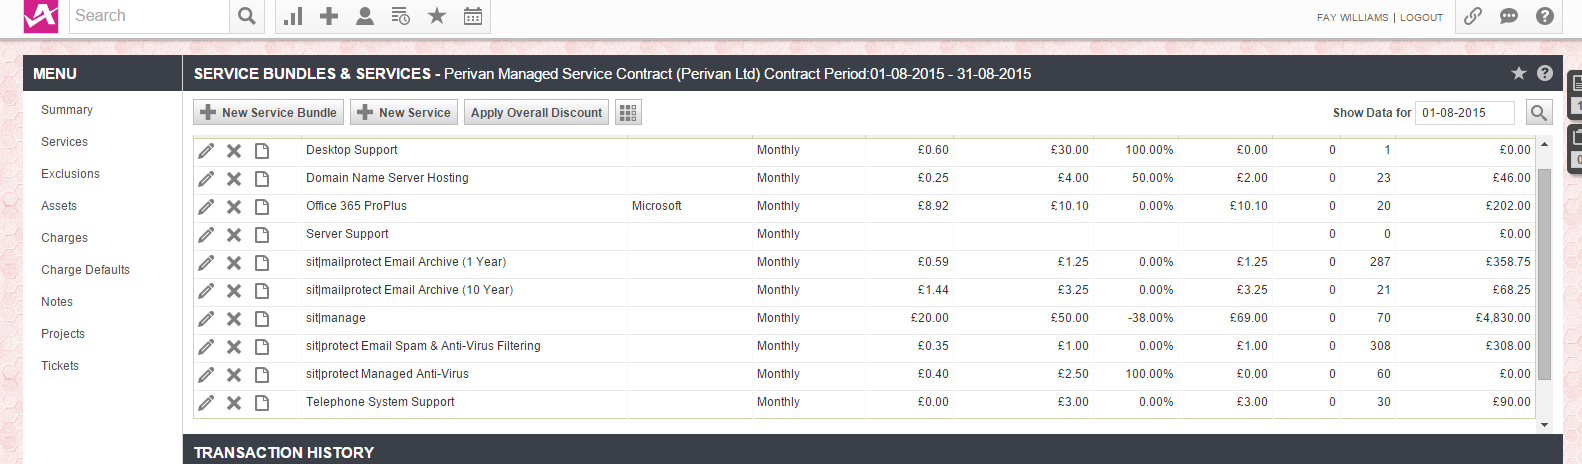
Select the client contract, and services from the left hand menu. Select + New Service from the buttons at the top of the page.
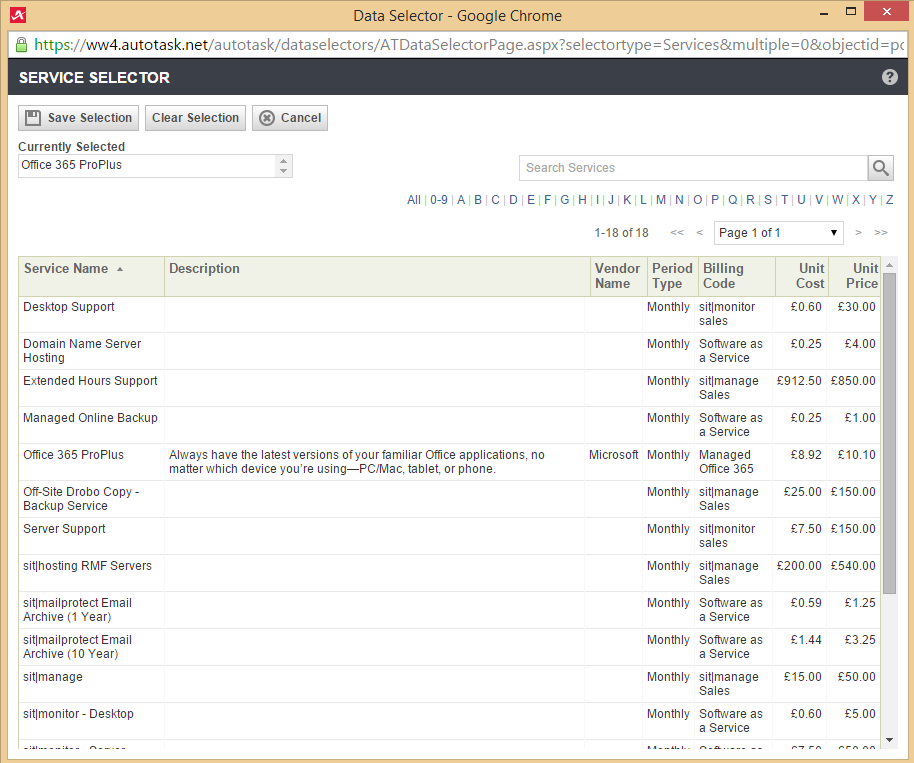
Select the file next to 'service name'.
Select the additional service to add. In this case, it is Office 365 ProPlus.
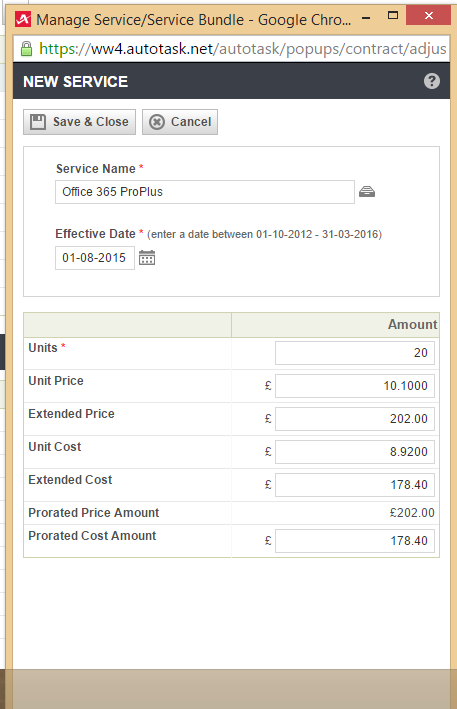
Make sure you change the date to the start of the next commencing month, input how many users and save and close when complete.
Make sure it is listed for the next month as a billable service and the correct amount is shown. (This is excl VAT). To change the date, use the date search in the top right hand of the page.
Adding the service to a KashFlow recurring invoice
Select the client, and then the managed fees recurring invoice from the list on the right hand side.
Select '+ Add New Line'. Change the type to 'Office 364 Subscription' or whatever the new one is. Input how many users, the same description from the service in AutoTask, how much per user and click away from the line. This will add it up.
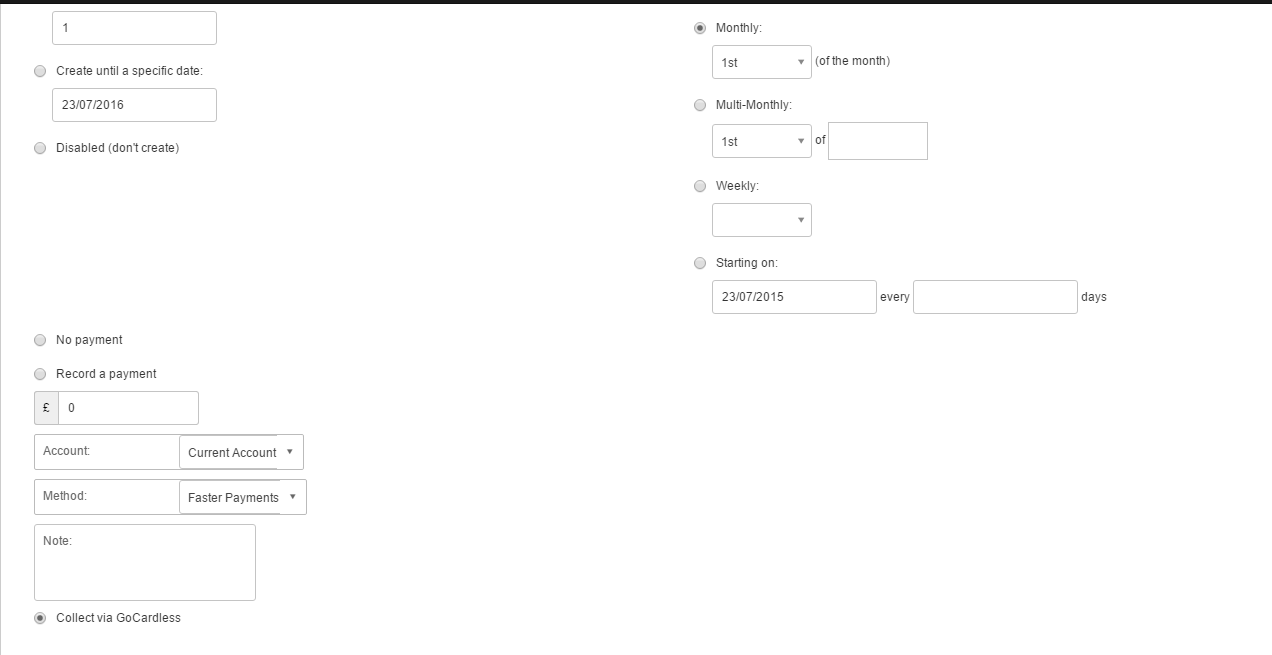
Double check that the invoice is due to be billed on the 1st of the month and that it is to be taken by 'GoCardless' (direct debit) click save when you are happy that it is correct.
Optional cookies and similar technologies support analytics, advertising and visitor identification, and embedded content. Change or withdraw consent in Cookie settings. Cookie policy.