Templates /
Cisco Router Setup

Cisco Router Setup

How to set up one or many Cisco routers in an office
1
Introduction:
2
Requirements:
3
Complete worksheets included in the site survey
4
Check you have the correct hardware
5
Check each PC has an Ethernet card
6
Gather enough cables and antennas for each PC and router
7
Check each PC's TCP/IP settings
8
Installation:
9
Connect ethernet cables and/or antennas
10
Connect power to the router
11
Verification:
12
Check router LEDs
13
Sources:
14
Related checklists:

Introduction:

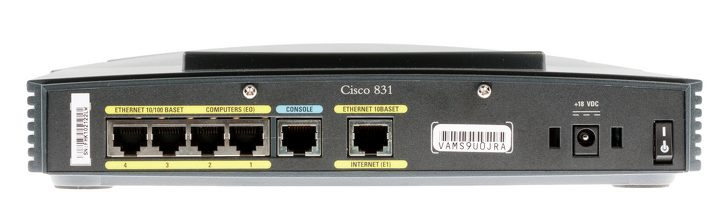
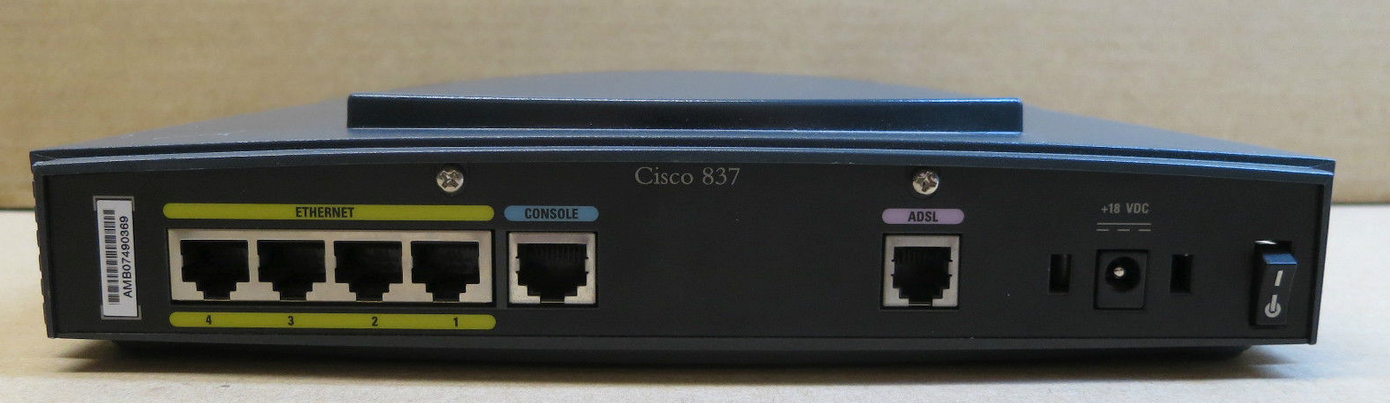
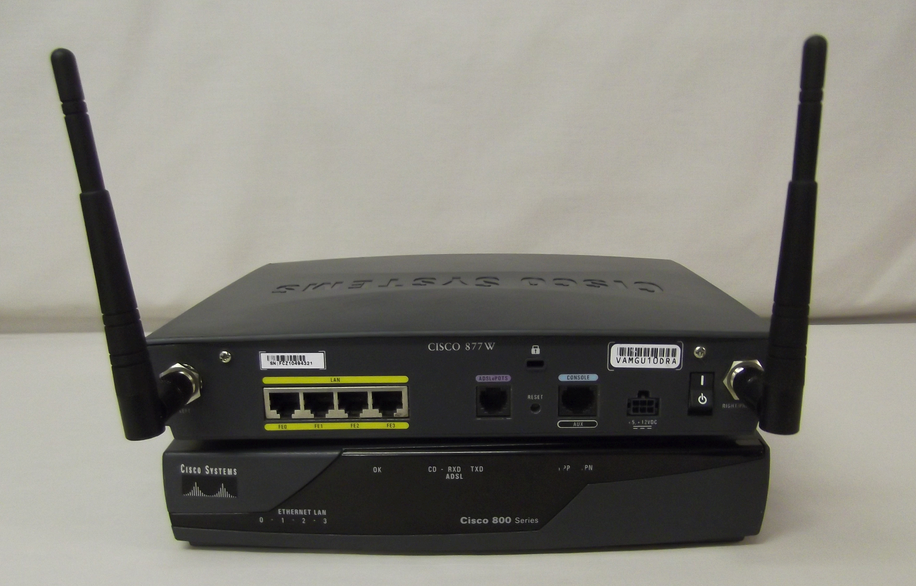
Cisco has a 53% market share in the enterprise router market, making Cisco routers among the most common in workplaces. The company is worth ten times more than Juniper, its closest competitor, and is known both for its excellent products and support processes.
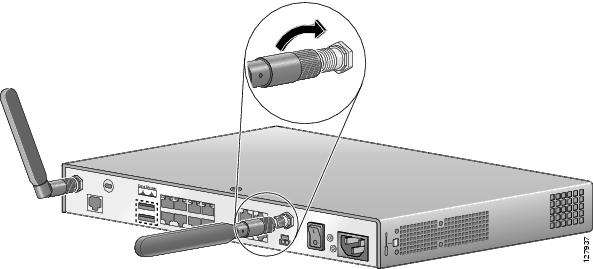
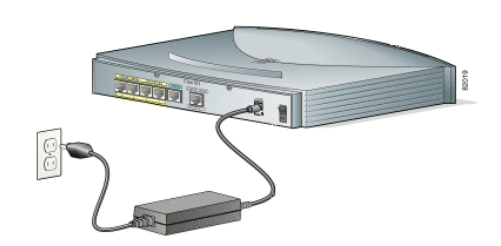
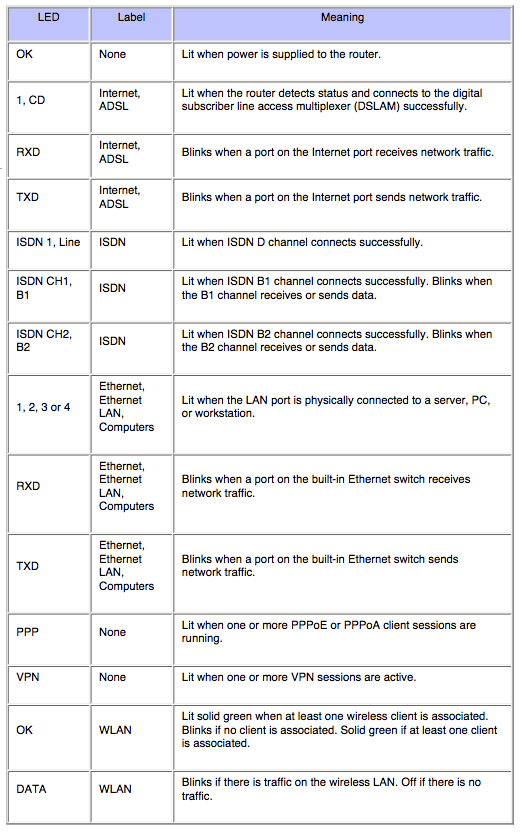
In this process, you’ll install one or many Cisco routers in an office, using the exact Cisco guidelines complete with diagrams. You’ll also verify the installation with the router LED statuses.

Requirements:

Complete worksheets included in the site survey

In some cases, you might need to present complete Site Survey worksheets to set up a Cisco router for an organization.

Record the router model in the form field below so you can keep track of your history of installations.


Check you have the correct hardware

You’ll need enough router(s) and power supply assemblies.

Check each PC has an Ethernet card

Gather enough cables and antennas for each PC and router

For Cisco routers 831, 851, 871 and SB 101

For Cisco routers 831, 851, 871 and SB 101, use two straight-through Ethernet cables per PC.

For Cisco routers 836, 837, SB 106, and SB 107

For 836, 837, SB 106, or SB 107 models, you’ll need one ADSL cable per router.

For wireless Cisco routers 851, 857, 871, 876, or 877

Each wireless Cisco router (851, 857, 871, 876, or 877 models) will need the correct amount of antennas each

Check each PC’s TCP/IP settings

Each PC should be configured to receive an IP address automatically with Dynamic Host Configuration Protocol (DHCP).

For more information on this configuration, check Cisco’s guide. To summarize in the case of a Windows PC:

  • 1

    Open the Network Connections control panel (Start > Control Panel > Network Connections)
  • 2

    Right-click the Local Area Connection icon and click Properties
  • 3

    Select Internet Protocol (TCP/IP) from the list of components, and then click Properties
  • 4

    Note current TCP/IP properties in case you need to roll back changes
  • 5

    Select ‘Obtain an IP address automatically’
  • 6

    Select ‘Obtain DNS server address automatically’
  • 7

    Click ‘OK’

Installation:

Connect ethernet cables and/or antennas

Ethernet connections

Exact placement and specification will vary between routers (for more information on specifics, check here), but overall you will need to connect the router(s) to as many PCs as is necessary using Ethernet cables running from the router to the PC’s ethernet card.

Wireless connections

For wireless routers, simply screw on the antennas for each.

Connect power to the router

Ensure you’re complying with your extension cord and power supply’s safety guidelines, and connect the router(s) to the power using the power adapter.

Verification:

Check router LEDs

A router with all green LEDs is functioning normally. Find other LED meanings below:

Sources:

Take control of your workflows today.