Templates /
IT Security Incident Response Plan

IT Security Incident Response Plan

A lean workflow for fast incident response
1
Introduction:
2
Diagnose:
3
Select source of incident
4
Review Linux logs
5
Review Windows logs
6
Review network device logs
7
Review web server logs
8
Categorize incident information
9
Compile incident details
10
Notify:
11
Specify emergency contacts
12
Notify emergency contacts
13
Control:
14
Block attacker's IP(s)
15
Isolate affected systems
16
Back up affected systems
17
Detect and remove malware
18
Recover and analyze:
19
Patch targeted vulnerabilities
20
Restore from the most recent unaffected backup
21
Store details of the attack's attributes, sources, and affected systems
22
Plan to prevent a similar attack in the future
23
Sources:
24
Related checklists:

Introduction:

A massive 61% of companies have experienced critical incidents in the last two years — that includes data breaches, unauthorized access, and denial of service attacks.

Are you in this wide majority of organization?

Do you have a formal incident response plan?

Most organizations (91%) do not believe their incident response processes are very effective, which indicates a need for a standardized checklist that is built out and developed with help of the whole information security team.

This checklist serves as a starting point, and will demonstrate the general procedures that should be taken into account.

For a full explanation of how to set this checklist up, including handy conditional logic and features that you only get when you use this checklist in your Process Street account, make sure to refer to this checklist’s blog post counterpart.

Diagnose:

Select source of incident

Your diagnostic response will vary depending on the affected system. Use the form field below to indicate which systems are affected and highlight which of the next tasks need to be done.

  • 1

    Linux
  • 2

    Windows
  • 3

    Network device
  • 4

    Web server

Review Linux logs

Log location: /var/log

Indicators of suspicious activity may include:

Successful user login:

  • Accepted password
  • Accepted publickey
  • session opened

Failed user login:

  • authentication failure
  • failed password

User log-off:

  • session closed

User account change or deletion:

  • password changed
  • new user
  • delete user

Sudo actions:

  • sudo COMMAND=
  • FAILED su

Service failure:

  • failed
  • failure


Review Windows logs

For Windows Vista event IDs, prefix with 4096.

Log location: security log & domain controller

Indicators of suspicious activity may include:

User logon/logoff events:

  • Successful logon 528, 540
  • Failed logon 529-537, 539
  • Logoff 538, 551

User account changes:

  • Created 624
  • Enabled 626
  • Changed 642
  • Disabled 629
  • Deleted 630

Password changes:

  • To self: 628
  • To others: 627

Service started or stopped:

  • 7035
  • 7036

Review network device logs

The examples here refer to Cisco ASA logs, but the terminology is general enough to be universal.

Traffic allowed on firewall:

  • Built … connection
  • access-list … permitted

Traffic blocked on firewall:

  • access-list … denied
  • deny inbound
  • Deny … by

Bytes transferred:

  • Teardown TCP connection … duration … bytes … 

Bandwidth and protocol usage:

  • limit … exceeded
  • CPU utilization

Detected attack activity:

  • attack from

User account changes:

  • user added
  • user deleted
  • User priv level changed

Administrator access:

  • AAA user
  • User locked out
  • login failed

Review web server logs

Comb your web server logs for the following events, and use the form field below to record anything interesting.

Log location (assuming Apache): /var/log/apache

  • Excessive access attempts to non-existent files
  • Failed user authentication: Error codes 401 & 403
  • Code (SQL, HTML) as part of the URL
  • Access to unfamiliar extensions
  • Error code 200 on files you don’t own
  • Service stopped/started/failed messages
  • Check access to pages that allow user input
  • Review load-balancer pool server logs
  • Invalid request: Error code 400
  • Internal server error: Error code 500

Categorize incident information

Suspicious logs for review:

{{form.Details_of_suspicious_logs_(Linux)}}

{{form.Details_of_suspicious_logs_(Windows)}}

{{form.Details_of_suspicious_logs_(Network_device)}}

{{form.Details_of_suspicious_logs_(Web_server)}}


With information from the log analysis, categorize the incident:

  • 1

    Denial of service
  • 2

    Malicious code
  • 3

    Unauthorized access
  • 4

    Unauthorized use
  • 5

    Espionage
  • 6

    Probe
  • 7

    Hoax

Compile incident details

Complete the form fields below. They will be compiled into an email template which you can use to notify all key members of staff.


Notify:

Specify emergency contacts

These are the contacts that will be sent the incident summary you built in the form fields of the previous tasks.

Notify emergency contacts

The email widget below is a summary of the information you have collected so far, and will automatically populate as you work through the checklist.

Control:

Block attacker’s IP(s)

Your log analyses may have surfaced suspicious IP addresses that are the source of the attack.

Use iptables in Linux or Windows Firewall in Windows to bar access.

iptables -I INPUT -s [IP-ADDRESS-HERE] -j DROP

In the case of a large-scale DDoS attack, you may need the help of your ISP or specialized equipment.

Isolate affected systems

By confining the compromised application, you stop attackers from gaining access  to other system and network resources. Once isolated, an attacker is out of options.

Isolation containers should not contain other data, files, or sensitive information.

Tools such as AppArmor confine applications to a limited set of resources and isolate any potential attack damage automatically.

When isolating malware for analysis, be sure to do it on a specific, disconnected machine that has no way of communicating with the rest of the network.

Back up affected systems

As quickly and early as possible, you should save backups of the affected systems. This is for two reasons:

  1. To capture any at-risk data that may soon be lost/corrupted/deleted
  2. To capture the state of the breach for later analysis

It’s wise to pull these backups to an isolated machine, especially if you suspect the attack may be malware-based.

Detect and remove malware

Information security guru Lenny Zeltser breaks the malware analysis process down to a few key areas:

  • Examine static properties and meta-data
  • Behavioral analysis: examine the specimen’s interactions with its environment.
  • Static code analysis: understand the specimen’s inner-workings.
  • Dynamic code analysis: understand difficult aspects of the code.
  • Unpack the specimen on an isolated lab computer if necessary
  • Perform memory forensics of the infected lab system

If malware was found, record the details in the form field below to keep your data centralized and accessible for your team:


Recover and analyze:

Patch targeted vulnerabilities

The vulnerability that caused the incident may well already have a patch available. Check online for an update, or devise a custom solution.

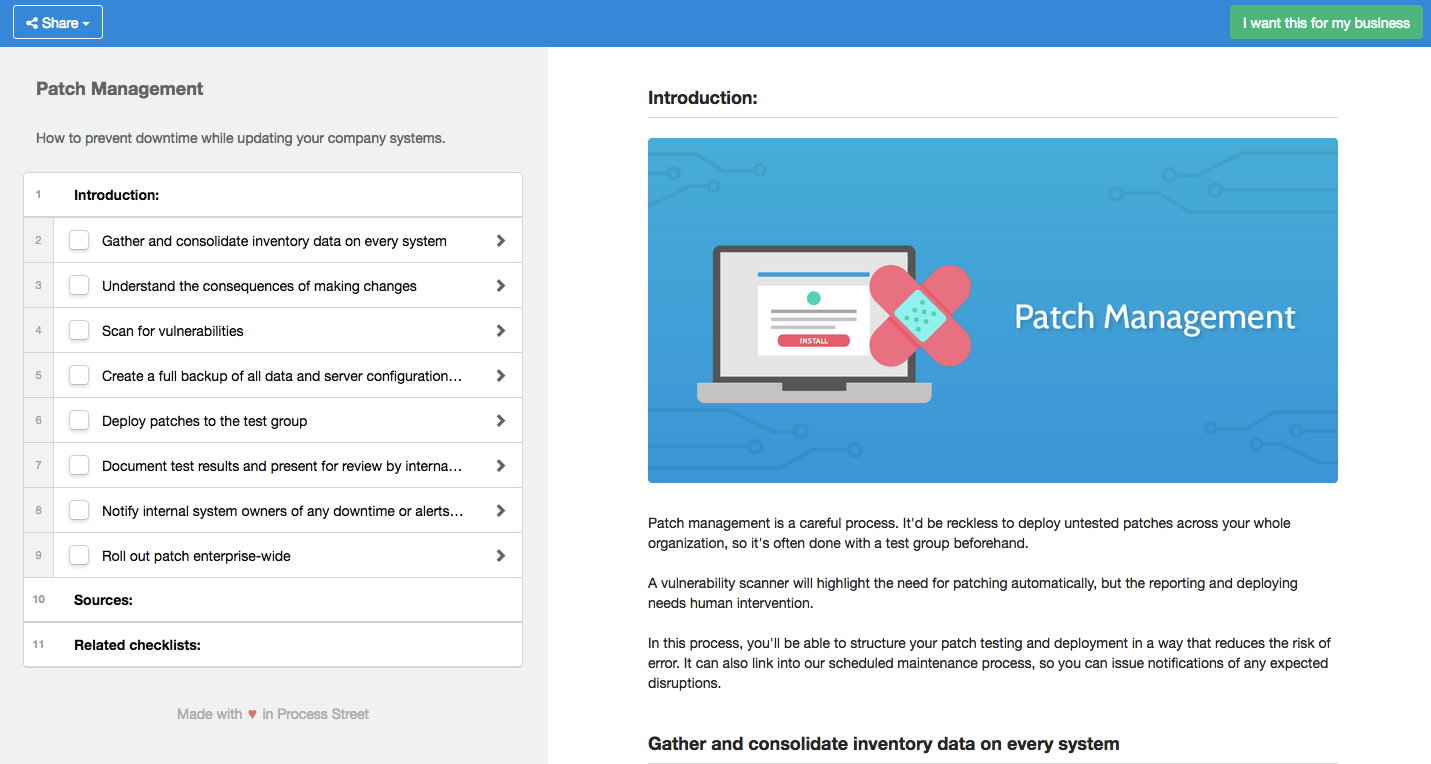
For a more detailed explanation and guide, refer to our patch management process.

Restore from the most recent unaffected backup

After carefully analyzing the backup data and confirming that there is nothing on the files that pose a risk, restore the backup. This will help you roll back as much damage as possible. In the unfortunate case that the backup is old, make sure to configure your backups to recur more regularly.

Store details of the attack’s attributes, sources, and affected systems

The data you have entered so far in this checklist is a detailed summary of the attack’s attributes, sources, and scope.

It will be stored both in this Process Street checklist, and in the email constructed in task 12 above. You can consolidate this data into a standard form your organization uses, or just download your incident response checklist history as a CSV from Template Overview for further analysis.

Plan to prevent a similar attack in the future

By analyzing the logs and building up a picture of the attack’s nature and exploits, you can more easily defend against future similar attacks.

  • Did it occur because your systems weren’t patched regularly enough?
  • Was it an issue with firewall configuration?
  • Do employees need training not to click suspicious links in emails?
  • Do you need to confer with your ISP to prevent DDoS?
  • What did the attacker seek to gain?

Sources:

Take control of your workflows today.