Templates /
Order Fulfillment Checklist

Order Fulfillment Checklist

Run this order fulfillment checklist to successfully prepare and deliver any items your customers order
1
Introduction
2
Receiving an order:
3
Record order details
4
Confirm that payment has been received
5
Retrieving products from your inventory:
6
Check that the products are in stock
7
Request the ordered products from your inventory
8
Record which products were taken from storage
9
Perform quality checks
10
Packaging products:
11
Print packing slip
12
Print invoice
13
Package the items securely
14
Weigh and measure products
15
Attach the shipping label to the packaging
16
Approval: Pre-dispatch review
17
Dispatching the products:
18
Examine your other orders for delivery overlaps
19
Arrange the delivery
20
Load items into the delivery vehicle
21
Post-dispatch:
22
Send a confirmation email to the customer
23
Sources:
24
Relevant checklists:

Introduction

So, you’ve secured a sale. Fantastic! Now all you have to do is get the product to its new owner.

Unfortunately, this isn’t as simple as it sounds. Items can get lost, orders mistaken, and products mixed up, and that’s to say nothing of how long the whole procedure takes.

That’s why we here at Process Street made this order fulfillment process.

By running this checklist for every order you receive, you can effectively delegate and track the entire order fulfillment procedure right up until the customer receives the product.

Everyone involved can just look in their assigned task to see what they need to do, and there’s no chance of products getting mixed up because all information to do with the order can be automatically pushed into your checklist.

Let’s deliver your products to some soon-to-be-happy customers.

Receiving an order:

Record order details

First up in this order fulfillment checklist you need to record the details of your customer’s order. This will let you use this checklist to track the progress of the order without having to constantly refer back to the original document.

Record the order details using the form fields below.

If you’d rather have the information automatically copy itself into your checklist, take a look at our resources on how to integrate Process Street with Zapier.


Confirm that payment has been received

Although this shouldn’t be an issue, it’s worth taking a minute or two to make sure that the payment for the order has gone through.

If you’re using any software to help manage your transactions (such as Shopify) then this should be automatically taken care of, as the order will not register unless the payment sticks. However, it only takes a minute to go into either your bank account or payment management system and check your orders, so go and do that now.

Whether this was done automatically or manually, use the dropdown form field below to note whether payment for the items has been received.


Retrieving products from your inventory:

Check that the products are in stock

Next you need to check that the products ordered arein stock.

If they aren’t, you need to order more and give an estimate of when they will arrive, as this will affect the delivery time for your customer’s order. It’s a good idea to let the customer know of any potential delays this might cause.

Use the form fields below to record what you find.


Request the ordered products from your inventory

Next up in the order fulfillment checklist is to request the products from your inventory. This will usually just involve passing a list of the products to your floor manager, but use the form fields below to note down the products requested, along with their ID and how many were ordered.

Alternatively, if you use a separate form to request these items, upload it to this checklist using the file upload field provided.


Record which products were taken from storage

Once they are taken, you need to document precisely which products were removed from storage. This will allow you to keep an accurate stock count and to know precisely which products were shipped to who.

In turn, this knowledge will greatly help you in the event of a refund being requested or a general stock review being performed.

Record the product IDs using the form field below.


Perform quality checks

Once the products have been taken out of storage it’s important to run quality checks before sending to your customer. Although this shouldn’t happen, there’s always a chance that the items were damaged in transit or storage (or that they were defective off the production line).

Whether you or your warehouse floor manager performs these checks, record the ID of any product which did not meet quality checks, and the ID of its replacement from storage.


Packaging products:

Package the items securely

It’s now time for you to package the items ready for delivery. This includes both finding suitable containers for the items and using extra materials to make sure the products don’t move around in the containers.

Usually you’ll want to send all items for the same customer in a single box, but depending on the products this might not be possible. For example, if the items are exceptionally fragile or just very large, you’ll have to put them into two separate boxes.

To fill in whatever space is left over, use packing peanuts, kraft paper, plain newsprint, bubble wrap or air pillows. Fill the container until the product cannot move around as it is being transported.

Also, remember to put the packing slip and printed invoice inside your container before sealing it.

Finally, secure the box(es) with strong packing tape.

Weigh and measure products

Now it’s time to weigh and measure the products to get an idea of how they should be delivered.

Weigh and measure the boxes or containers you’ve packaged your products into, then record those figures using the form field below


Attach the shipping label to the packaging

The final step in packaging your products is to attach the shipping label to the appropriate box(es). This will indicate to your delivery service where the product needs to go, and will allow you and the customer to track the parcel as it is being delivered.

Remember to upload a copy of the shipping label used to the form field below.

After this step, there’s an approval task for your warehouse manager. They will ensure that you’ve packaged the product properly. If you have, the manager will approve the dispatching of the product. If they reject it, you’ll have to repackage the product again.

Your warehouse manager will be automatically assigned to the approval task, providing you filled out the “Your warehouse manager’s email” form field in task #3.

Approval: Pre-dispatch review

Will be submitted for approval:

  • Print packing slip

    Will be submitted

  • Print invoice

    Will be submitted

  • Weigh and measure products

    Will be submitted

  • Attach the shipping label to the packaging

    Will be submitted

Dispatching the products:

Examine your other orders for delivery overlaps

The more orders you can bunch together without affecting the delivery time, the better. While this isn’t always possible (especially with smaller operations), it’s good practice to check your other open orders and delivery windows to see if you can fit the current order in the same load.

In practice the overlapping deliveries will vary wildly based on the size and nature of your operation. If you use a courier such as FedEx or UPS, bunching orders together will just allow you to hand all of them off at once.

If, however, you have your own delivery service, grouping orders is a fantastic way to save money, since you can just extend an existing journey instead of arranging two trips.


Arrange the delivery

It’s time to arrange the delivery for your order. The main thing to remember here is which orders (if any) you’re grouping together, as this will usually dictate the window you can fit the delivery into.

After considering these aspects along with any delivery preferences or dates specific by your orders, make arrangements for the products to be delivered. This will once again depend on the delivery service you’re using, but in general make sure that a date and time is set up.

Record the delivery time and service used using the form fields below.


Load items into the delivery vehicle

We’re almost finished with the order fulfillment process now! Once the delivery slot arrives you need to hand the ordered items off to the delivery driver.

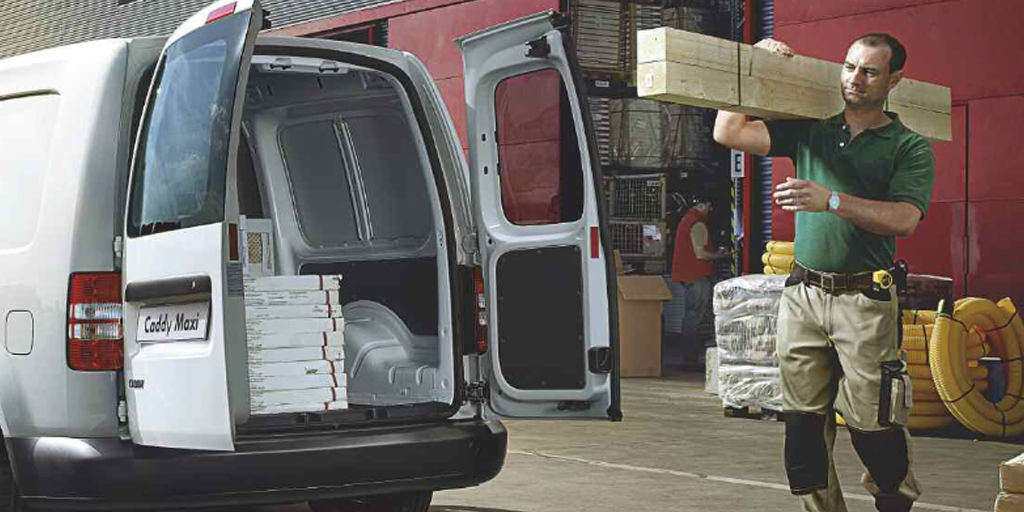
This may include helping them load the products or straight-up loading them yourself, but either way make sure that the proper equipment is used and that the items are secured inside the delivery vehicle.

Post-dispatch:

Send a confirmation email to the customer

Once your items have been dispatched with the delivery driver you need to send a confirmation email to the customer to let them know that their order is on its way.

This email doesn’t have to be long (you can just have a line or two explaining that their items has been dispatched), but if it’s possible to track the item(s) then be sure to explain to the customer how they can do so.

Congratulations! You’ve successfully completed your order fulfillment duties, and can move on to the next order you’ve received.

Sources:

Relevant checklists:

Take control of your workflows today.