With our fantastic Approvals feature, you can streamline any processes that need authorization by another person. You can create single instance approvals, multi-stage or sequential approvals within your workflows.
This feature not only helps you to set a structure for your approval process but also saves you heaps of time since hand-offs will become a breeze!
Users: In order to add or edit Approvals in your workflows, you must be an Administrator or a Builder who has been given ‘edit’ access by your Administrator.
Most companies require colleagues to submit a paid time off (PTO) request and have their manager sign off on it. This is a simple one-stage approval that you can set up really quickly.
When a candidate is going through your interview process, there may be several levels of approval to go through before sending an offer letter. Different colleagues or managers may be involved in various stages of the process, and each stage requires sign-off before the candidate can progress to the next one.
If you offer products or services to customers or clients, there may be occasions when you want to offer a discount. Discounts over a certain percentage need to be signed off and approved by your manager before being agreed upon with the end user.
When somebody in your business submits an expense report, any expenses under $100 are automatically approved, whilst any over $100 always require manager approval. Using Conditional Logic, you can set the tasks in your workflow run to show the approval step only when needed, and the manager can approve or reject only those expenses that need to be dealt with.
Head to your Library and find the workflow that you’d like to add an approval into. Hover over your workflow’s name and click the quick link to edit the workflow.
Once you’ve decided where you’d like the approval to sit in your process, click the task after which you want the approval.
Then click the + icon at the bottom of your task list on the left and select Approval. This button adds a new task, but not just any task, this one has Approval superpowers!
Give your approval task a name – in the example above, we’ve called it “HR Manager”. Next, click on the button in the center of the screen to select the tasks you’d like to get approved.
You can choose individual tasks, whole sections of your workflow run by clicking on the headings, or you can select all the tasks to approve.

You can double-check which tasks you’ve selected as they will appear highlighted on the left of your screen. From the center panel, you can add more tasks to approve, or delete them via the trash can icon. Once you’ve selected the tasks you’d like to be approved, click Done.
You can add notes for the task approver to provide them with additional context or instructions. You can format these notes in rich text or hyperlink them, as shown below.

It’s important to always assign a user or a group to the task/s you’re looking to get approved. You can also give these tasks a due date to help keep your work on track.
When those tasks are approved or rejected, the user or group will receive an email notification that those tasks have been dealt with.
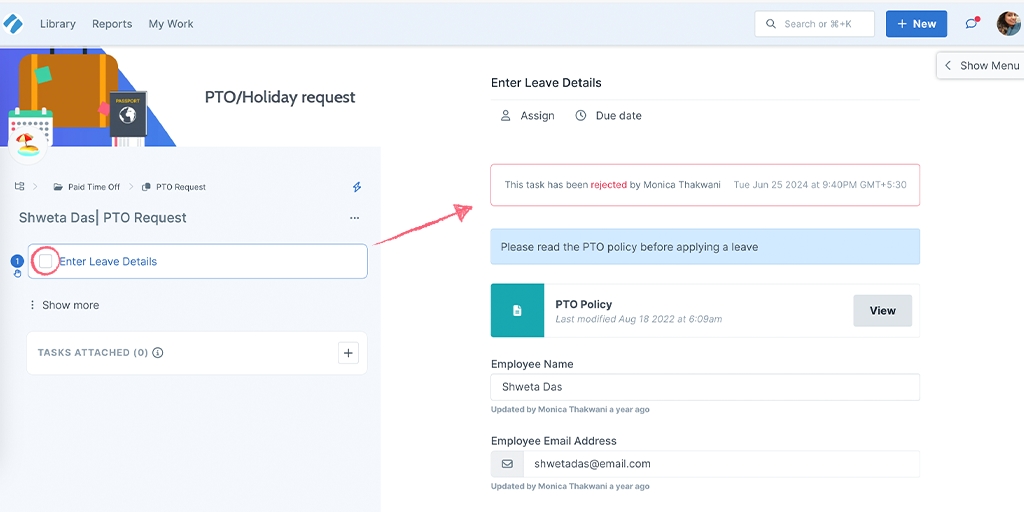
If the task/s have been rejected they will also re-appear in that person’s My Work, so that they know they have to resubmit the task/s for approval a second time around.
If there are no task assignees, no one will be notified of the approval or rejection of those tasks.
It’s equally as important to assign a user or group to the approval task itself.
Assign the user or group you would like to handle the approval and give this task a due date too if required.
This enables the person assigned to the approval to receive an email notification when all the tasks that need approval have been completed. The Approval task will then also appear in that person’s My Work.
Note that if only two out of three tasks to be approved have been completed, the notification won’t be sent to the approver. Only when all three tasks are complete, will they receive that notification.
You should consider setting a due date, a stop task, and set permissions for the tasks to be approved, as well as the approvals task at this point:
The gif below shows you how to add all these steps.
Publish the changes to your workflow and you’re ready to start running workflows with approvals!
That’s it for building your approvals, so now we’ll move on to seeing how you can submit tasks for approval in a workflow run.
If you are the person filling out the workflow run, you’ll work through the tasks as normal, completing each one assigned to you.
If you see an approval task after the tasks you completed, it may be assigned to another user to review your work. You need to wait for them to approve or reject your tasks before you can move on with the workflow run.
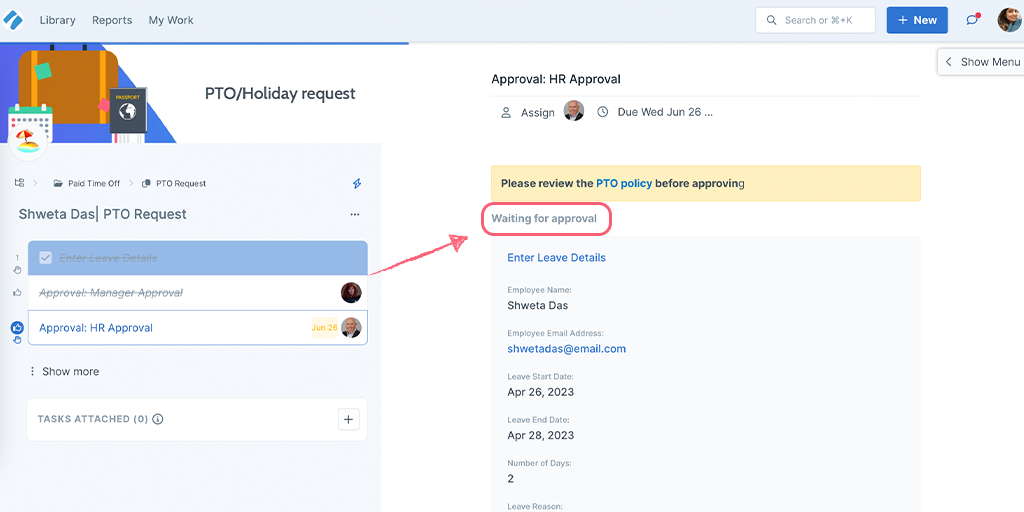
If you don’t see an approval task, it may be hidden from you because task permissions are preventing you from seeing it. You may need to wait for an email notification about the tasks you submitted for approval before being able to complete the workflow run.
Whether you can see the approval task or not, you’ll need to wait for the notification that your task(s) has been approved before being able to continue working through the rest of the workflow run and eventually, completing it.
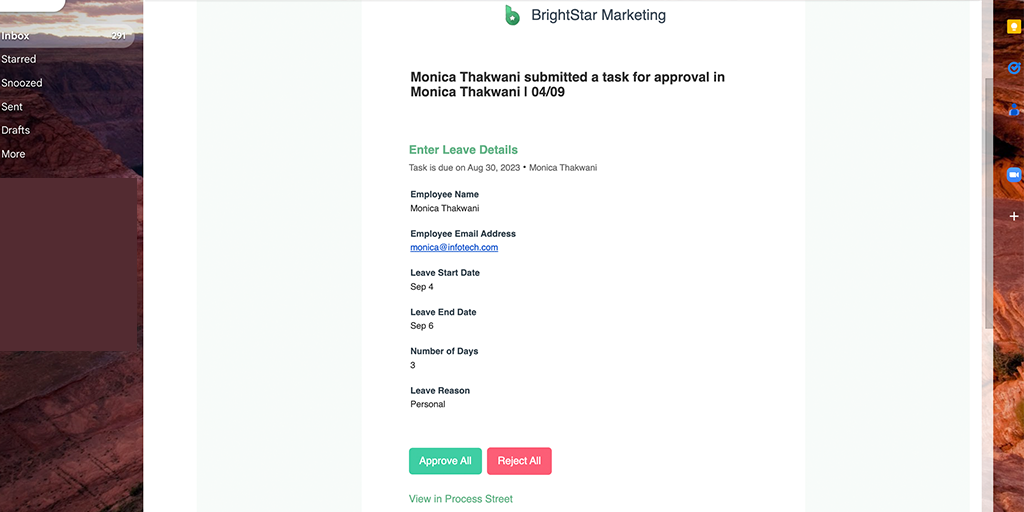
When you check off a task/s for approval, the person assigned to the approval task receives an email notifying them of the information you submitted. A new Approval task will also appear in their My Work.
Once they have decided, you will receive an email notification with their comments (if they added any) and the approval status.
If it has been rejected, click the task name in your email to take you directly back to the task in question. The task will be unchecked for you to amend the information you entered, complete it again, and send it back to the approver for another review.
Once the task has been approved, you’ll receive another email notification to let you know, and then you can click the blue link, which takes you back to the workflow run.
Now, if there are no more tasks waiting for approval, you can go ahead and complete the workflow run. Cue the confetti!
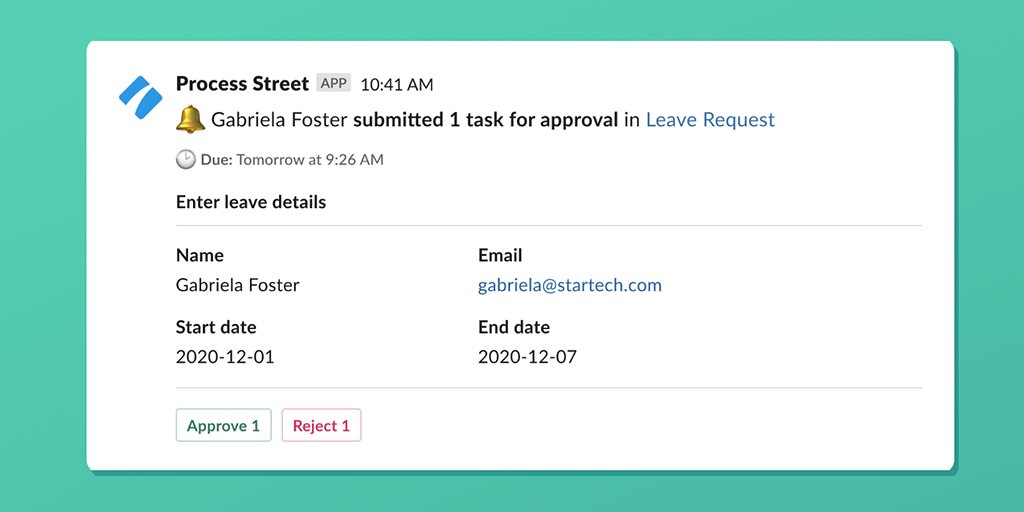
You can see tasks that you’ve been asked to approve in your email. Click the task name or click ‘View in Process Street’ to view the task in Process Street. You can also approve or reject the task straight from the email.
You can also find tasks to approve in My Work. Use the All types to only show Approvals tasks you need to address.
Approve or reject it with or without comments as appropriate.
If you reject a task, you have the option to reject it with or without adding comments saying why you’ve made that decision and asking for updates to be made to the information.
Click the comments bubble next to the reject button to add a comment, or click Reject to send without comments.
Note: You cannot add rejection comments from emails. You can only add them when you’re in Process Street’s mobile app or the browser version.
If you’re sending the rejection with comments, after you’ve clicked the comments bubble, type your notes and click Reject and Send Comment to notify the person who submitted the information that they need to make changes.
Once you have rejected a task, the Approval task will disappear from My Work, until the task has been re-submitted.
This process will loop back around to you until you approve the task.
In case you want to add a note with your approval, you have the option to approve a task with comments as well.
Click the comments bubble next to the approve button to add a comment, or click Approve to send without comments.
Note: You cannot add approval comments from emails. You can only add them when you’re in Process Street’s mobile app or the browser version.
When you approve a task, the person who submitted it will receive a notification that allows them to go back into the workflow run, where they will be allowed to complete any more tasks they need to work on.
They can complete the workflow run once all the approvals in that workflow run have been signed off.
You can edit your decision to approve this task if the situation changes and you now need to reject it, or if you’d like to make a change to your comments. Go to the approval task and hover over the task you approved then click Edit status next to the task name to reject it.
If you’re using our Slack app, you can Approve or Reject tasks without even needing to open Process Street. If you would like to reject with comments, you will need to click to open the workflow run.
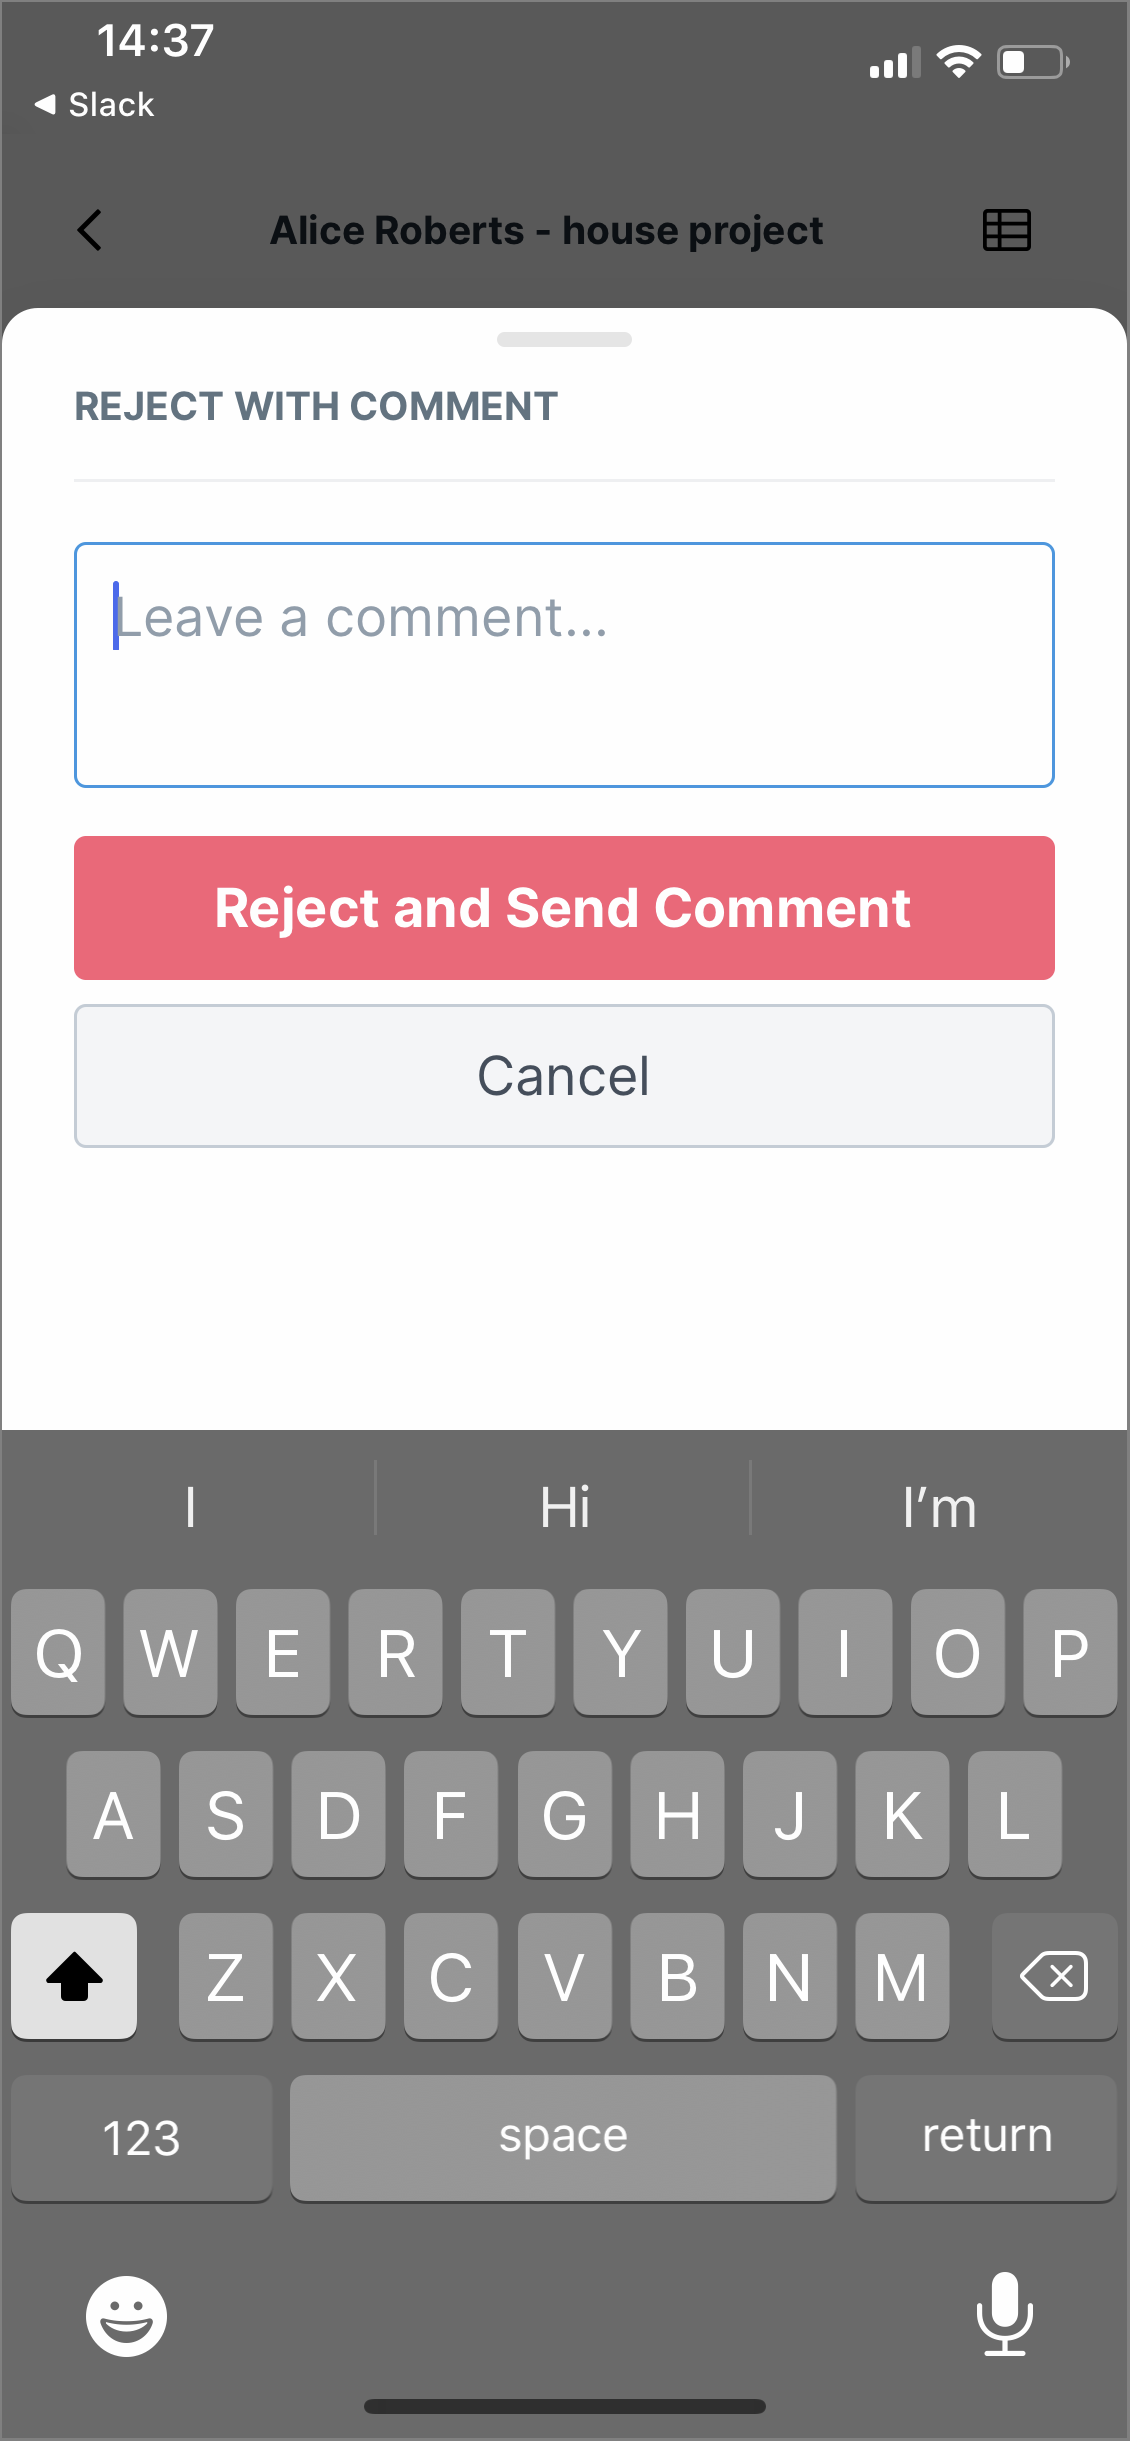
If you’re using our iOS mobile app, you can approve, reject, or reject it with comments. To reject with comments, click “Reject“, type your comments, then click “Reject and Send Comment“.
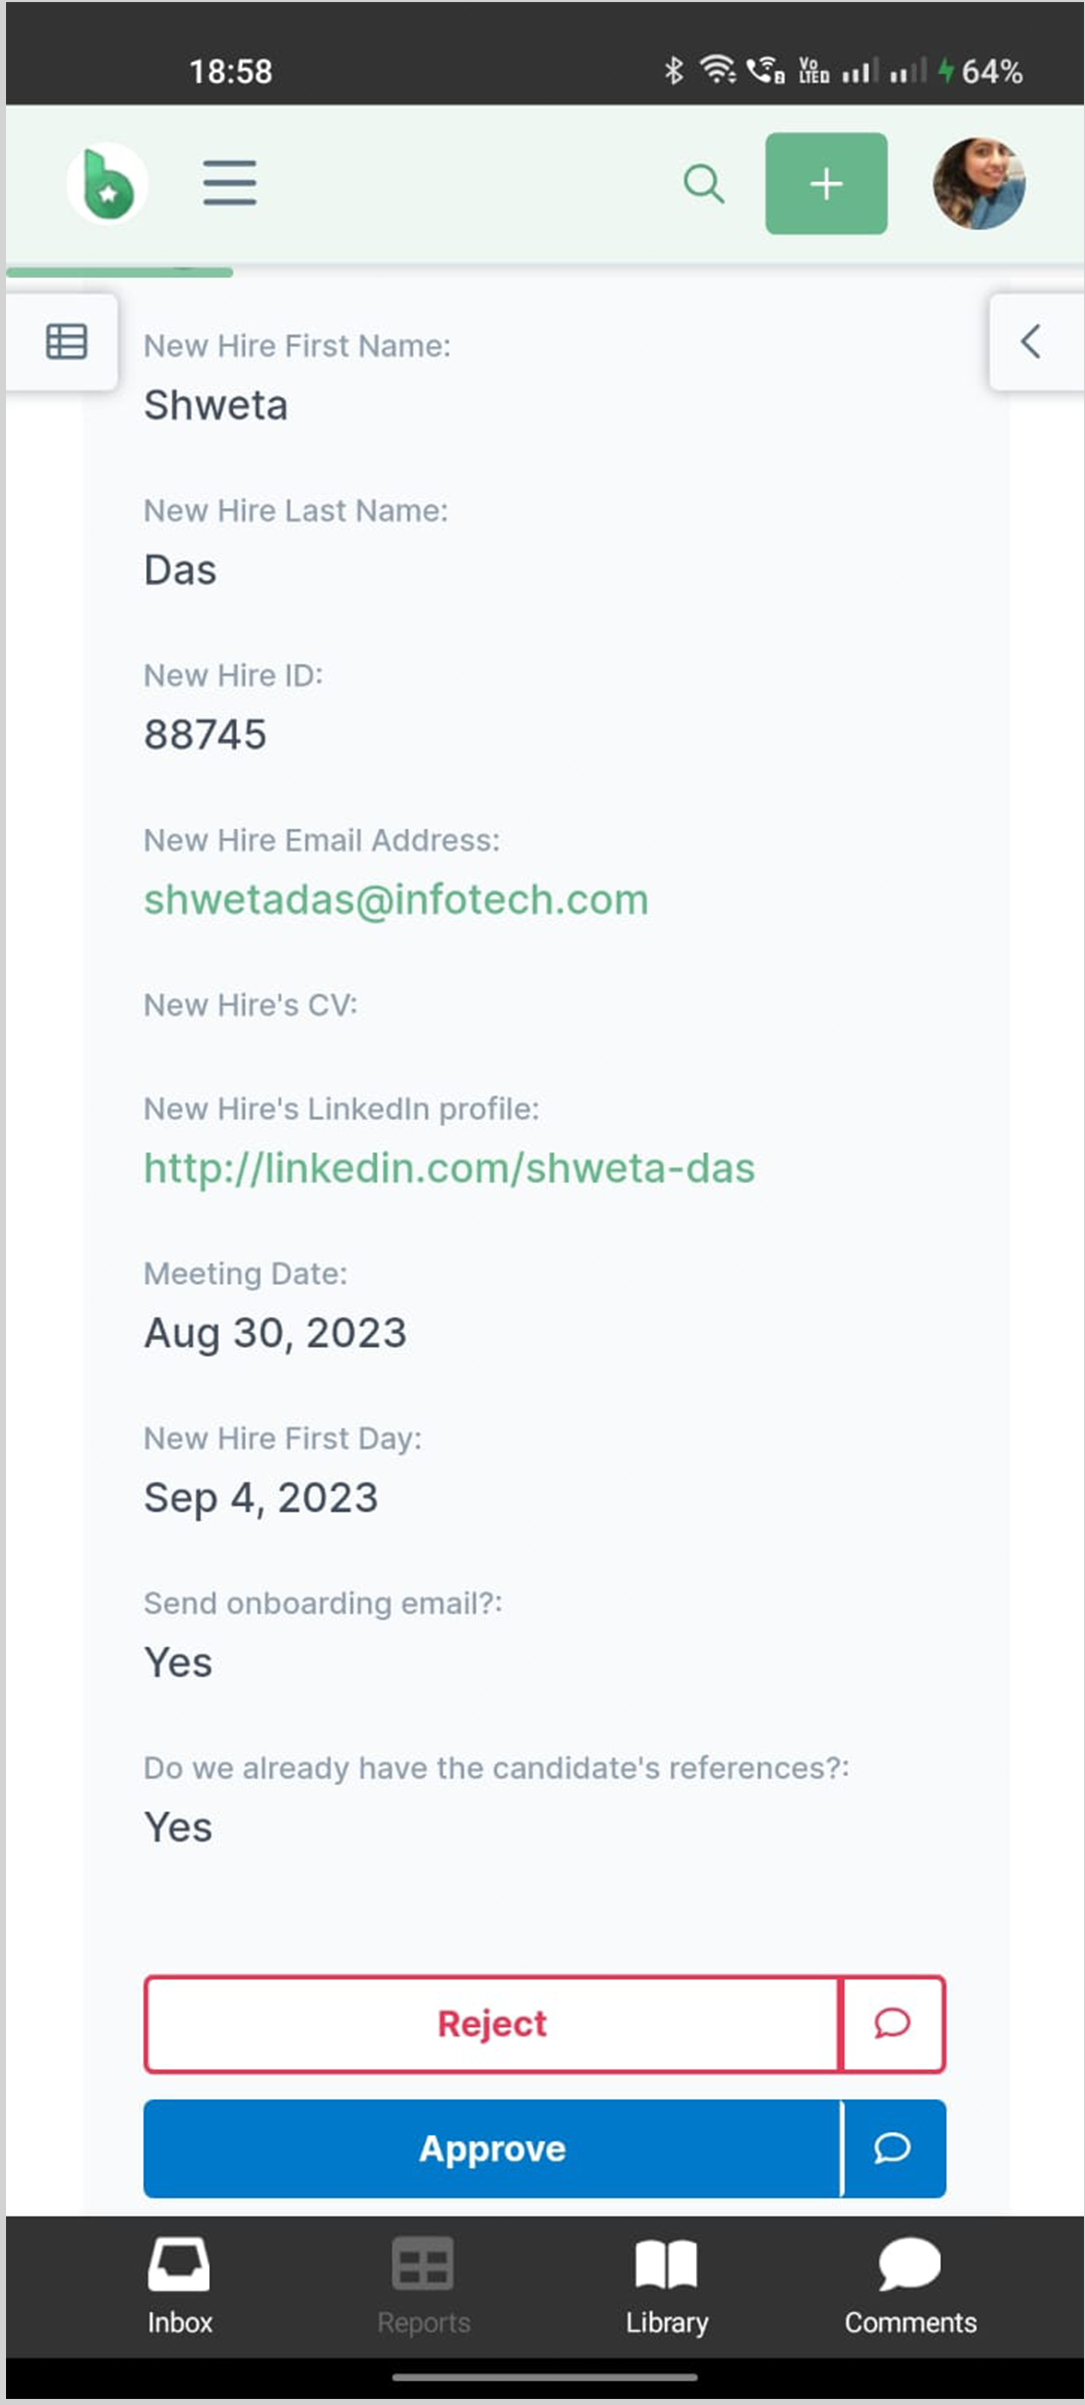
If you’re using our Android mobile app, you can approve or reject, with or without comments. To add comments with your rejection or approval, click the comments bubble, type your comments, then click “Reject/Approve and Send Comment“.
Don’t forget if you need help setting up Approvals, you can contact our support team.
Help us improve this help center.


