Templates /
PPC Monthly Campaign Review Checklist

PPC Monthly Campaign Review Checklist

Run this PPC checklist monthly for each account under management.
1
Introduction:
2
Input campaign data
3
Review key performance indicators
4
Make sure campaign settings are accurate
5
Check sitelinks
6
Review landing page
7
Analyze keywords
8
Check remarketing campaigns
9
Analyze campaign performance
10
Review quality score
11
Check & optimize budgets
12
Report/Action Items:
13
Summarize findings
14
Create a report (if needed)
15
Send report
16
Sources:
17
Related checklists:

Introduction:

Having a monthly PPC campaign checklist reduces wasted time trying to figure out or remember each step. This streamlined process allows you to focus your energy on getting great ROI on your accounts. 

This checklist was created to guide you through the most important aspects of a monthly account review. This includes reviewing KPI’s, campaign settings, keywords, quality score, and more.

You will want to customize this to your specific organization’s process. However, this should be used as a general framework for your monthly account review.

Input campaign data

The first step is to record basic information about the account that will be reviewed. Below you can input all vital account information.


Review key performance indicators

Review all key performance indicators.

After a month or multiple months managing an ad account, you should have a clear idea of what your most important PPC metrics are. Below we have listed some common KPI’s that are tracked in a campaign. However, you should tailor this list to align with your specific goals. If you need a refresher on specific PPC metrics please review this article by Unbounce.

Select all KPI’s being tracked:


  • 1

    Average Position
  • 2

    CTR (Click Through Rate)
  • 3

    CPC (Cost Per Click)
  • 4

    CPA (Cost Per Conversion/ Acquisition)
  • 5

    CVR (Conversion Rate)
  • 6

    CPM (Cost Per Impression)
  • 7

    Other

Make sure campaign settings are accurate

Look over your current campaign settings and make sure everything is properly selected.

Accounts settings should be regularly reviewed for each ad campaign that you create. This is where you can tailor your targeting options and determine your total ad spend associated with clicks or conversions.

Follow these instructions to access the campaign settings tab:

  1. Sign in to Google Ads.
  2. From the page menu on the left, click Settings.
  3. Click the name of the campaign that you’d like to edit.
  4. Click the setting that you’d like to edit.
  5. Edit the setting and click Save.

  • 1

    Delivery Method
  • 2

    Ad Rotation
  • 3

    Ad Schedule
  • 4

    Search Partners
  • 5

    Number of Ad Variations

Pro Tip: Be sure you have run through the PPC Audit Checklist. This will give you step by step instructions on how to review each of these sections. 


Review landing page

Now it’s time to make sure your landing page is set up effectively to make sure it’s not hurting your campaign

There are also form fields after the subtasks. In these form fields be sure to record the landing page being reviewed and any relevant notes. 

  • 1

    Does your landing page headline match the message on your ads?
  • 2

    Does your page message have the clarity of a 30-second elevator pitch?
  • 3

    Does the writing focus primarily on benefits rather than features?
  • 4

    Are you using a relevant and original main image or video that shows it being used?
  • 5

    Do you make it clear what the visitor will receive by clicking your CTA?
  • 6

    Have you optimized your landing page to get a paid search quality score above 7?
  • 7

    Have you removed extraneous links (like the global nav) – to remove page leaks?
  • 8

    Do you have clear goals for this landing page and campaign?

Pro Tip: Be sure to read this great article on 15 Landing Page Best Practices to Boost Conversion

Analyze keywords

Analyze account keywords and determine if changes need to be made.

After a month of running your ads, you should have a good amount of data that has populated the Keywords page of your Ads account. You can use this information to identify high and low performing keywords. T

his gives you an opportunity to asses keyword and ad relevance. A helpful tip is to remove any keywords that have zero traffic. You should also look for new trends or keywords that could help improve your ad conversion rate.

One source of keyword research is Google Trends. We have included a video below to discuss this further. 


Check remarketing campaigns

Ensure remarketing campaigns are properly set up.

While you review your remarketing campaigns be sure to also look over the campaign conversion rates. Are they what you had expected? If anything looks incorrect then you should start with the basics and investigate your setup. If everything is running correctly but you’re still above your CAC (customer acquisition cost) goal then revisit your audience targeting selection and ad copy. 

You should be reviewing these campaigns weekly to make sure everything is running smoothly. If for some reason you have not, then please make sure you check the following three subchecklist items.  

  • 1

    Is the remarketing code added correctly?
  • 2

    Are remarketing lists properly collecting data?
  • 3

    Verify remarketing lists are being properly created.

Analyze campaign performance

Analyze the performance of your ad campaigns.

There are multiple ways to review your campaign performance. You could pull reports based on campaign type, setup pre-defined column sets, and even view cross-campaign performance utilizing interaction columns.

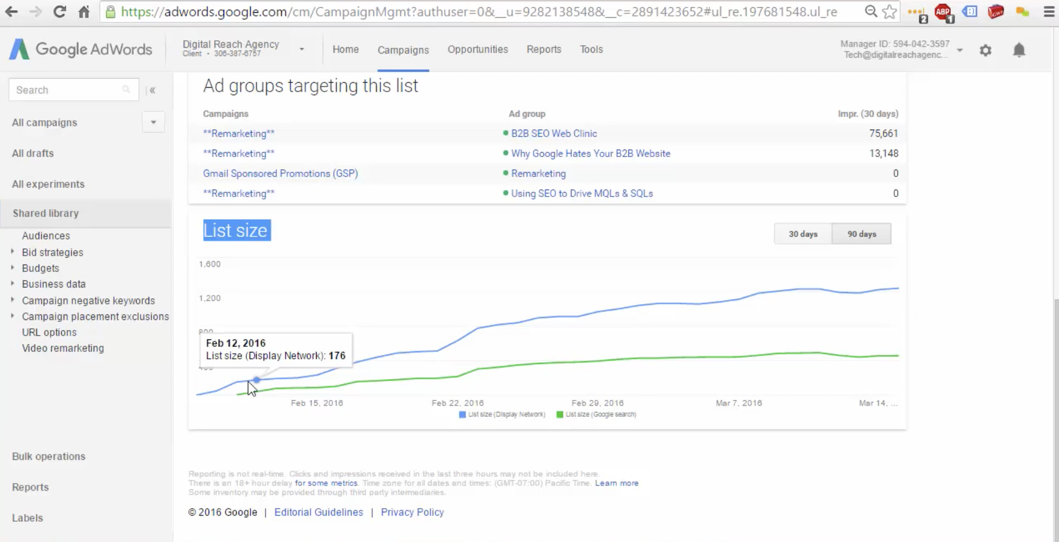
Another reporting view that we find very useful is the Auction insights report. This report lets you compare your ad campaign performance to others who are participating in the same action. The information gained from this report can help you make better strategic decisions in regard to your bidding and budget strategies.

While reviewing the report you should be able to identify where your campaigns are succeeding and where you are missing out on new ad opportunities.  

The Auction insight report, which is available for both Search and Shopping campaigns, provide six different statistics:

  1. Impression Share
  2. Average Position
  3. Overlap Rate
  4. Position Above Rate
  5. Top of Page Rate
  6. Outranking Share

Be sure that you segment your report based on time and device for additional insights.

To access the Auction insights report follow these steps:

  1. Sign in to your Google Ads account.
  2. Click the Campaigns, Ad groups, or Keywords page menu based on what information you want to see in the report.
  3. Select a specific campaign, ad group, or keyword by checking the box next to each item. Note: you can only select keywords on a single page at a time (unless you run a report for “All”).
  4. Click on Auction insights.
  5. You’ll now be taken to your Auction insights report. Note: only keywords and ad groups that meet a minimum threshold of activity will have the Auction insights report.
  6. If you selected only Search or only Shopping campaigns or ad groups, you’ll see the corresponding Auction insights report. 
  7. If you selected a mix of Search and Shopping campaigns or ad groups, you’ll need to select the Search campaigns or Shopping campaigns radio button.

Review quality score

Check the quality score of your ad. Ideally your quality score will be at least 7 or above. 

If your quality score is below 7 then you are wasting funds by driving irrelevant traffic. You should review the keywords being used and make sure they align with the ad copy and landing page you have created.

To check your quality score in your Google ads account follow these simple steps:

  1. Sign in to your Google Ads account.
  2. In the page menu on the left, click Keywords. 
  3. Hover over a keyword’s status in the “Status” column. You’ll be able to see ratings for expected clickthrough rate, ad relevance, and landing page experience.

Check & optimize budgets

Make sure that your budget has been appropriately distributed amongst ads and campaigns.

While reviewing your campaigns the first thing you will want to do is verify if your daily, weekly, and monthly allocated budget is being fully utilized.

If you notice non-performing campaigns this is an opportunity to re-work the ad copy, targeting, and keywords. You can also stop those campaigns and focus on further optimizing well-performing campaigns. Be sure you have collected enough data to make an informed decision.  


Report/Action Items:

Summarize findings

Be sure to summarize any insights that you gained during the monthly campaign review. This information can be later referenced when you speak with your client or supervisor. It is also good practice to have this information documented so that it can be reviewed in the future when analyzing changes in the account. 


Create a report (if needed)

Decide if a report needs to be made. If you do need to put together a client facing report then it should, at a minimum, include the following:

  • Positives
  • Negatives
  • Insights
  • Action Items

To help we have included some of the data you provided earlier:

Action Items: {{form.Action_items_2}}                   

Budget Notes:   {{form.Budget_notes_2}}     

KPI’s: {{form.KPI’s}}   

KPI Notes: {{form.KPI_notes}}

Insights: {{form.Insights}}      

Landing Page Notes: {{form.Landing_page_notes}}     

Quality Score: {{form.Quality_score}}      

Modified Keywords: {{form.Positives}}   

Positives: {{form.Modified_keywords}}            


Send report

After your report is complete you will want to email it or print it. 

PRO TIP: A great way to merge your data from Process Street with your report is through our integration with WebMerge. 

To send the email you can use the email widget below. All you need to do is customize the message and upload your file. 

Then just make sure everything looks okay and hit “Send”.

Sources:

Take control of your workflows today.