Templates /
Software Testing Tutorial

Software Testing Tutorial

Run this checklist every time your code is altered.
1
Introduction
2
Preparation:
3
Record the basic details
4
Log in to your code repository
5
Open the relevant fork or branch
6
Isolate your testing area
7
Base Unit Test:
8
Set up the conditions
9
Ensure that the test verifies your results
10
Run the test
11
Assessment:
12
Save your test results
13
Assess the code
14
Sources:
15
Relevant Checklists:

Introduction

Nobody likes to doubt their own ability, especially when it comes to something as logic-driven as software engineering. In an ideal world, there would be no need for this software testing tutorial, and all programmers would sit safe in the knowledge that they wouldn’t have to spend the next 18 months revisiting the same code.

Sadly, however, human error is here to stay.

To help you negate as much of this as possible, we here at Process Street decided to rustle up our very own software testing tutorial! Use this bad boy to finely comb you individual sections of code before submitting them to your software deployment.

Just a heads-up before we begin, this tutorial only covers unit testing (testing the code to make sure that it works when standing alone).

Let’s get started!

Preparation:

Record the basic details

First up in our software testing tutorial, you need to record the details of the procedure in order to fully document the process. Do so by filling in the form fields below.


Log in to your code repository

Now you need to log in to your code repository. Hey, we never said that we were starting off with hard tasks!

Whether you’re a fan of GitHub, Bitbucket or CloudForge, head on over to your repo of choice and log in to your account.

Open the relevant fork or branch

Next up in this software testing tutorial is the task of finding the relevant fork or branch of code to conduct your unit tests on. This should be well-documented, and so there should be no confusion as to what you are doing.

Record a link to the relevant fork or branch using the form field below.


If you are having trouble finding the relevant section of code, make sure that you are searching in the correct section of your test environment. Once you’ve found it, open up the project.

Isolate your testing area

Now that you have the correct version of code in front of you, the next step is to identify the area which you will be testing. Much like finding the relevant version of code, this should be fairly obvious, owing to the fact that you should have already been told what you are testing.

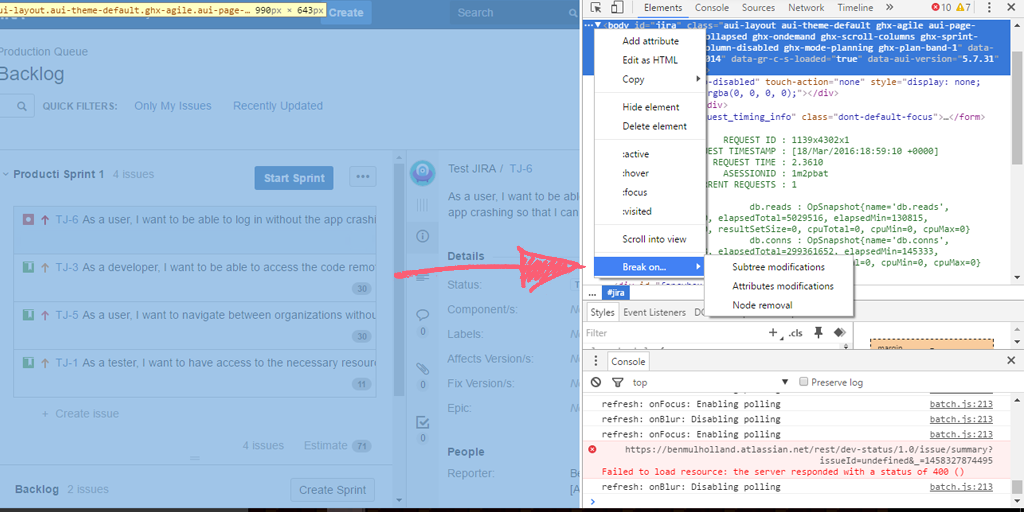
For example, if you have been assigned the task of unit testing a particular bug fix, you should have the information to identify where the bug was and how it has been fixed. Ergo, you can isolate the section of code which has been changed. Use breakpoints to isolate the area and move on.

Base Unit Test:

Set up the conditions

In order for your unit test to… well, actually test anything, you need to set up the conditions for it to run on. Note that we can’t give you a set of conditions to abide by, as this will always vary, depending on the test you are running.

As such, record the conditions you specify using the form field below.


Your conditions should be set up to provide all of the information the code under review will need to run. For example, this may involve just entering a couple of variables to test a basic function or creating entirely new database records.

Make sure that you double check these conditions, as the unit test will be no good if the test itself is broken or calling on incorrect information.

Ensure that the test verifies your results

Rather than just testing to see if you can visibly get the desired outcome, your unit test needs to verify that your predicted outcome takes place. After all, why rely on your own judgement or interpretation of the results if you unit test can have it covered?

Once again, the method of implementing this test varies greatly, but in general, just ensure that your unit test specifically confirms that your desired outcome is present. Usually, this will entail the use of a “system.assert()” function.

Run the test

You have the code under review, with the unit test written and double checked; now it’s time for the big event in your software testing tutorial! It’s time to run your unit test.

This will, once again, depend on the kind of test you are running. For example, if you are testing a method, you will need to call on that method. When testing a trigger, an action will need to be performed to cause the trigger to fire.

Assessment:

Save your test results

Now that you’ve run your unit test and have the precious results, you’ll need to save and organize them. This may be done automatically, depending on your method of testing, but if so then you should still check for the presence of the save.

Upload a copy of your test results to the form field below.

If your unit test does not automatically save your results (and you have not already  entered a command at the end of the test to rectify this), you’ll need to alter your test code to save the results to a file of your choice. After doing this, re-run your test and ensure that your results have been saved.

Assess the code

The final step in the software testing tutorial is to assess your test results. Compare the outputs from the test to what should have happened, and if the new code doesn’t make the cut, then so be it.

Record the status of the code using the dropdown field below.


Remember that it’s not your job (at least in this process) to correct code when it comes back negative. Instead, you need to contact the developer responsible for the new or altered code and inform them of the test failure; it’s also worth providing your test results so that the dev can get more insight into what is actually going wrong.

Congratulations on completing the software testing tutorial! Enjoy your tried-and-tested new code in all of its glory.

Sources:

Relevant Checklists:

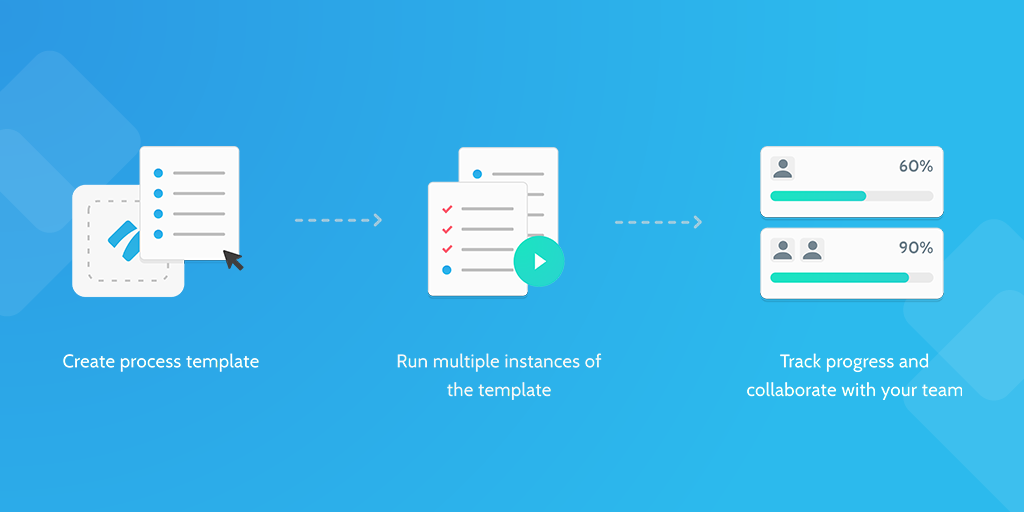
Take control of your workflows today.