This stage is where we start to work towards producing some tangible outcomes. The previous two stages have been laying the foundations and now it is time to get stuck in and start to get your child discovering what they are truly capable of achieving.
1
Project Steps:
2
Get those ideas flowing
3
Deliver the brief
4
Explore and experiment
5
Mentor and critique
6
Review, reflect, celebrate and extend
Project Steps:
This was one of my early learning adventures I put on when I realised I needed to get out of the school system to innovate. It was described by the Headteacher, who brought 40 children along, as "definitely the best educational visit ever..." I'm not expecting you to put on a project like this (YET!) but hopefully it gives you an idea of how much our children's imaginations can be unlocked for some really exciting learning to take place. Once you know their switch - which hopefully by now you do - then there is no limits except for our own imaginations...
Our project Yellowprint outlines the various steps needed to run a successful project. Projects can be small creative explorations or they can be in-depth investigations depending on how much time you have, how independent your child is (which after a short space of Lights On learning they should become fairly quickly) or what it is your child (and you) want to learn about.
There is so much information out there about project-based learning or real world learning and I've done a lot of academic research, as well as had the hands-on experience of delivering projects which is what really counts. So I've taken the best bits and made it as simple as possible for you to bring about successful learning adventures.
However if you want a bit of extra reading there is one book above all others that I recommend - Full On Learning by Zoe Elder. https://fullonlearning.com/. This book really resonated with me BUT unless you find yourself, as I did, going on a journey into education, even this is probably a bit over the top of what you need and it isn't cheap!
So download our Project Yellowprint pdf and dive in as hopefully that will have everything you need to know to get your child really starting to learn with their Lights On. Plus you can always ask questions inside our Facebook group and we'll get back to you.
Get those ideas flowing
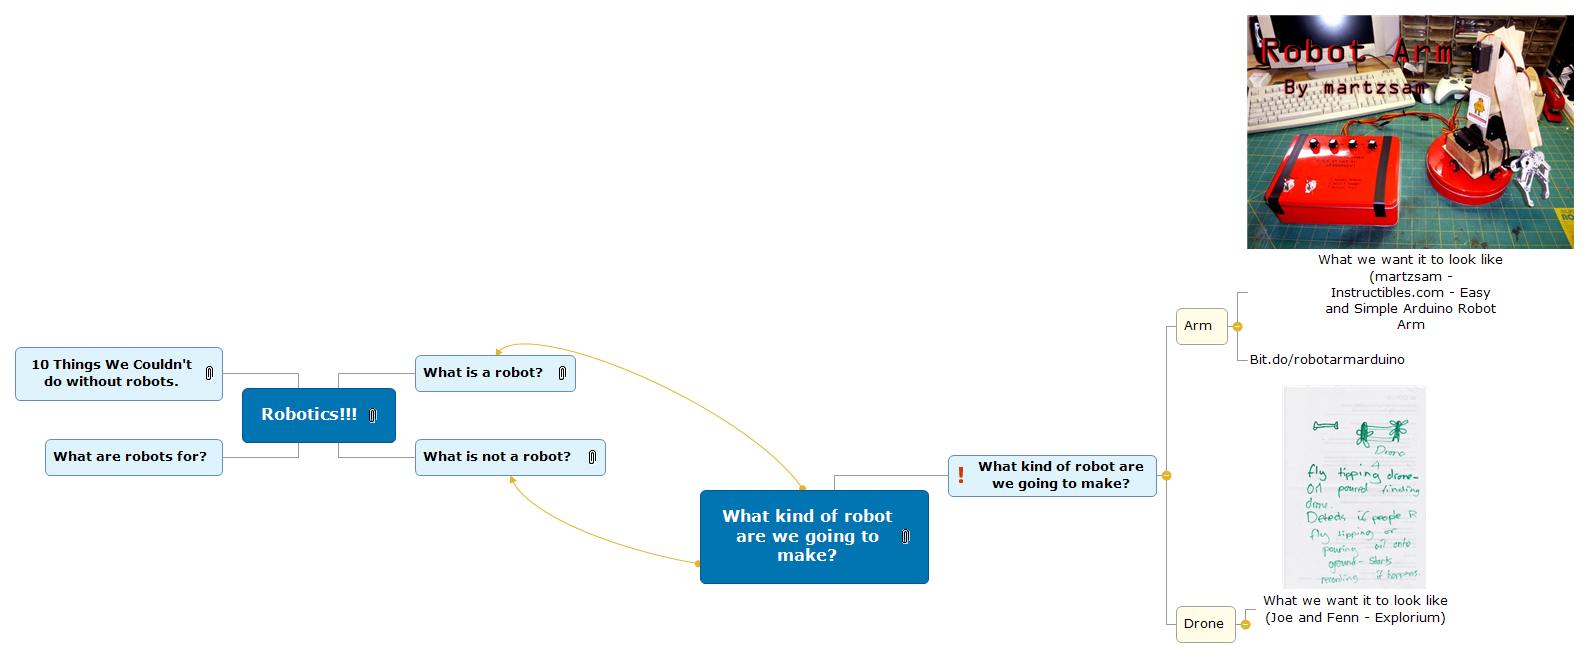
An ideation map from two of our Digital Wizards, Joe and Fenn - both age 9, and true Explorium learners who have been coming to us for nearly 4 years. See Fenn's story here to be really inspired by what is possible. https://spark.adobe.com/page/T4wvHnLYiKK6Z/.
Step 1 - IDEATION
What do you and your child want to learn about? We include you in this because Lights On is all about everyone being on a learning curve and it will make this whole adventure much more enjoyable for you too if you are learning something new. So don't be tempted to think you need to know about what it is your child is going to explore because you don't. It needs to be real, authentic and exciting for you both.
This is a really exciting stage where the world is really your oyster! Very early on in Explorium's journey we had an expression 'we are limited only by our imaginations...therefore there are no limits." This is what is exciting about learning with your Lights On is that really the only limits are what we place on ourselves - which is why Wired For Learning, Spotlight and Reflections are really essential in our framework. It will be our mindsets that stop us learning to our fullest potential definitely not our imaginations.
When you and your child have explored what you want to learn about through mindmapping - either on paper, as we have done below, or digitally, as Joe and Fenn have done above, then it is time to move on to thinking up the brief.
We'd love for you to share your mindmaps with us so please do share with us via the Facebook Group or by emailing us if you don't want to go so public!
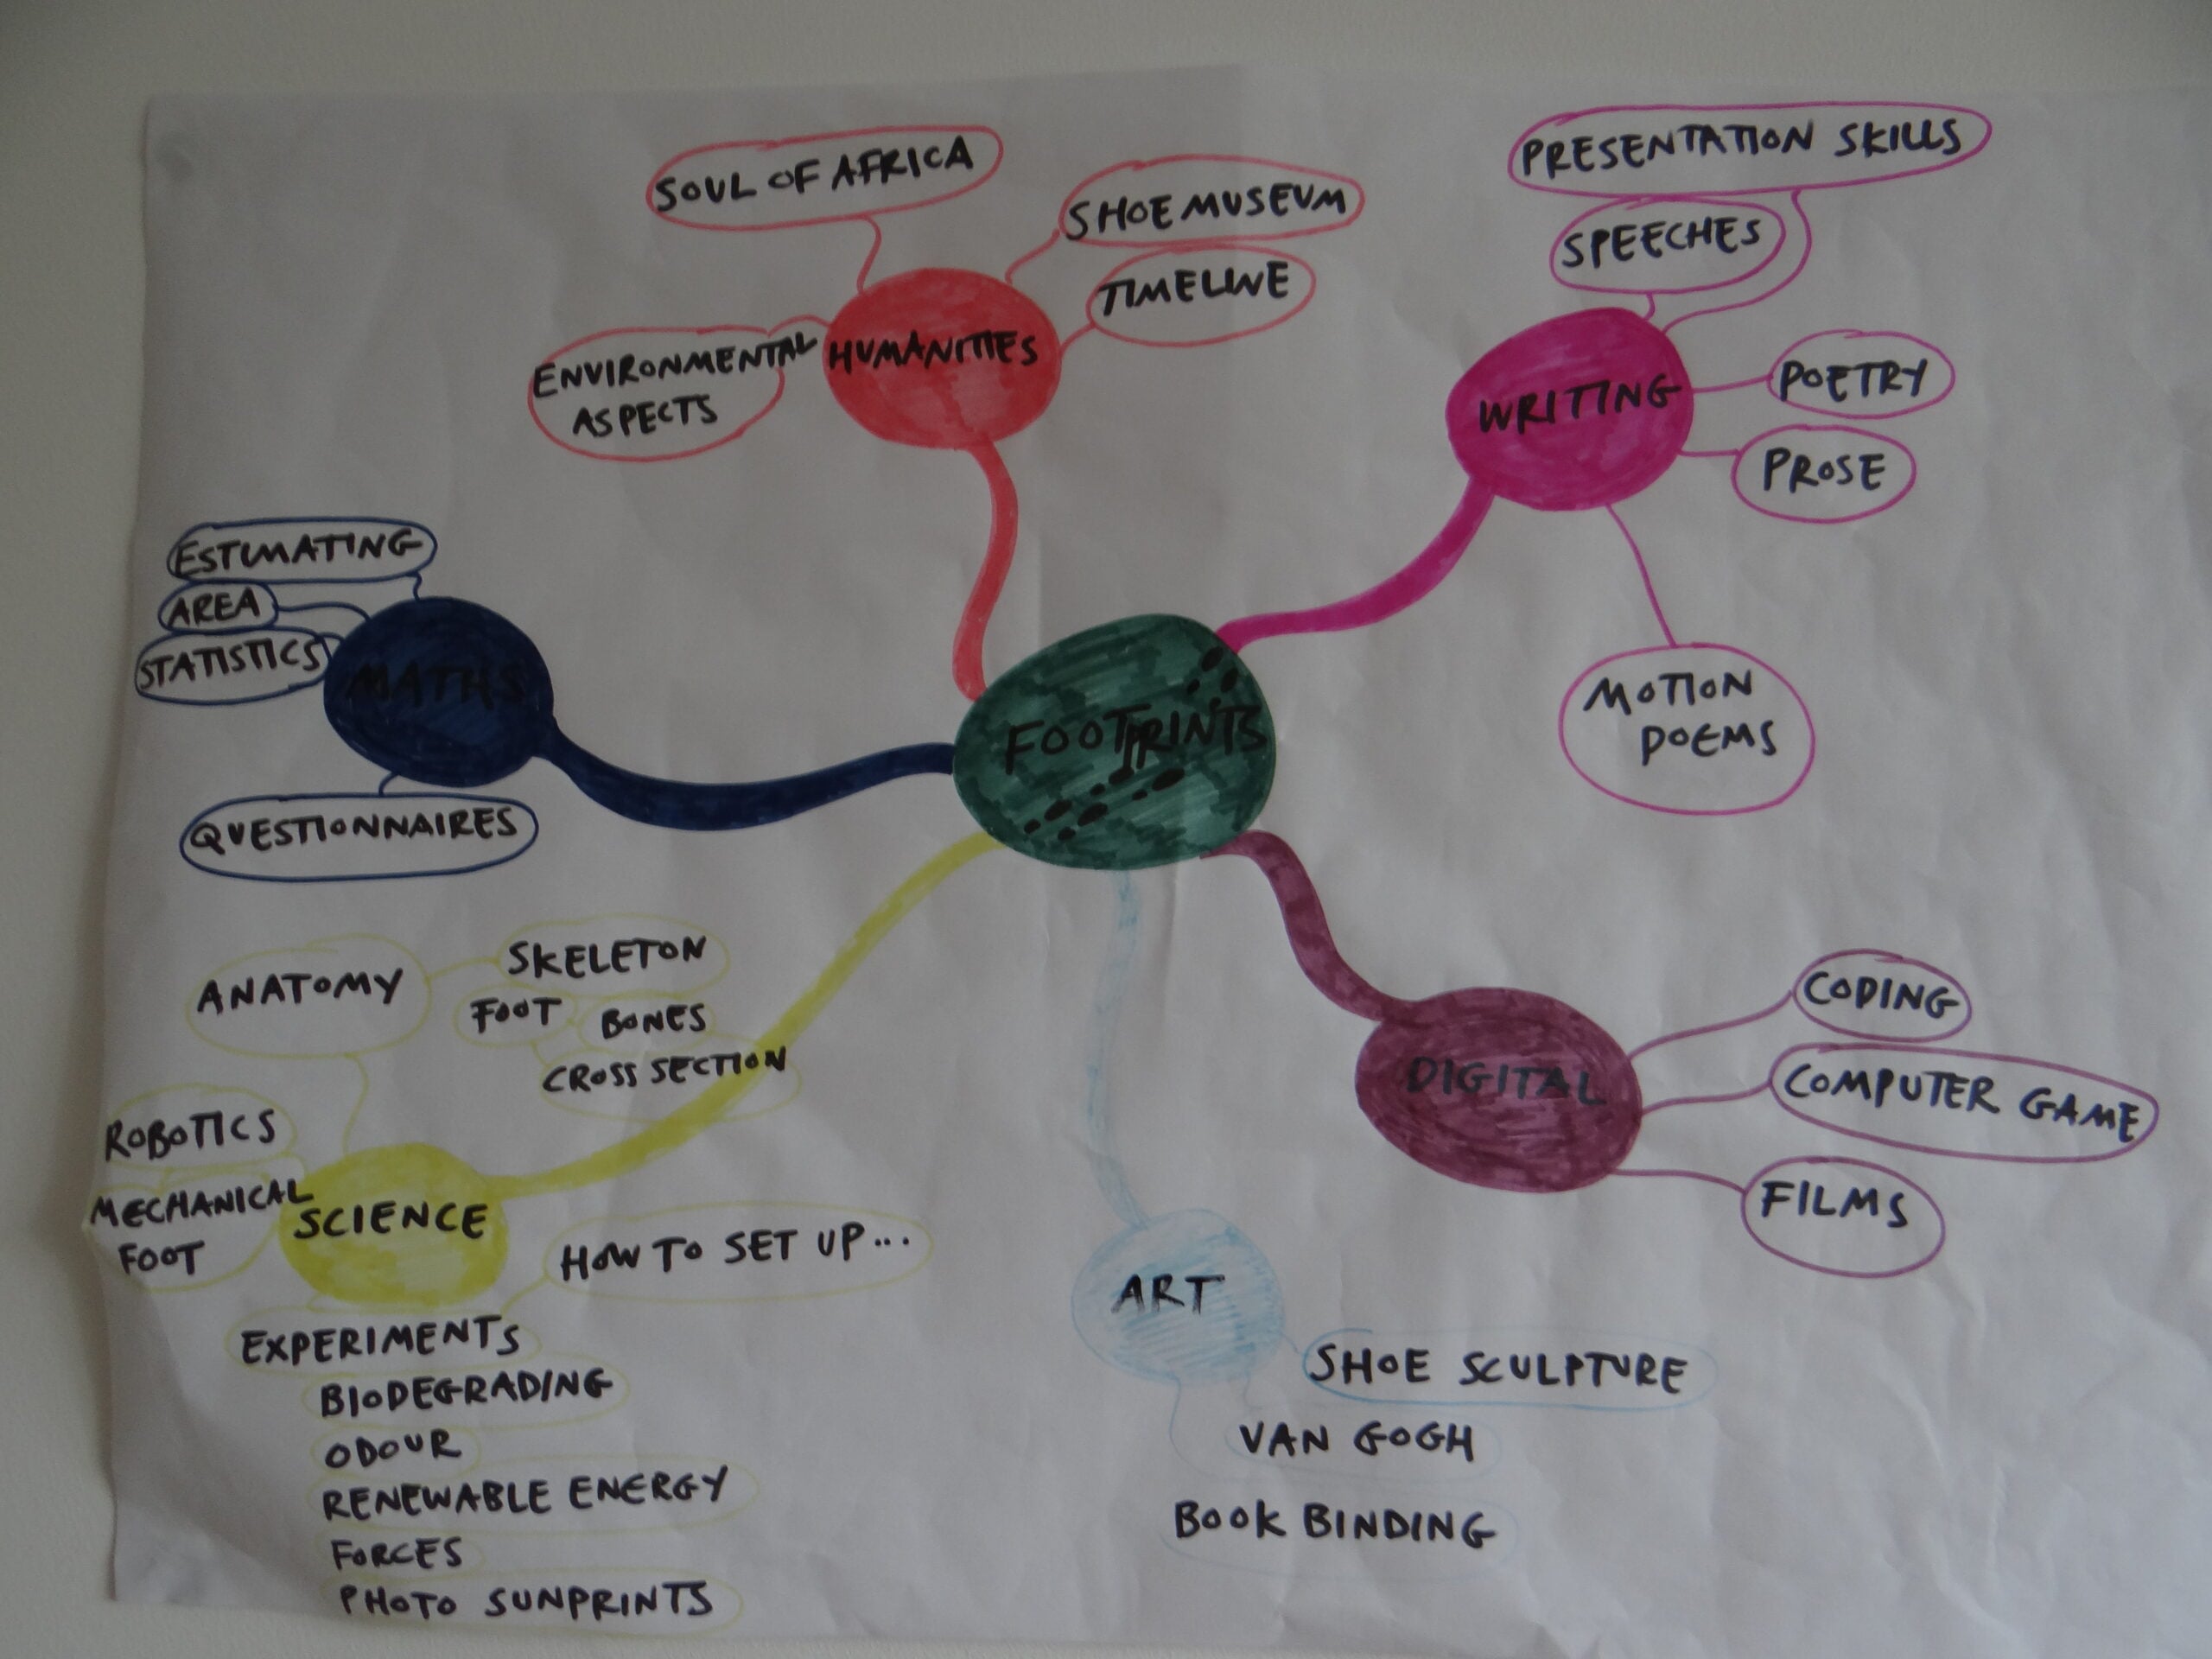
This was our initial ideation for our Footprints project - which is in Module 6 - but it shows you the potential of where you can take things. It also helps you discover more about your child - what ideas do they have and what would they love to explore?
Deliver the brief
Time to think up your brief. I would suggest you do this, rather than with your child, as you then deliver it to them giving them something real to respond to.
We've worked hard to get the right amount of structure to allow the creativity and freedom to flow. Otherwise you might find that your child doesn't really know and we want to avoid putting them in the position of having to decide what the project is. Of course once they, and you, are experts in Lights On Learning then you'll find you need these briefs less and less and your child will come up with ideas left, right and centre. But start by a clear brief. To help you see how simple they can be I've shared a couple of videos below.
Our first ever 3 day Jam which shows the process of Lights On from brief to end outcome.
I'm sharing the Game Jam film as it was our first ever Jam and I introduced this into our delivery when I really needed my team to see the vision and potential of learning in a short space of time. We had been off track over our first two 6 week projects and so this intensive 3 day experience was a lightbulb moment for my team. Aha! We get it! You'll see in the first minute or two Corinne delivering the brief - so watch that to see how simple the brief can be and what learning it can unlock and the outcomes it can lead on to, with of course masses of fun and Lights On moments along the way!
So once you have decided what your child and you want to learn about then you create a simple brief for your child.
Here are some examples of projects we've run to get you going:
Draw a curve using straight lines (we give this parabolic curve project in the bonus section).
Design the concept for a video game that takes us on a journey back in time.
Design a piece of clothing using only recycled materials.
Make an animation that illustrates the concept of a growth mindset.
You can also use a question to drive the learning:
How can you create a curve out of straight lines?
How could a video game idea help us understand a particular time in history?
What clothes could we design using our plastic waste?
By all means run ideas for briefs by us at any point - we are here to make sure you succeed so don't feel you can't reach out to us if you are not quite sure. I'm always saying to my team and our learners - if you have questions ASK!
Another case study of how a simple brief led to some incredible learning.
Both these films are clearly quite elaborate and techie based projects but I share them because you can see how much the children are leading their learning, which is where we want to get your child. When you tap into their switches they will naturally start to do this and so your brief needs to be open-ended enough to allow them to take it in any direction they choose.
Remember the key to Lights On is small steps, micro goals and that is when the giant leaps forward will come about.
Explore and experiment
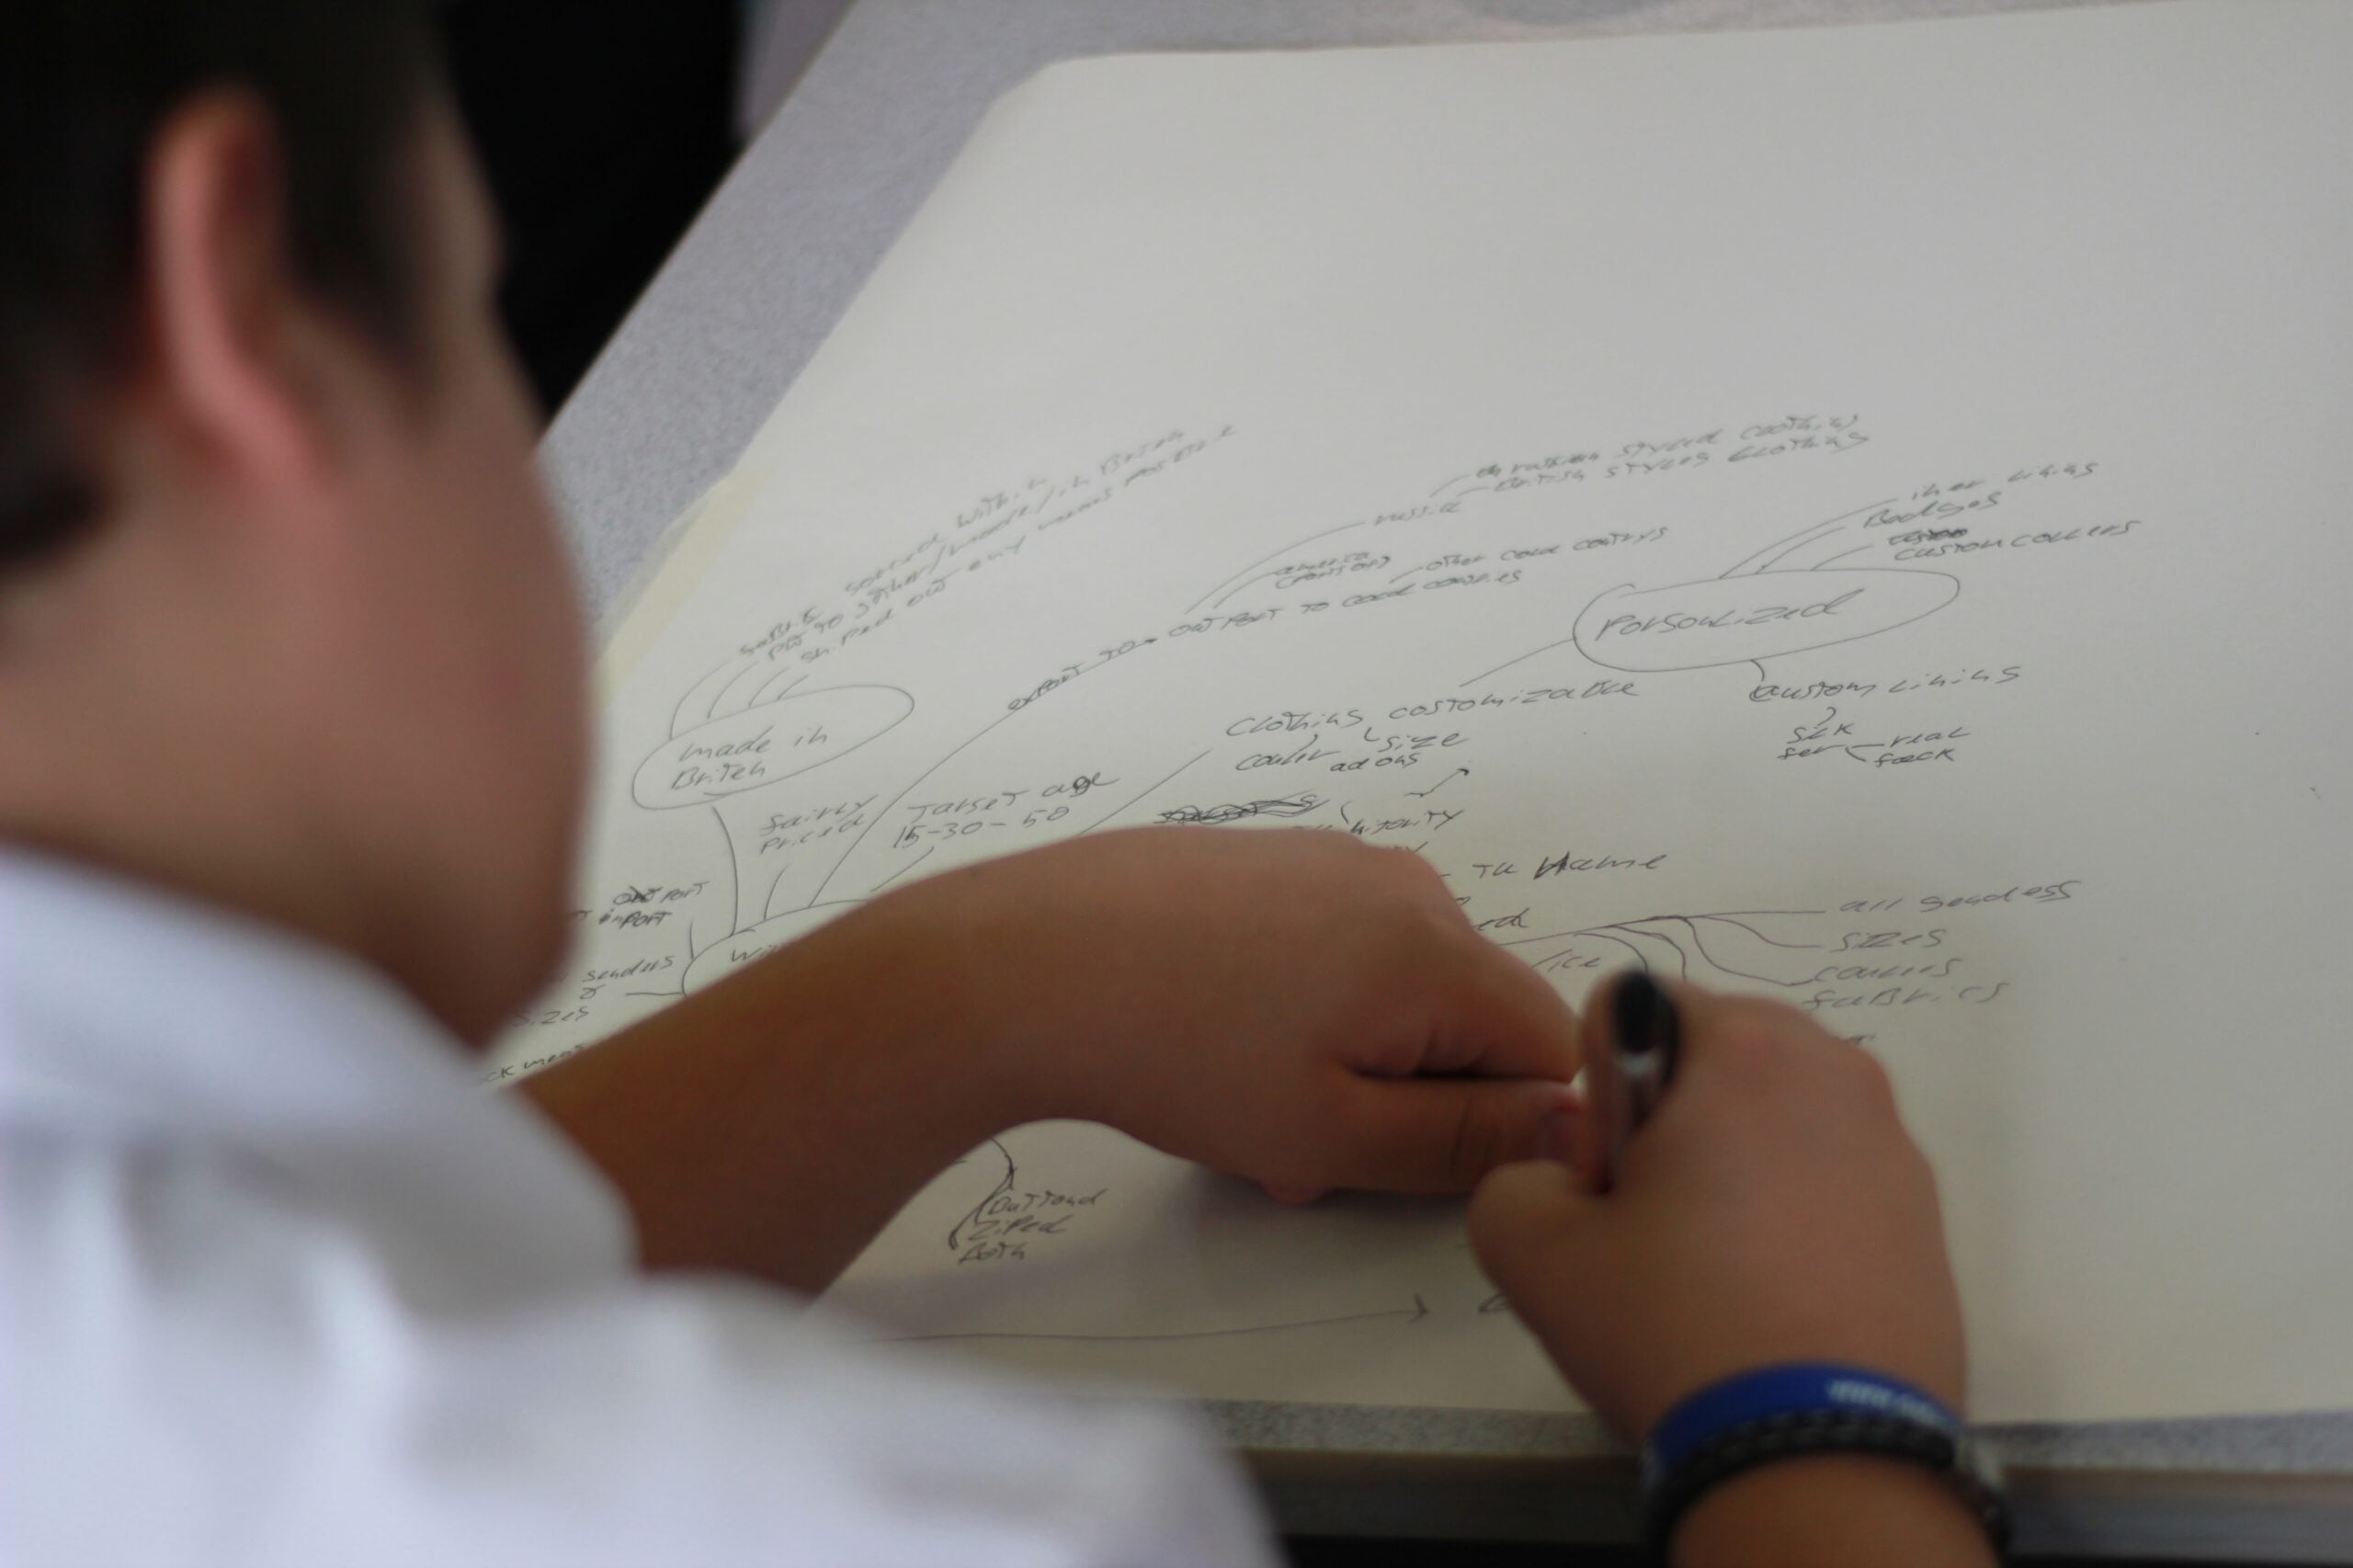
Having decided on the theme you are going to learn about, such as robots, shoe design, parabolic curves etc, now it is time to get your child to do their initial brainstorm or brain dump.
The key is to get all possible ideas out on paper.
Charlie came to us not believing we could help him do what he wanted to achieve. We soon convinced him that anything was possible and despite being dyslexic he started getting his ideas for a fashion design label down on paper. You can read his story here on page 22-23. https://issuu.com/explorium/docs/lights_on
You might find your child doesn't know what to do, depending on how long they have been shut off from learning with their Lights On. In this case you will have to facilitate much more heavily with ideas, so be prepared for this. You'll instinctively know if that is likely to be the case from going through the first two stages of our framework.
Alternatively you might find your child is raring to go and you need to slow them down!
With our learners who have found it difficult to know where to start we've found it really useful to share the work of others - either our own learners or the work of others who inspire us. So whatever your child's switch is perhaps start a pinterest board or an album within google with work that inspires you. Or ask in our Facebook group for ideas and we can share some links to specific ideas that have worked really well for us.
If you do have a child who has a tendency to want to jump straight in without my thought or attention it can take some time to get them to understand the culture of Lights On Learning. They may be used to rushing to get things done within a lesson and so have been developing what we would consider bad habits. They may resist planning so you have to handle this quite carefully as you don't want to them to start to resist your mentoring from the offset.
If this is the case then I would suggest for the first few projects you let them jump in but start talking to them about the importance of care and attention and what we would call craftmanship. You'll learn more about this in the next stage Spotlight and develop the skills and toolkit to do that.
So be mindful of the fact that every child is different and you need to draw on your own instincts about where your child is in terms of being ready to 'unlearn' in order to relearn.
There are some tools you can use to help give a focus of where they are heading with the project and we've included a project plan in the downloads which you might find useful to help refine your child's thinking before getting the project underway.
We also have included a WOOP form which again helps to bring Wired For Learning into the mix, reminding both you and your child, the importance of thinking about learning differently.
If you would like to learn more about WOOP and the thinking behind it watch this video and visit this website. http://woopmylife.org/ There is a lot to learn about it when you are ready. It is a simple concept with lots of psychology and motivational techniques behind it.
Mentor and critique
Remember those different hats you are going to have to wear with Lights On mentoring? I'm not expecting your hats to be as elaborate as Seb's hat here - but remind yourself of what they are because you are going to have to draw on them big time during these next few weeks, months and years!
The different hats are:
Coach/advisor
Motivator
Resource person or facilitator
Source of knowledge
Champion
Friendly Critic
Just as your first project with your child will be new for them it will also be new for you. So make a conscious effort to try on the different hats but remember have fun - this is about your spending time with your child to empower them to learn through their strengths. It is also about your learning through your strengths too so draw on those.
I'm going to introduce Oscar at this point, although we'll be going into draft critique in much more detail in the next module, but I think this might motivate you (hopefully) to see the power of critique. Once a child 'gets' it it does change the way they view learning.
We'll be giving you the impossible triangle exercise in the next module and again this has brought about some really pivotal moments for students.
Talking of pivotal moments - these are important for you to look out for. I have included a download template if you want one, because once again documenting your child's learning is important. Even if you do this just at the beginning as you are getting both you and your child to a point where Lights On Learning is a natural way to learn I think you will find it useful. However, as with all things let me know what does and doesn't work for you - as that is all useful insight for us back here at Explorium.
What are pivotal moments? This is something we discussed at length as a team and how I have simplified them down is to think about them as moments which change learning in a different direction.
In the above video the pivotal moment for Oscar was when he saw that what he didn't feel was possible actually was, after spending time committing to trying to draw the impossible triangle. It changed the way he viewed himself as a learner. He was able to see that he could apply the same mindset - 'nothing is impossible' to learning the piano. Of course his first attempt - his first draft - wasn't going to be any good but if he kept returning to it then he'd get better and better until he got his 'wow'!
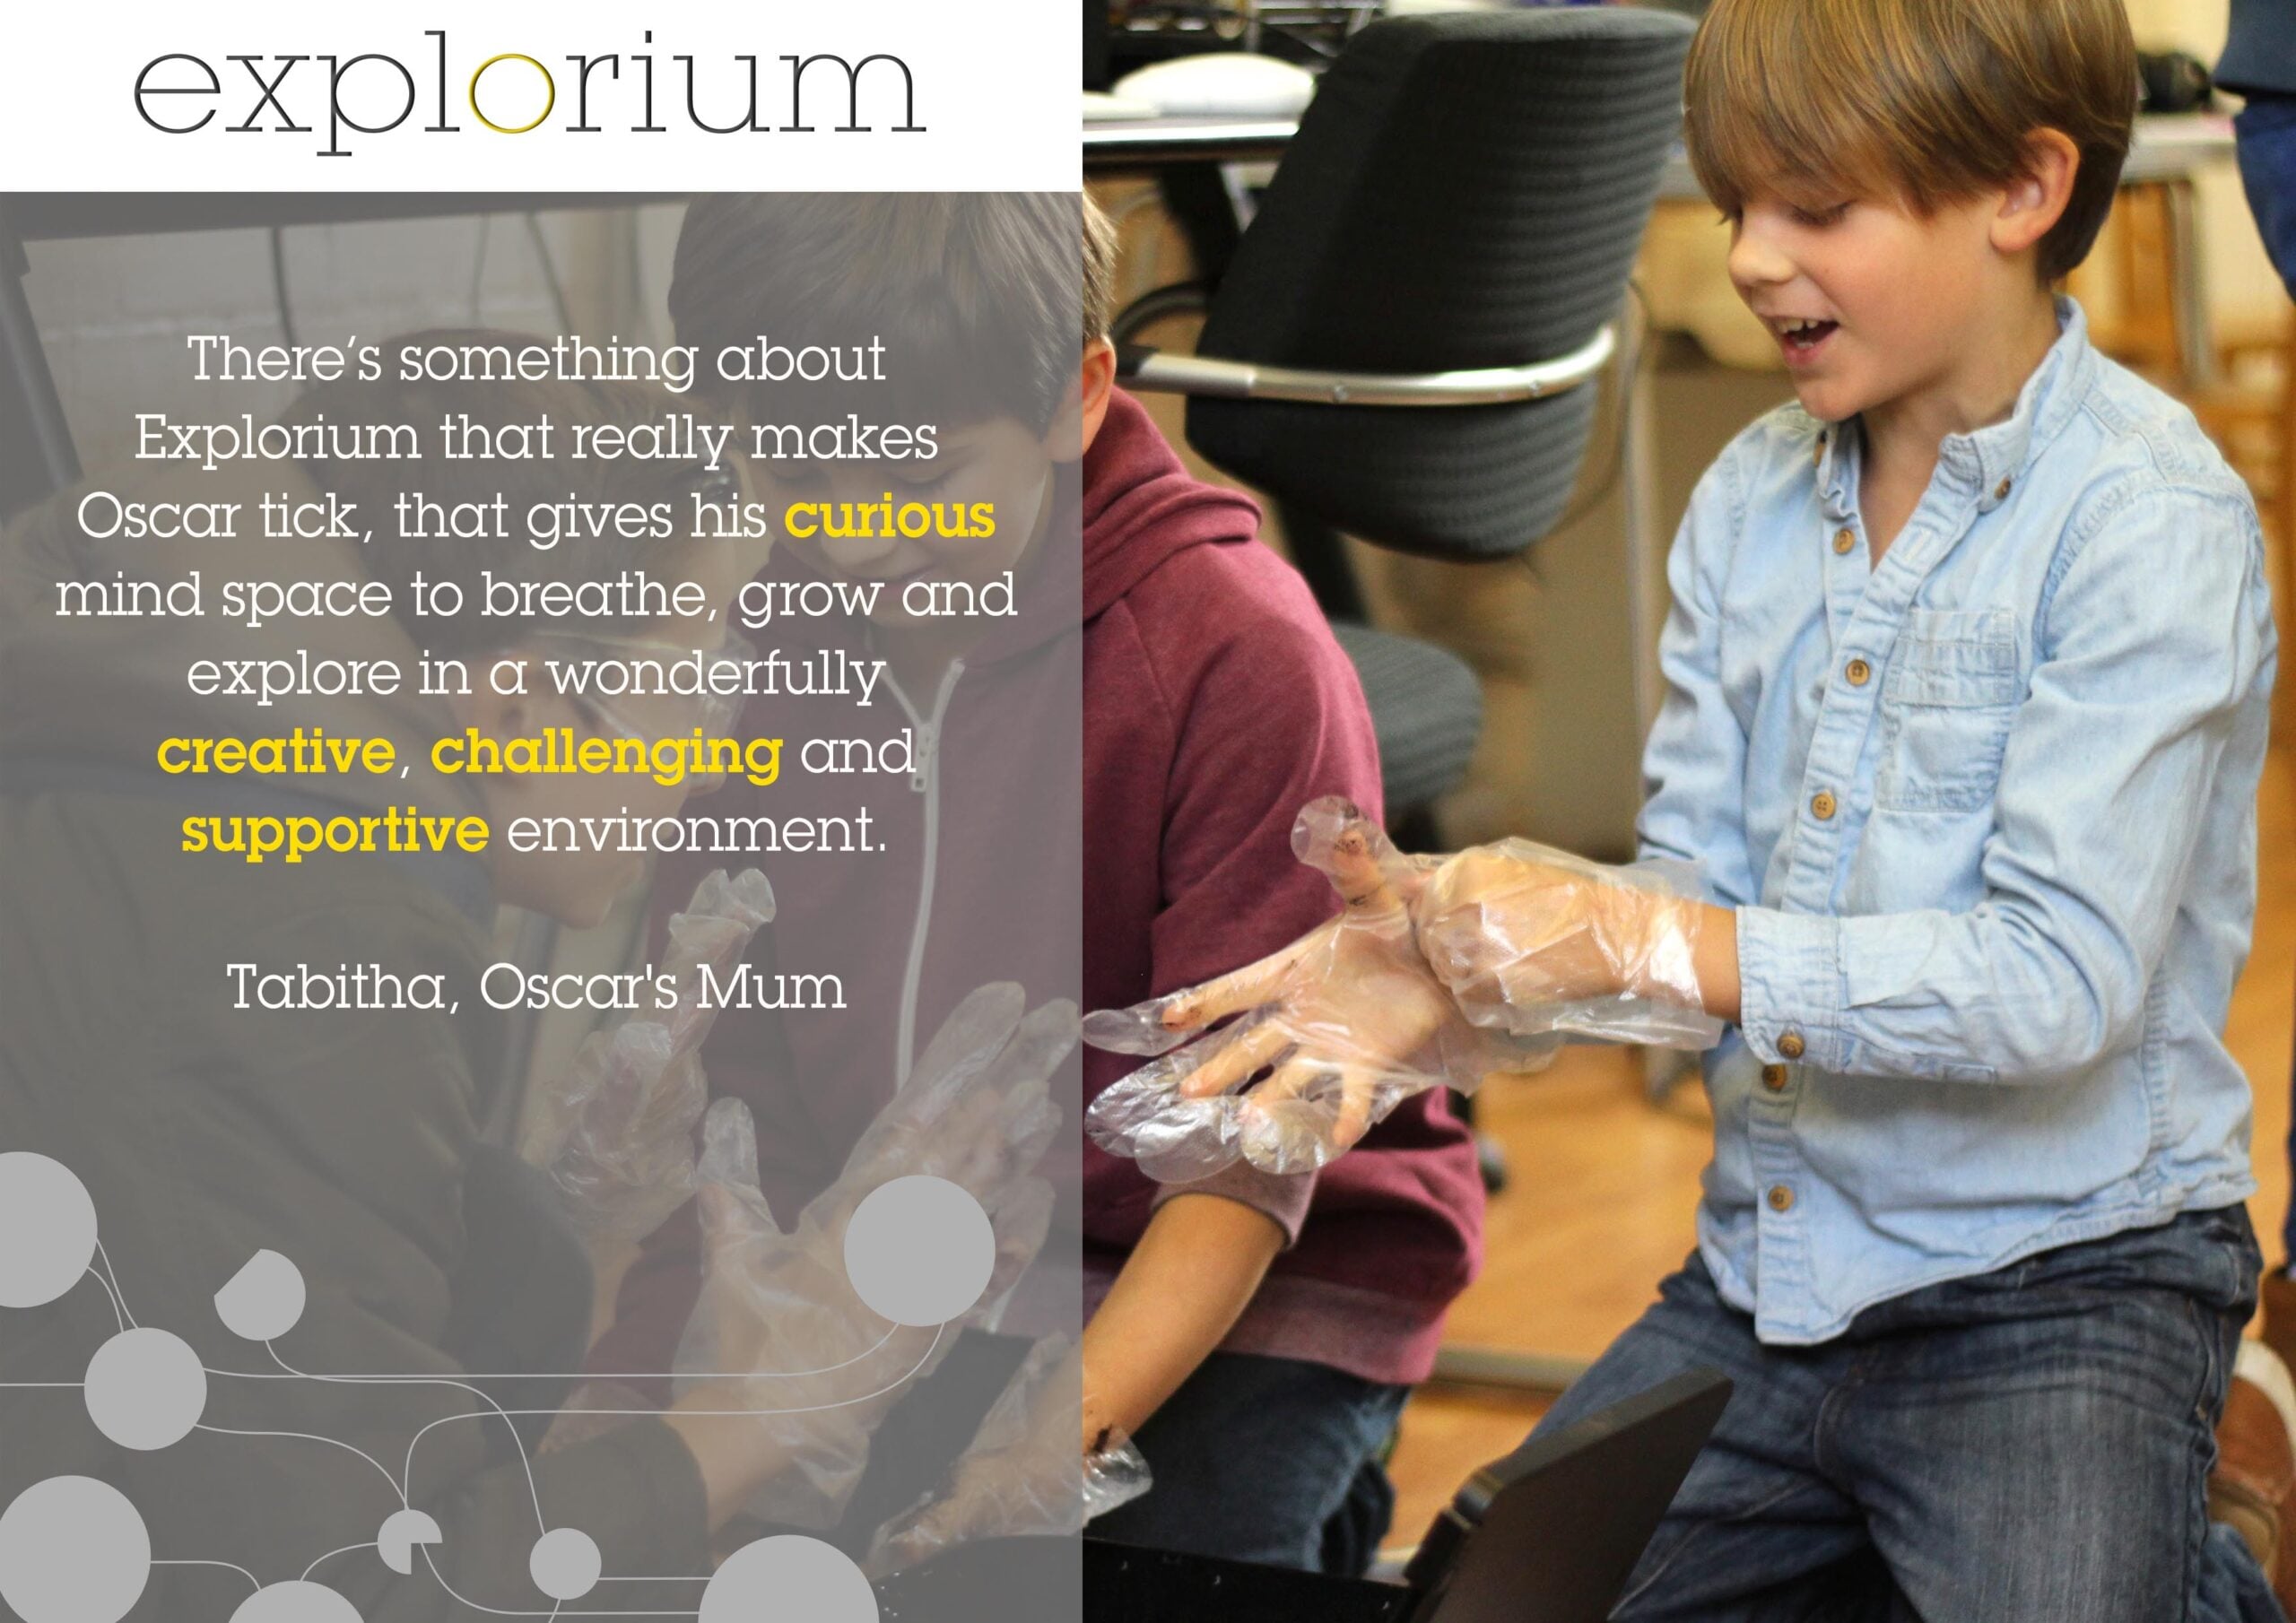
I include this quote card here because this is what you are going to be creating for your own child. Space for their curious mind to breath, grow and explore in the creative, challenging and supportive environment that you are going to be setting up. Trust in the process, ask questions when you have them and have authentic conversations with your child about both your learning adventures. Because as you will have gathered by now YOU are learning too!
Review, reflect, celebrate and extend
Remind yourself about the Lights On words as you want to be able to bring these into your conversation at all times.
You will learn more about reflection in module 5 so I'm not going to go into it here. What I want to show you now is how the steps of our Lights On framework work together. I think this will help you visualise how to bring in the different elements such as critique, reflection and extending, as these are crucial to bring into every project.
We're aiming to get your child into a continuous cycle of learning so they new switches start to come into play.
So depending on where your child ends up at the end of your first mini project you should always try to make room for reflection and celebrations. What small or big steps forward did they make? What obstacles did they have to confront and did their mindset help or hinder them?
In the next lesson we'll be walking you through one of our early mini projects that was a big hit and got our learners doing some complicated maths without realising it! Always a bonus...
A fun little visual poem, from Corinne and my son Seb, to share with your child about the world of possibilities opening up if we 'imagine'...