Ari Meisel - founder of Less Doing, co-founder of Leverage, coach, and productivity expert - knows about the hiring procedure.
He knows it so well that he's automated nearly the entire process.
If you're wanting to hasten the hiring process while still sourcing great candidates, follow this checklist.
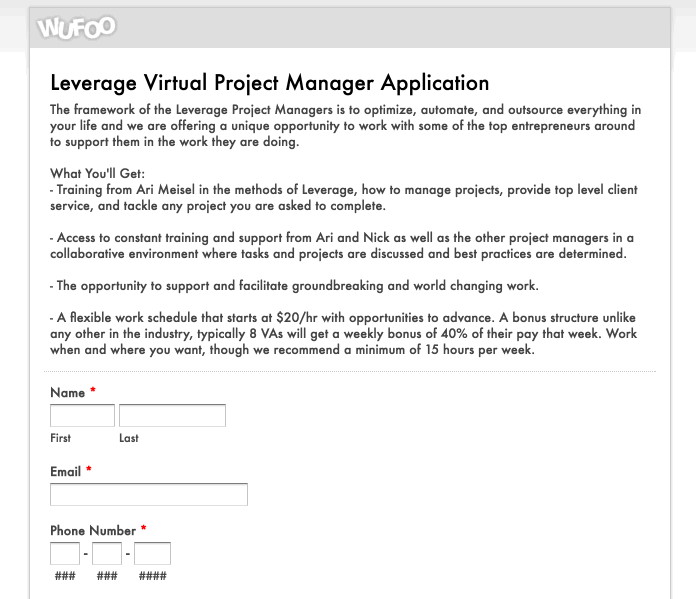
By following Ari Meisel's process, you will be guided through beginning steps - like setting up job application forms on Wufoo and creating Zaps (via Zapier) to automate candidates' applications - all the way through to the final stages, where you will hire and train the successful candidates.
In this checklist, Meisel offers the Zaps and automations he created himself so he could be more productive, which you can implement to save time and effort in abundance.
Here's to streamlining the hiring process with process automation.