Templates /
Patient Intake Checklist for a Medical Clinic

Patient Intake Checklist for a Medical Clinic

Run this checklist for each new medical patient to make the intake process as easy as possible for them and ensure maximum retention.
1
Introduction:
2
Basic information:
3
Input basic information
4
Request additional insurance information
5
Compliance:
6
Upload compliance documents
7
Send HIPAA authorization form
8
Receive signed HIPAA authorization form
9
Medical CRM:
10
Create new patient profile in medical CRM
11
Ask patient for changes to information
12
Record changes to existing patient information
13
Determine required documents
14
Update medical CRM with patient information
15
Welcome:
16
Prepare welcome email
17
Send welcome email
18
Scheduling:
19
Schedule intake appointment
20
Confirm appointment date
21
Medical questionnaires:
22
Send lifestyle health questionnaire
23
Send medical symptoms questionnaire (MSQ)
24
Receive completed medical questionnaires
25
Preparation for intake appointment:
26
Specify fasting requirements
27
Inform patient of fasting requirements
28
Request they bring medical records to the intake appointment
29
Request copies of identification for the appointment
30
Provide resources for locating the clinic
31
Send clinic directions to patient
32
Intake appointment:
33
Understand patient's needs
34
After intake appointment:
35
Upload copies of proof of identification
36
Assess whether consent and authorization form is necessary
37
Send consent and authorization forms for signing
38
Receive signed consent and authorization forms
39
Securely store patient's medical records
40
Update medical CRM with new information
41
Insurance coverage:
42
Check insurance coverage
43
Provide payment options
44
Sources:
45
Related checklists:

Introduction:

Studies suggest that paperwork errors are the 3rd leading cause of death in the United States alone.

Thus, patient intake is arguably the most important part of any medical clinic’s patient interaction cycle. It is the point of entry for the patient and will set the tone for the rest of your relationship, whilst establishing the infrastructure for paperwork and data storage.

There are three main elements that make up a good patient intake process:

  1. Proper handling of patient’s time, data, and privacy
  2. Making the process as convenient as possible for the patient
  3. Making sure all communication is clear and overstated

The patient intake process gives you an opportunity to get everything you need to properly assess and start working with the patient. Compliance plays a big part in this, with HIPAA documents and needing to be signed both before patients enter into your system of care, and updated at the beginning of each fiscal year.

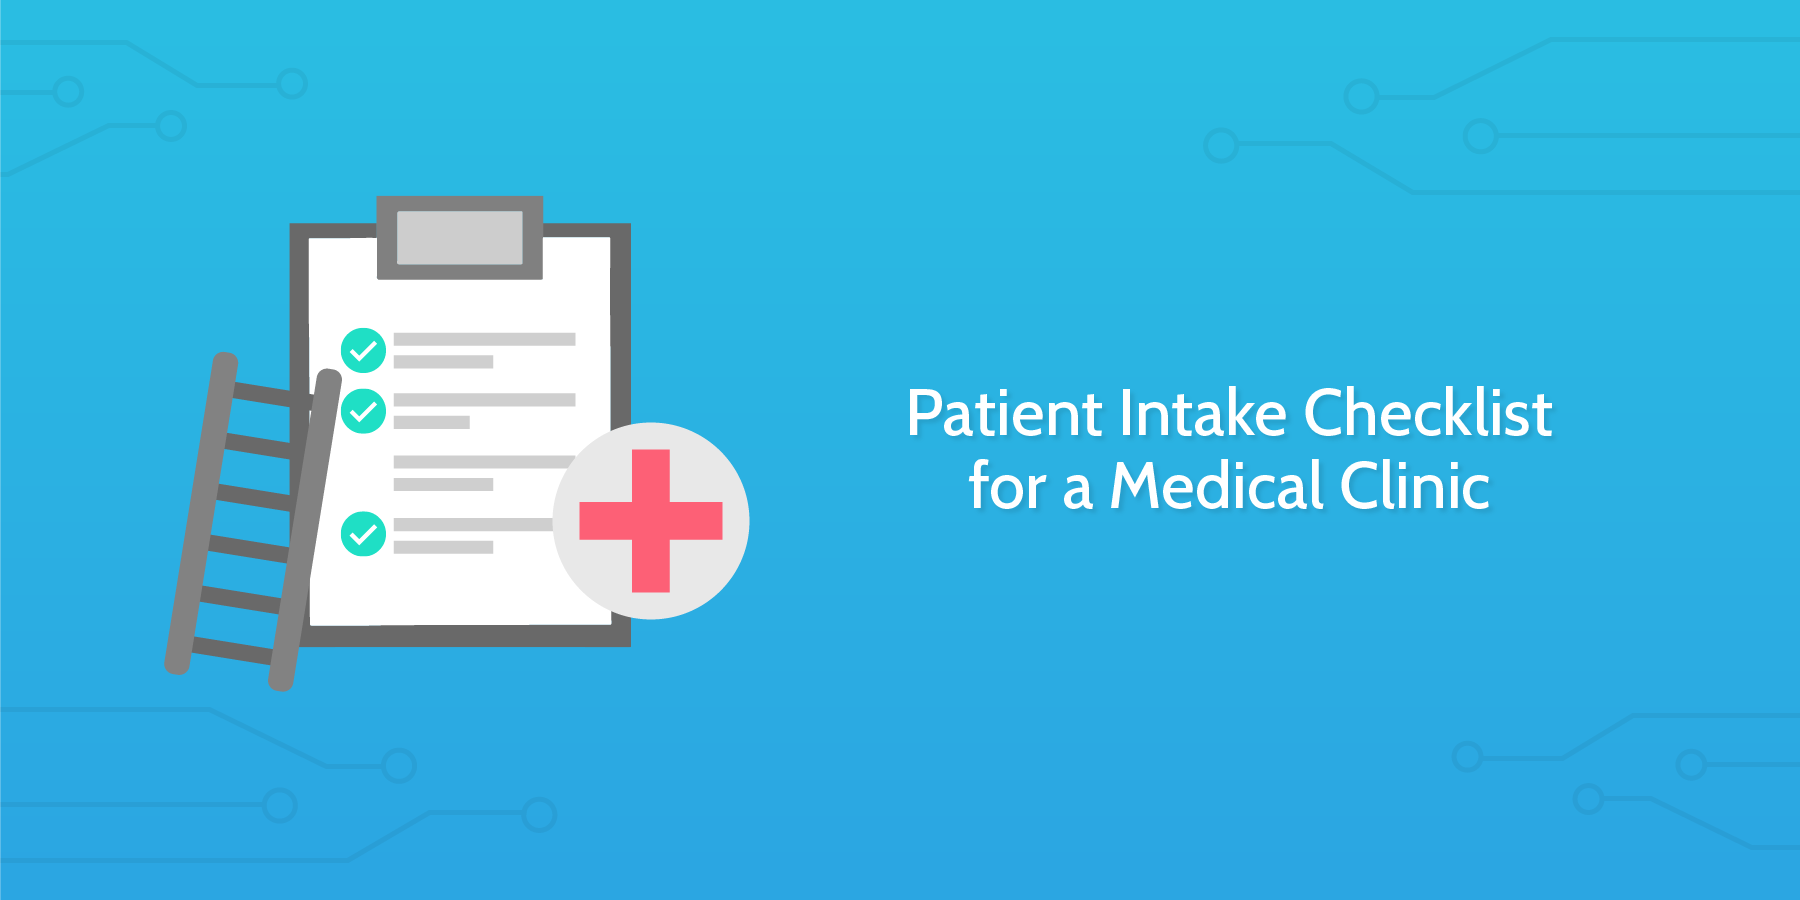
This checklist template was designed to make the patient intake process as streamlined as possible for you and your new patients, using conditional logic and automation to reduce friction and increase patient satisfaction.

What’s more, with Process Street’s extensive integrations you won’t have to worry about chasing down and filing paperwork – all the manual work will be done for you.

Let’s get started with the checklist.

Basic information:

Input basic information

First of all, fill out some basic details about your patient using the form fields in this task.

Automatically pull information from your medical CRM to fill out this task by setting up one of our many CRM integrations.


Then input information about the client’s insurance policy.


Request additional insurance information

Use the email widget below to send a request for additional insurance information. 

Set up one of our integrations to send a request automatically when a task in this checklist is completed (for example, when the previous task is checked).

Check that the information in the template is accurate before sending it.

Compliance:

Upload compliance documents

Next, upload your HIPAA and patient consent forms. This way they can be pulled into tasks in this checklist and automatically sent out to your client as and when needed during the onboarding process.

Send HIPAA authorization form

As required by law, send your client a HIPAA authorization form to ensure compliance when dealing with their medical records.

Automatically send your new clients HIPAA documents by setting up one of our integrations to trigger as soon as you run this checklist.

Receive signed HIPAA authorization form

Upload the signed HIPAA authorization form as soon as you receive it back from your patient using the form field below.

Medical CRM:

Create new patient profile in medical CRM

Create a new patient profile in your HIPAA-compliant CRM of choice.

You can automate this task with one of Process Street’s 1,000+ app integrations. For example, you can set up Salesforce to automate tasks like this whenever you run a new checklist.

Ask patient for changes to information

If the patient record already exists, either as a digital record in your medical CRM or a paper file, contact them to make sure all of the information you have is up-to-date. 

Record changes to existing patient information

After checking for a CRM profile and requesting new information from the patient, record any changes to existing information in the form field below.


Determine required documents

Determine what documents will be needed to proceed with the patient intake; the conditional logic set up for this checklist will then modify the remaining tasks based on how you fill out the form fields below.


  • 1

    Proof of identification
  • 2

    Insurance documents
  • 3

    Medical records
  • 4

    Other (please specify)

Update medical CRM with patient information

Patient information

First name: {{form.Patient_first_name}}
Last name: {{form.Patient_last_name_2}}
Email address: {{form.Patient_email_address}}
Contact number:  {{form.Patient_contact_number}}

Primary address: {{form.Patient_address}}

Signed HIPAA form: {{form.Signed_HIPAA_authorization_form}}
Documents outstanding: {{form.Required_documents}}
Documents outstanding (other): {{form.Other_(please_specify)}}

New information: {{form.New_patient_information}}


The information above is a summary of the information collected so far during this checklist. Use it to update your patient’s medical CRM.

Save time by automating this task; for example, using one of our Hubspot integrations.

Welcome:

Prepare welcome email

Use this opportunity to prepare a welcome email; your goal here, as with much of the onboarding process, is to make the patient feel like they’ve made the right decision in choosing your practice, whilst also providing value in some way.

Here is a list of content you might consider incorporating into your welcome email:

  • 1

    Introduction to you / your practice
  • 2

    Short, relevant video with contextual information
  • 3

    Digital brochure containing information about your practice
  • 4

    Content referencing you or your practice (blog posts, articles, etc.)
  • 5

    Customer testimonials
  • 6

    FAQ

Fill the form fields of this task with content for the welcome email.


Send welcome email

Using the information collected in the previous task that has automatically been added to the email, edit the body of the email below and then hit the send button when you’re ready.

Scheduling:

Schedule intake appointment

Send an email with a link to your scheduling tool of choice to arrange an appointment for the initial intake meeting.

Edit the body of the email template to include your own scheduling tool URL.

Check out how you can automate your client onboarding process using Process Street with the video below:

Confirm appointment date

Once the client has booked an appointment with you, record the date in the form field below.

Medical questionnaires:

Send lifestyle health questionnaire

Send over a questionnaire to get information on the patient’s lifestyle and general health, including allergies, existing conditions, and general fitness.

Ideally, the questionnaire should be completed before the appointment. Edit the email body to include a link to your own questionnaire.

Set up an email integration to send this questionnaire using one of our many form tool integrations.

Send medical symptoms questionnaire (MSQ)

Send an additional questionnaire to get information on the patient’s symptoms to supplement your assessment ahead of, during, and after their intake appointment.

Again, this questionnaire should be completed before their intake appointment. Edit the email body to include a link to your own questionnaire.

Receive completed medical questionnaires

Once the client has filled out both the lifestyle health and MSQ, record links to the completed questionnaires in the form field below, using the sub-checklist to keep track.

  • 1

    Lifestyle health questionnaire
  • 2

    Medical Symptoms Questionnaire

Preparation for intake appointment:

Specify fasting requirements

It may be necessary that the patient takes care to follow specific fasting instructions in preparation for their appointment. Record specific fasting instructions in the form field below.


Inform patient of fasting requirements

Send an email detailing the specific instructions for fasting that the patient must follow in preparation for the intake appointment.

Request they bring medical records to the intake appointment

Use this email widget to send a request for specific medical documents and records to be brought to the intake appointment.

The email should already be complete with necessary requests; check it over and hit the send button before moving to the next task.

Request copies of identification for the appointment

As with the previous task, the email should already have all of the necessary information; just check it over and send it once you’ve confirmed everything looks okay.

Provide resources for locating the clinic

This may take the form of step-by-step directions (if the clinic is in a difficult location), directions on your website, or may just be a simple Google Maps location.

Whatever the case, use the form field in this task to provide a resource for informing your client how to reach the physical clinic.


Send clinic directions to patient

Clinic directions

Clinic directions: {{form.Clinic_directions}}
Clinic directions (.pdf): {{form.Clinic_directions_(.pdf)}}
Clinic directions (URL): {{form.Clinic_directions_(URL)}}


Use this email widget to provide your patient with detailed instructions on how to reach the clinic.

Intake appointment:

Understand patient’s needs

Either during your intake appointment or afterward (using notes recorded elsewhere) complete the form field below with as much information as possible regarding your patient’s needs.


After intake appointment:

Upload copies of proof of identification

Securely store patient’s medical records

Having received your patient’s medical records, be sure that they are securely stored (either uploaded or paper copies made) to your clinic database before proceeding.

  • 1

    Patient’s medical records secured (digital)
  • 2

    Patients medical records secured (paper)

Update medical CRM with new information

New patient information

Reason for calling: {{form.Reason_for_calling}}
Overview: {{form.Overview_of_patient’s_situation}}

Lifestyle health questionnaire (complete): {{form.Completed_lifestyle_health_questionnaire_URL}}
MSQ (complete): {{form.Completed_MSQ_URL}}

Proof of identification: {{form.Proof_of_identification}}
Signed consent and authorization form: {{form.Signed_consent_and_authorization_form}}


Using the information conveniently collected in the text field above, update the patient’s profile in your medical CRM.

Set up one of our integrations to have this information automatically sent to your medical CRM. Check out how you can do this with Hubspot, or 1,000+ other applications.

Insurance coverage:

Check insurance coverage

Are the needs of the patient within the coverage of their current insurance plan?

We’ve made it simple to provide alternative options for your patient using conditional logic to modify the tasks in this checklist based on the response recorded in the drop-down form field of this task.

Determine the answer and record their coverage in the form field below.


Provide payment options

Send the patient an email informing them of the different payment options available, in the event that their insurance plan does not cover treatment at your practice.

You can edit the body of the email template to include your own payment options.

Automatically send this email as soon as you’ve determined their coverage by setting up an email integration. MailChimp and Gmail both work great for this.

Sources:

Take control of your workflows today.