Form fields are a great way to collect information in your forms. Different types of form fields allow you to control the kind of data you collect and the format you collect it in.
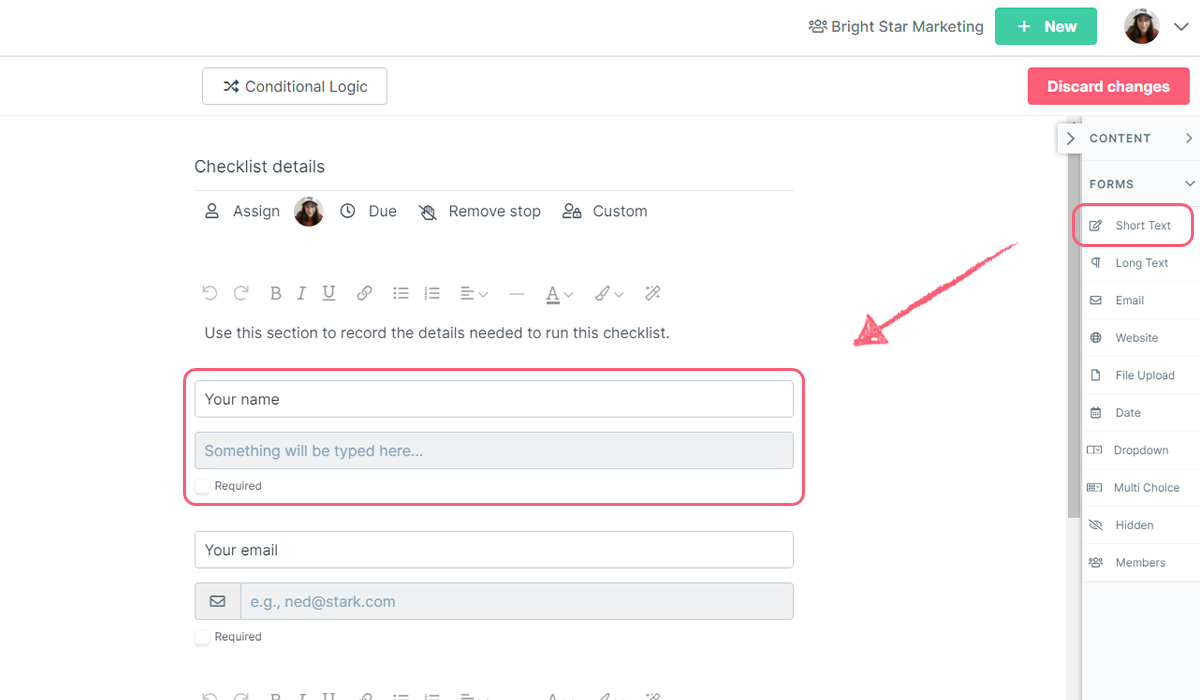
The short text field is best suited for recording aspects such as employee or company names – any data which is guaranteed to be no more than a couple of words. The character count in short text fields is 254 characters.
This form field can be used in Conditional Logic.
Short text field validations
Once you’ve added the field in your form, hover over it and you’ll see a three-dot menu next to the field. Click here and select Settings to open the validation settings. From here, set the minimum or maximum number of characters you want to allow and add a note into the placeholder field to reflect the validations that have been set. Click Apply to save the validation settings.
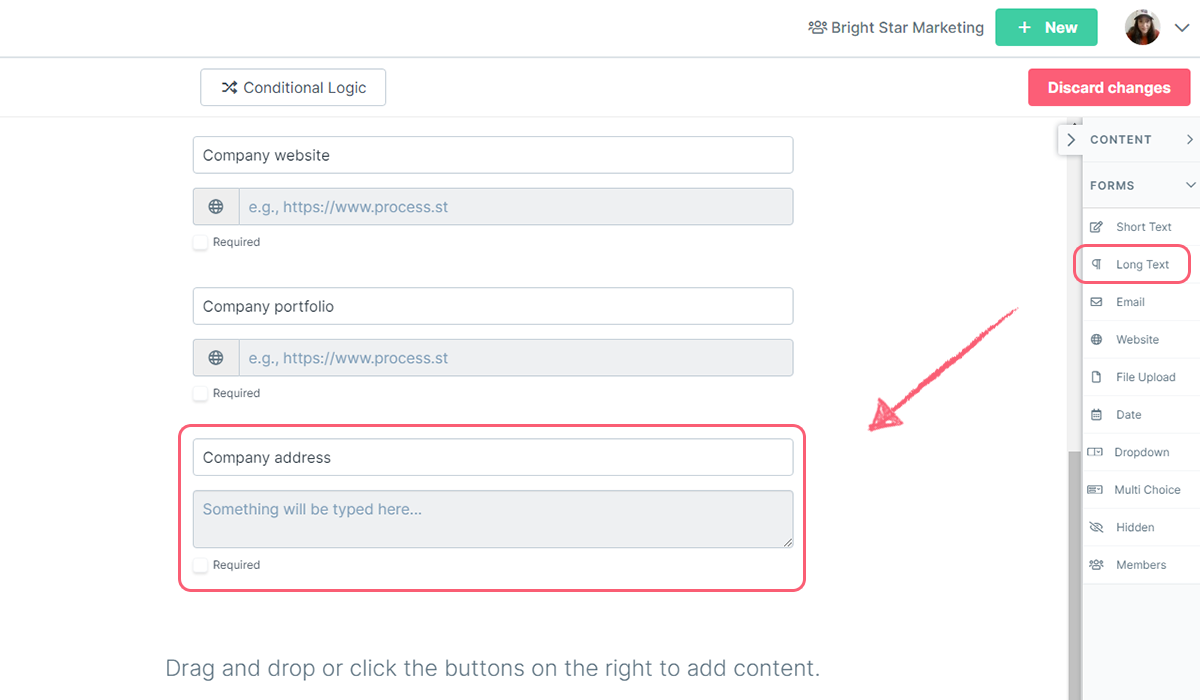
The long text field is best utilized for extra details or any information that is likely to go beyond 3 to 4 words. For example, you could record additional details on something or an address. This field can accept 2000+ characters.
This form field can be used in Conditional Logic.
Long text field validations
Once you’ve added the field in your form, hover over it and you’ll see a three-dot menu next to the field. Click here and select Settings to open the validation settings. From here, set the minimum or maximum number of characters you want to allow and add a note into the placeholder to reflect the validations that have been set. Click Apply to save the validation settings.
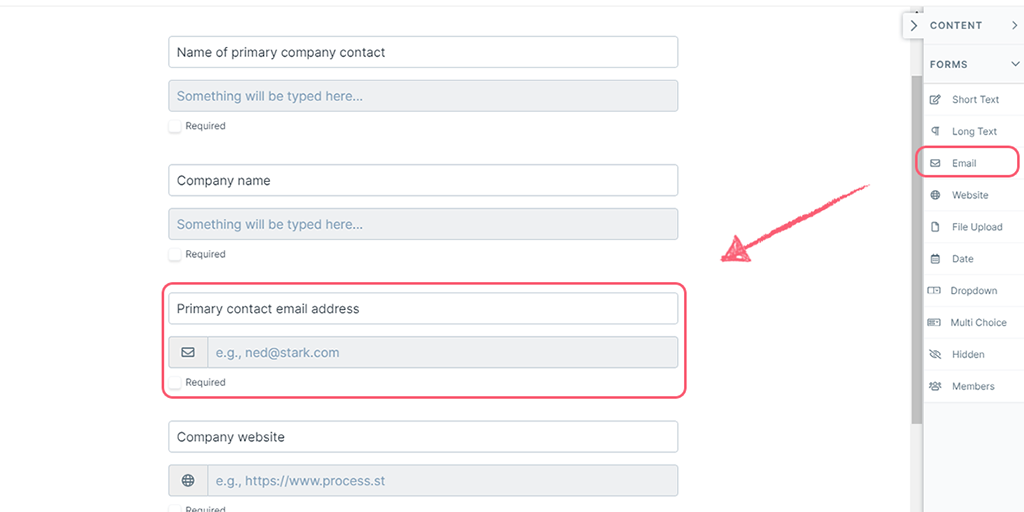
Email fields do exactly what they say on the tin; they collect email addresses. Using these instead of the standard single-line fields will allow you to quickly differentiate between email addresses and other information, as the symbol is unmistakable.
This form field can be used in Conditional Logic.
Email field validations
Once you’ve added the field in your form, hover over it and you’ll see a three-dot menu next to the field. Click here and select Settings to open the validation settings. From here, set which email domains you’d like to allow or block, and add a note into the placeholder to reflect the validations that have been set. Click Apply to save the validation settings.
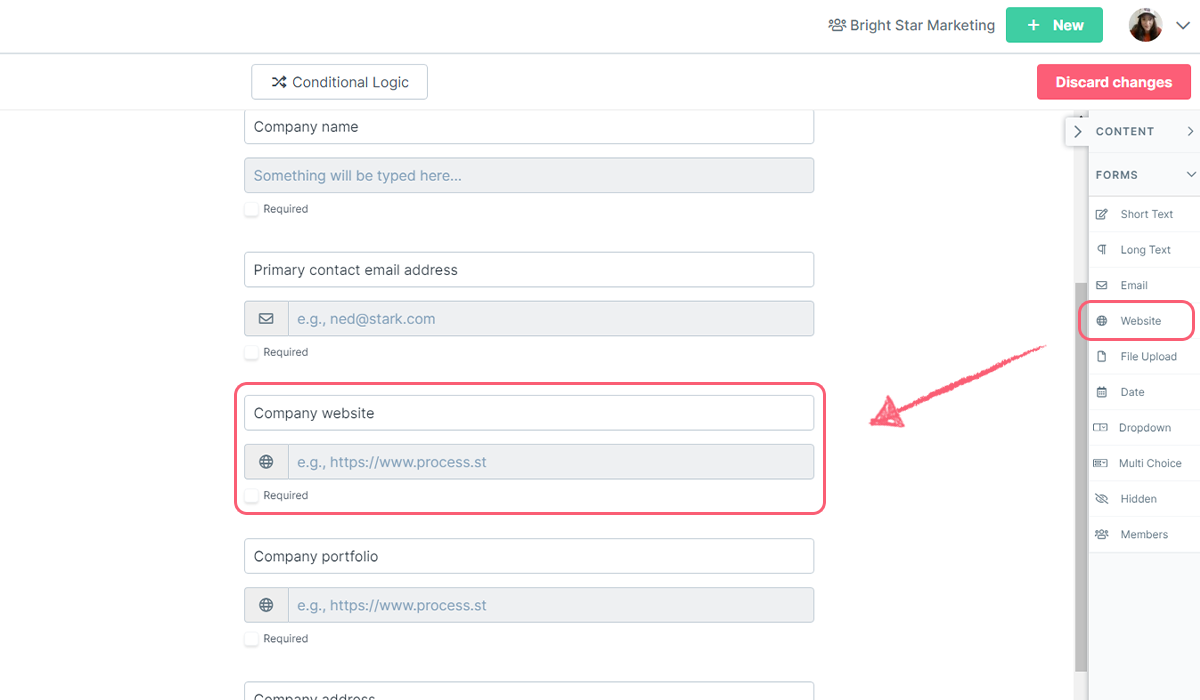
Website fields are specifically designed for collecting URLs. Much like the email address form field, it is easier to distinguish them from single-line field data.
The file upload field allows users to upload any files into the form. For example, if an important document needs to be signed, a copy of the signed version can be scanned and then uploaded to the form for submission.
File types supported include .pdf, .gif, .png, .jpeg, .docx, .xlsx, .csv and the various file types have individual upload limits.
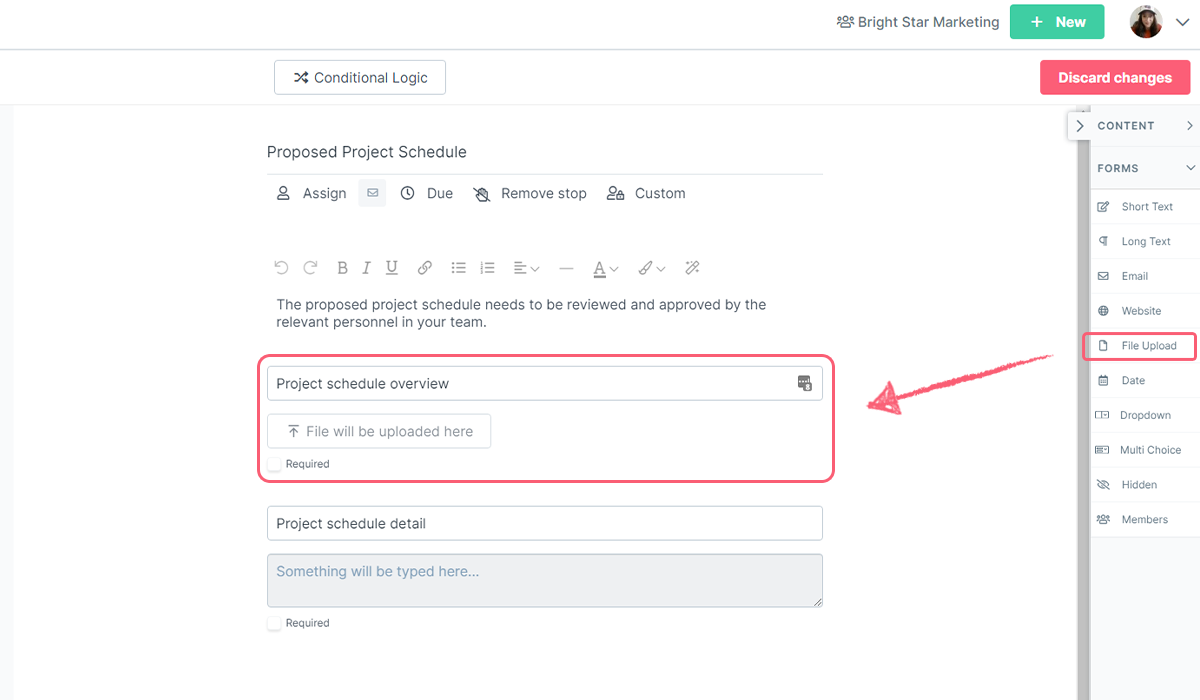
Once you’ve added the field in your form, hover over it and you’ll see a three-dot menu next to it. Click here and select Settings to add placeholder text in your file upload field. Click Apply to save the settings.
You can use a date field to record a date along with time in your forms.
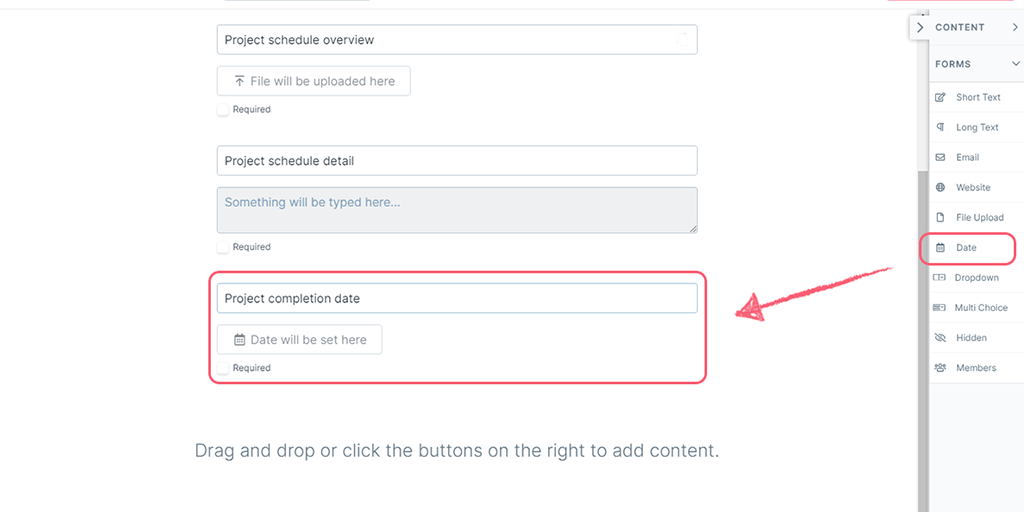
This form field can be used in Conditional Logic.
You can use a number field to record numbers.
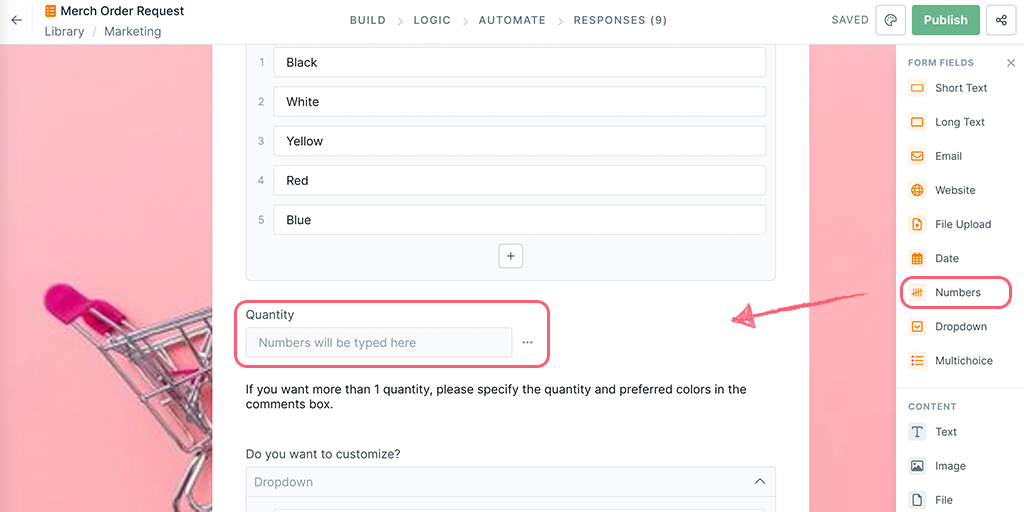
Once you’ve added the field in your form, hover over it and you’ll see a three-dot menu next to the field. Click here and select Settings to add placeholder text in your number field. Click Apply to save the settings.
This form field can be used in Conditional Logic.
Number field validations
In the field settings, you can also configure a maximum number of digits to control how many digits respondents can enter. This is useful when collecting data like phone numbers or ID codes that have a fixed length.
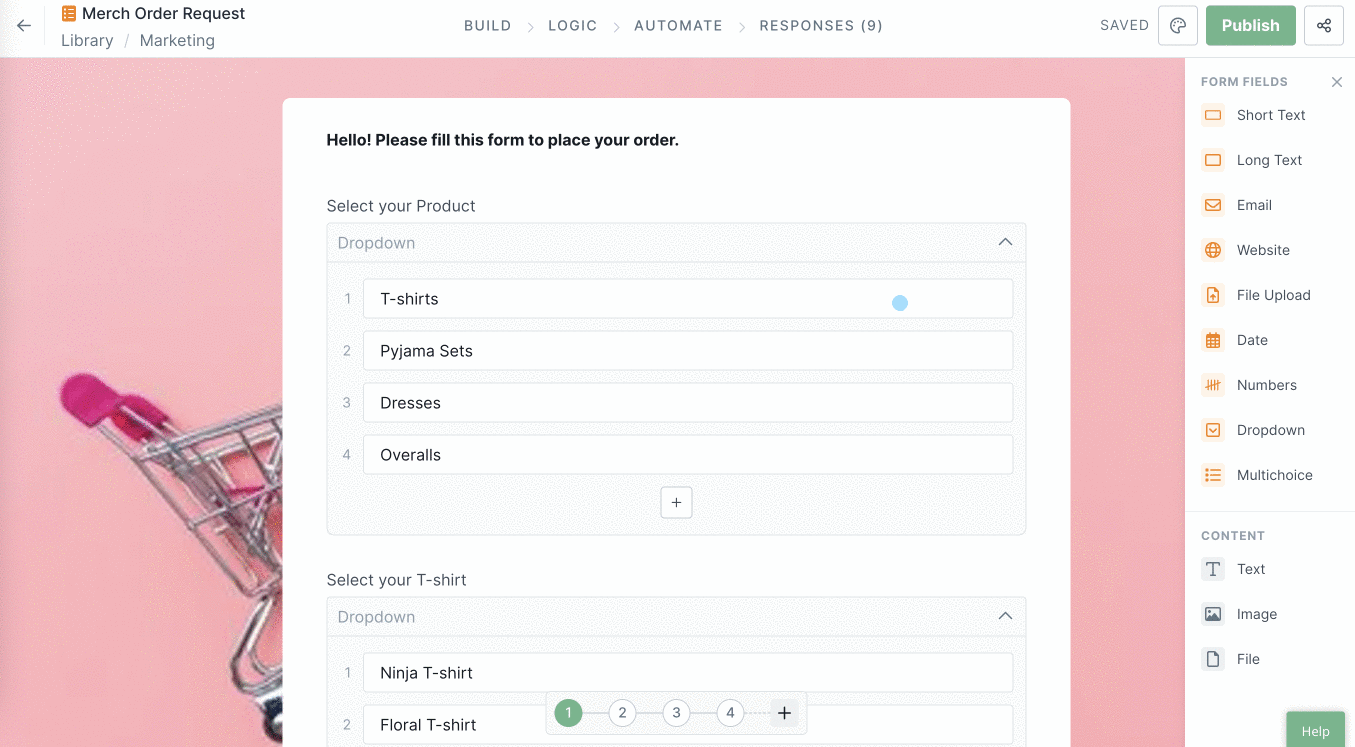
Dropdowns are a fantastic way to collect preferences in your forms. They allow users to select a single option from a dropdown list that you have predetermined.
This form field can be used in Conditional Logic.
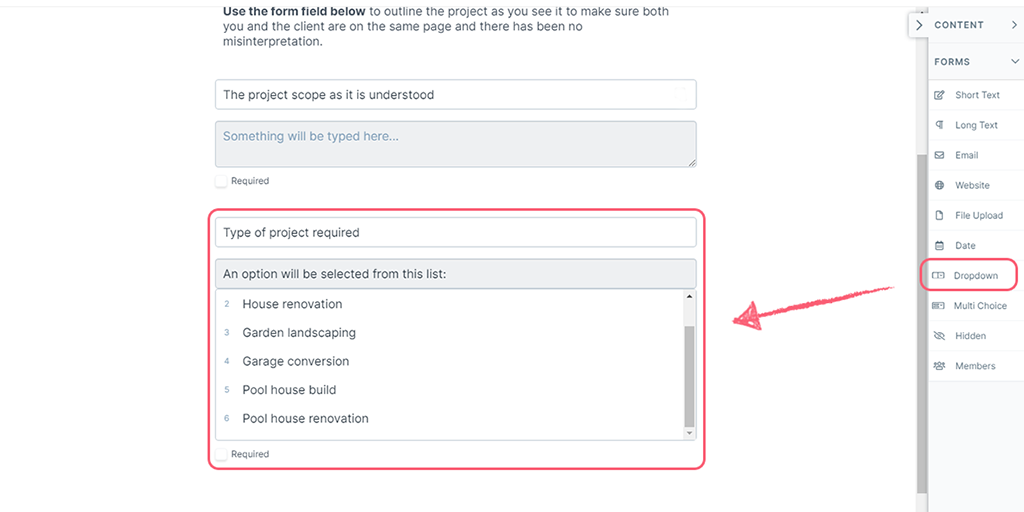
To add more options to your dropdown, click the + icon at the bottom of the options or press Enter. Use the handle shown below on the left of each option to drag and move its position. To delete an option, press delete/backspace on your keyboard or click the delete icon on the right of the option as shown below.
This form field can be used in Conditional Logic.
The multichoice field allows users to select more than one option from a list of predetermined options.
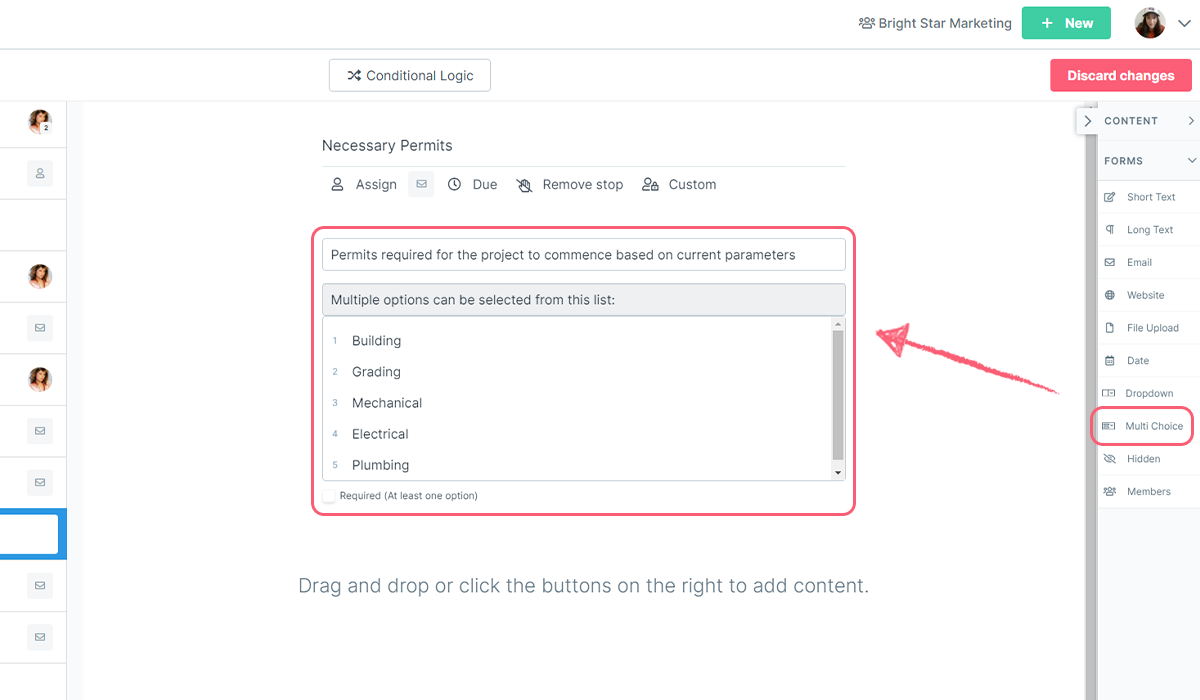
To add more options to your multichoice, click the + icon at the bottom of the options or press Enter. Use the handle shown below on the left of each option to drag and move its position. To delete an option, press delete/backspace on your keyboard or click the delete icon on the right of the option as shown below.
This form field can be used in Conditional Logic.
The table field lets you collect structured, tabular data in your form. Respondents fill in rows and columns, making it ideal for itemized lists, inventory tracking, or any data that fits a spreadsheet-like format.
You can set form fields to be required fields so that when someone is filling out your form, they can’t complete that step or submit the form before they have filled out the required data.
To make a field required, hover over it and you’ll see a three-dot menu next to the field. Click here and select Required.
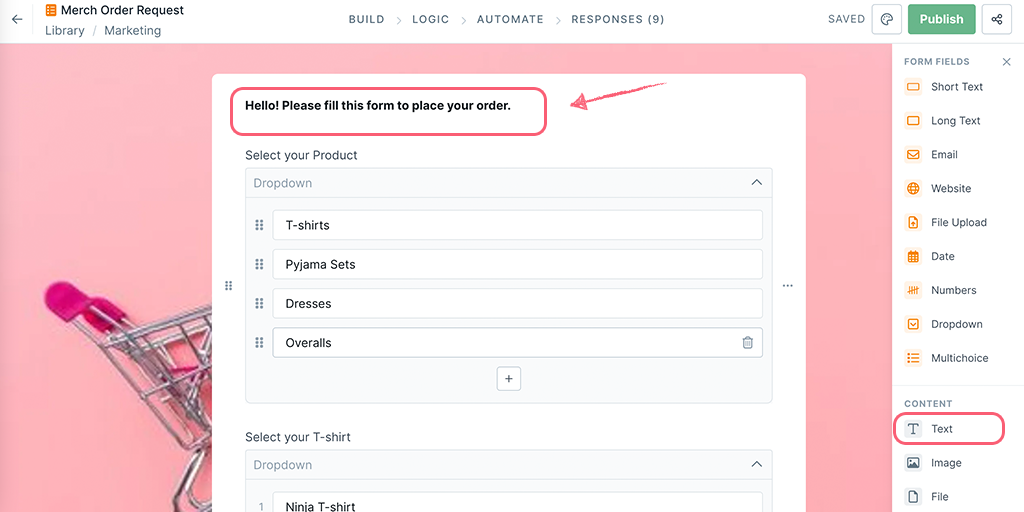
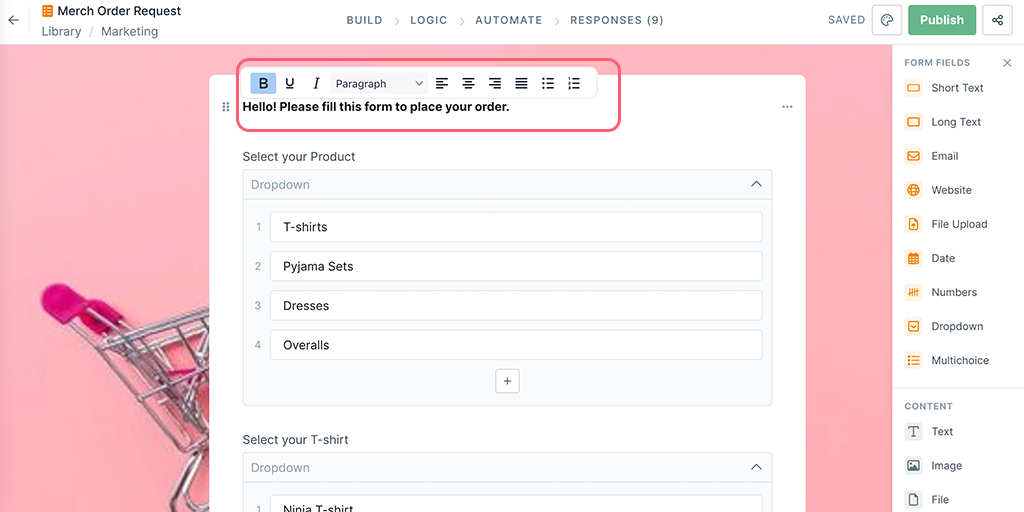
You can use the text field to add context to your form fields like greetings or general instructions.
You can also format your text with bold, italics, underscoring, paragraph alignment, and bullet lists.
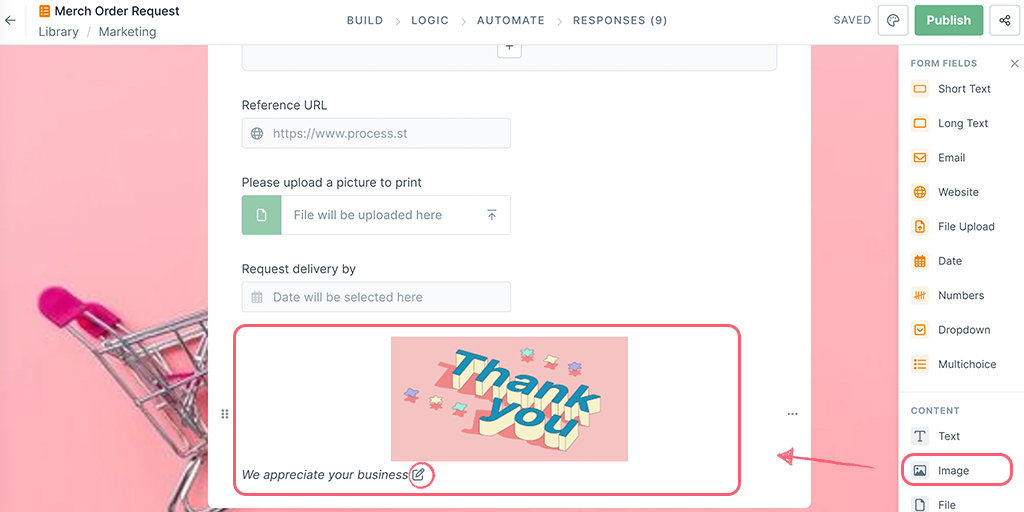
You can use the image field to make your forms more visual or refer to something specific. You can also caption your image by clicking the edit icon under the image.
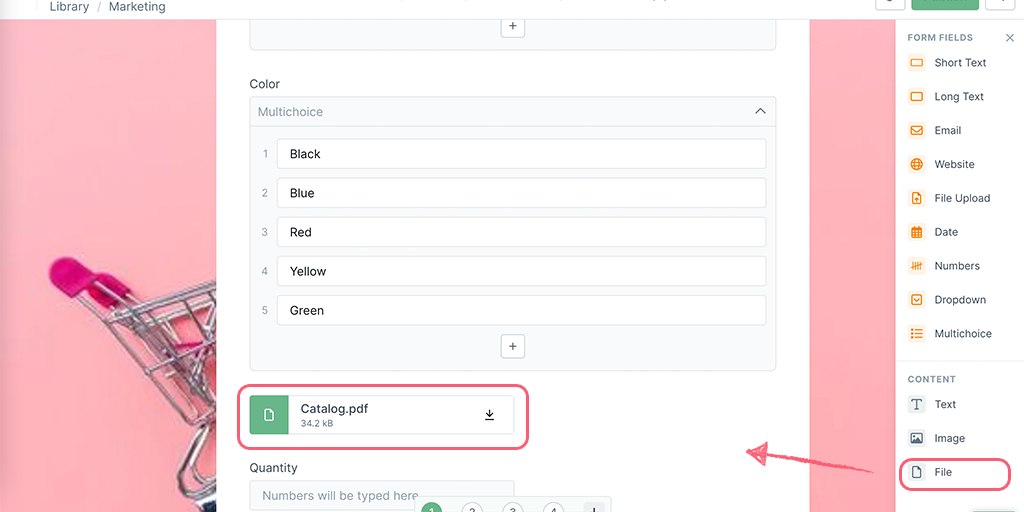
The file widget lets you embed a file directly into your form. Use it to share reference documents, contracts, or any other files that respondents need to view or download. This is different from the File Upload form field, which collects files from respondents.
To move your fields around, click the three dots next to each form field and then select “Move Up” or “Move Down”.

Help us improve this help center.


