Data Sets allow you to create and store tables of data to use in your Workflow runs and Forms.
You can utilize them to speed up Workflow and Form building, filling form fields in Workflow runs, maintain consistent data across all your processes, and to reduce data entry errors.
In addition, you can use Data Sets as variables in your Workflows and set up custom integrations by using our automations, or integrations with Webhooks, our API or Zapier.
Users: Admins and Members can create or view data sets and saved views.
In this article we’ll cover:
You can either create a Data Set from scratch, by uploading a CSV file or generate a Data Set using Process AI.

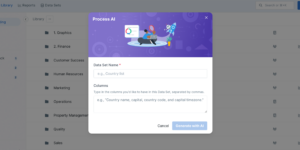
If you’re looking for a quick way to get started using Data Sets and saved views, you can utilize Process AI to generate a Data Set for you.
Learn how to generate a Data Set with AI.
If you already have your data in another tool, you can export it as a CSV, then upload it into Process Street to create a new Data Set for you.
Click +Data Set and select Import Data Set.

Your CSV will need column headers and must not exceed the limits of 10,000 records, 50 columns per record, and 5kb per record.
Tip: Delete any empty rows before creating your CSV.
Your Data Set will be created with the name of the file you uploaded and the sheet name. All your data will be created in text format.
If you’d like to rename your Data Set, click the settings cog in the left side of your view. Make your changes and click Save to finish.
Click +Data Set and select Blank Data Set, after which you’ll be promoted to give your Data Set a name, shown below.

Keep adding more records as needed. You can use your tab and cursor keys to navigate the table.
To be able to connect your Data Set to a Workflow, you’ll first need to create a saved view from it.
By default, all new Data Sets have a view called All Data, which you can connect to a Workflow or a Form.
However if you wish to only share part of your Data Set in a Workflow, you’ll want to filter, sort or hide some of the fields first.

All saved views you create from this Data Set will show on the tabs at the top of your view.
If you’re building a new Workflow, add a dropdown form field and click the three dots at the right of the form field, shown below.
Select the saved view you’d like to use and the field that will become the pick list in your Workflow runs, as shown above.
Note: If you have sensitive data in your Data Set that you don’t want to share, be sure to hide those columns first, before creating a saved view.
Publish your Workflow and run it. Now you can select from the options in your dropdown that are connected to your saved view.
In the video above, you can also see how to auto-fill form fields using variables from your Data Set.
If you already have a Workflow with a dropdown in use, you can edit your Workflow and connect a saved view to it. This effectively overwrites the selections in your existing dropdown with new ones.
If you publish changes to your Workflow and don’t update active Workflow runs, then nothing will change in these runs.
If you do push changes to all active Workflow runs, any selections that were previously made in the dropdown will be retained. Anywhere there was no selection made, the dropdown will show the new list.
Any new Workflow runs created will show the new options in your dropdown field.
When you duplicate a form field with a saved view connected, the saved view will also be duplicated. You can then move this field to another task.
If you’d prefer to use another saved view for the duplicate, click the three dots and disconnect the original saved view, then connect a different one.
You can share Data Sets and Saved views with other Admins or Members who are already part of your organization.
Members can be granted one of two permission levels shown below.

To the right of the share button (shown above) is the export button. You can export Data Sets and saved views to help integrate your data with other tools.
Click the export button to export your Data Set or saved view as a CSV file.
You can create automations to add, update or delete records in your Data Set with data collected in your Workflow runs.
Choose when a task is complete in a Workflow run or when a Workflow run is complete.
You can also integrate Data Sets with other tools or apps by using Webhooks, our API or Zapier.
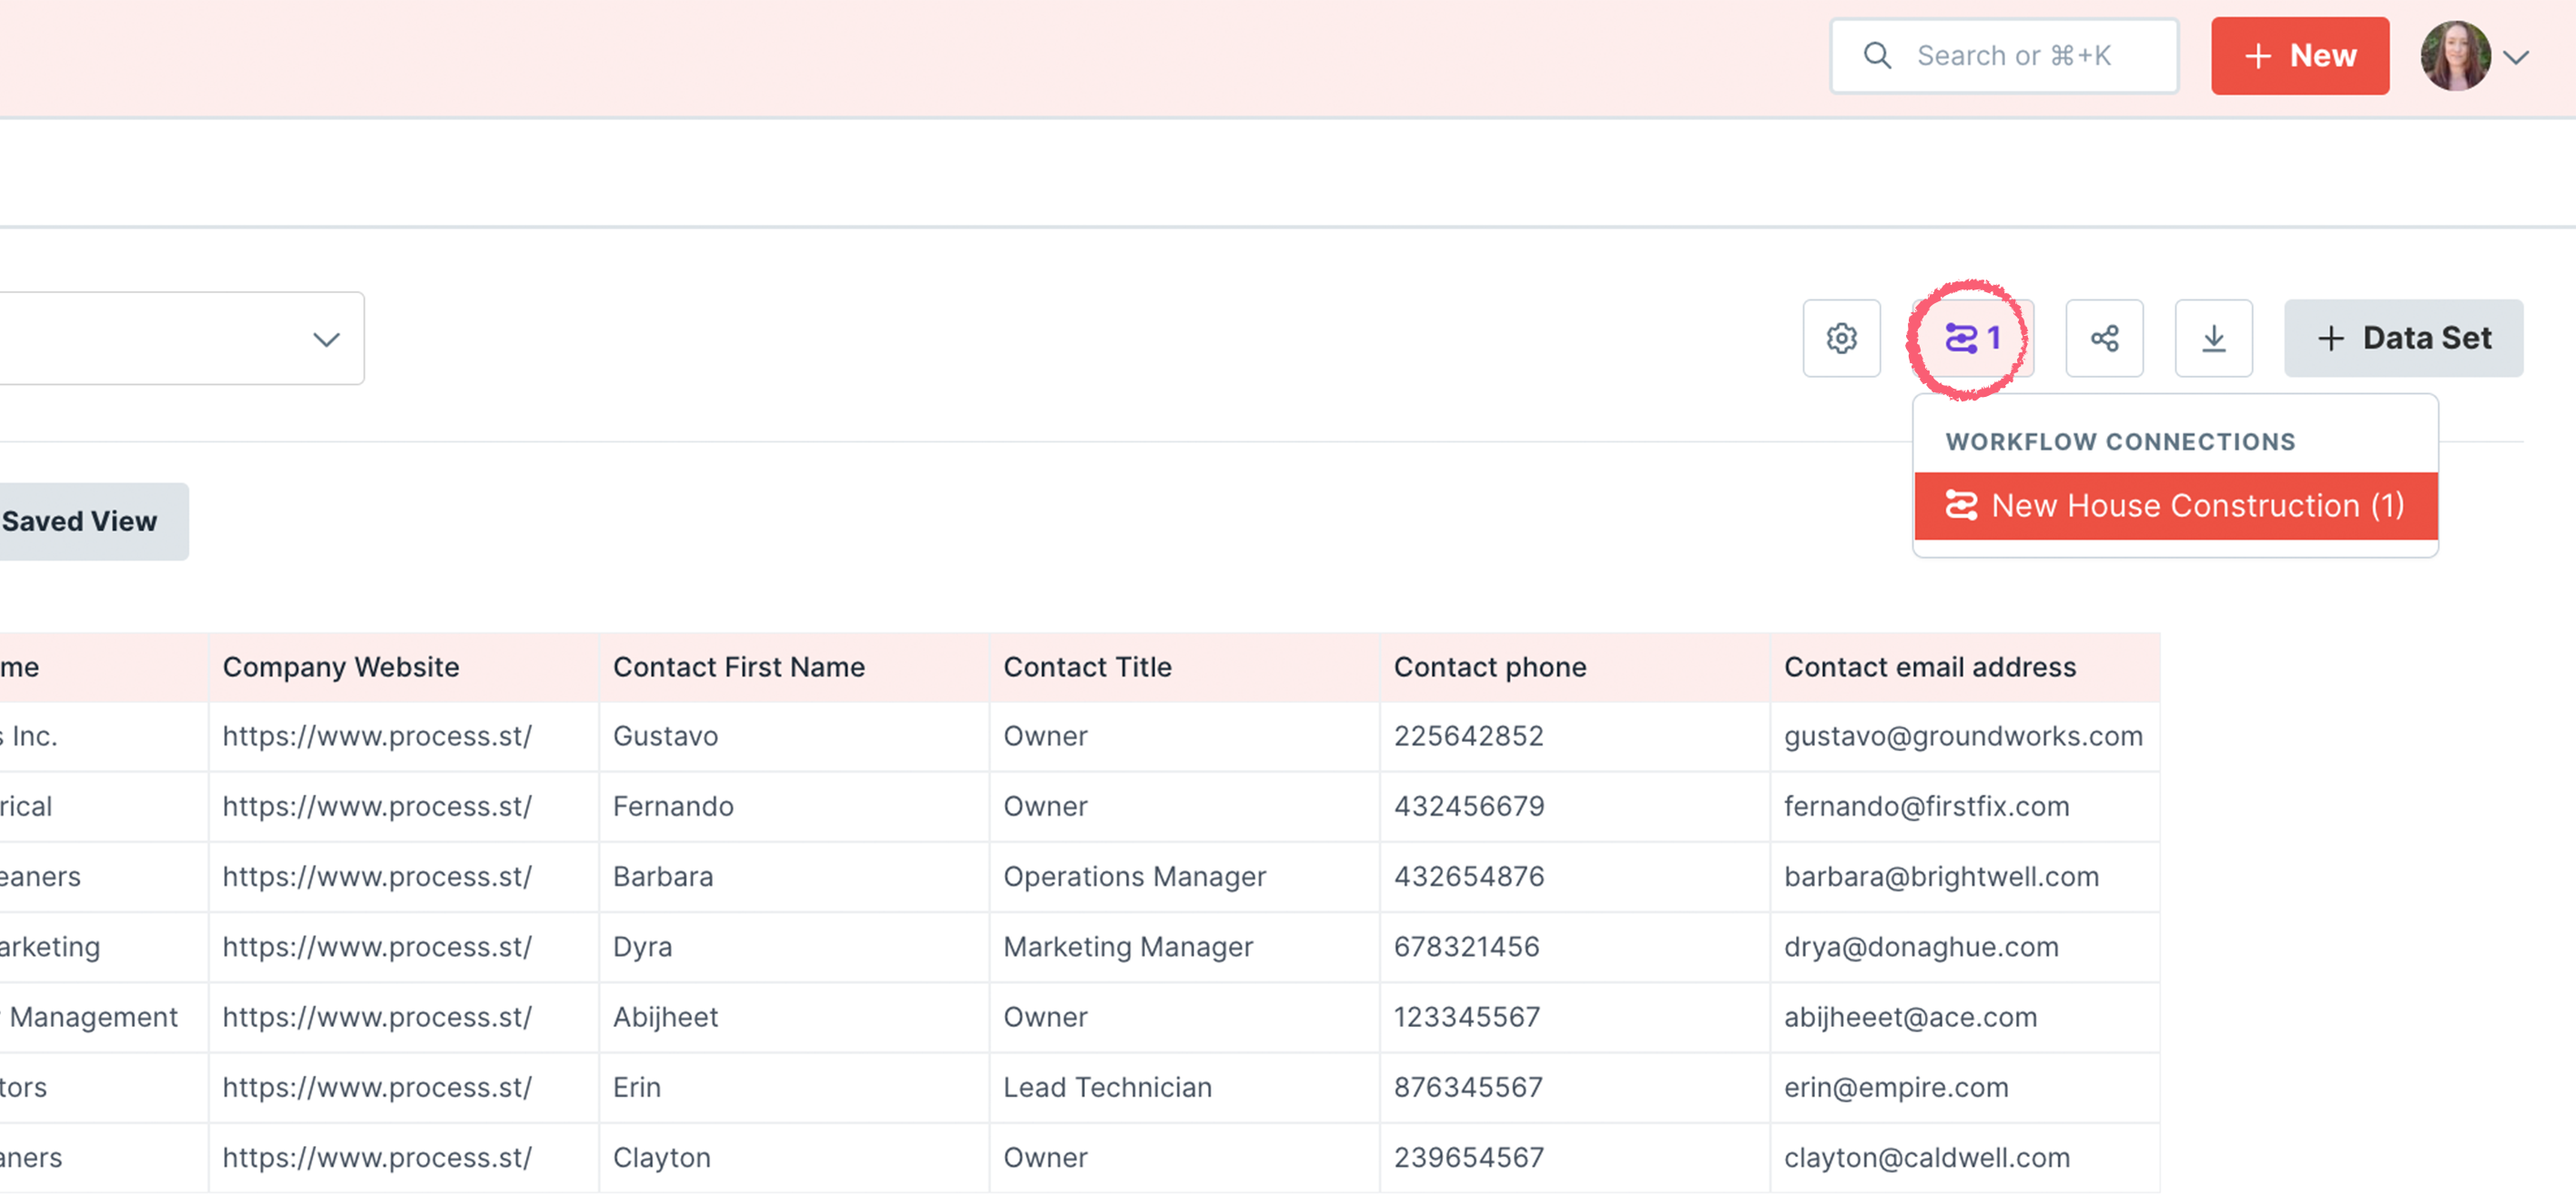
If you have saved views connected to a Workflow, you’ll be able to see this from the purple icon in the top right of your view.
Click this icon to see a list of Workflows that this view is connected to.

Click the saved view you’d like to delete and the click the three dots to see the option to delete it. You’ll be reminded here that your saved view is connected to a Workflow.
You can disconnect any form fields that you may have connected before you delete your saved view. If you choose not to, the data can still be seen in active Workflow runs, in dropdown selectors, and as variables.
If you choose to delete a Data Set, all the saved views created from it will also be deleted.
Click the settings cog on the the side of your view and click delete. You’ll be asked to confirm before deleting.

What happens if I disconnect a saved view from a form field in Workflow runs?
A selection already made in a dropdown field will be retained in active Workflow runs. Variables that used the previously connected saved view will need to be removed or re-added.
Data selected or used as variables in any completed or archived Workflow runs will be retained.
Can I use dropdowns that are connected to Data Sets in run links, with the API or with Zapier?
Not at the moment but we’ll be looking at updating this as soon as we can.
The dropdown selector doesn’t load in Slack
The Slack App is not supported in the Beta version. Open the Workflow run in a browser to use the dropdown selector.
I don’t see all the selections in my dropdown when editing a Workflow
When editing a Workflow, the dropdown list is in preview mode so you’ll only see the first three line items. To see them all, publish and run your Workflow and make a selection on the dropdown.
Can I embed a saved view?
Not in the Beta version.
Can I use Data Sets on a mobile app?
Yes, but Data Sets and saved views are best managed on the desktop version of Process Street.