
You can integrate Trello cards with Process Street workflow runs using Zapier.
Data you enter in form fields can be pushed to Trello to create new cards. That means you can create and assign Trello cards to your team as part of your workflow in Process Street.
Plan: This integration is available to customers on all plans.
Users: In order to create an API key for integrations, you must be an Administrator.
Let’s get this set up!
We’re going to push data inside form fields to the Trello card, so we need to first set up the forms. Make a new workflow with form fields, or add them to an existing workflow.
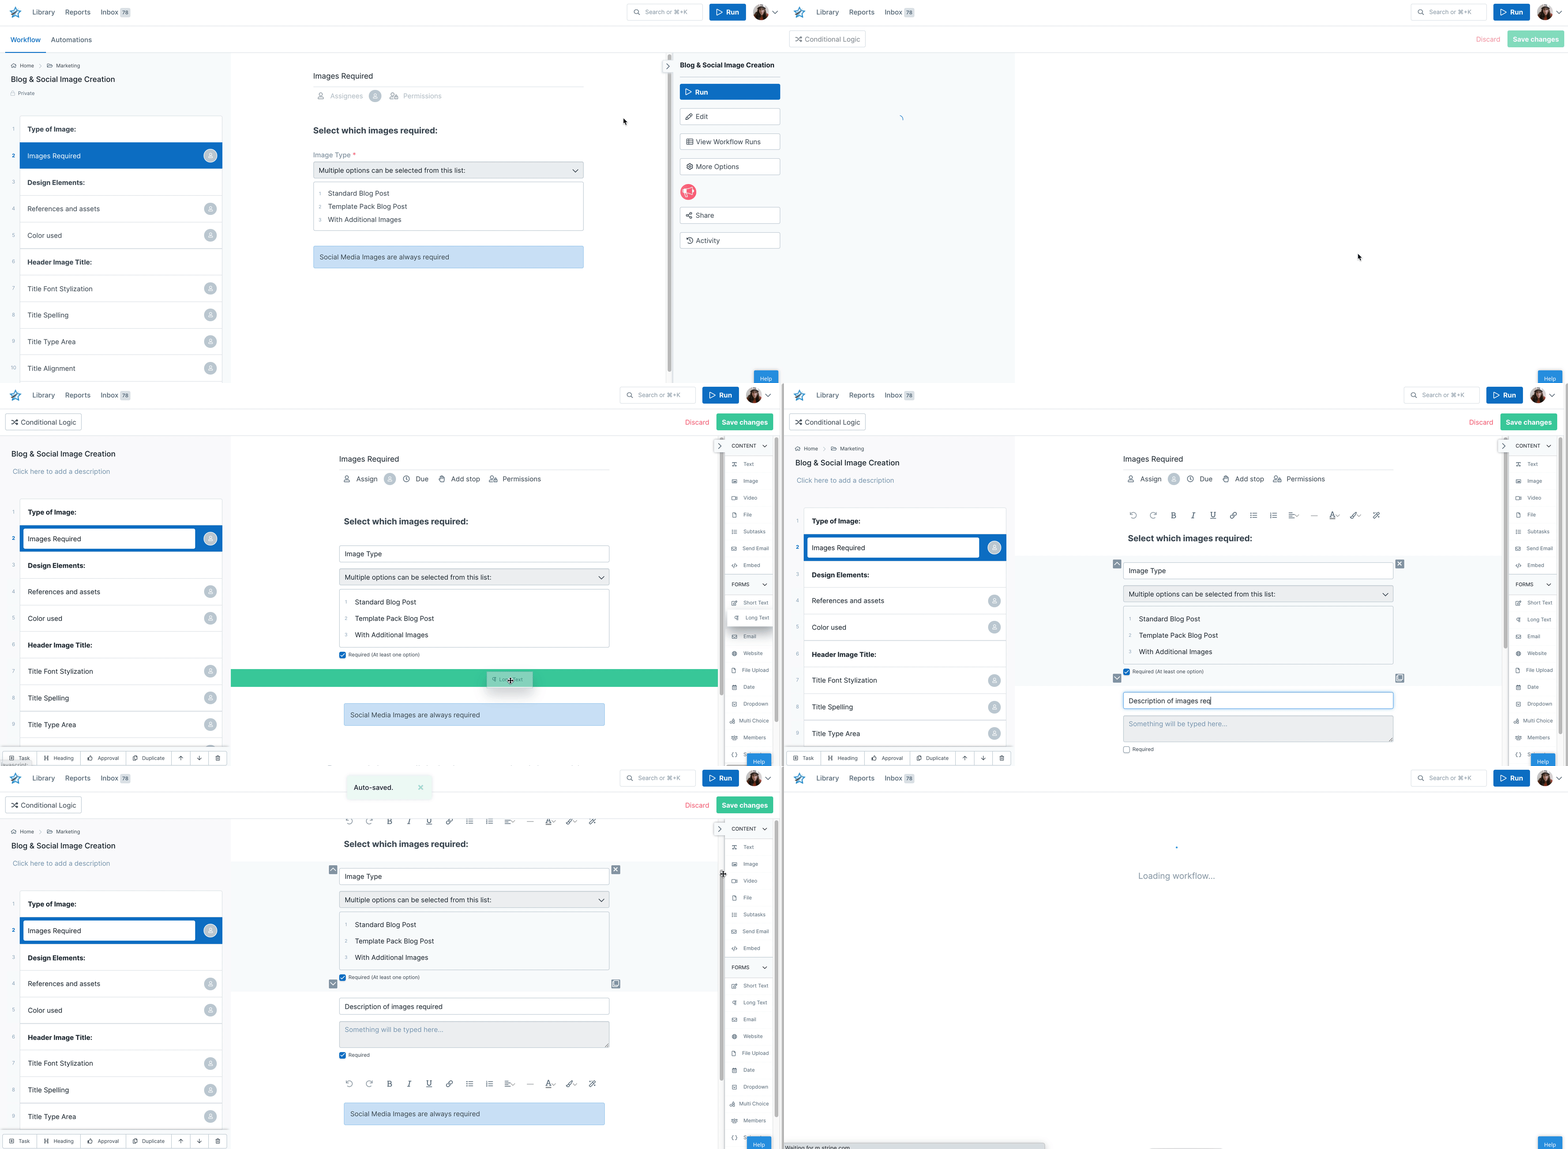
In this case, we’ve got fields for the type of image required, description and main color. Add form fields for any kind of structured data you want to feed into the resulting Trello card.
Once that’s done, you’re ready to connect your workflow to Zapier and start automating.
Zapier is a tool that connects over 2000 different apps. Any action in any of the supported apps (like forwarding an email or adding an attachment to a task) can be set up to trigger another app’s features automatically. Zapier integrates with both Trello and Process Street. The whole recipe (trigger + action) is called a zap.
Log into Zapier or create an account, then click “Make a zap” or start to create your own workflow as shown below.
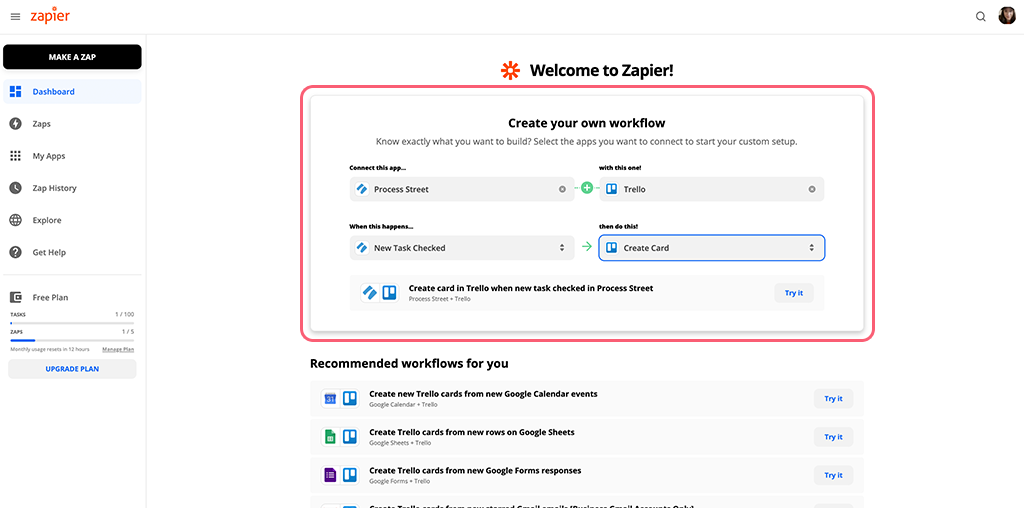
Select Process Street and connect it with Trello. Then select “New Task Checked” as the trigger and “Create Card” as the action. Click “Try it” to open it in the zap editor.
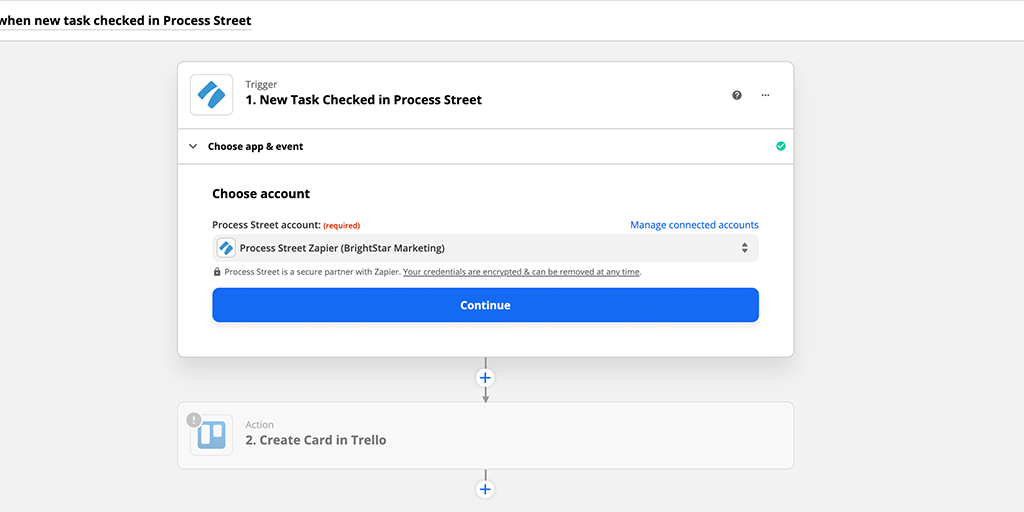
Connect your Process Street account and click “Continue“.
Set up your trigger by choosing your workflow and task that you want to use as the trigger. In this example we’re using the final task in the process.
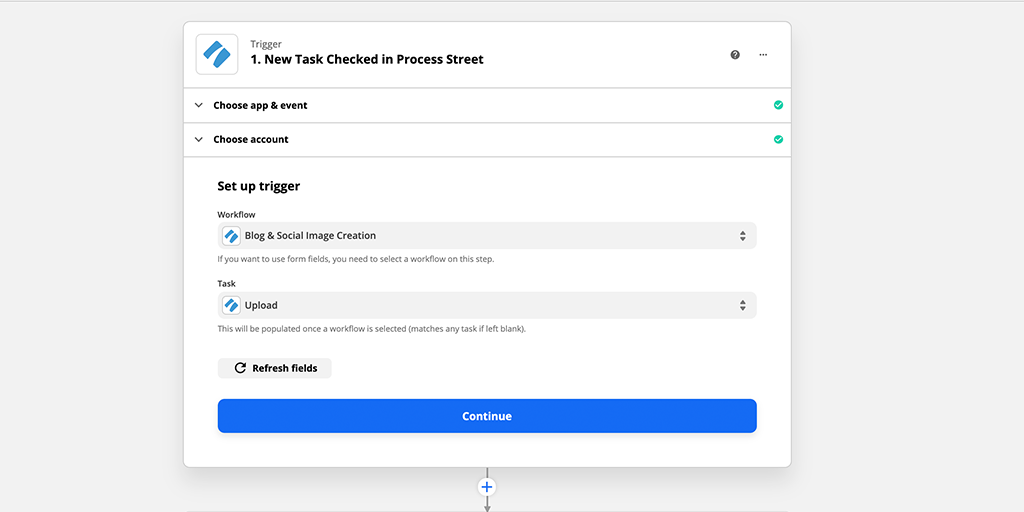
Click “Continue” and you’ll be prompted to test your trigger.
Before you do this, make sure you’ve run your workflow, filled in the form fields you want to push into your Trello card and checked off the task you’re using as a trigger. This way, Zapier has some sample data to pull in and validate.
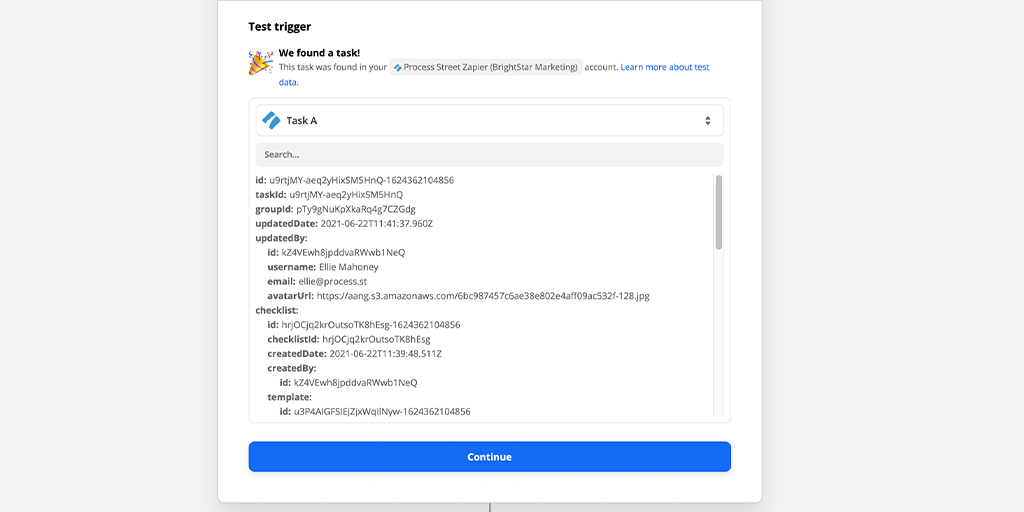
A successful test will look similar to the image above. Click “Continue” to set up your action step. Here you’ll want Trello as the app and “Create card” as the action.
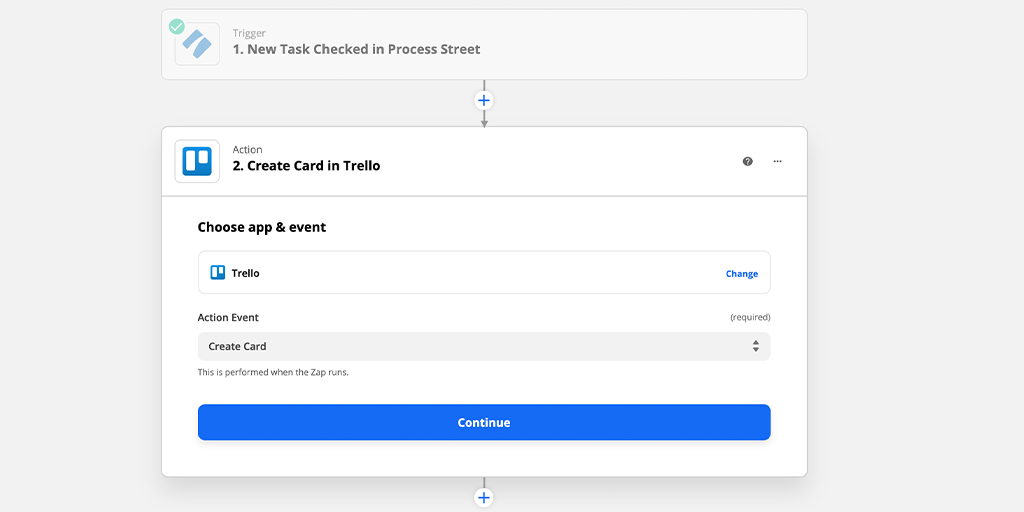
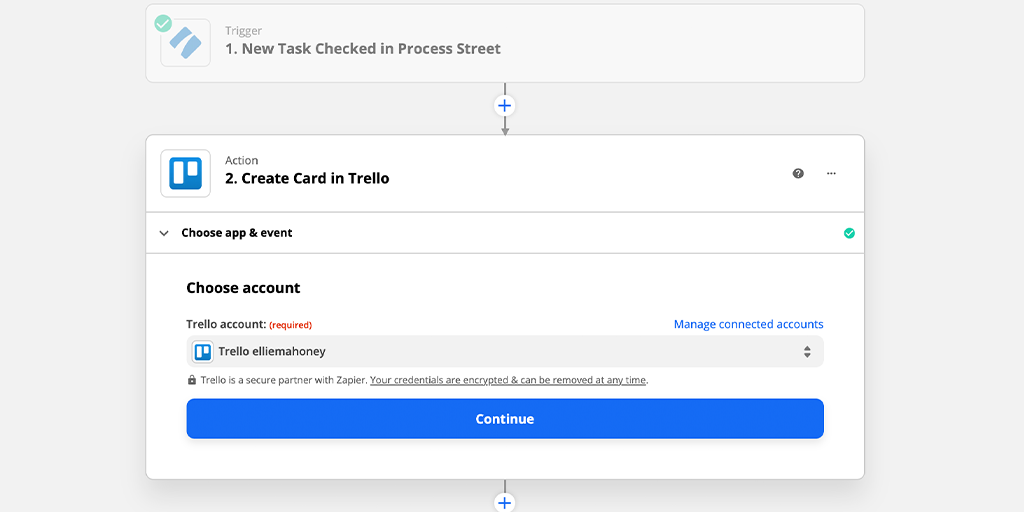
Click “Continue” and connect your Trello account.
Next, you’ll have the option to add form fields and Process Street data to your Trello card. Here’s how we set up our card template:
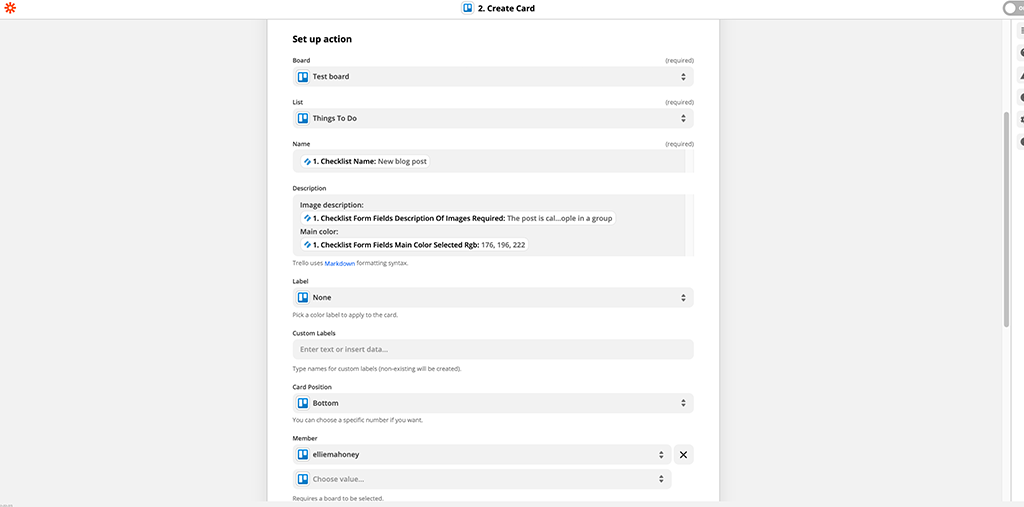
Add your board and choose the list you’d like to create your card in.
Then click into the name and description fields and add the form field data from your workflow run. These will be pulled across into your new card in Trello.
Choose a member to automatically assign a member every time a new card is created with the zap.

Continue, and you’ll move onto the test step to test your zap is working properly. Click “Test & Continue” and you should see similar to the below, to confirm your card has been created in Trello.
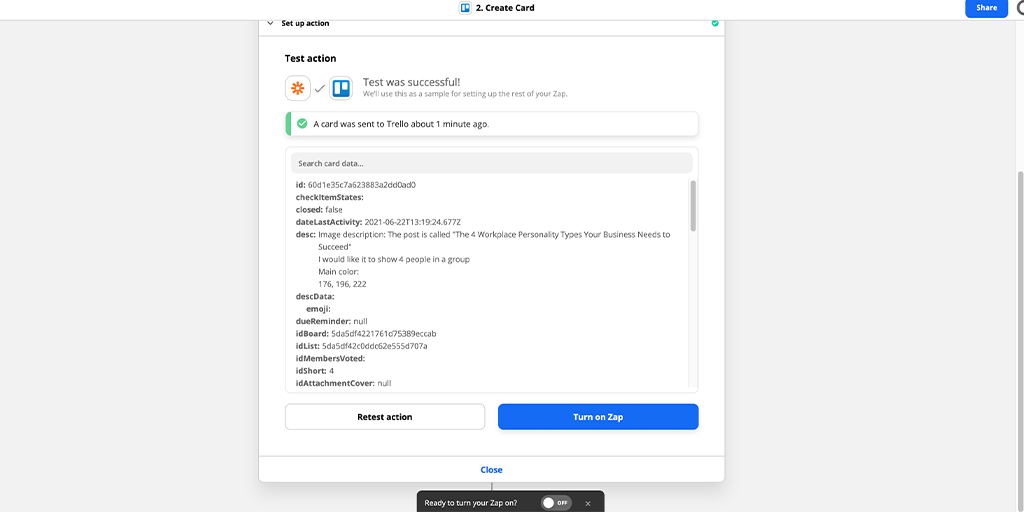
Head over to Trello, and check out your new card.
Test the zap by running your workflow and filling in the form fields, and then check the the zap logs to be absolutely sure the integration is working.
Turn on your zap to finish.