

Websites are delicate, messy, and hard to manage effectively. Setup might be easy, but a beginner learning to maintain a website will hit a damaging snag sooner or later.
The main problem is that the tech behind any website is complex for beginners. The files that run your site are written in multiple different languages, depend on each other’s fixed locations, and are controlled by config files. In short, there’s a lot to grasp when you’re starting up a website.
To avoid making mistakes you need a basic knowledge of SQL, cPanel, and phpmyadmin, as well as a general idea of why and how websites work. Like I learned the hard way, tiny tweaks or careless uploads can take the entire site offline for days at a time, which is especially damaging when you have a recurring audience of any kind.
In this post, I’m going to go through the methods you’ll need when maintaining a website, and give you processes you can follow for each task.
Before you start, you need to make sure you’re equipped to continue…
Getting started: 6 things to set up
To get solid systems in place, you first need to set your tools up. These tools will audit your site, alert you of problems, allow you to access your site’s files, and automatically store backups. They’re the essential starting point that we’ll build our processes around.
Set up Google Search Console
Search Console is a set of tools offered by Google that monitors and reports on the way your site displays to the public, and to Google. It also is a way for you to choose how Google parses your site’s data, and what it should and shouldn’t crawl. Make sure you have Google Analytics installed on your site, and then log into your Google Account and go to Search Console.
The next steps — adding a site and verifying the property — are clearly signposted. But, if you get stuck, you can check this video below for a 10-minute complete guide:
After adding a site and verifying your ownership, you’ll need to add your sitemap. Upload your sitemap to Search Console by clicking here.
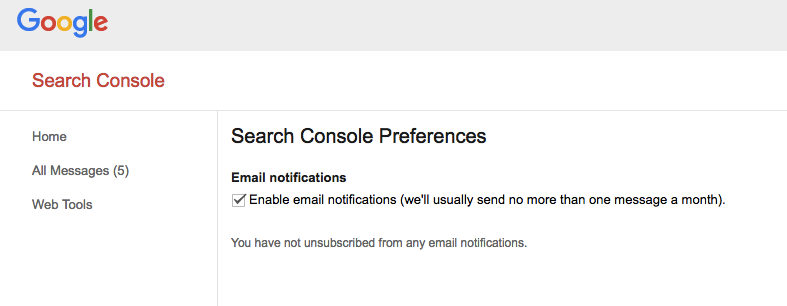
Now you just have to make sure that email notifications are enabled in the Preferences cog menu, and you’re good to go. Google will email you if there are any crawl errors, 404s, or other things that might signal it’s time for maintenance.
To summarize:
- Go to Search Console
- Click ‘Add Site’
- Verify the site through Google Analytics
- Upload your sitemap
- Check email notifications are turned on
Create and manage root access
You need full, uninhibited access to your site’s server so you have control over it if anything goes wrong. For example, if your automatic backups pushed server storage capacity to 100%, everyone but the user with root access would be powerless to go into the server and remove the troublesome file.
Depending on your host, the methods for adding a root password will vary slightly.
With root access, you’ll be able to have full control over files when you set up FTP & SSH access.
Set up SFTP & SSH
To securely transfer files between your computer and your web server, you’ll need to have SFTP or SSH set up. This requires the root password you just set up, and an FTP client. If you use OSX, you can also SSH into your server with the native Terminal application.
If you’re on Windows, install FileZilla. For Mac users, install Cyberduck.
Depending on your host, you’ll find your credentials in different places. Bluehost, for example, has configuration files you can download that will fill in your credentials automatically when you open them with your client.
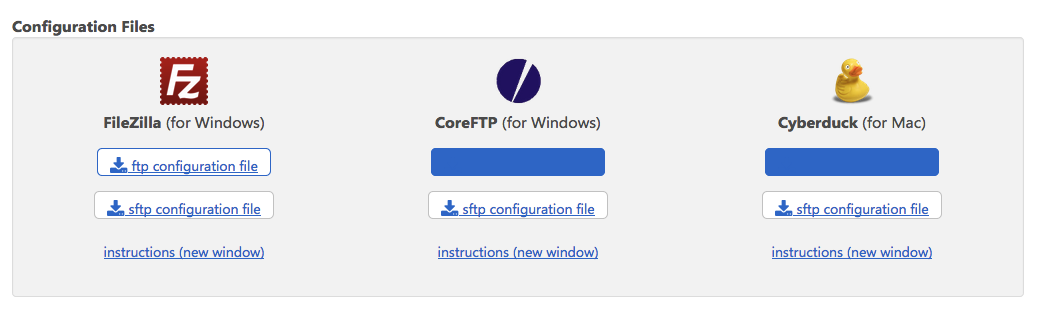
Here are host-specific tutorials if you get stuck:
Once you’ve logged in, you’ll be able to go back any time and access your site’s files remotely.
To access SSH on OSX Terminal, find your server’s IP in your host, open Terminal, and type: ssh -p 22 root@[server ip], replacing the [server ip] with your server’s IP. Input your root password, and you’re in.
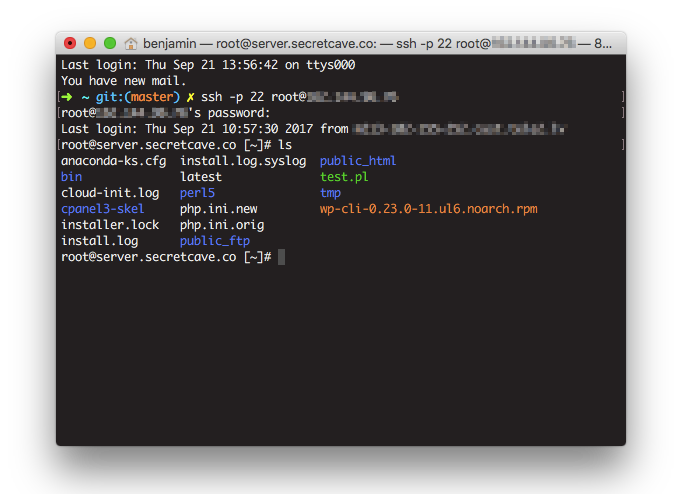
If you don’t already know, you’ll want to learn how to change directory (cd), list directory contents (ls), remove a file (rm), upload files (put) and download files (get).
To summarize:
- Download FileZilla or Cyberduck
- Find your SFTP credentials from your host and save them to the client
- (for OSX users) Set up SSH root access from Terminal
Configure automatic backups
It’s vitally important to keep backups of your site. If something were to happen to your files (hacked, you accidentally destroyed your site, etc.), you’d have nowhere to turn for help — it’d just be gone.
As a guideline, you want to make sure you’re getting backups saved locally and on the cloud as often as you update your site. A static site might only need backing up after the occasional re-design, but a news site updated daily has a lot more to lose. In general, there are two options:
- The DIY method involving SSH, Terminal and cron jobs
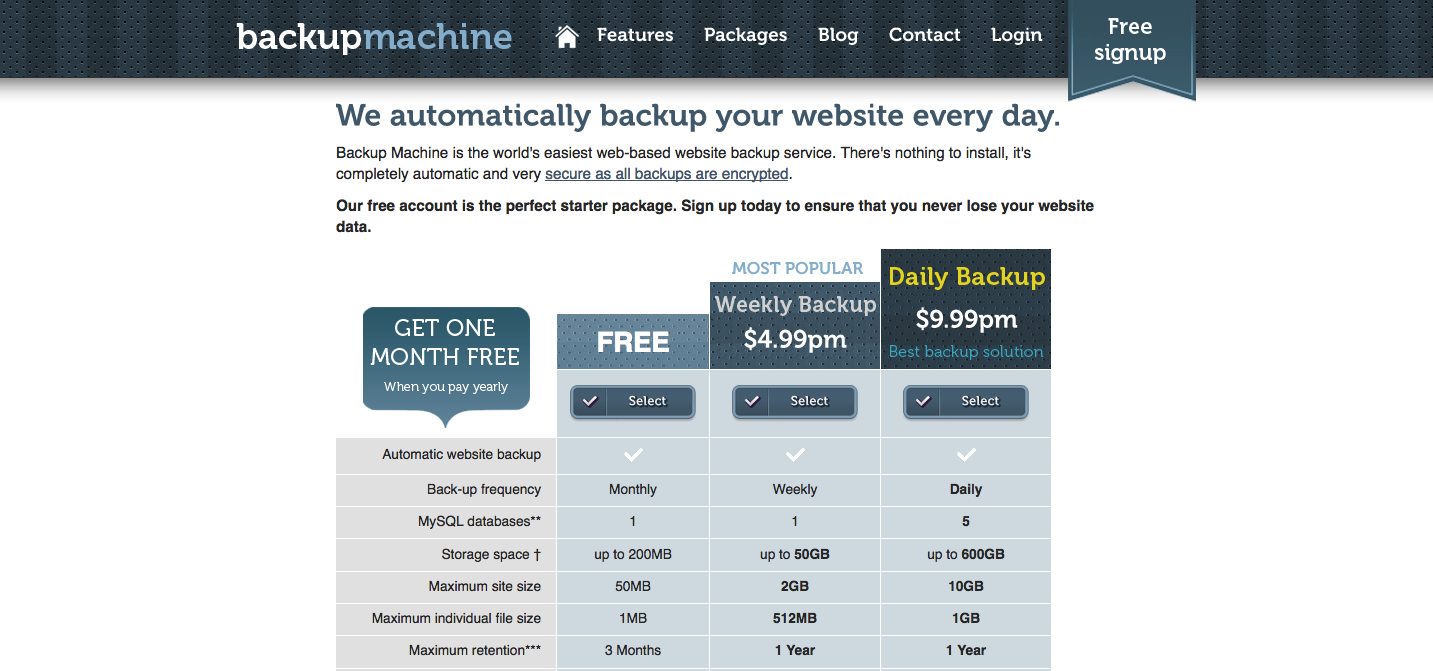
- A free tool, like Backup Machine
- A premium tool, like CodeGuard, Dropmysite, or Dropbox Backup & Restore
You get the most control over the automatic backup process if you go with the DIY method, but it’s not a simple solution for those who aren’t already familiar. It is, however, free unlike most of the automatic backup solutions out there. One exception is Backup Machine, which will do monthly backups for free for small sites.
I’ve found the WordPress plugin Dropbox Backup & Restore to be an effective tool because it pushes the backup file to Dropbox before removing it from the server to save space. You can easily set up an integration with Dropbox, too, to automatically download new files locally.
If your tool saves the backup files to your site’s server, then make sure to be aware of your disk space. At 100%, the server will go down and become inaccessible by all but SSH. Daily backups of large sites could quickly snowball, so make sure to monitor server space and manage the backup files as you go.
To summarize:
- Use Terminal and cron, or set up an automated backup tool
- Monitor your disk space to ensure you don’t hit 100% capacity
- Regularly download the files locally, and manage them on a cloud service like Dropbox
Set up site downtime alerts
Downtime monitoring can be set up in seconds, absolutely free.
Just add your site’s URL to DownNotifier and fill in your email address. You’ll be emailed as soon as downtime is detected on your site, enabling you to go fix it as quickly as possible.
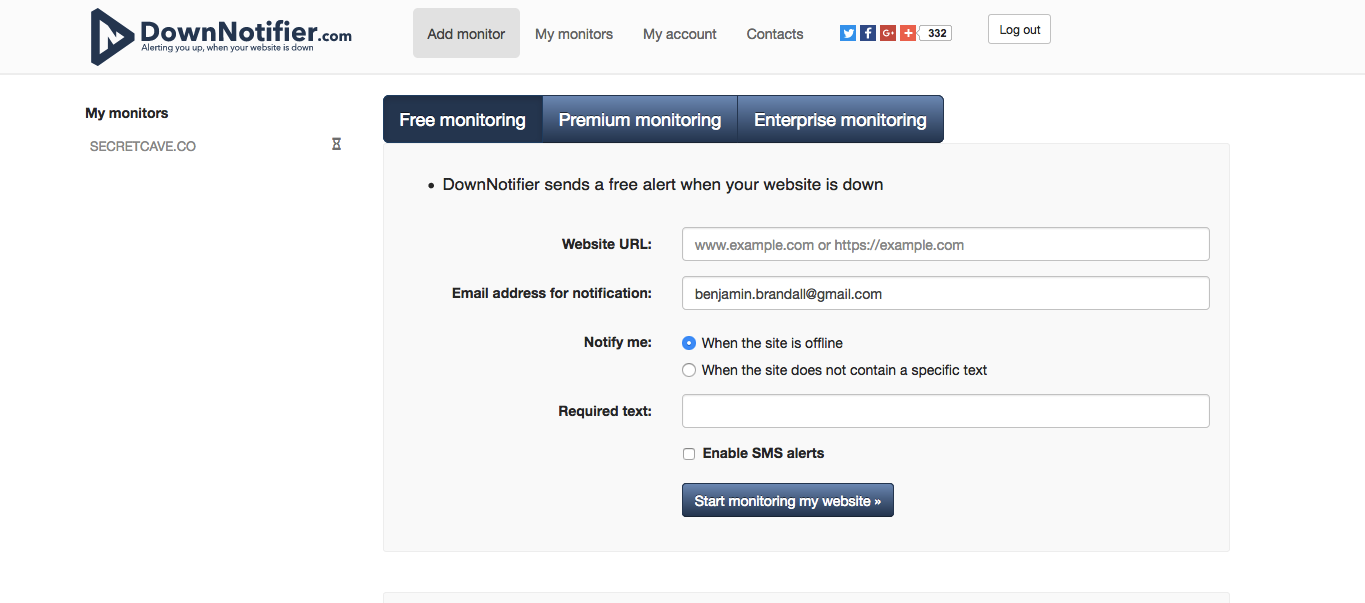
Alternative tools include UptimeRobot (with a premium package for longer log history), and Pingdom which includes performance testing as part of the package.
Manage your passwords
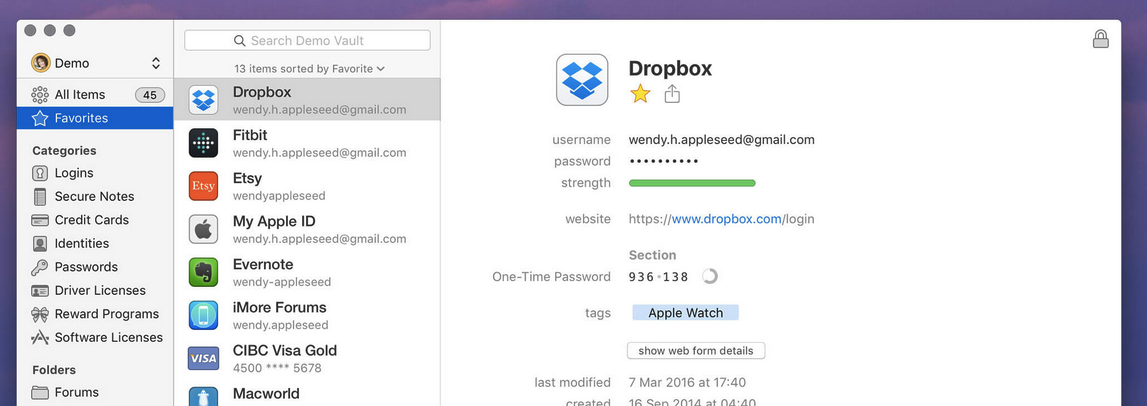
You don’t want to forget your root password, but you also don’t want it to be too easy to guess. The solution is to use a password management tool like 1Password or LastPass. These tools both come equipped with a strong password generator, and are unlocked with a master password. That way, you don’t have to worry about remembering more than one password.
Weekly web maintenance checklist
The weekly web maintenance checklist covers monitoring uptime, processing form submissions, saving a local backup, and other regular tasks vital to the stability of your site.
Monthly website maintenance checklist
The monthly web maintenance checklist covers optimizing loading speed, scanning for vulnerabilities, and review your search visibility. These updates focus on user experience and marketing.
Quarterly website maintenance checklist
The monthly web maintenance checklist covers testing backups, improving user experience, updating your content, troubleshooting search visibility, and keeping your site secure.
Yearly website maintenance checklist
This yearly web maintenance checklist helps you remember your domain and SSL certificate expiration dates, evaluate your site’s design in line with your business goals.
How do you run your web maintenance processes? How much do you automate, and what do you do manually? Let me know in the comments!