
You can integrate Freshdesk with Process Street using Zapier.
When you receive a new customer ticket in Freshdesk, a customer support workflow run will be automatically created in Process Street with the customer’s data filled in. This means you can serve your customers in a better, more systematized manner.
Plan: This integration is available to customers on all plans.
Users: In order to create an API key for integrations, you must be an Administrator.
The pre-made customer support process workflow template must already be added to your Process Street account for it to appear in your zap. You can add the pre-made workflow by clicking “Edit checklist” on the embed below.
Let’s make the Zap.
The tool we’ll be using to integrate Freshdesk and Process Street together is Zapier.
Zapier connects over 2,000 apps with each other so you can automate tasks and save time. The automations created with Zapier are known as “Zaps”.
Sign up or sign in to Zapier and click “Map a Zap“.
Select Freshdesk as the trigger app and “New ticket” as the trigger event.
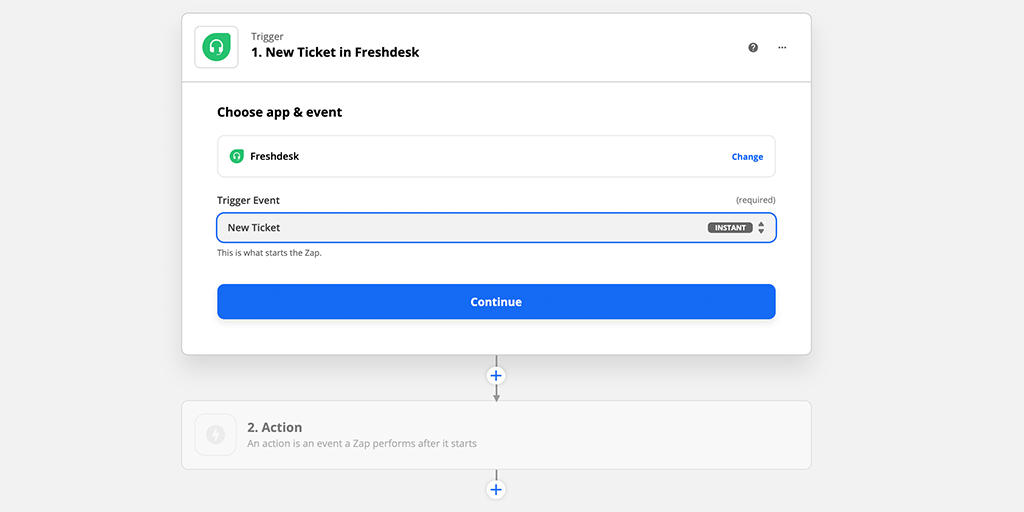
Click “Continue“.
Now click “Sign in to Freshdesk”.
You’ll be presented with the following popup.
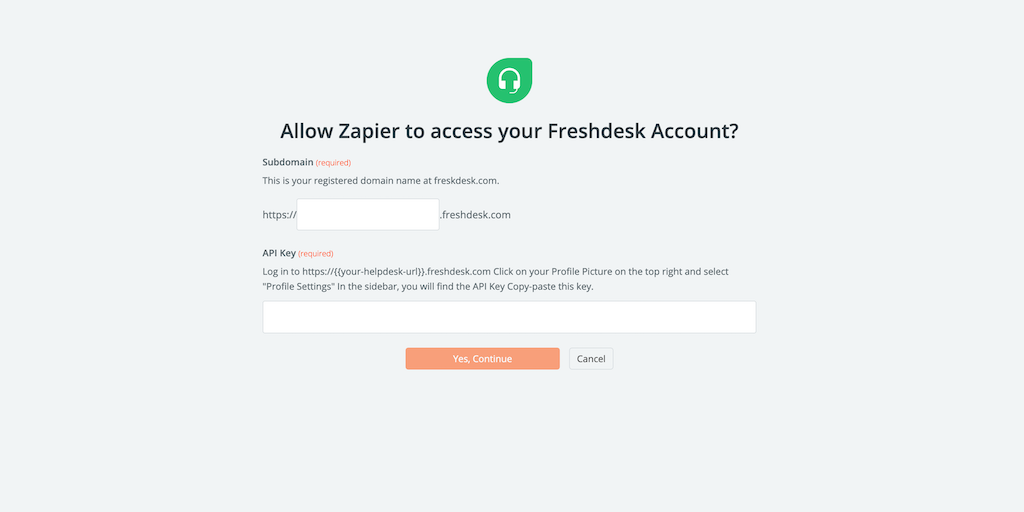
Add your Freshdesk domain name in the first form field, then your API key in the second.
You can find your API key by clicking on your profile picture in the top right-hand corner of your dashboard, and then clicking on “Profile Settings”.
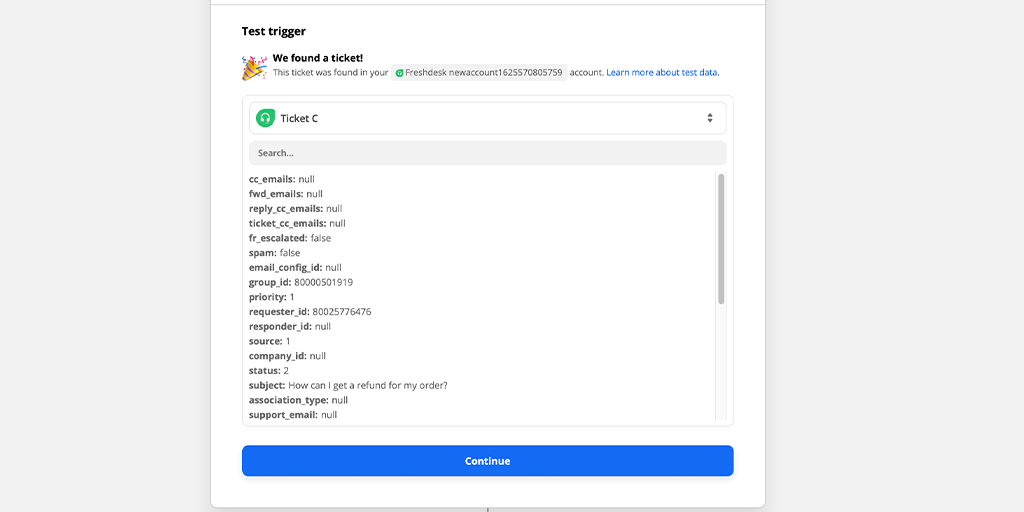
Click “Continue” and test your trigger.
Select Process Street as your action app and select “Run workflow” as the action event.
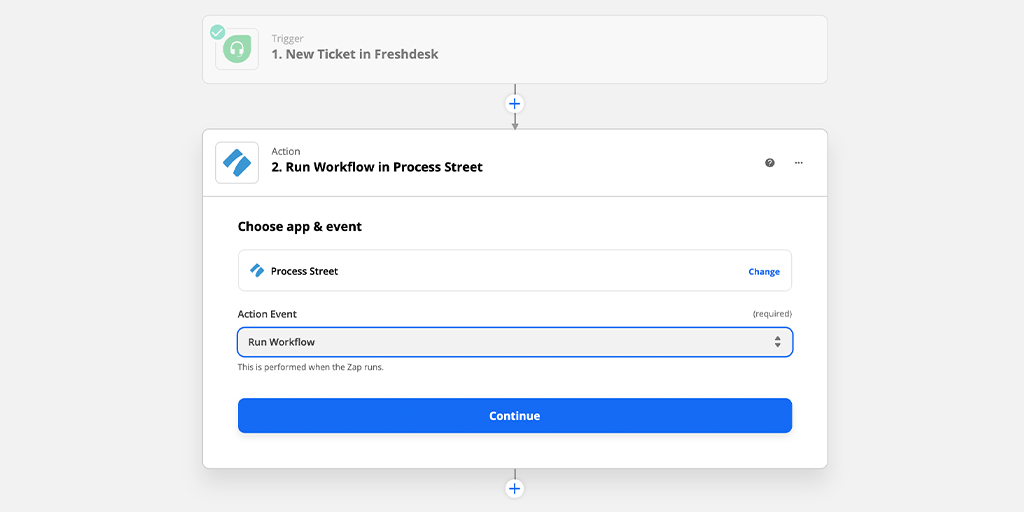
Click “Continue” and allow Zapier access to your Process Street account.
Press the “Sign in to Process Street” button. You’ll then see the following popup.
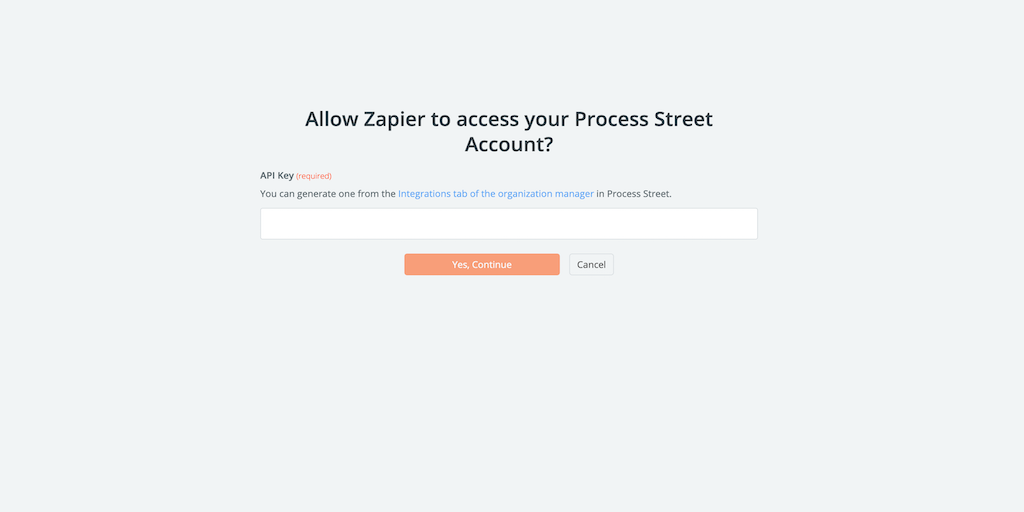
To find your API key, click on your profile picture in the top right-hand corner of Process Street, click “Settings” and then click “Integrations“.
Click “New API Key” if you don’t have an API key yet. Then copy and paste the key into the Zapier popup.
Click “Continue“.
For this next part, you’ll be choosing the customer data that’s transferred from your Freshdesk ticket into your workflow run in Process Street.
First, select “Customer Support Process” as the workflow, then for Workflow Run Name, choose “Request Name” and “Subject” from the dropdown. I’ve included a “|” character to help separate the information.
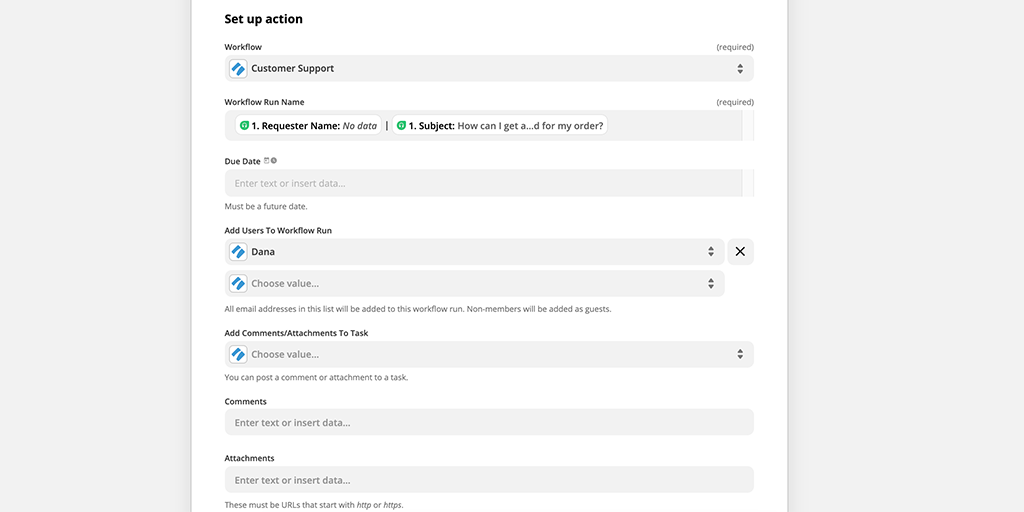
Scroll down to User Email and add “Request Email” from the dropdown.
Add the ticket ID and for Ticket Body add “Description”.
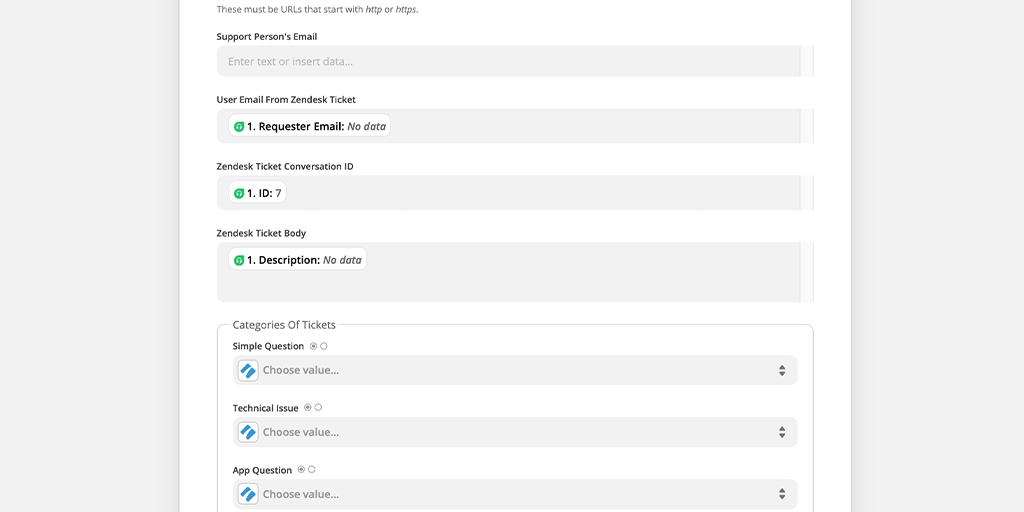
By doing this, the titles of your workflow runs will include the submitter’s name and subject. Inside the form fields, the submitter’s email, ticket message, and the link to the ticket in Freshdesk will be included.
Click “Continue” then “Test & Continue“.
Once it’s been successfully sent, a green popup will appear similar to the one below.

To double-check that the workflow runs appear how you want them to, go back to your Process Street reports area where you’ll find your test.
Once you see the test workflow run, click on it to open it. You should then see that the data has been successfully pushed through to the form fields of the “Ticket info” task.
Go back to Zapier and turn on your zap.
The final task is to name the Zap. You can do this by typing in the top left-hand corner of the Zap Editor.
I’ve chosen the title “Freshdesk + Process Street Ticket Support”, but you can name the Zap what you wish!
Help us improve this help center.


