Tags are a powerful way to organize and locate your Workflows, Pages, Files and Forms in Process Street.
Tags allow you to filter your Library to display items with a specific tag, regardless of which folders they are stored in.
Imagine your Library is organized into folders like Marketing, HR, and Support. You can tag workflows or pages across these folders with labels like Content Creation or Onboarding. Clicking a tag (e.g., Content Creation) in your dashboard instantly displays all related workflows and pages, streamlining access.
Users: Only Admins or Members with ‘edit’ permission can create & manage tags/.
To create and assign a tag to a workflow, you first need to locate the workflow you want to assign a tag to.
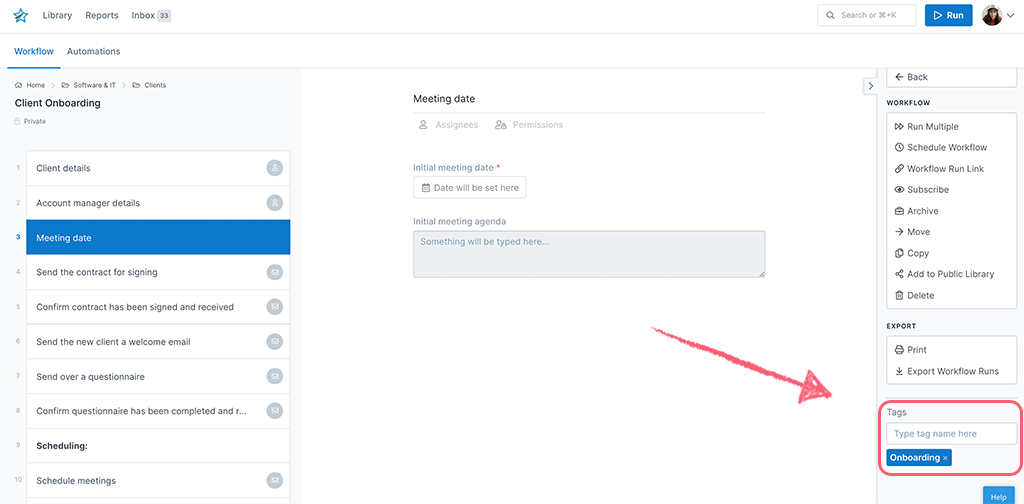
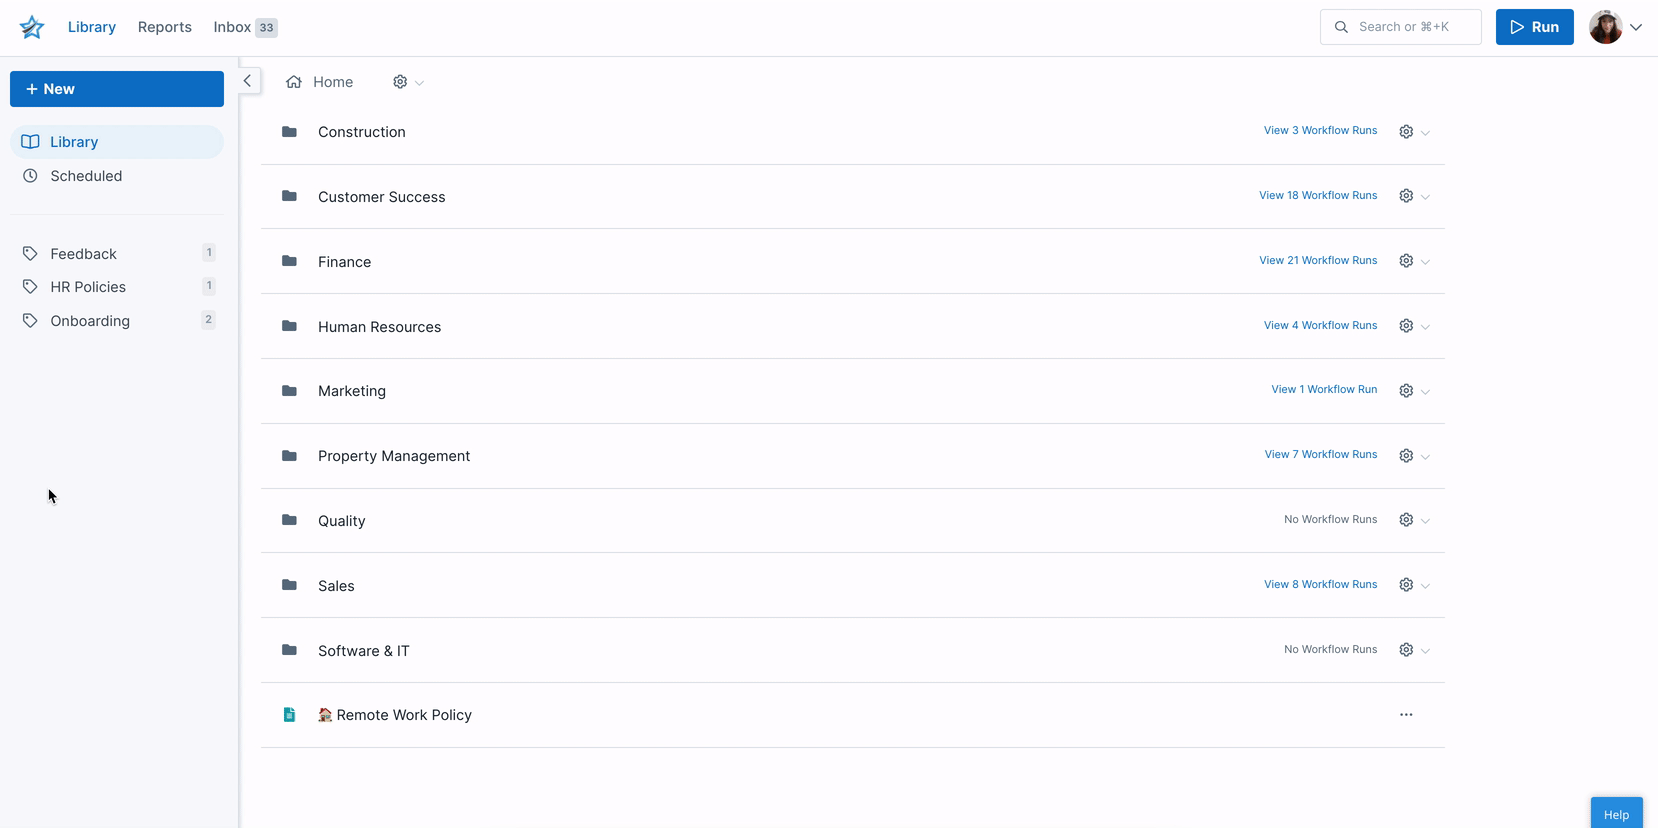
Start in your Library and click the three dots next to your workflow’s name (or click its name) to open up the right-hand menu.

Click the three dots shown in the image above and scroll down to the “Manage tags” field. Start typing the name of the tag you want to apply to your workflow in the box provided. If the tag already exists then a dropdown will appear, letting you click on the existing entry to add it to your workflow.
If the tag does not already exist in your organization, then type out its full name and hit “Enter” on your keyboard. This will add it to the workflow and your Library.
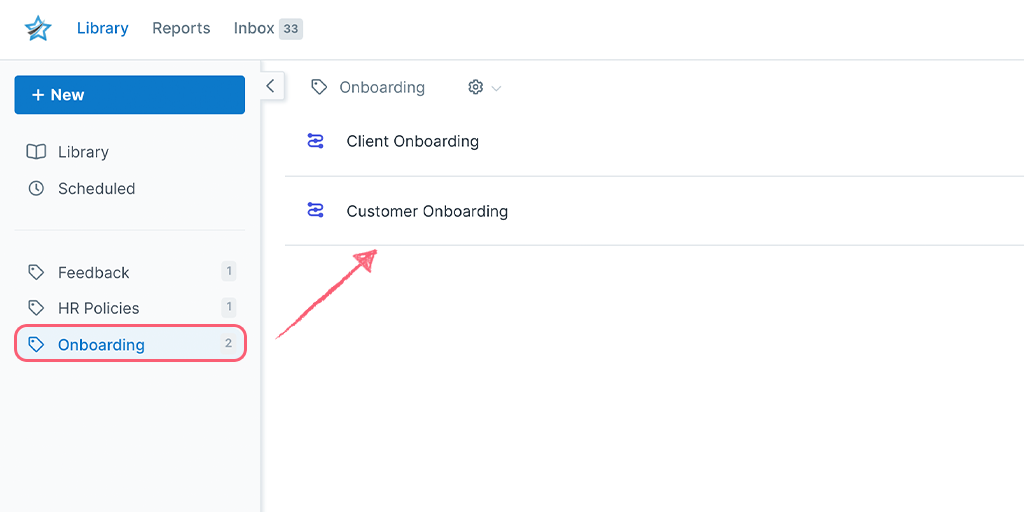
Refresh your Library to see the updated number of workflows that have that tag on the left side of your screen, as shown below.
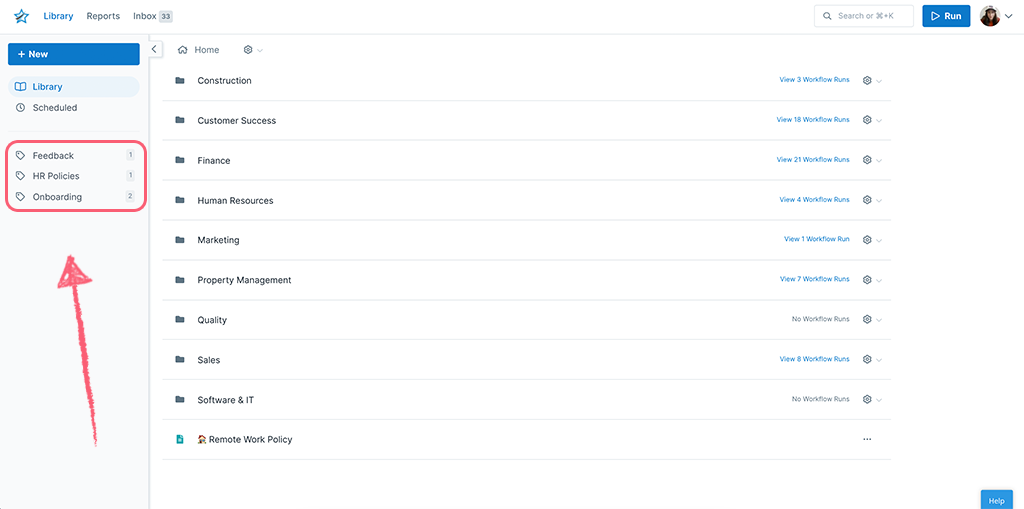
Tags will appear in alphabetical order on the left side of your screen.
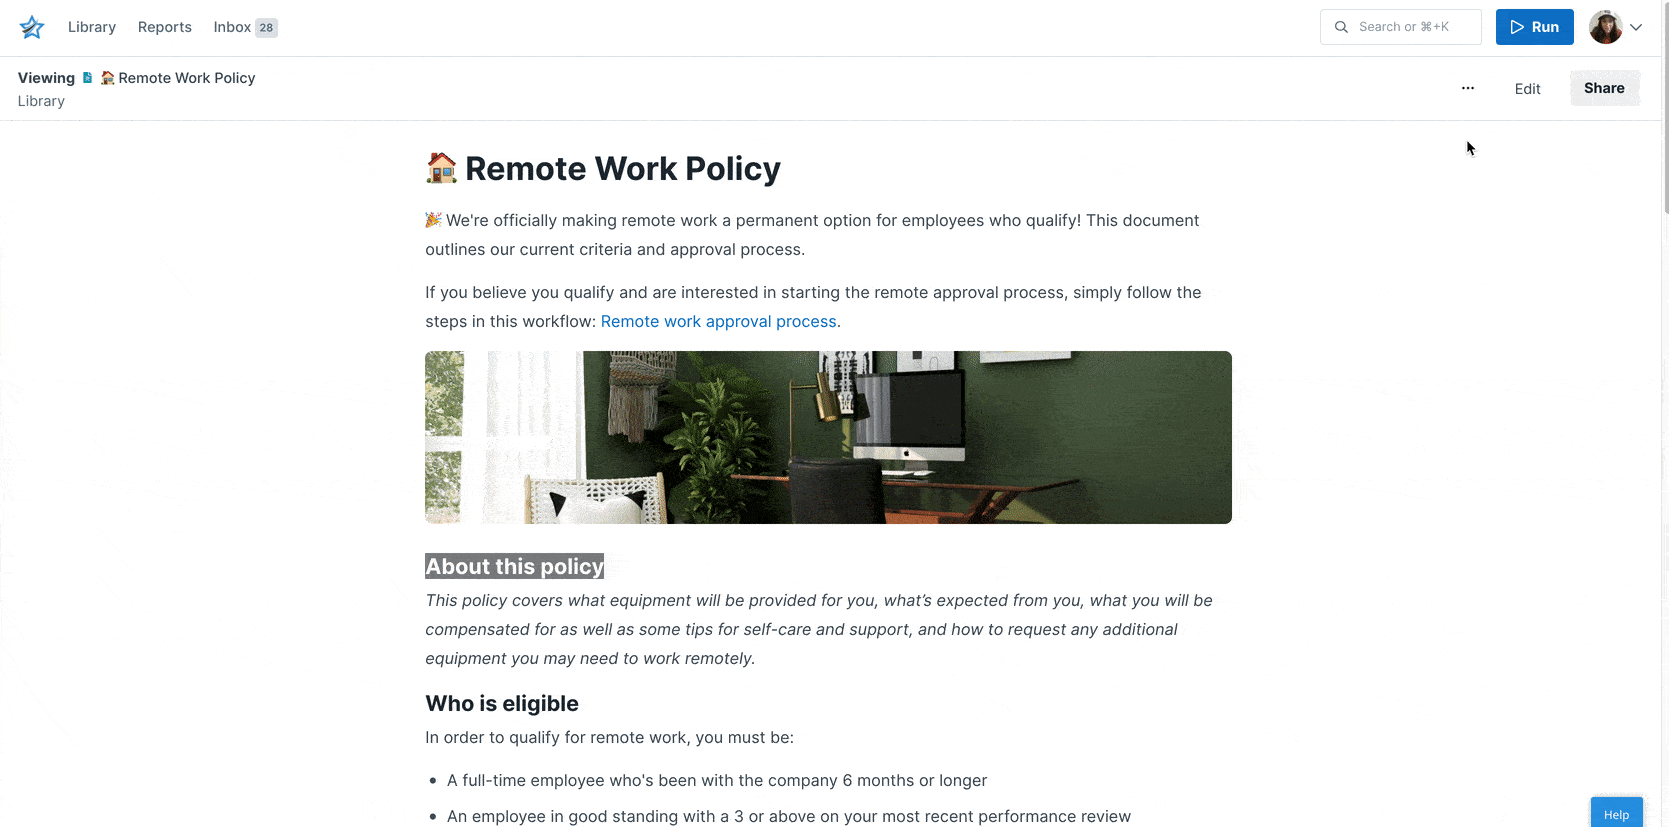
You can add tags to your Pages which help you navigate to them faster from your Library.
Click on your Page’s name to view it. Then from the top of your screen click the three dots, and select “Manage tags“.
Start typing your tag name into the box provided. Hit your enter key to add a new tag, or use an existing tag from the list that appears.
Once they appear in your library you can click your tag to take you to a list of any pages with that tag, as shown above.
You can see which tags are already attached to a workflow or Page by looking below the tag entry field (the one described above). Current tags are displayed in blue boxes.
You can remove a tag by clicking the “X” at the end of any of the blue tag boxes.
To filter your Library using tags, click on any of the tags on the left-hand side of your screen.
This will limit your view to only displaying workflows or Pages with that particular tag.
To edit a tag’s name, click on it to filter your Library, then click the cog next to its name at the top of your screen.
Then select “Change tag settings“.
From here you can either alter the tag name and then click “Update” to save your changes, or click “Delete” to delete the tag entirely. Bear in mind that you cannot delete a tag if it is still assigned to a workflow; you will need to remove that tag from all workflows first.
Learn more about workflows, folders, and managing your organization.