Folders in Process Street help keep your Workflows and Pages organized.
They also simplify managing permissions across teams or departments. For example, separate folders for HR, Sales, and Finance ensure that teams only access the processes and Pages they need, boosting both productivity and security.
Users: Only Admins and Builders with ‘edit’ permission can manage folders.
To create a new folder, click the “+ New” button in the top right corner of your library and select “Folder“.
Give your folder a name, select the location of the new folder, and click “Create” to finish.
In the example above we’ve created a folder on the organization library and you’ll see that the organization name is highlighted.
Pro tip: You can also create a new folder directly from the Move modal when moving items between folders. Click New Folder in the modal, name the folder, and it’s automatically selected as the destination.
Note: We do not support adding the / symbol in folder names as of now. If added, it will make your folder inaccessible.
If you want to add your new folder to an existing folder, you can select the location from the list shown below.
If you already have sub-folders, click the main folder’s name or click the down arrow to expand all your options.
Select the location of the new sub-folder, and click “Create” to finish.

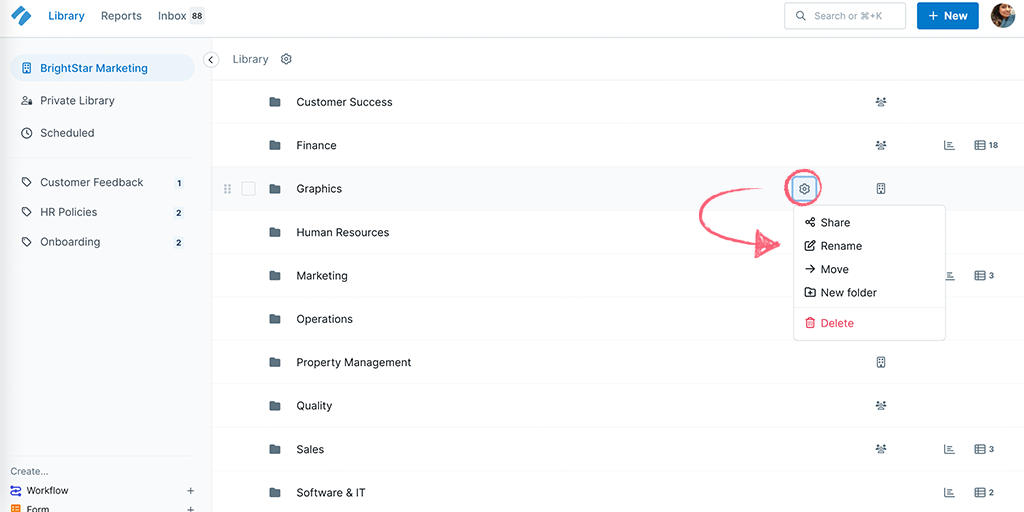
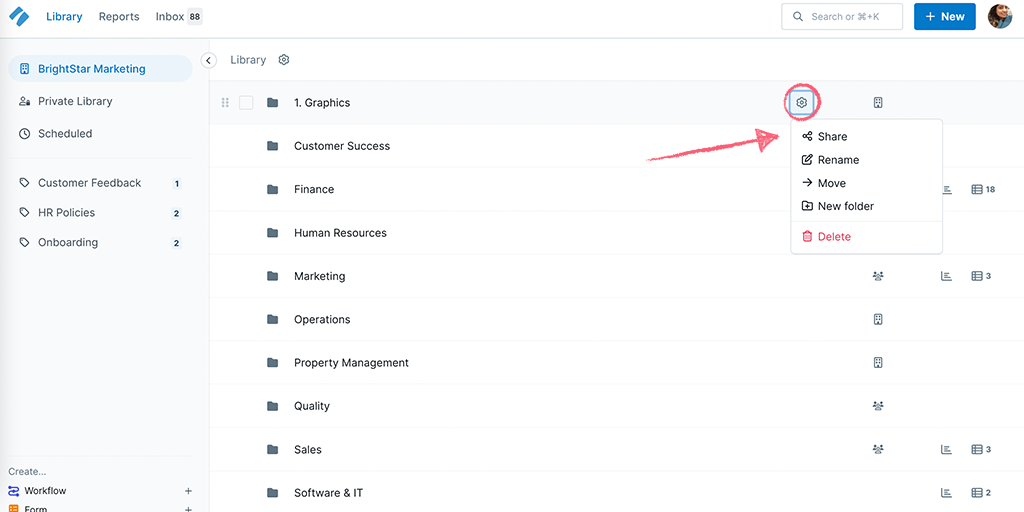
To access a folder’s settings from your library, hover over your folder name and click the cog on the right of your view to open the menu.
You can also click a folder’s name to open it, and then click the cog at the top of your screen to access settings from there.

To rename a folder, access the folder settings and select “Rename” from the menu.
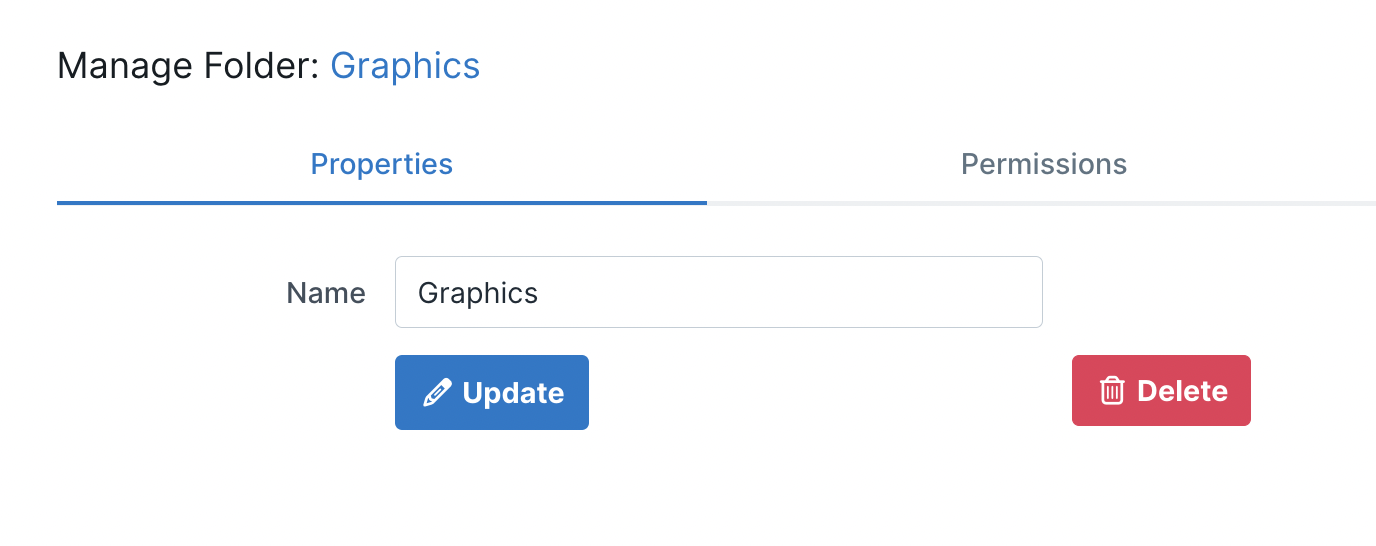
By default, this opens on the “Properties” tab. Here you can type in the new name for your folder, then click “Update” to save your changes.
Pro Tip: Since folders (and everything else in your library) are displayed in alphabetical order by default, you can rename them or prefix them with numbers, to help show them in the order you prefer.
To delete a folder, you need to be an Admin or a Builder with Edit & View All (or Edit & View Own) permission on the folder.
You can delete folders from the properties area shown above, or from your library; click the cog next to your folder’s name and select “Delete” from the dropdown.
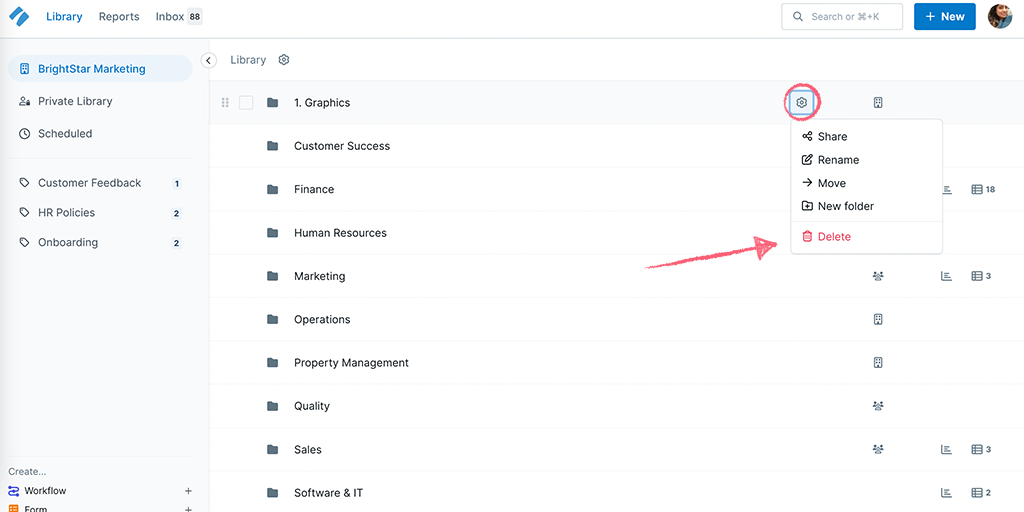
Note: You can only delete empty folders. If you have workflows in there, you would need to move or delete them first, and then delete the folder.
You can move one folder to another location in your library, by clicking the cog next to your folder’s name, and selecting “Move“. Select the location you’d like to move this folder into and click “Move” to finish.
Note: You cannot move folders between different organizations, only workflows.
To manage the users assigned to a folder, access the folder settings and select “Share” from the menu.
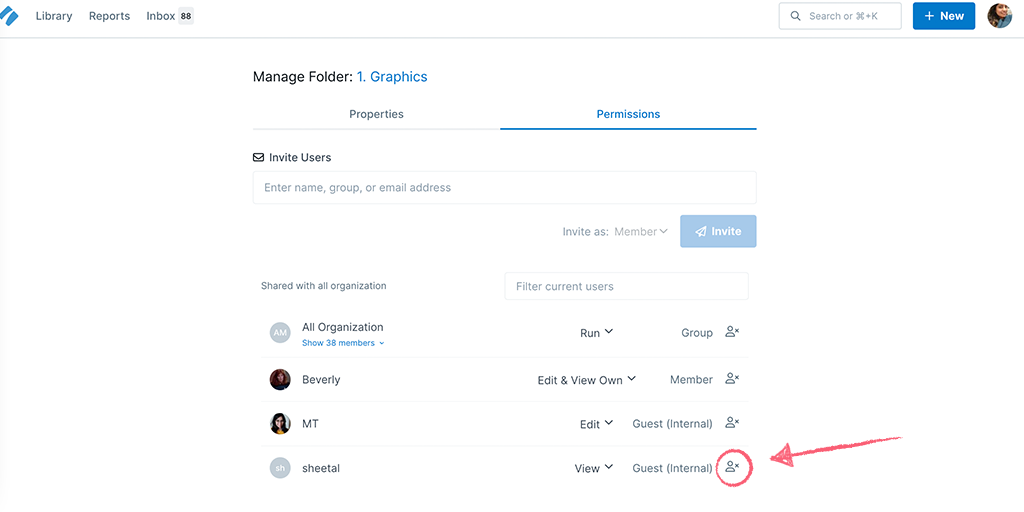
When you choose to share your folder, by default, you’ll be taken to the “Permissions” tab. Here you can invite builders to this folder and adjust their permission level.
Invite a new user by typing their email address and selecting the user type under “Invite Users“. Click “Invite” to grant them permission to your folder.
Note: Inviting a new user to your folder in this way will invite them into your organization as well.
Invite a Group by typing the group name, or an existing user by typing their name or email address, then click “Invite” to grant them permission to your folder.
You can change the permissions of an existing user or group by clicking the dropdown shown below to select a different permission level.
Users can be given Edit or View permissions for a folder. Builders have 4 options: Edit & View All, View All, Run, and View.
Note: Depending on your plan, additional permission levels may be available. Builders may see a 5th option (Edit & View Own), and Users may have an additional Run option.
Learn more about the options for setting user permissions.
Remove a user or group from the folder entirely (click the remove user icon to the right of their entry to unassign them from that folder).
Once you have created folders, you can move your Workflows into them.
Access the Workflow settings next to your Workflow’s name and click on “Move“.
Next, you can choose the folder location you want to move your Workflow into. Make your selection and click “Move” to finish.
You can also store Pages in folders.
When viewing your published Page, click the three dots shown below and select “Move“.
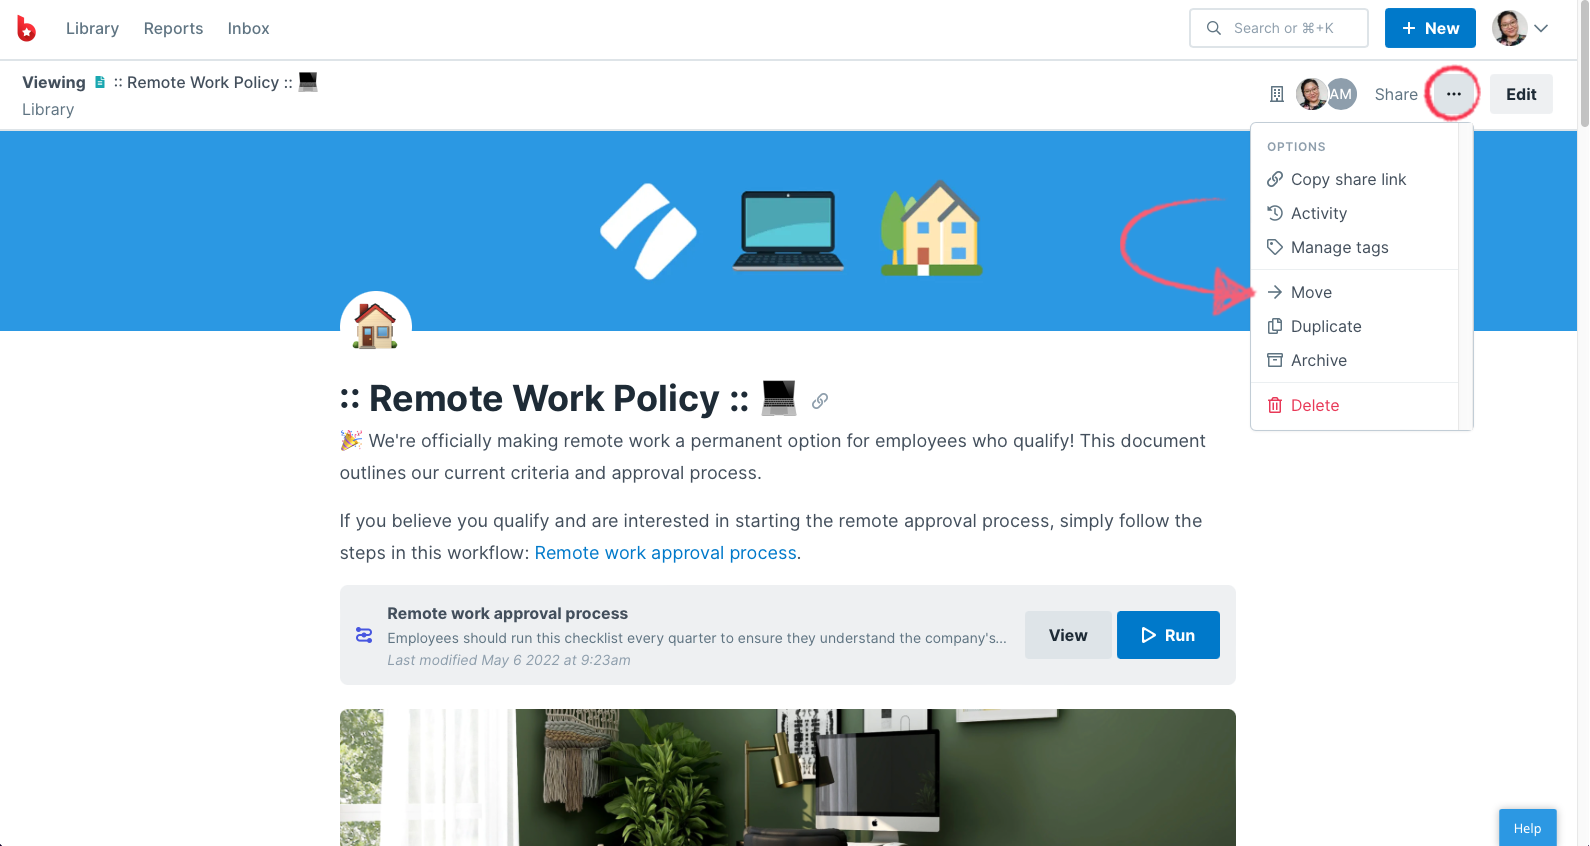
Next, you can choose the folder location you’d like to move your page into. Make your selection and click “Move” to finish.
You can also multi-select your workflows, pages, and forms to move them at once or drag and drop them into a folder individually.
Learn more about managing folder user permissions and take a look through our overview of all user permissions.
Help us improve this help center.


