Tasks help you manage your ad-hoc tasks within Process Street. You can create them as one-off tasks or attach them to active workflow runs to ensure nothing gets missed.
Users: To create and edit Tasks, you must be an Administrator, a Builder, or a User.
You can create tasks for:
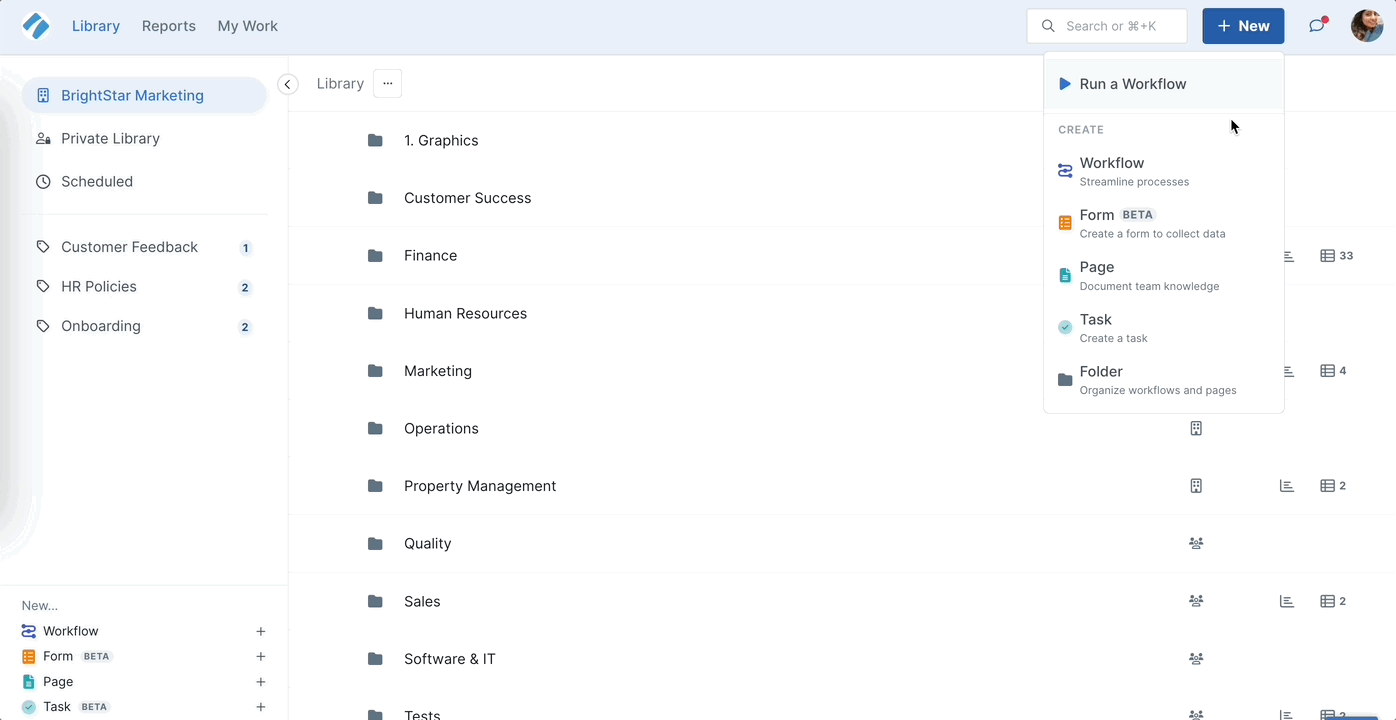
To create a task, click the +New button and select Task.
While creating a task, you can give it a due date, and add subtasks and attachments. To add additional context or instructions to your tasks, you can add a description in rich text or with hyperlinks.
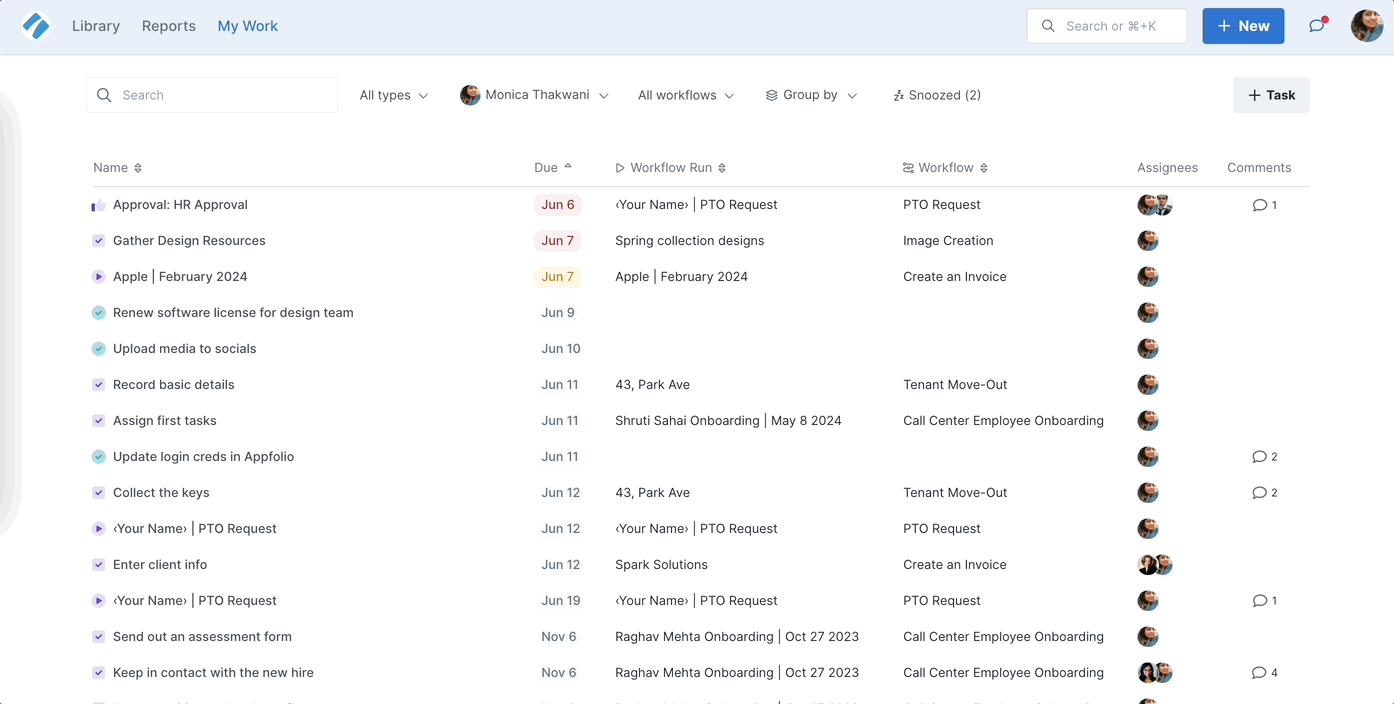
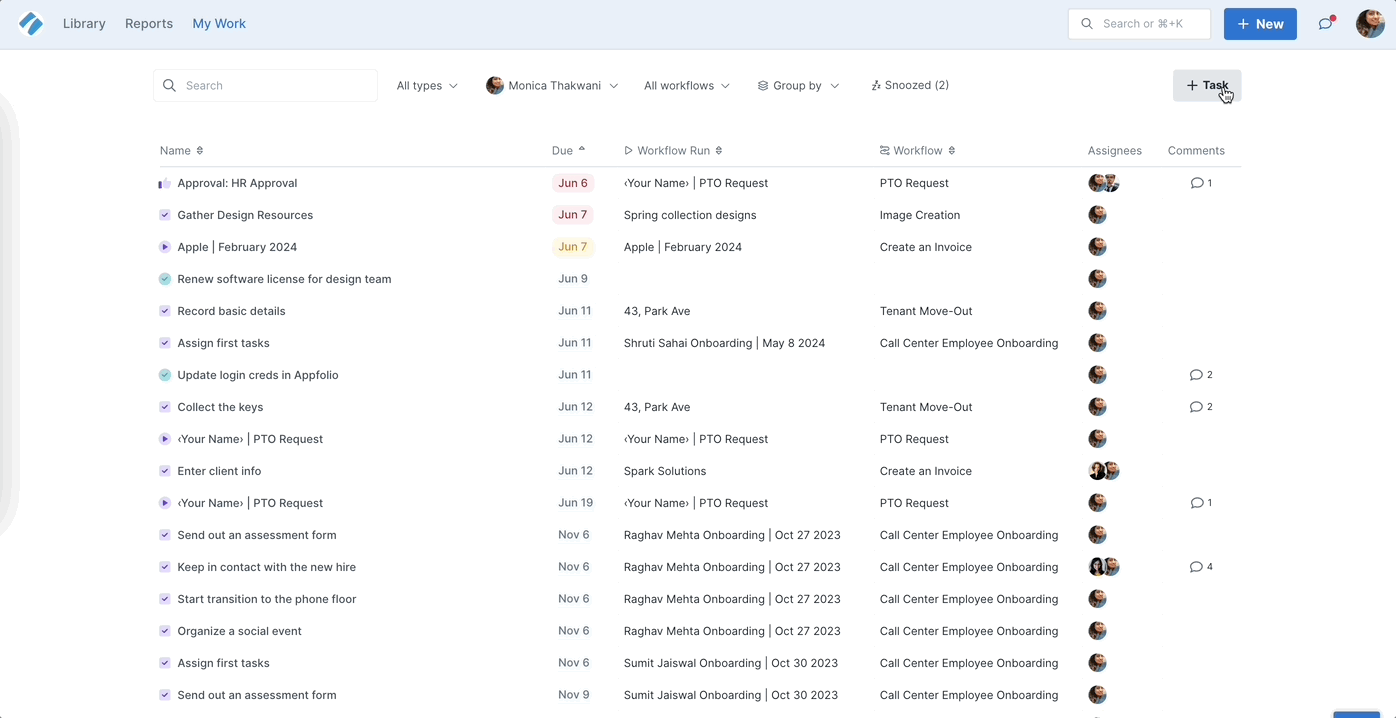
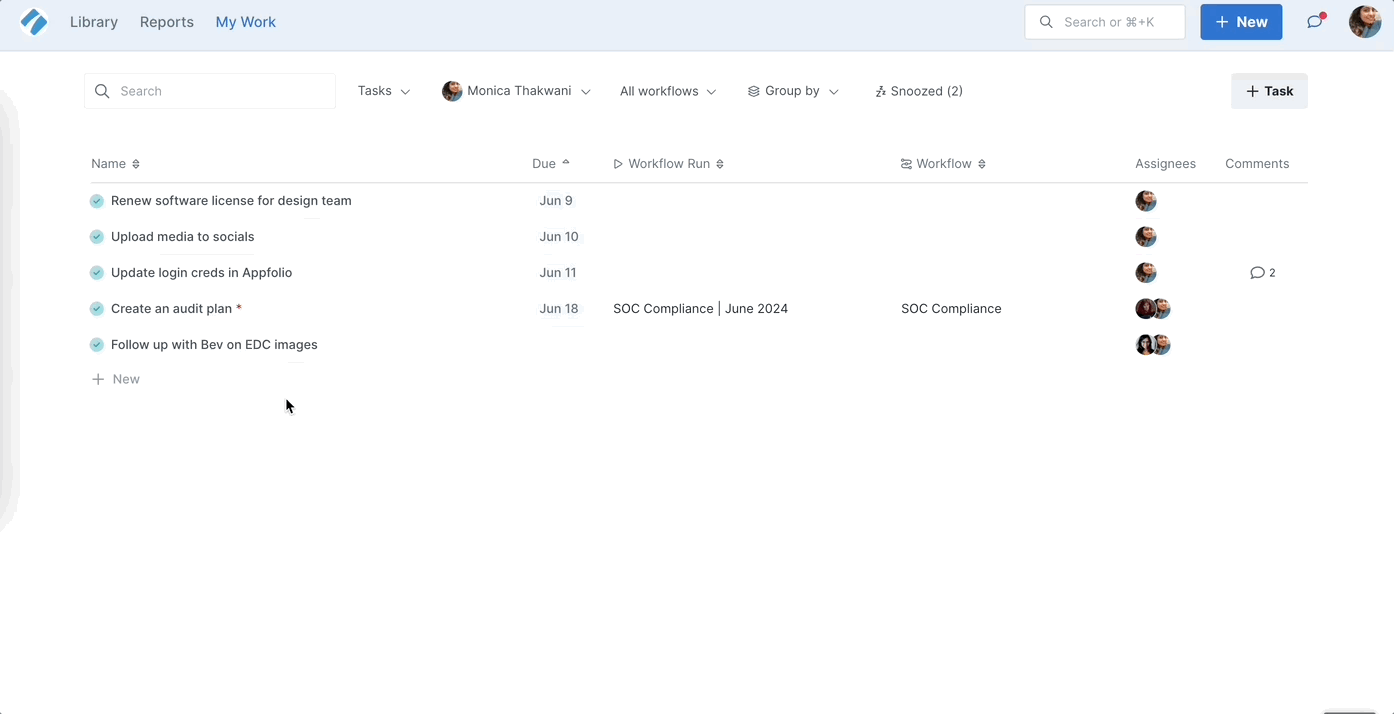
You can find all your tasks in My Work. As you work through your list in My Work, if you want to create a new task, click the +Tasks button in the top right corner to create a new task, as shown below.
Note: You can also create tasks via email by clicking the mail icon next to the + Task button in My Work.
Tasks can be attached to active workflow runs, as ad-hoc tasks, making it a part of a process.
All the active and completed tasks attached to a workflow run will show below the task list on the left. They will also be shown in the print and PDF versions of the workflow run.
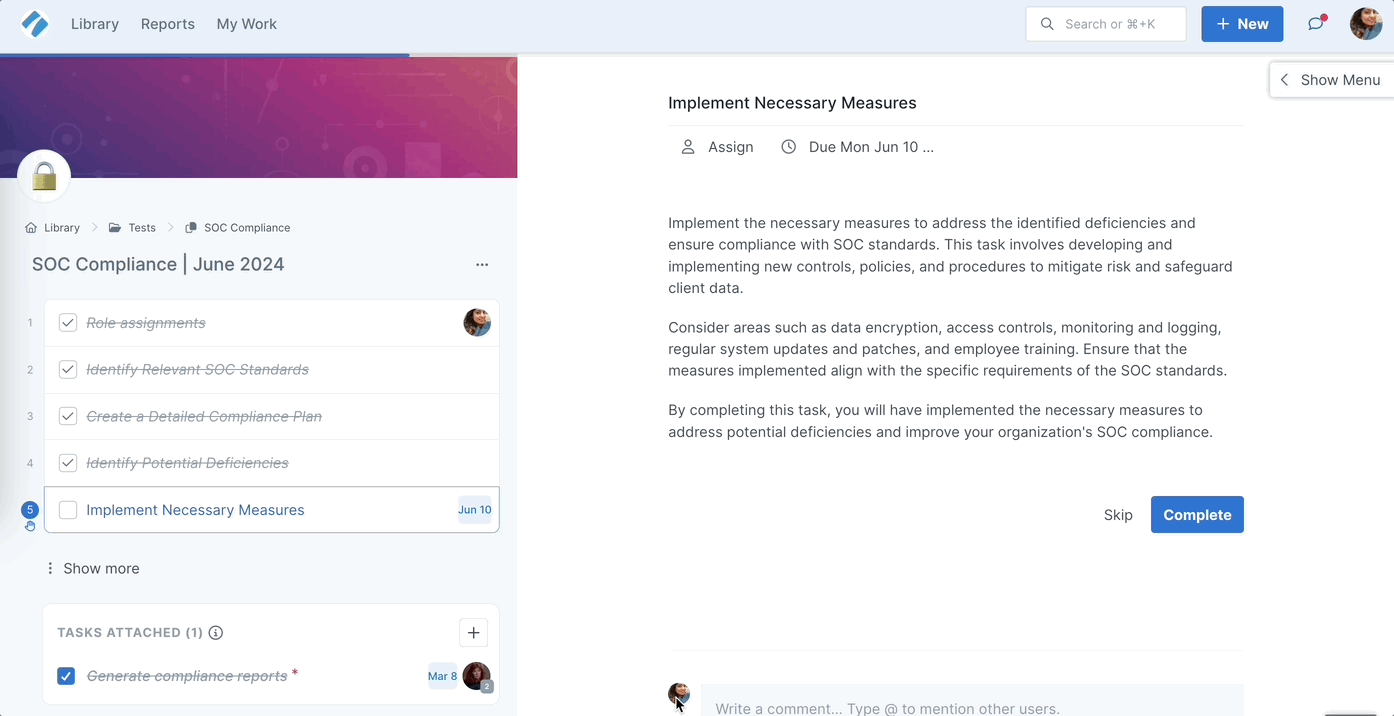
To attach a task to a workflow run, go to the workflow run and click the + button next to Tasks Attached below your task list on the left, as shown below.
Tasks created within a workflow run are automatically attached to that workflow run.
Note: Anybody with viewing access to a workflow run can view its attached tasks and create new ones.
While you work through your list in My Work, you can create a task and attach it to a workflow run from there as well.
Click the +Tasks button in the top right corner of your screen. As you create this task, choose to link it to a workflow run. Select the workflow then select an active workflow run to which you want to attach this task, as shown below.
To ensure that an attached task is completed before your workflow run can be completed, mark it as required.
Once you’ve created a task, you can edit it to add more details or add an attachment. You can also assign it to someone or change its due date.
To edit a task, expand it and click the edit icon in the top right corner of the task. Make changes then click update, as shown below.

To delete a task, expand it and click the three dots next to the task due date, as shown above.
If you have assigned a task to another user, deleting it will remove the task from the assignee’s My Work as well.
When you have a task attached to a workflow run and you archive or delete the workflow run, the attached task will remain in My Work.
Note: Only Admins and the task creator can delete a task.
When you create a task, it is assigned to you by default. You can assign tasks to other colleagues or groups. However, if an assignee removes themself from the task, it goes back to being assigned to the task creator.
Note: Anyone who can edit a task (Admins, the task creator, or non-Guest assignees) can also reassign it.
To complete a task, locate it in My Work or in a workflow run and mark it complete.

When you have tasks attached to a workflow run, completing the run will not automatically complete its attached tasks. If you need to complete an attached task after completing a workflow run, you will have to reactivate the workflow run, as shown above.
Note: Only Admins and task assignees (direct or via group membership) can complete a task. If the task creator unassigns themselves, they can no longer complete it.
You can add comments and attachments to your tasks, as shown below.
Note: Attachments support a file size limit of up to 250 MB
To find all the comments on your tasks, click the Comments bubble in the top right corner, next to your profile picture.
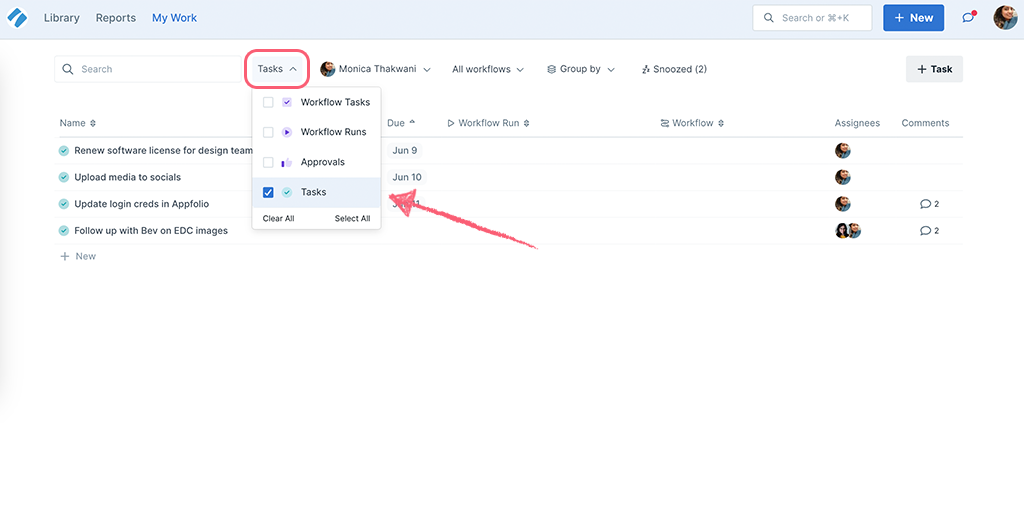
When you’re going through your tasks in My Work, you can filter your view by Tasks. This shows all the tasks and attached tasks assigned to you.
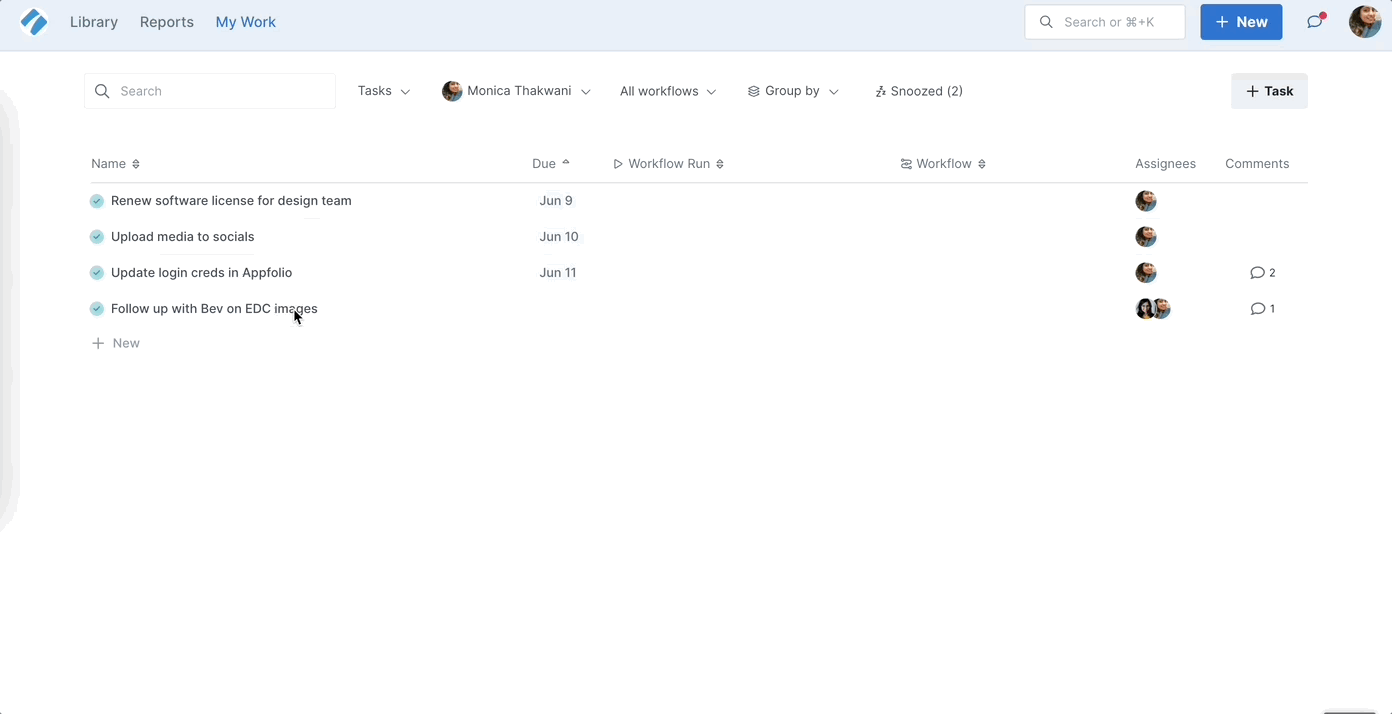
You can also view your own, or a colleague’s completed items in My Work.
Remove grouping by due date, then click the toggle to view completed one-off tasks, Workflow run tasks, Approvals and completed workflow runs.
When an assignee completes a one-off task, the task creator receives an instant email notification. This helps you stay informed about task progress without needing to check manually.
Note: Completion notifications apply to one-off tasks only, not workflow run tasks. You won’t receive a notification if you complete a task that you created. Notifications are currently delivered via email only — Slack, Teams, and mobile app notifications are not yet supported.
Learn more about email notifications and how to manage them.
Learn more about how to use My Work.
Help us improve this help center.


