Key features
 Workflows
Automate, track, and leverage data within your
business processes.
 Forms
FormsGather valuable focused insights.
 Data Sets
Unify data across all workflows and teams.
 Pages
PagesDocument and share your standard operating
procedures.
Platform
 Process AI
Transform your manual processes with AI.
 Automations
Boost productivity; reduce manual labor.
 Analytics
Empower decisions with key performance data.
 Apps
AppsPower your workflows from anywhere.
 Integrations
Connect your favorite tools for maximum
efficiency.
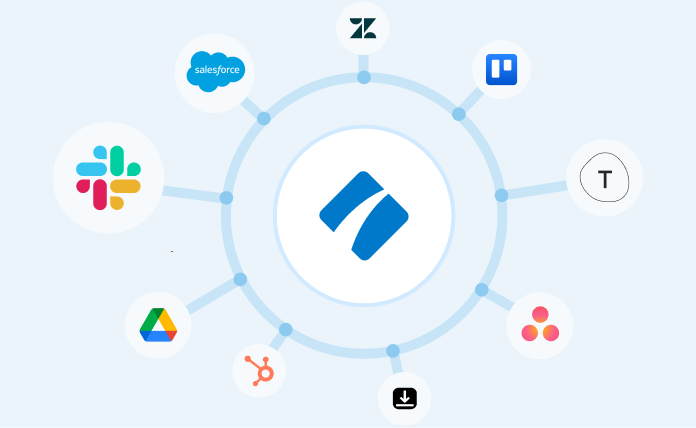
Connect Process Street with your favorite tools
Learn about our integrations
 Property management
Teams
Operations
 Human resources
Compliance
Human resources
Compliance
 Customer management
 Information technology
Investor relations
Information technology
Investor relations
Top use cases
Employee onboarding
Client onboarding
Property management
Quality assurance
Content marketing

“With Process Street we've been able to bring documentation to life, improve governance and
achieve consistent results”
Linda White
Head of Technology Services, Colliers
More customer testimonials


Product
Solutions
Industries
Teams
Top use cases
Employee
onboarding
Project
management
Compliance
Due diligence
Mergers & acquisitions
Customer management
“With Process Street we've been able to bring documentation to life, improve governance and
achieve consistent results”
More customer testimonials
Resources
Learn
Connect