The following is a guest post submission from Federico Pascual, co-founder and COO of MonkeyLearn.
Customer feedback doesn’t just come in through your site’s contact form – it’s everywhere.
You only have to search the Twitter handle of any product with more than a few hundred users to see that customers love to offer their opinion – positive and negative. It’s useful to be monitoring this and learning from it, but casually collecting feedback on an ad-hoc basis isn’t enough.
Startups thrive on feedback as their ‘North star’, and are constantly evolving based on what their customers request, break, and complain about. Enterprises also can’t overlook the fact that customers are what make any company tick, and must struggle harder than startups to stay relevant and innovate.
So, if you’re just collecting feedback ‘as and when’ it comes in, you’re missing out on data that’s just as important as page views or engagement. It’s like deciding not to bother setting up Google Analytics on your homepage, or not properly configuring your CRM; in the end, you’re deciding to not benefit from data that will have a transformative effect on your product strategy.
With a dataset of feedback – whether that’s from customer reviews, support tickets, or social media – you can dig into the words your customers are using to describe certain parts of your product and get insights into what they like, and what they don’t like. In this post, I’m going to show you how.
Here’s the kind of end result you can get with the methods I’m about to outline:

This post’s scope won’t allow us to go in-depth with how to actually collect the customer feedback in the first place – that’s a big, open-ended topic. So, check the links below first if you’re looking for a guide on that:
- User Feedback: 3 Methods We Tested to Better Understand Our Users
- How to Calculate NPS with the Perfect Customer Happiness Survey
How to turn unstructured feedback into usable insights
Gathering and processing Net Promoter Score (NPS) feedback at scale sounds enticing, but customers aren’t always going to provide text that’s instantly easy to parse, even if done automatically by machines. Depending on the length and complexity of the feedback received or the number of aspects dealt with in each NPS response, you might want to split texts into smaller parts.
These parts — called opinion units — are mostly short phrases with an opinion about some aspects (usually a single aspect per opinion unit) and a sentiment.
Say we have the following response on a NPS survey:

In this sentence, we have one opinion unit (‘The UX was good’) where the aspect is the User Experience and the sentiment is positive, followed by another opinion unit (‘the support was lacking’) where the aspect is the support and the sentiment is negative.
Breaking down complex feedback into “opinion units” usually improves the detection of different aspects people give feedback about or the sentiment they show toward those aspects.
You can use MonkeyLearn’s Opinion Unit Extractor to pre-process the NPS responses before submitting them for classification on MonkeyLearn. The output of this extractor will be a list of texts which you will later on use on MonkeyLearn as training data or as new text to analyze.
Before you start, bear in mind that NPS feedback is industry-dependent. When processing open-ended answers to NPS questions, your analysis approach might differ depending on your product and audience. In order to avoid problems with low accuracy, training custom models is a much better approach than using one-size-fits-all models. Once you have split the texts (or decided not to do so), you will have to train your custom models.
Create and train your custom NPS analysis models
With machine learning – the toolset we’re employing to analyze feedback here – models are basic building blocks. A model is a piece of technology that can take text, analyze it, and make a decision. In this case, the decisions it’s making are:
- What is the customer referring to in this piece of feedback?
- How does the customer feel?
These two decisions are sent off to different kinds of models. The aspect classifier figures out what the customer is offering feedback on. The aspect could be your product’s support, login page, or email marketing campaigns. The sentiment classifier determines how the customer is feeling about that given aspect.
Combined, this offers a complete kit for gleaning insight from feedback. Let’s look at how to train these two different models for analyzing NPS responses:
Aspect classifiers
Aspect classifiers will help you detect the aspects or topics people talk about. You will have to follow these steps for training an aspect classifier:
1) Define an initial tag list
One of the most critical aspects to building a classifier is defining the tags that you will want to classify for (in this case, we want to classify an NPS response according to its aspect). You might do this manually (if you already have an idea about the different types of aspects the NPS responses might talk about).
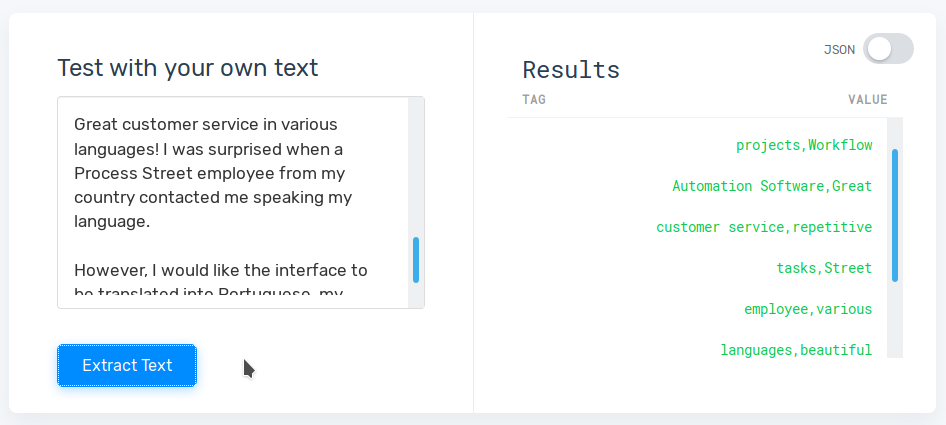
A good starting point for tag ideas are the different parts of a business, such as product, IT, customer support, sales, etc. But, in the end, you’re looking for the most useful clues you can provide to the model, so if you can see 10 or less specific categories that your NPS feedback is divided into – and if these categories are things you want to get feedback data on – then take an approach that’s more specific to your business.
Why only 10 tags at first? Well, the risks of trying to do too much too fast will have a negative impact on the accuracy of a model. Though machine learning models can eventually be trained to be complex things, all of them had to start doing something simple first.
For best results, keep the following in mind when defining tags for the first time. Remember, you can make changes and add more complexity later.
- Limit the number of tags as much as possible. It’s best to work with less than 10, at least initially.
- Make sure you have enough pieces of text per tag. If you aren’t sure you have enough, create the tag later.
- Avoid situations where one tag might be confused with another.
- Define tags that can be used consistently.
- Don’t use tags that are too small or too niche.
- Use one classification criteria per model, each classifier should have its own explicit purpose.
Alternatively, you can use MonkeyLearn’s Keyword Extractor to help you detect the most frequent phrases in your texts. These phrases might be indicators of potential tags and might help you define your initial tag list.
In order to get the keywords from all your text data, you will have to concatenate all of your texts and submit the resulting string to the extractor.
2) Create a Model
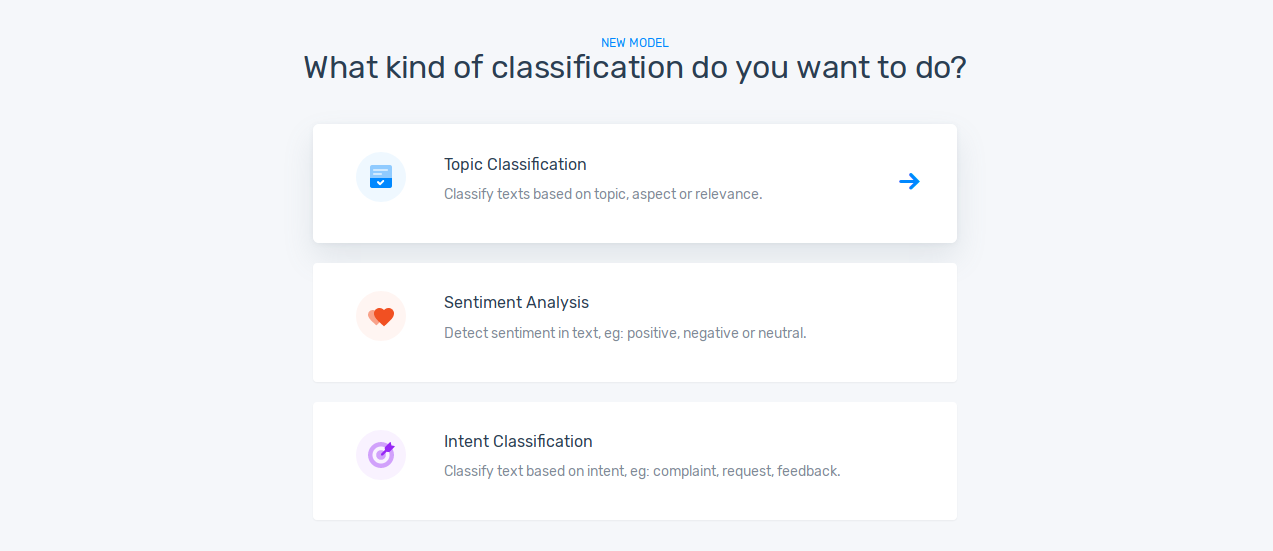
Log in to your MonkeyLearn account and click Create Model on the top right corner of your browser. Choose Classifier and then Topic Classification.
3) Upload Data & Create Your Initial Tag List
Choose the format of the file in which you have your texts (or opinion units) stored (either CSV or Excel) and choose the column that contains your feedback texts. MonkeyLearn will import the data.
Once the data has been imported, you will have to enter the tags you defined on step 1.
4) Tag Data for Training the Model
Once you have created your tag list, you will be asked to tag some texts before your model is ready to be used. This will be used for training the machine learning model.

Understanding and using sentiment classifiers
Sentiment classifiers help you detect positive, negative, or neutral sentiment in your texts.
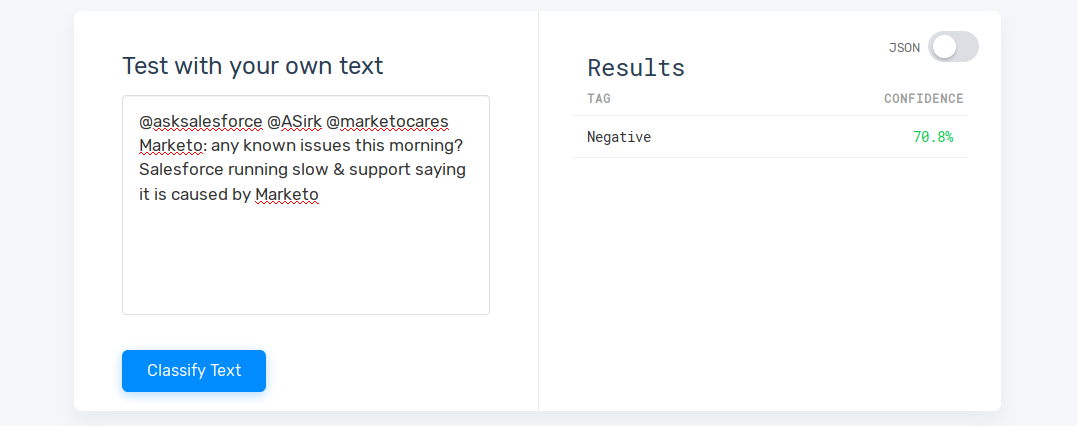
Not only is the technology aware of the positive and negative connotations of words your customers use, it can also figure it out from context. For example, from the words alone it’s uncertain whether the tweet below is strictly negative, but from the context it is obvious: “issues” and “slow” indicates a problem.
Here’s an example of a positive sentiment:
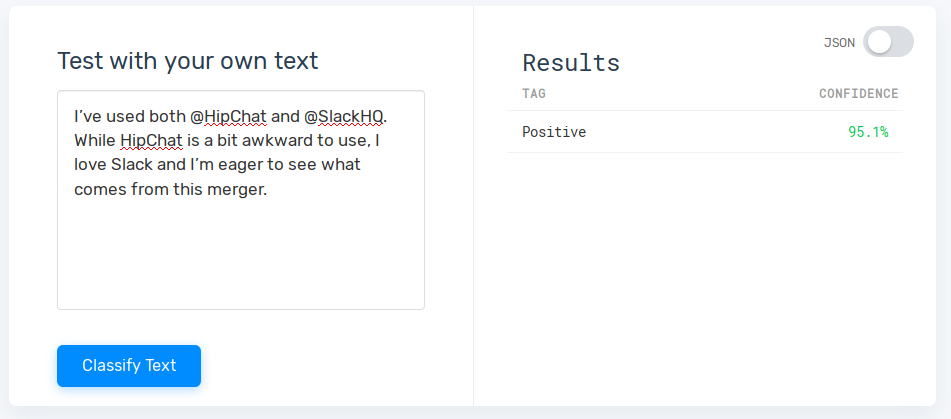
MonkeyLearn has pre-trained sentiment analysis models which can help you avoid tagging and training from scratch. However, sentiment analysis is complex so chances are that you will get better predictions if you create a custom sentiment analysis model.
To do so, follow the steps listed in the previous section, but choose Sentiment Analysis instead of Topic Classification. MonkeyLearn will create the tags for you, namely, Positive, Negative, and Neutral – all based on your unique data.
How much data will you have to tag?
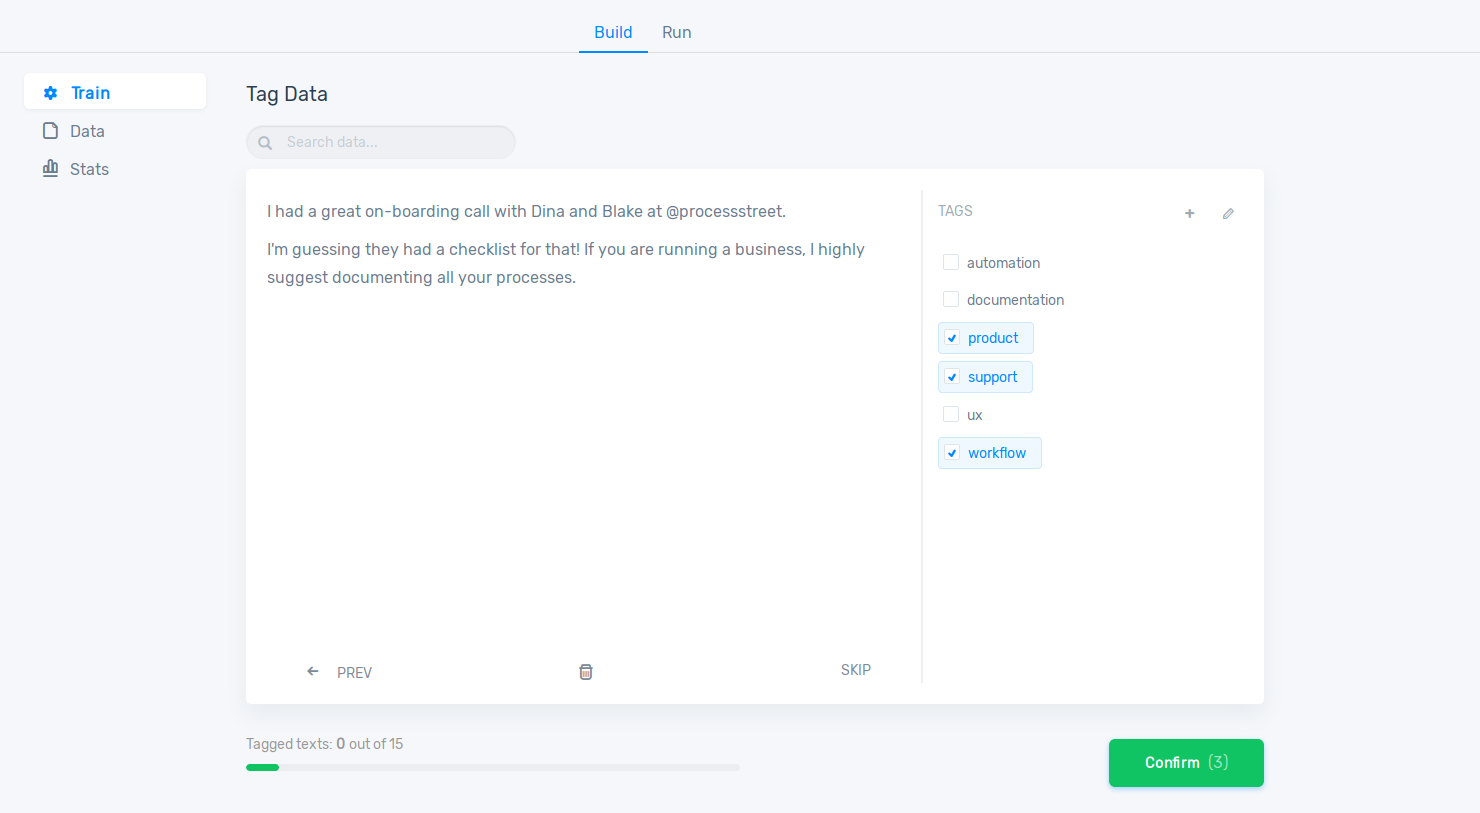
There’s no straightforward answer to this question. For aspect classifiers, 20 to 50 tagged texts per category will suffice (depending on the texts, of course). For sentiment classifiers, however, you will have to tag a good deal of data since sentiment analysis is much more difficult to perform.
Analyze the data
After you have created your models, you are ready to analyze your data. You can:
- Use our UI to upload a CSV file with NPS responses. MonkeyLearn will return a new file with the analysis.
- Use our integrations (like Zapier, Google Sheets and Rapidminer).
- Use our API.
Post-processing your data
Since NPS reviews are usually linked to a numeric score, you will have the chance to post-process your data to filter out inaccurate sentiment predictions. The output of MonkeyLearn models will show a tag and a confidence score. The confidence score in an indicator of how accurate the classifier’s prediction is.
If you happen to find a low sentiment confidence score for a text, you might want to re-tag it manually and upload it to your model (so that the classifier learns from that and improves its performance) or you might compare the output tag to the tag you would have expected for the feedback score given by the user in your NPS survey. See more about this in the NPS Feedback Sentiment Analysis section here.
How do you analyze your customer feedback at scale? Manually, or with the help of AI? Let us know in the comments!


Benjamin Brandall
Benjamin Brandall is a content marketer at Process Street.