Menu icon
  Help center      Data Sets  
  Data Sets: Linked Dropdowns in Forms

Data Sets: Linked Dropdowns in Forms

Updated March 30, 2026
Who can use this feature
Related subproduct  Data Sets, Forms
Available on  All plans

Data Sets allow you to create and store tables of data to use in Forms.

Linking data sets in your Forms helps prevent manual data entry errors and ensures that you pull data from your source of truth.

Linked Dropdowns are dropdown form fields that you have connected with a Data Set.

Users: Admins and Builders can create or view data sets and forms.

Permission and visibility

  • Admins can see Data Sets and saved views created by all users
  • Builders can be granted permission to edit all views, or only view them
  • Users and Guests do not have access to Data Sets. The Data Sets tab is hidden for these users

Create a Data Set

First, create a Data Set if you don’t already have one. Learn how to create a Data Set.

Create a saved view of your Data Set

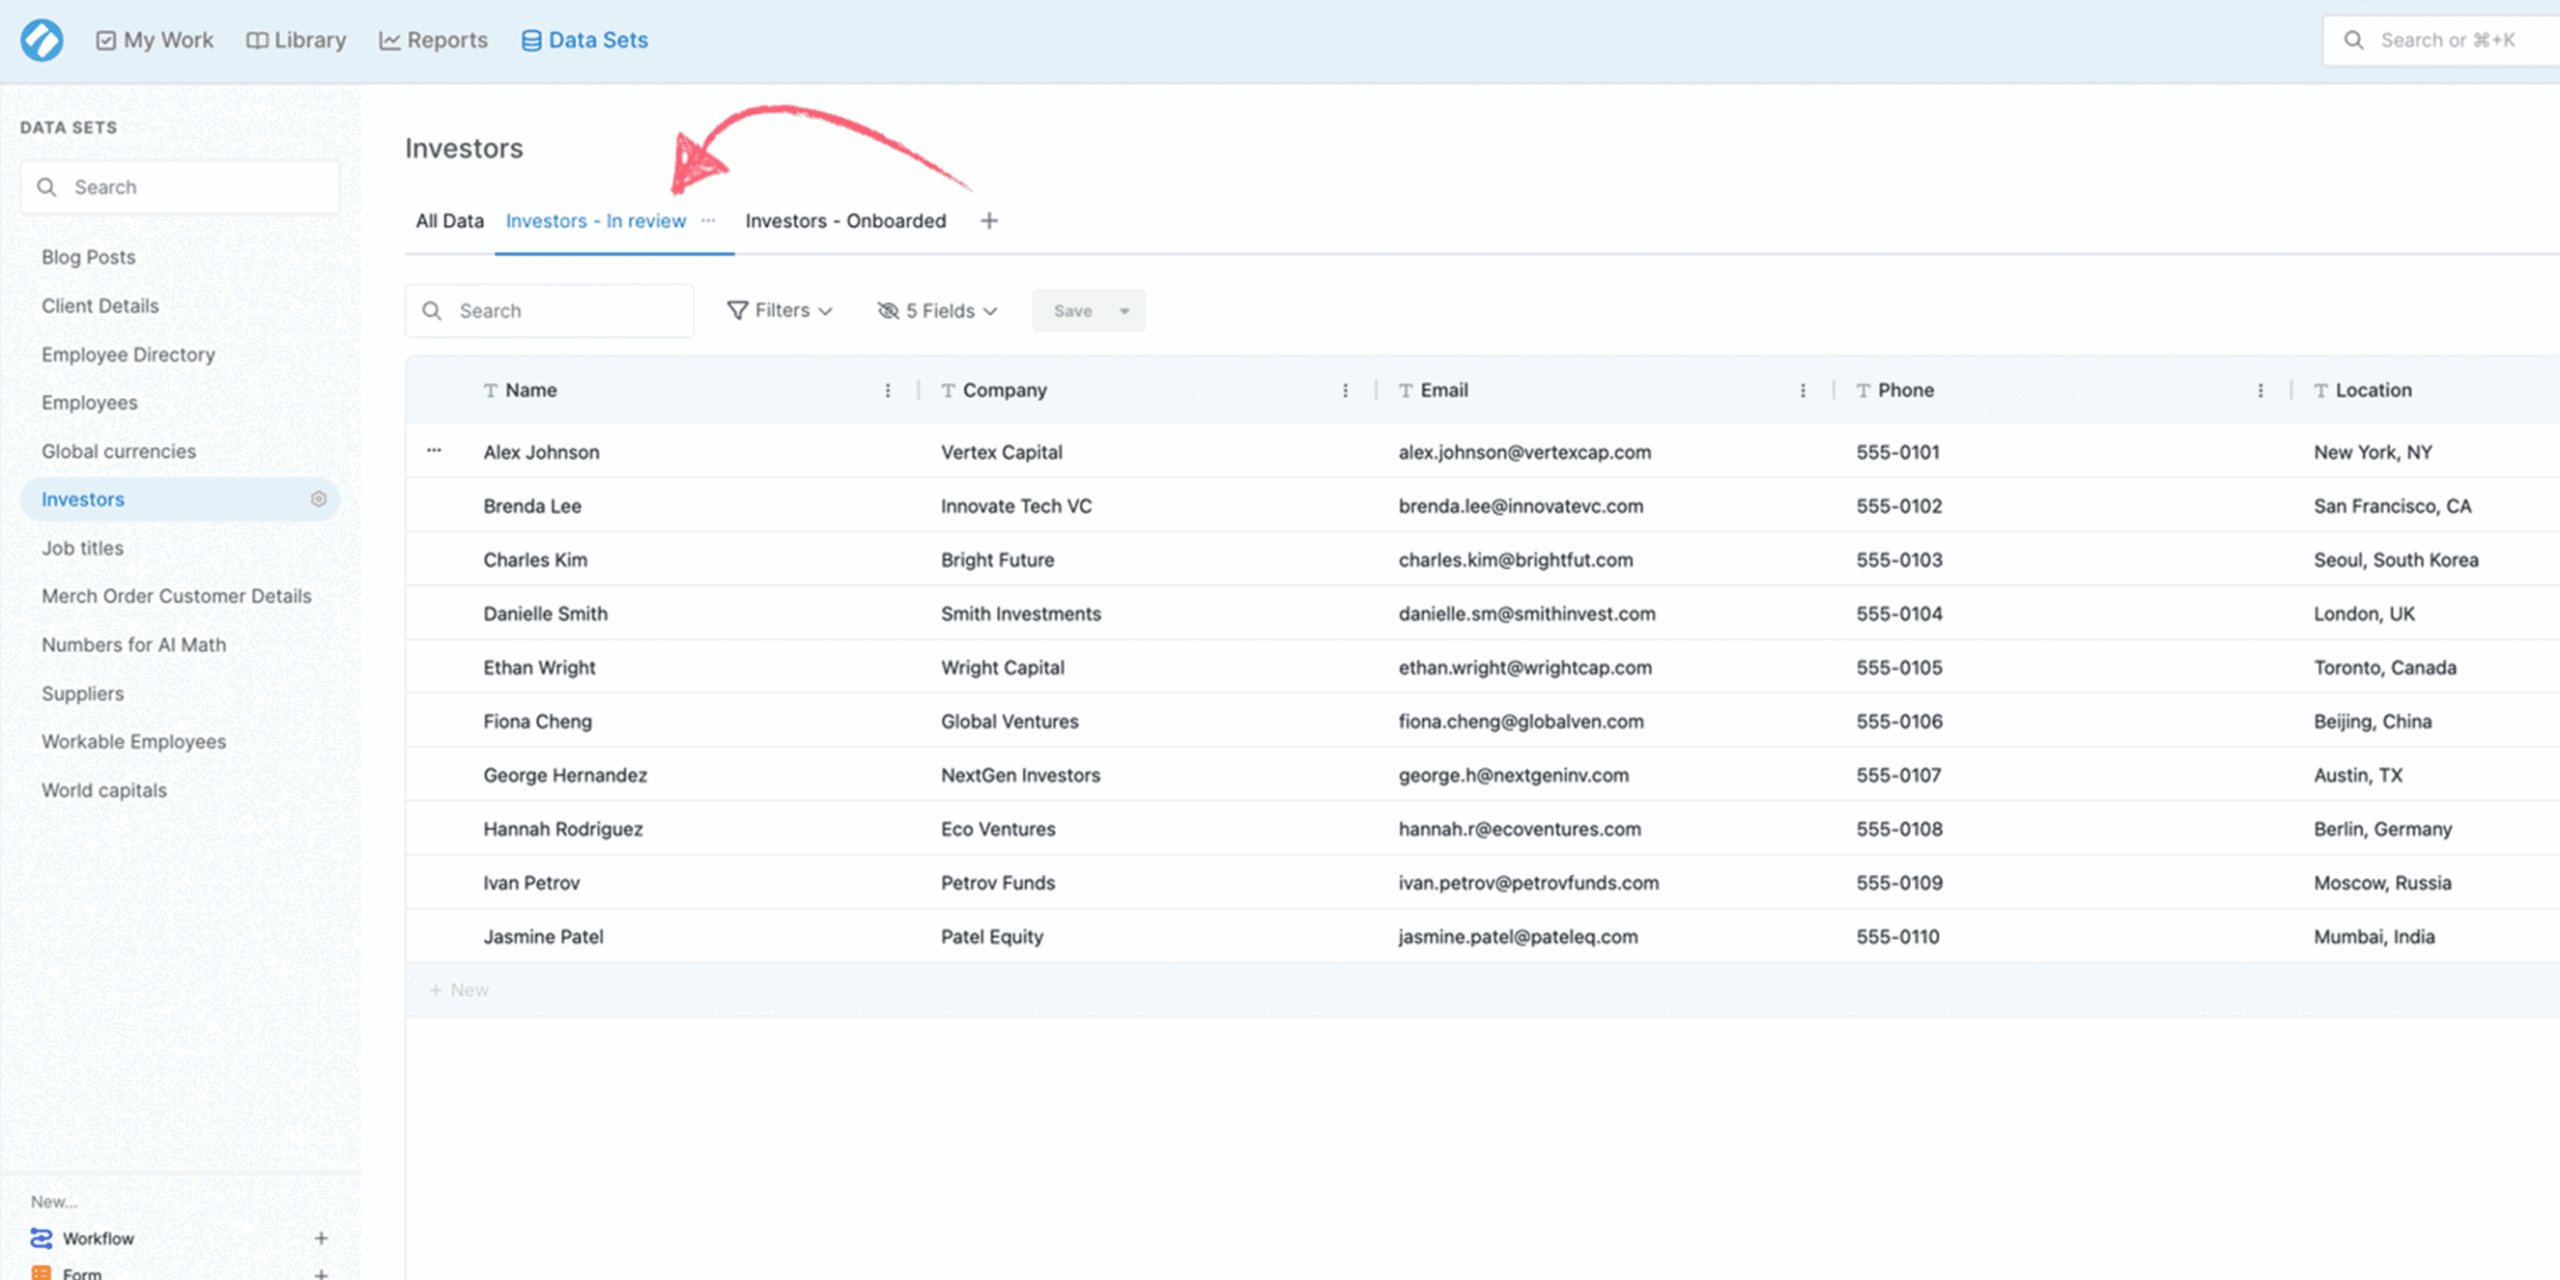
By default, all new Data Sets have a view called All Data.

You can also create different views by sorting and filtering the default saved view. This determines what data is shown in your Linked Dropdown, which is useful if you don’t want certain information from your data set appearing in your Form.

data set saved view

Now that you have a saved view, you can connect it to a Form.

Create a Form

You can create a new form, or link a dropdown in an existing form.

When editing the form, click the dropdown field to add it to your form.

Linking a form dropdown to a data set

Click the three dots on the right of the dropdown and select Connect Data Set.

Search for your saved view and then choose the column that you want to become the selection in your dropdown.

Publish your form and test it by using the response link.

Using a linked dropdown in a form

Filter a dropdown by another form field

You can filter a data set-connected dropdown based on the value of another form field. This creates a pick-on-pick behavior — for example, selecting a country in one dropdown and seeing only that country’s states in the next.

Prerequisites

To set up filtered linked dropdowns, you need:

  • Two Data Sets — one for each dropdown (for example, a Countries data set and a States data set)
  • A shared column between the two data sets that links them (for example, the country name appears in both)

Set up the first dropdown

  1. Add a dropdown form field to your form (for example, “Country”).
  2. Click the three dots on the right of the dropdown and select Connect Data Set.
  3. Choose your first data set (for example, Countries) and select the column to display (for example, country name).

Set up the filtered dropdown

  1. Add a second dropdown form field to your form (for example, “State”).
  2. Click the three dots on the right of the dropdown and select Connect Data Set.
  3. Choose your second data set (for example, States) and select the column to display (for example, state name).
  4. In the Filter section, select the column to filter by (for example, country name in the States data set).
  5. Set the filter to use the value from the first dropdown form field (for example, the Country field).

Publish your form and test it. When you select a value in the first dropdown, the second dropdown automatically shows only the matching options.

Supported form field types

The filter can match against values from these form field types:

  • Text
  • Dates
  • Numbers
  • Hidden fields
  • URL
  • Email

You’re all set. Learn more about Forms.

Discover Process Street

Use Process Street to make your team processes fun, fast and faultless. We'll help you transform your team's static checklists into powerful interactive workflows!
Is this article helpful?

Help us improve this help center.

Learn more about Process Street

YouTube videos
Deep dive into Process Street with our YouTube video series.
Join a webinar
Effectively record, replicate, and replace your workflow!
See latest releases
Catch up on the latest releases and enhancements.
Join the community
Share with others about how you are using the app day to day.

Take control of your workflows today