Managing your users’ permissions is a great way to ensure the safety and confidentiality of your company’s documentation and processes inside Process Street.
By selecting a user role for each of your team members (Admin, Builder, User , or Guest), you can define their level of access to your organization.
Furthermore, you can select permissions for them that allow you to have granular control over your folders, workflows, workflow runs, forms, and pages.
Users: Only Admins can invite users or change their user roles.
View all permission levels by feature.
To manage top-level user permissions, you need to go to your organization manager. Click your profile picture in the upper right corner of your screen, then click “Settings” and go to the Users tab to access this page.
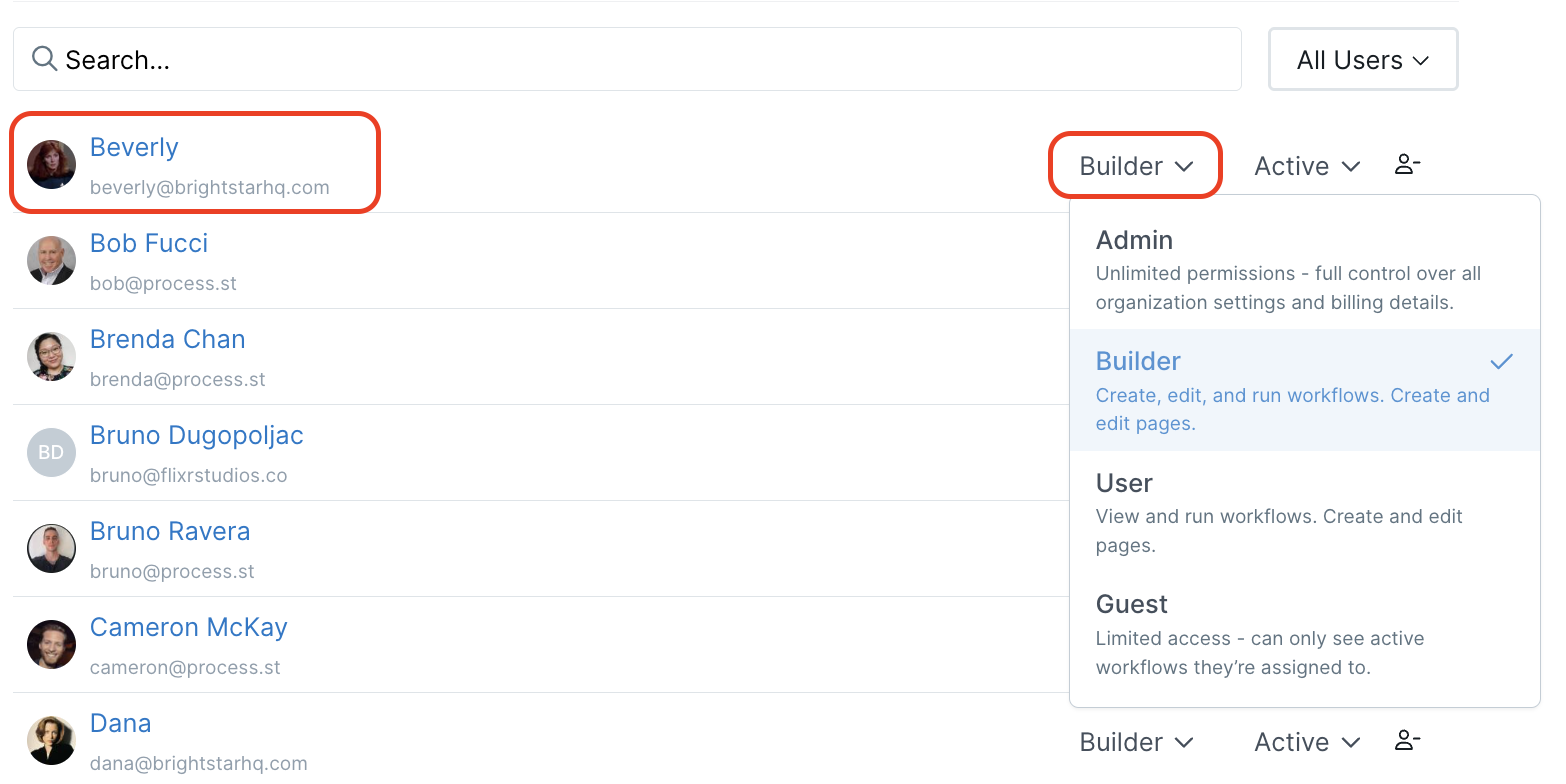
You will see an entry for each user in your organization, and to the right of the entry will be a display of their current user permission level (either Admin, Builder, User, or Guest).
The current selection is highlighted, so to change the user role, click on one of the remaining fields. You can promote a user from Guest to a User, a User to a Builder, or from a Builder to Admin (or back again) by clicking on the dropdown box shown above.
Note: On our paid plans, when you promote a User or Guest to a Builder, you will pay for this person on a pro-rata basis (for the month or the year depending on which subscription your organization is on).
Users can be deleted from your organization entirely by clicking the remove user icon on the right-hand side.
Note: When you delete a user, they will immediately be unassigned from all workflow runs and tasks.
There are 4 user roles — Admin, Builder, User, and Guest — which affect how much access members have in your organization and what they can see or do.
Admins are the top-level users in your organization. The person who creates your account will always be an admin and they can add more users as Admins.
They have unlimited permissions and can create and manage groups, folders, pages, or forms. They can also manage billing, and delete or restore deleted workflows, workflow runs, pages, and forms.
Admins can see and do everything in your organization, no matter what permissions you have set on folders, workflows, workflow runs, tasks, forms, or pages.
To restrict a user’s access in any way they must be either a Builder, a User, or a Guest.
Builders are people who need to create, edit, and manage your processes, like team managers or process managers. They can do everything Users can do, plus they have more access to folders, workflows, and workflow runs.
You can also add builders to groups and folders for easy permission control and pre-assign them to tasks in workflows.
In addition, Builders can be given different levels of permission on folders, workflows, pages, and forms, giving you granular control over your content. For workflows and folders, there are four permission levels — or five on T5K plans, which add the Edit & View Own level.
These users are the next user level down from an admin and you pay for each user based on your chosen subscription plan.
Learn more about Builders.
Users are people who only need to work on tasks and workflow runs assigned to them, without changing anything in your organization. These could be employees working under a manager or individual contributors.
They can do everything Guests can do plus they have controlled access to your library and its folders, workflows, and workflow runs. They can also access Pages.
You can also add Users to groups and folders for easy permission control and pre-assign them to tasks in workflows.
Learn more about Users.
Guests are people who require limited access to your organization now and then. These could be your clients or vendors who occasionally need to fill out workflow runs or forms. They have their own login for your Process Street organization so you can assign them to tasks and view them in reports.
Guests do not have access to Pages or your Library.
Learn more about Guests.
Anonymous users are not an assignable organization role. They are external people who can interact with your workflow runs without logging in to a Process Street account.
Learn more about anonymous access.
Process Street allows you to give builders different permissions to each folder and workflow, so you can precisely control who views or edits them.
You can set individual permissions for users and groups in folders, on a folder-by-folder basis. This effectively sets the same permission level on any workflows contained in that folder, so that you don’t need to set permissions on a workflow-by-workflow basis.
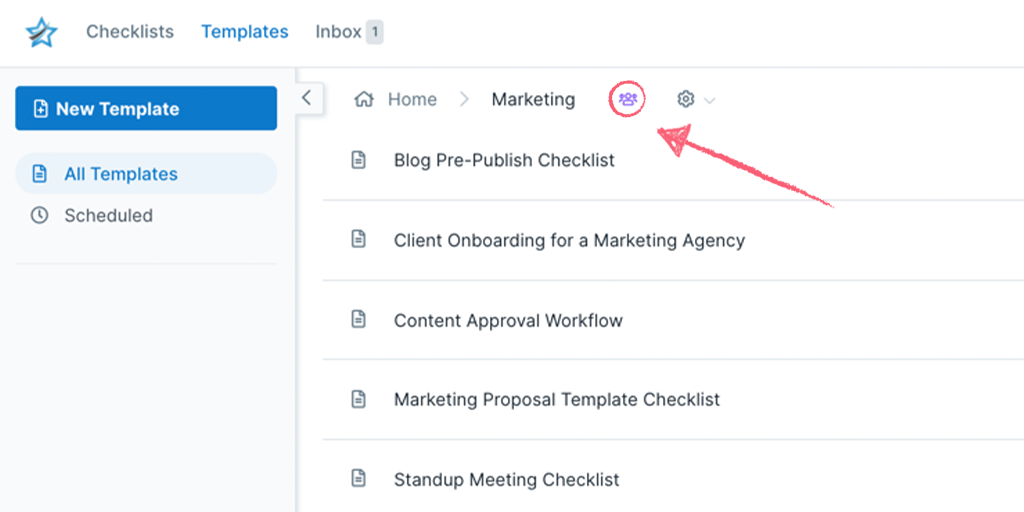
To manage folder permissions head to your Library, click the cog next to your folder’s name, then select “Share“. Then go to the Permissions tab.
Here you can view and change the permission levels for users or groups that you see, invite new users, and set their permissions.
As an Admin, you can change permissions for users and groups by choosing an option from the dropdown menu next to a user or group (as shown above). The current selection is highlighted, so to change the permission level, click on one of the remaining fields in the dropdown.
Learn more about folder permissions.
You can manage workflow permissions for users and groups on a workflow-by-workflow basis.
Start in your Library and click the Permissions Visibility icons next to your workflow’s name to be taken to the “Permissions” tab.
From here you can add users and groups and set their permission levels, in the same way as you can when setting folder permissions.
Learn more about workflow permissions.
You can manage workflow run permissions on a run-by-run basis.
By default, the person who ran the workflow is assigned to it (unless you have run it as a scheduled workflow run or via an integration). You can also change the default run assignee while running the workflow.
To give more users or groups permission to see this workflow run, open it and click “Assign users” from the right-hand menu.
Learn more about assigning users to workflow runs.
You can also manage user and group permissions on a task-by-task basis when editing your workflows.
You can choose the level of permission (visibility) you want to give different users or groups for certain tasks.
Learn more about setting up and using Task Permissions.
You can manage who accesses your forms by setting individual form permissions.

You can manage these permissions from your library by clicking the Permissions Visibility icon next to your form name. Or you can go to your form and click on the icon in the top right corner to access permissions, as shown above.
You can manage access to your pages by setting individual page permissions.
From your library, click the Permissions Visibility icon next to your page name. Or go to your page and click Share in the top right corner to access permissions, as shown above.
You can see which users have inherited permissions from a folder when you open up the workflow sharing modal, as shown below:
A builder’s permission level on a workflow determines what access they inherit on that workflow’s runs:
To see who has inherited permissions on a workflow run, open it up.
Next, click on “Activity” from the right-hand menu, and then select the “Members” tab to see the inherited permissions (either directly on the workflow run, the workflow, or the folder the workflow is housed in).
To see which users have inherited permissions to a form, click the permissions visibility icon next to its name in the library or click the share button in the top right corner when viewing a form.
A builder’s permission level on a form determines what access they inherit on that form’s responses:
To see which users have inherited permissions to a page, click the permissions visibility icon next to its name in the library or click the share button in the top right corner when viewing a page.
When a builder is added to a page with ‘Edit & View All’ or ‘Edit’, they inherit the permission to edit, share and view the pages within.
Users with ‘View’ permission can only view the page shared with them.
To see everything a specific user has access to across your entire organization, use Access Explorer. It displays a tree view of all folders, workflows, forms, pages, data sets, and saved views that a user can reach—along with their permission level for each item and whether access is inherited or direct.
Access Explorer is especially useful for compliance audits, onboarding new team members, or troubleshooting access issues. Open a user’s profile in the organization manager and select Access Explorer to get started.
Learn more about Access Explorer.
Help us improve this help center.


