
You can integrate Intercom with Process Street workflow runs using Zapier.
When new customer tickets come in via Intercom, Zapier can automatically create a Process Street customer support process with the relevant data pulled in. This means your support team can answer all conversation tickets in a set, standardized way.
Plan: This integration is available to customers on all plans.
Users: In order to create an API key for integrations, you must be an Administrator.
Let’s build the Zap.
For this use case, the “Customer Support Process” is used. It’s a free template from our workflow gallery. We use a similar process when responding to our own support tickets.
Make sure you add the workflow to your account.
Zapier is a “when this happens, do this” tool that connects over 3,000 apps together. The “when” part is the trigger, and the “do” is the action.
When the trigger and action are combined, it’s called a Zap.
Sign in to Zapier (or make an account) and then hit the “Make a Zap!” button on the dashboard.
In the Zapier editor, use the middle search bar to find Intercom.
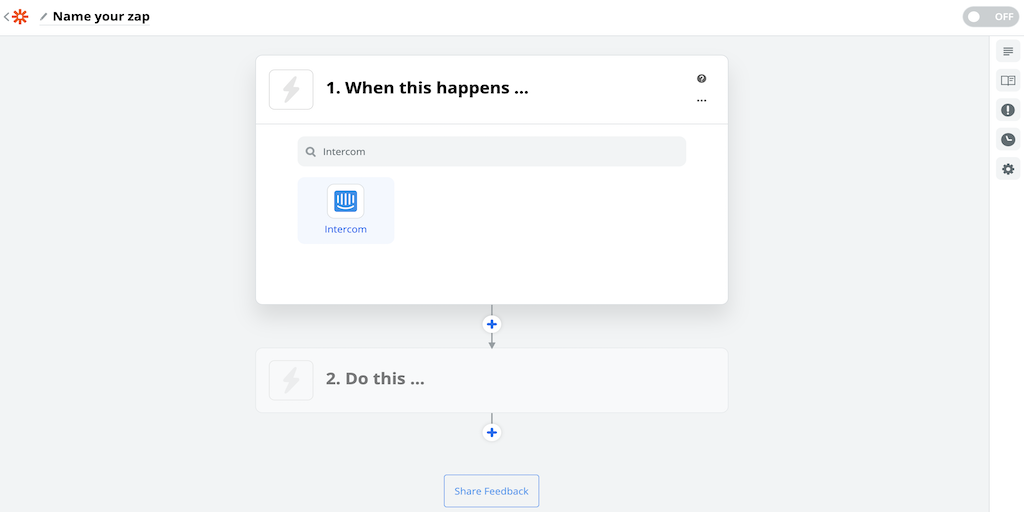
Then click on it to select it as the trigger app.
For this use case, the appropriate trigger event is “New Conversation”.
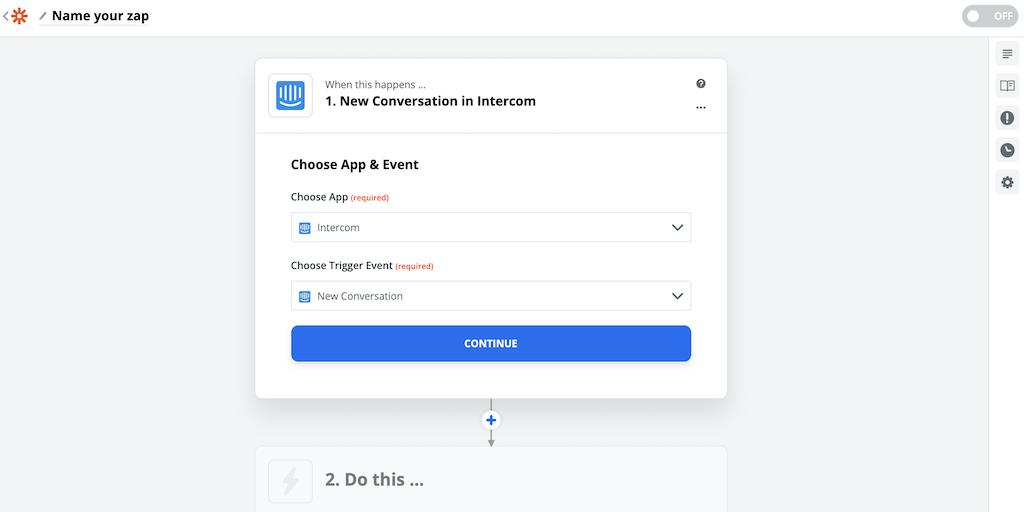
After choosing “New Conversation”, hit continue.
If you haven’t given Zapier access to your Intercom account before, press the “Sign in to Intercom” button.
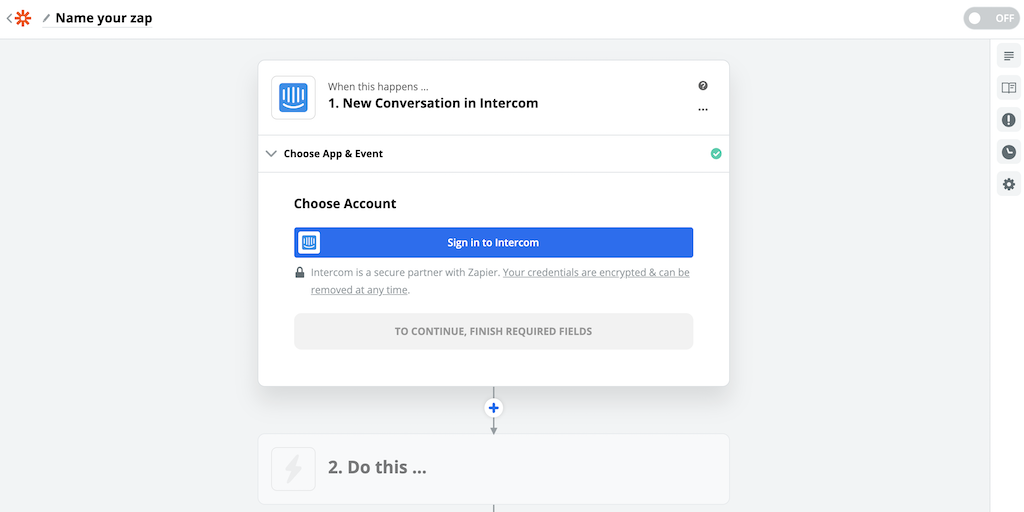
You’ll then want to click “Authorize access”.
Once Zapier has access, your screen should look similar to the screenshot below.
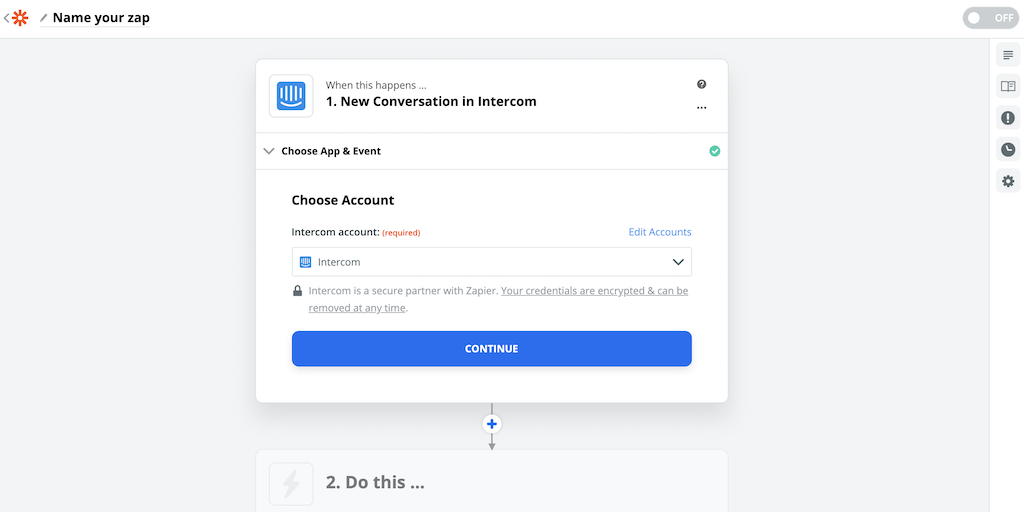
The next step is to pull conversation data (or sample conversation data) from Intercom into Zapier.
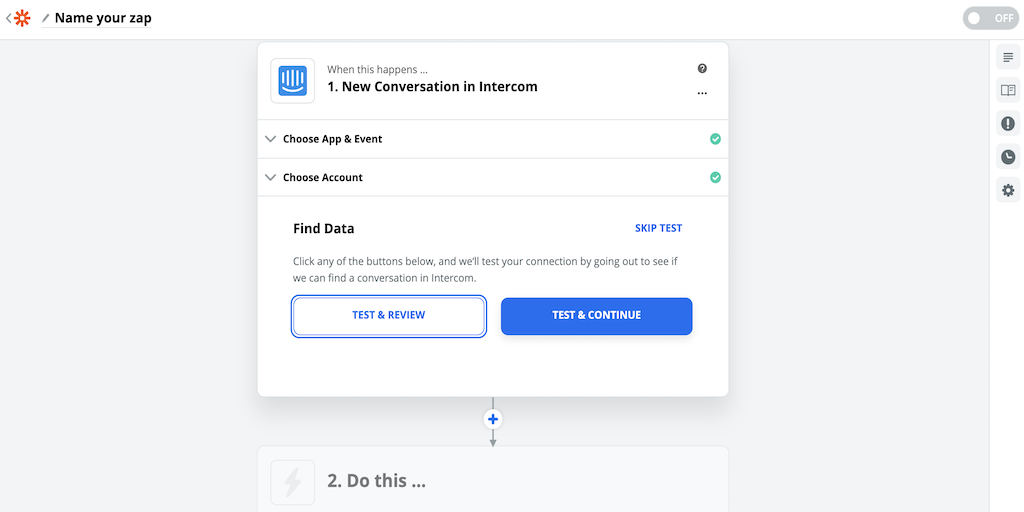
Hit “Test & Review”.
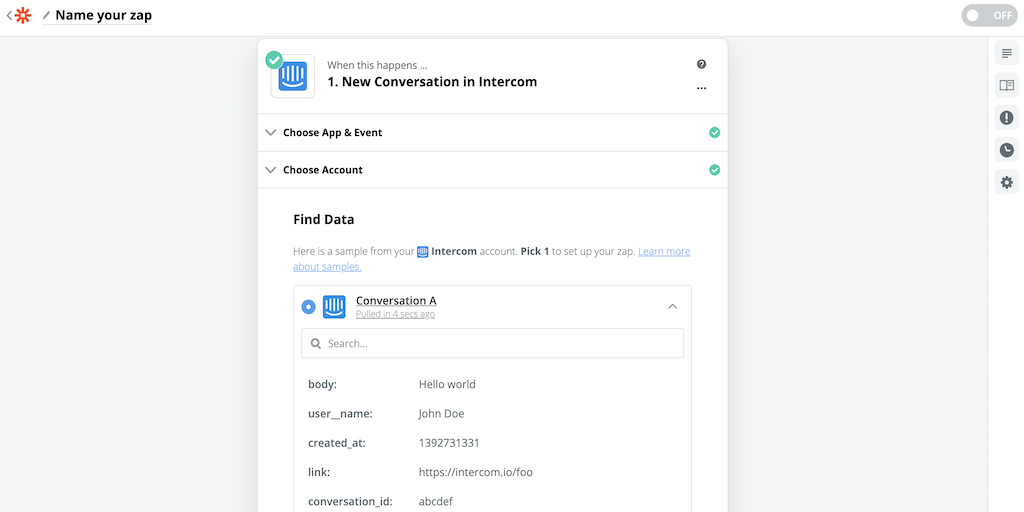
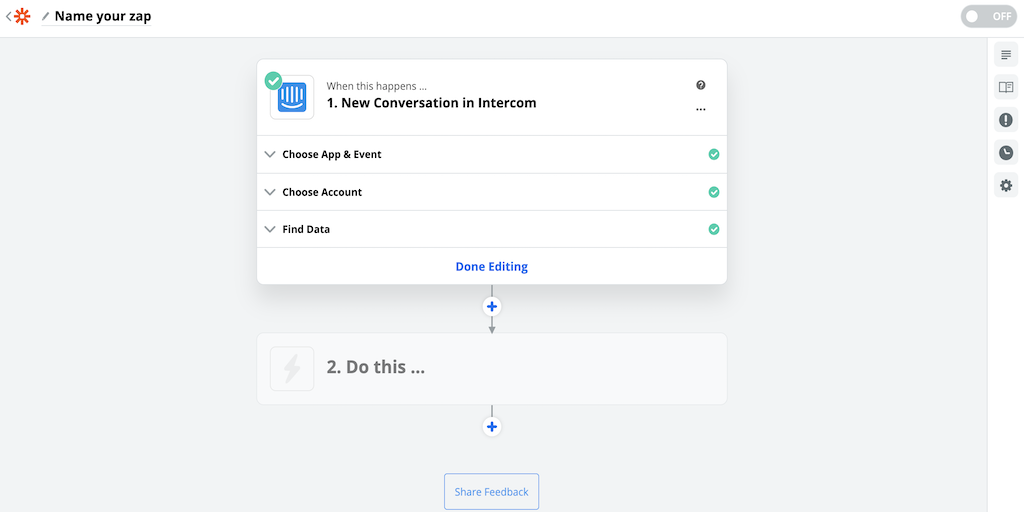
Then press “Done Editing”.
That’s the first half of the Zap successfully set up.
Click the “Do this…” widget. This will begin the process of setting up the action.
Use the middle search bar again, but this time search for Process Street.
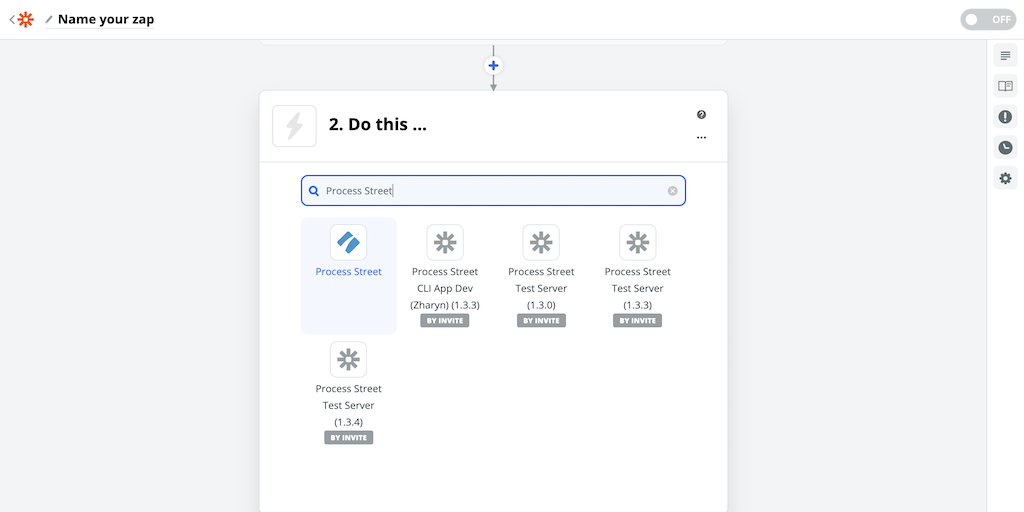
Then click on it to select it as the action app.
The appropriate action event for this use case is “Run Workflow”.
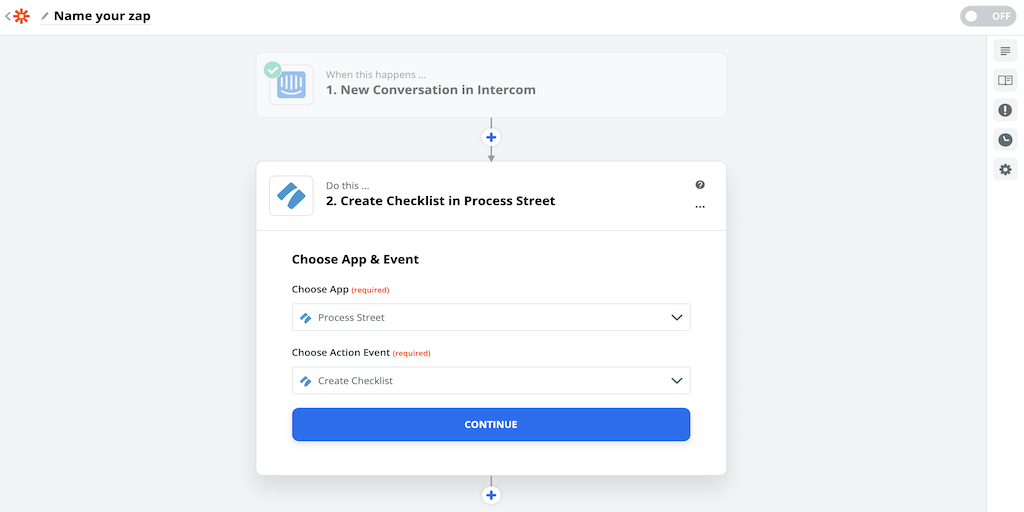
Click “Continue”.
To allow Zapier access to your Process Street account, press “Add New Account”, which will take you to a new window.
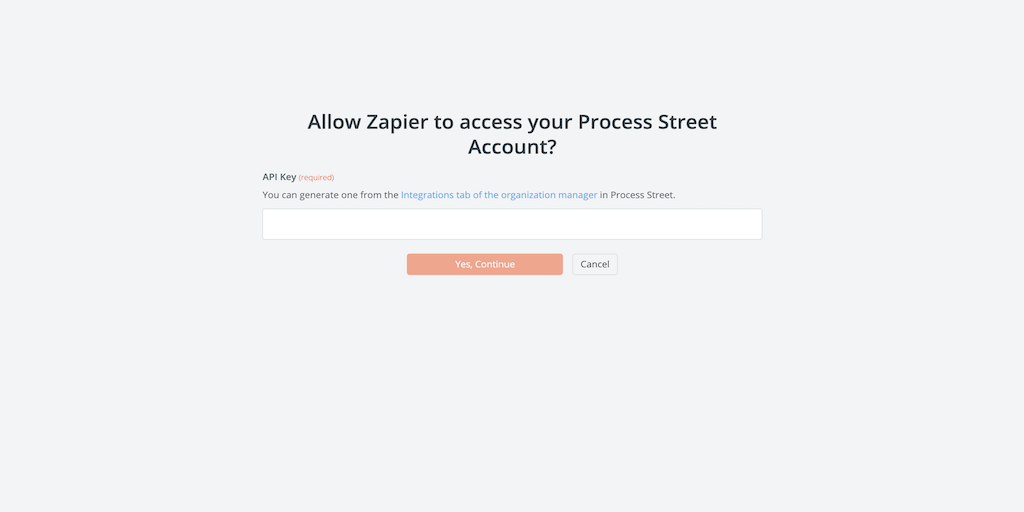
You’ll then want to put in your Process Street API key. This can be found by clicking your account name in the top right-hand corner of the Process Street app. Then, by navigating to the “Integrations” tab, you’ll find the key.
If you’ve added Process Street to Zapier before, select your account from the dropdown.
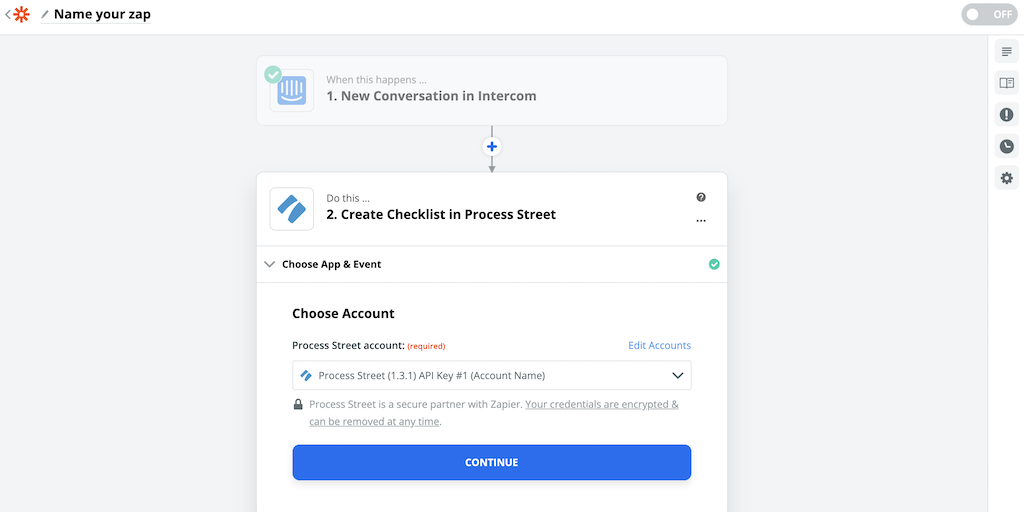
Then press “Continue”.
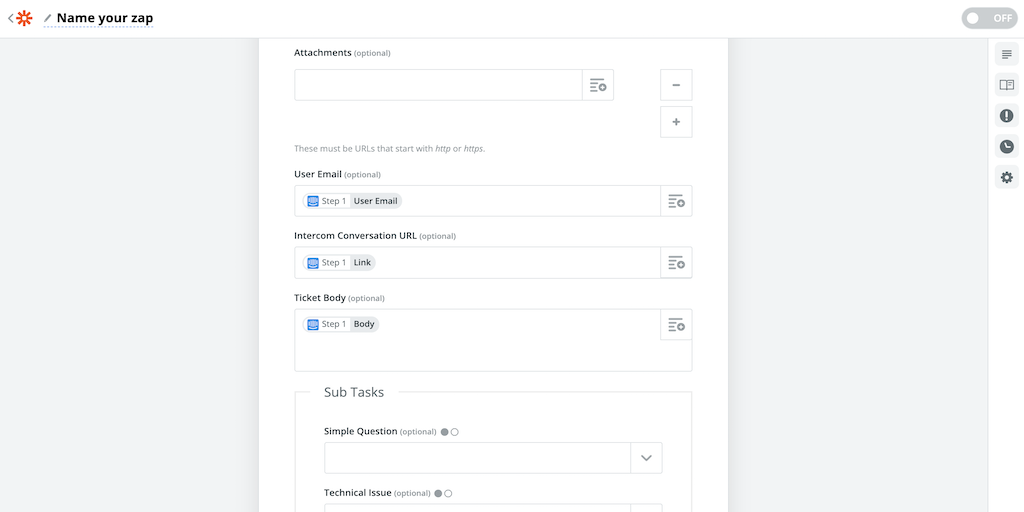
The next step is to customize how you want your workflow runs to appear. This means specifying the Intercom data you want to populate the automatically generated Process Street checklists.
First, select “Customer Support Process” as the Workflow.
For the Workflow Run Name field, add “User Name” and “Subject” by using the dropdown. When a Process Street workflow is run, the title will be the name of whoever wrote the ticket, and the subject of their ticket. I put a “|” character in the middle to break these two pieces of information up.
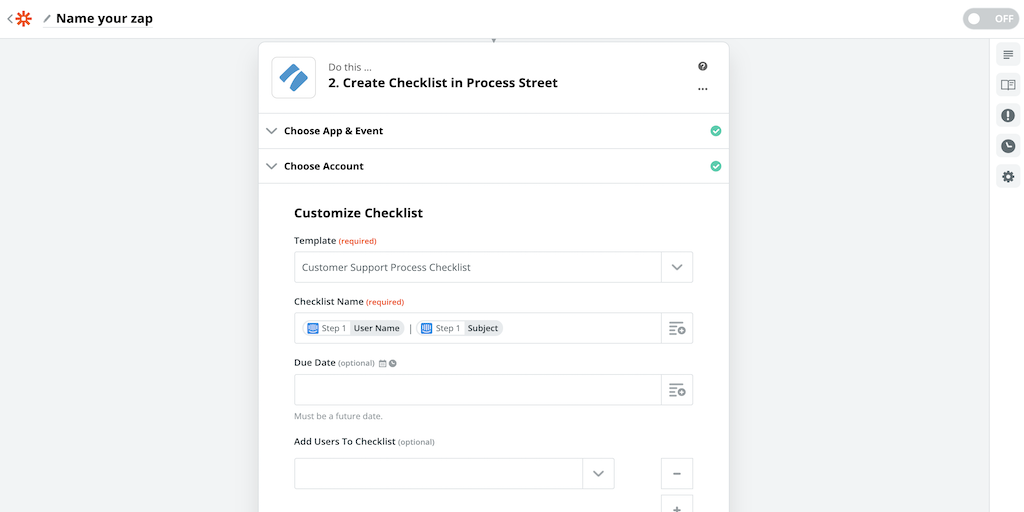
For the User Email field, select “User Email” from the dropdown.
Then for the Intercom Conversation URL, choose “Link”.
Finally, for the Ticket Body field, add “Body”.
Press “Continue”.
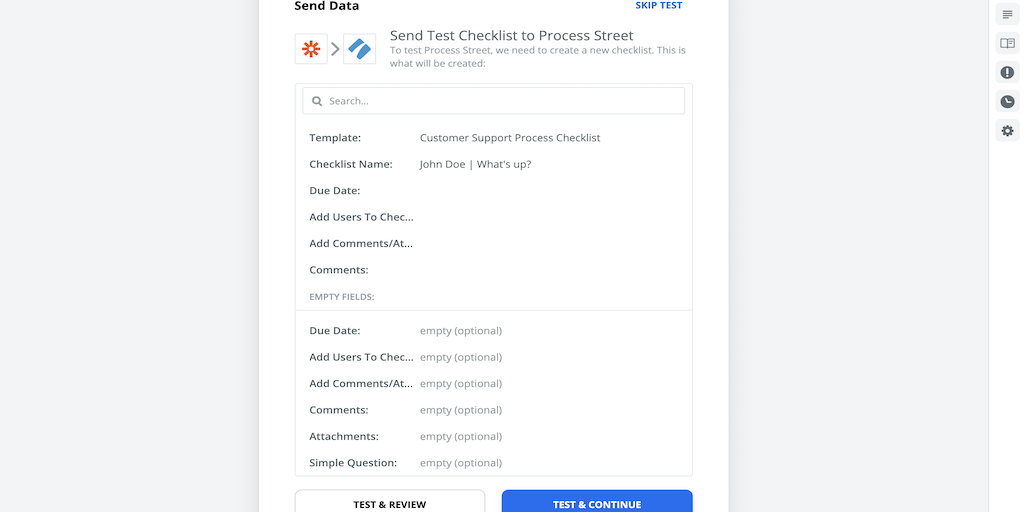
To make sure the workflow runs appear how you want them to, press the “Test & Continue” button. This will push a test workflow run straight through to Process Street.
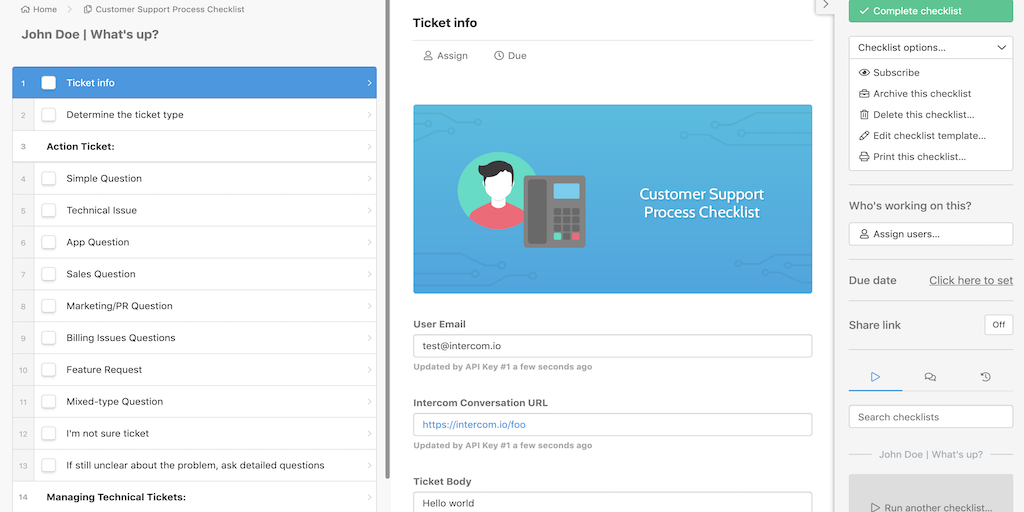
Go to your Process Street account and look for the workflow run in your Reports dashboard.
If you’ve followed the steps correctly, you’ll see the new workflow run with the title, subject, user email, Intercom link, and ticket body data all pulled through.
Now go back to Zapier and press the “Done Editing” button.
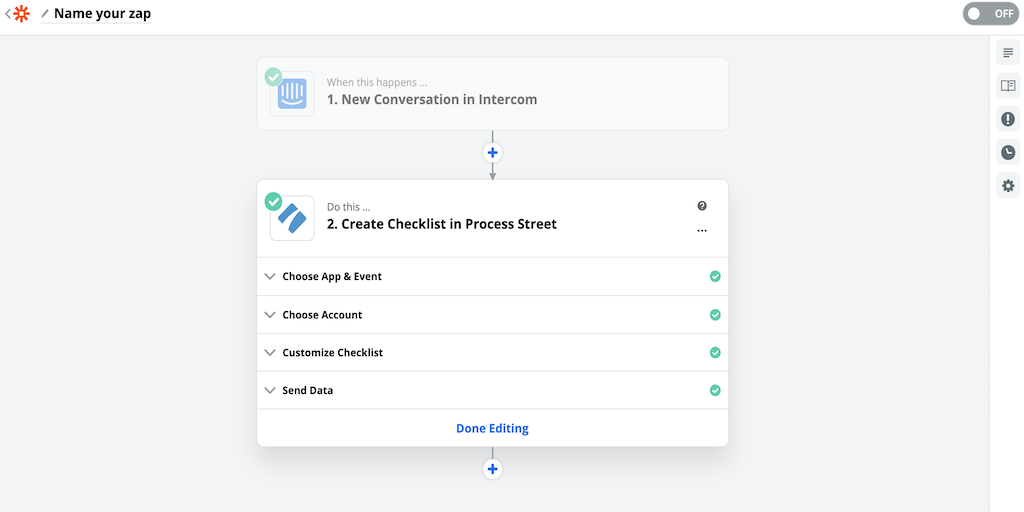
A pop-up will then appear, asking you to turn your Zap on. By turning it on, the Zap will generate a Process Street support ticket workflow run (with the appropriate data pulled in) each time a new conversation is started through Intercom.
Press “Turn Zap On”.
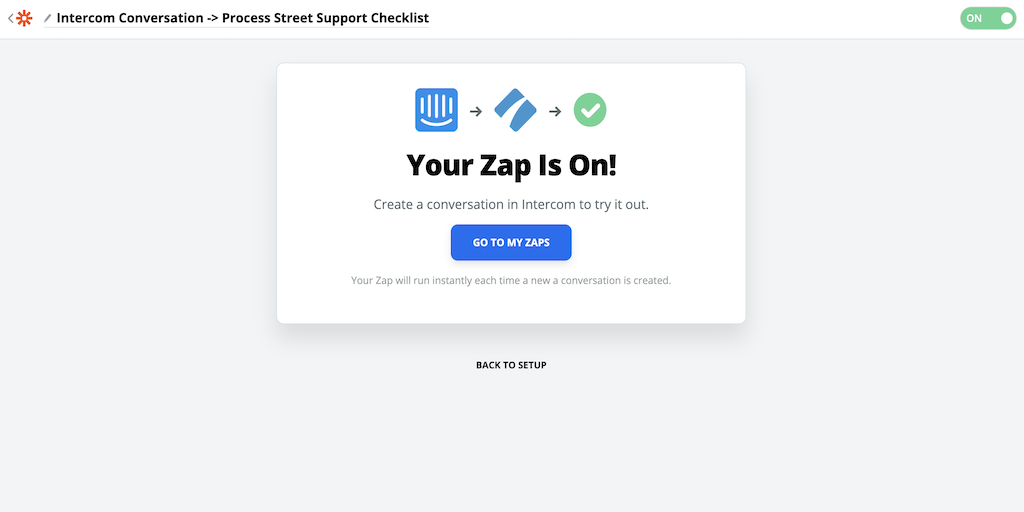
After that, the final step is to name the Zap.
I called it “Intercom Conversation -> Process Street Support Process”, but you can call it whatever memorable name you wish.