In this lesson we’re going to cover:
Estimated time for this lesson ~ 10 minutes
This lesson is part of our onboarding program. Find out more about what you’ll learn from the program when you’re getting started.
The steps below outline how to create a workflow from scratch, but there’s a quicker way! Discover how Cora AI can create your first workflow with just a few clicks.
When documenting your business systems, there are layers of detail that you will eventually include so that your operations are set up to run like clockwork. The easiest way to ensure your process gets off the ground from the get-go, though, is to simply outline the steps of your overall process.
Doing this first is the best way to build a solid foundation, not only for your first documented process, but for all the rest of your processes to come.
Outlining your process means you will document the big-picture sections and steps involved. Once you do this, you will be able to use your process immediately. Let’s do this!
Step-by-step
Tips and Tricks
It’s one thing to enter headings and tasks into Process Street (easy, isn’t it?!) but the real job at hand is strategically designing your process in a way that works for you and your team. We’ll walk you through best practices when it comes to laying out your process so that nothing slips between the cracks and it’s easy for your team to follow.
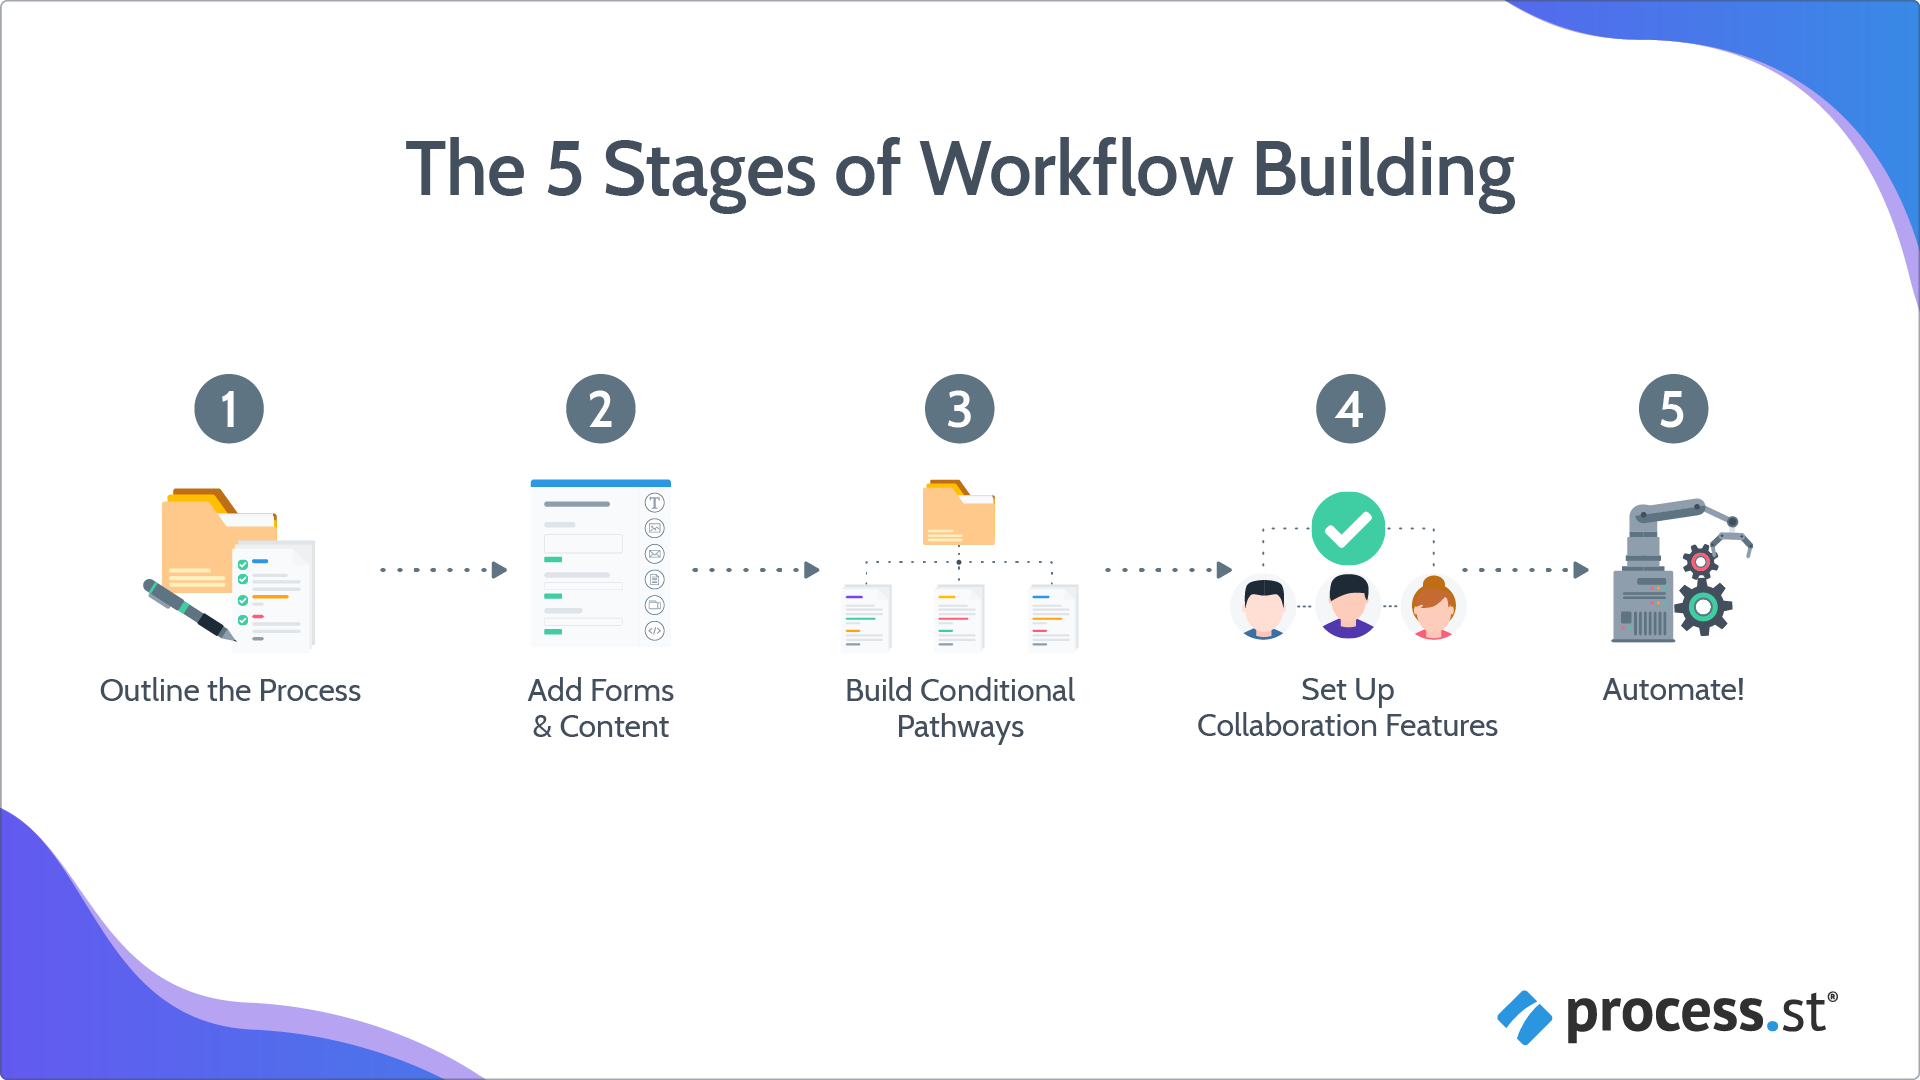
There are three phases of documentation that you will implement when building your process:
1. Add your headings
Headings show the birds-eye view of your process. Think big picture level. If you had to describe your process in under 10 seconds, you would naturally focus on the headings.
Headings might indicate stages of your process, such as Copywriting > Image Creation > Publishing > Promotion. Or, headings might indicate categories, like Client Info > Project Details > Implementation. If your process is relatively simple and straightforward you may not need to include headings at all.
What are the stages or categories of your process? Add headings to your workflow to indicate them now.
2. Add your tasks
Tasks are the actual steps that are involved in implementing your process. If you were making yourself a to-do list to make sure you didn’t skip anything important, you would naturally focus on tasks.
When writing your tasks, always start them with a verb. Keep them short, sweet, and focused on the specific action the reader should take.
For example in a Publishing process, the tasks might include: Format the article, add links, proofread, and post on the website. Or in a client onboarding process, the ‘Client Details’ section might include tasks such as collect contact info, conduct background research, and record sales call notes.
What are all those steps involved in your process that you want to make sure don’t slip between the cracks? Add tasks to your workflow to document them now.
3. Save room for details:
We’re down to the nitty-gritty with the details! You’ll use content widgets and form fields to add as much detail as you want to each of the tasks in your process, but don’t do that yet!
In fact, based on the approach of our most successful customers, we strongly recommend that you do not add the details right now. Instead, you can start utilizing workflow runs straight out of the gate with the simple process outline you just built. Let’s do that!
So that you know what to expect when it comes time though, adding details is your how-to stage. If you were to sit down and train somebody on each task in your process, showing them where to click and what information to collect, you would naturally focus on the details.
For instance, the details for ‘Contact info’ that you want to collect might include first name, last name, phone number, email, address, and website. The details for ‘Format the article’ might include instructions for exactly how to add header tags, style guidelines such as when to use bold and italics, and when to add line breaks.
For now though, it’s time to outline your process.
Here are some common challenges people face when outlining their processes, along with our best advice for getting back in action.
The temptation to go content crazy
We get it, it’s exciting and super-powered workflow runs are awesome! It can be tempting to plow ahead and start filling out all the details of your process right away, however, we’ve seen time and again, the most effective approach is to start with a lean process first.
This is the best way to get your feet wet and put your process to the test so if you can stand it, sit on your hands for a little longer. Start running your workflows with what you’ve got (done is better than perfect!) and soon you can beef up your process to your heart’s content.
What’s the difference between a heading and a task anyway?
Great question. We just discussed that headings are used to specify overall sections of your process, such as stages or categories, while tasks are used to specify the actual steps involved.
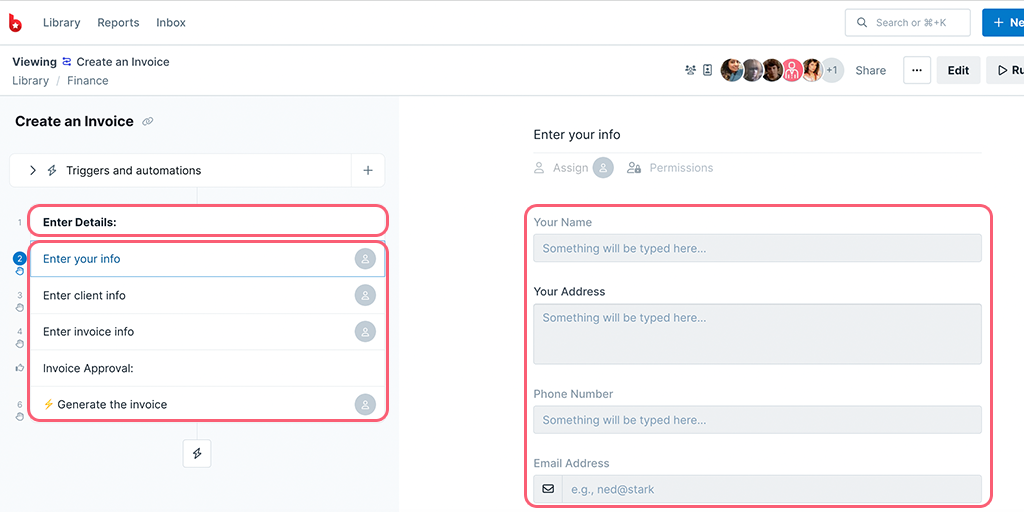
When it comes to workflow run functionality in Process Street, a task is designed to be checked off when completed, whereas a heading is meant strictly for organizational or information purposes only and cannot be checked off. Visually, a heading appears in bold text and is followed by a colon ‘:‘ while a task appears in regular plain text.
Once you’ve outlined your process, two magical things happen:
You have built a simple process that you can start using immediately
That’s right, there’s no need to wait, you can start using your workflow run now. Think about it, you’ve likely already been implementing this process anyway without a workflow run. Now you have a reference to make sure nothing slips between the cracks and you can track what’s happened every step of the way. And…
You’ve got a solid foundation to build out the details as you go
The best way to take your process for a test run is to start running it. You’ll see quickly where you might want to make adjustments and, the more you use it, the easier it will be to continually add detail with form fields to capture data and content to deliver instructions.
One of our most prolific users, LA Creative really focused on getting the basics right first when they were starting creating their workflows. They recommend from experience, that you start small and build up your processes over time:
![]()
“Get the basics down first, open a new blank workflow and list out the steps before you build out the content”
What’s the ONE action you can take NOW to set yourself up for success in your business systemization journey?
Set aside time to outline your process
That may sound obvious, but the old adage is true: what gets scheduled gets done. If you’re ready to go for it now, dive right in! Otherwise, book a date with yourself on your calendar specifically to outline your process. We recommend just 5-20 minutes to get it done.
Next lesson – Building Content >
< Previous Lesson (Start a workflow)
< Back to the Getting Started home page
Help us improve this help center.


