You can run workflows from email, with our simple-to-use integration.
In fact, it’s so simple to use, that you don’t need your IT team to help set it up and there’s no coding involved!
Users: To enable or disable running workflows via email, you must be an Administrator or a Builder who has been given ‘edit’ access by your Admin.
Your onboarding specialist receives an email that a candidate has accepted their offer, via DocuSign. On receipt of the email, they forward it to an email address that runs the onboarding workflow and pre-fills data from the email into the workflow run. The attached contract is also uploaded to the workflow run.
In this article we’ll cover:
First up, you’ll need to choose the workflow you’d like to run automatically.
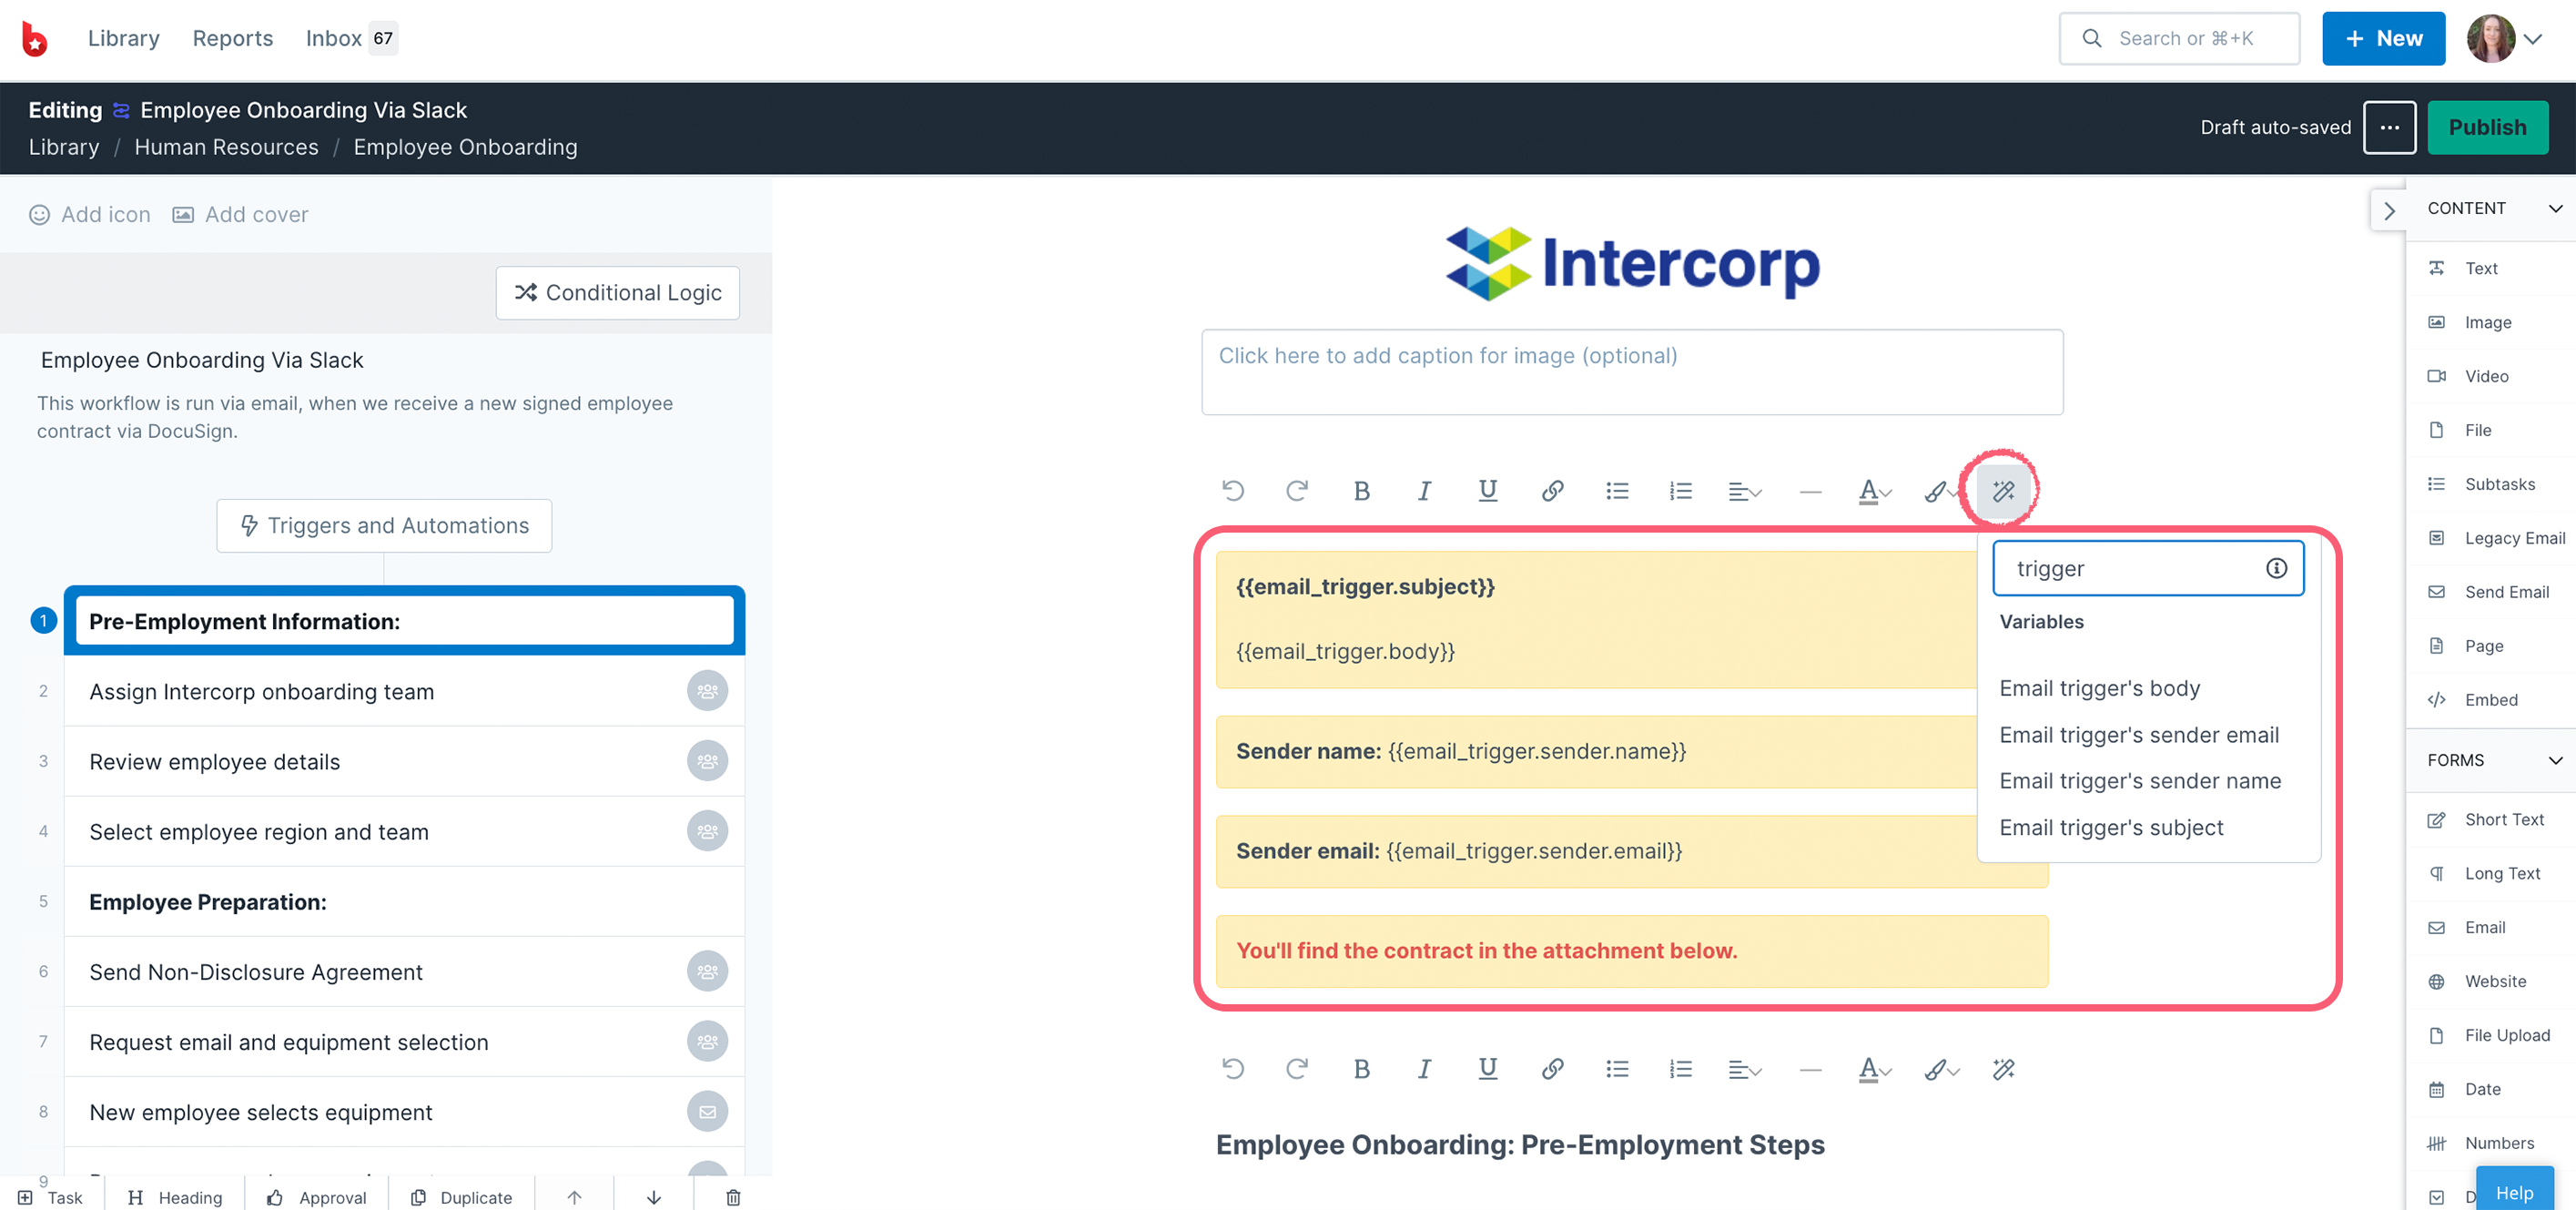
There are trigger variables you can use, to pass data from your email into the workflow run when it’s created.
Edit your workflow and add a text content widget. In the example below, we’re using all the triggers to show information in the header of the workflow run.
In the first task, we’ve added a variable to show the name of the person who forwarded the email, in this case, the onboarding lead.
You can also use the email trigger’s cc email addresses – {{email_trigger.cc}
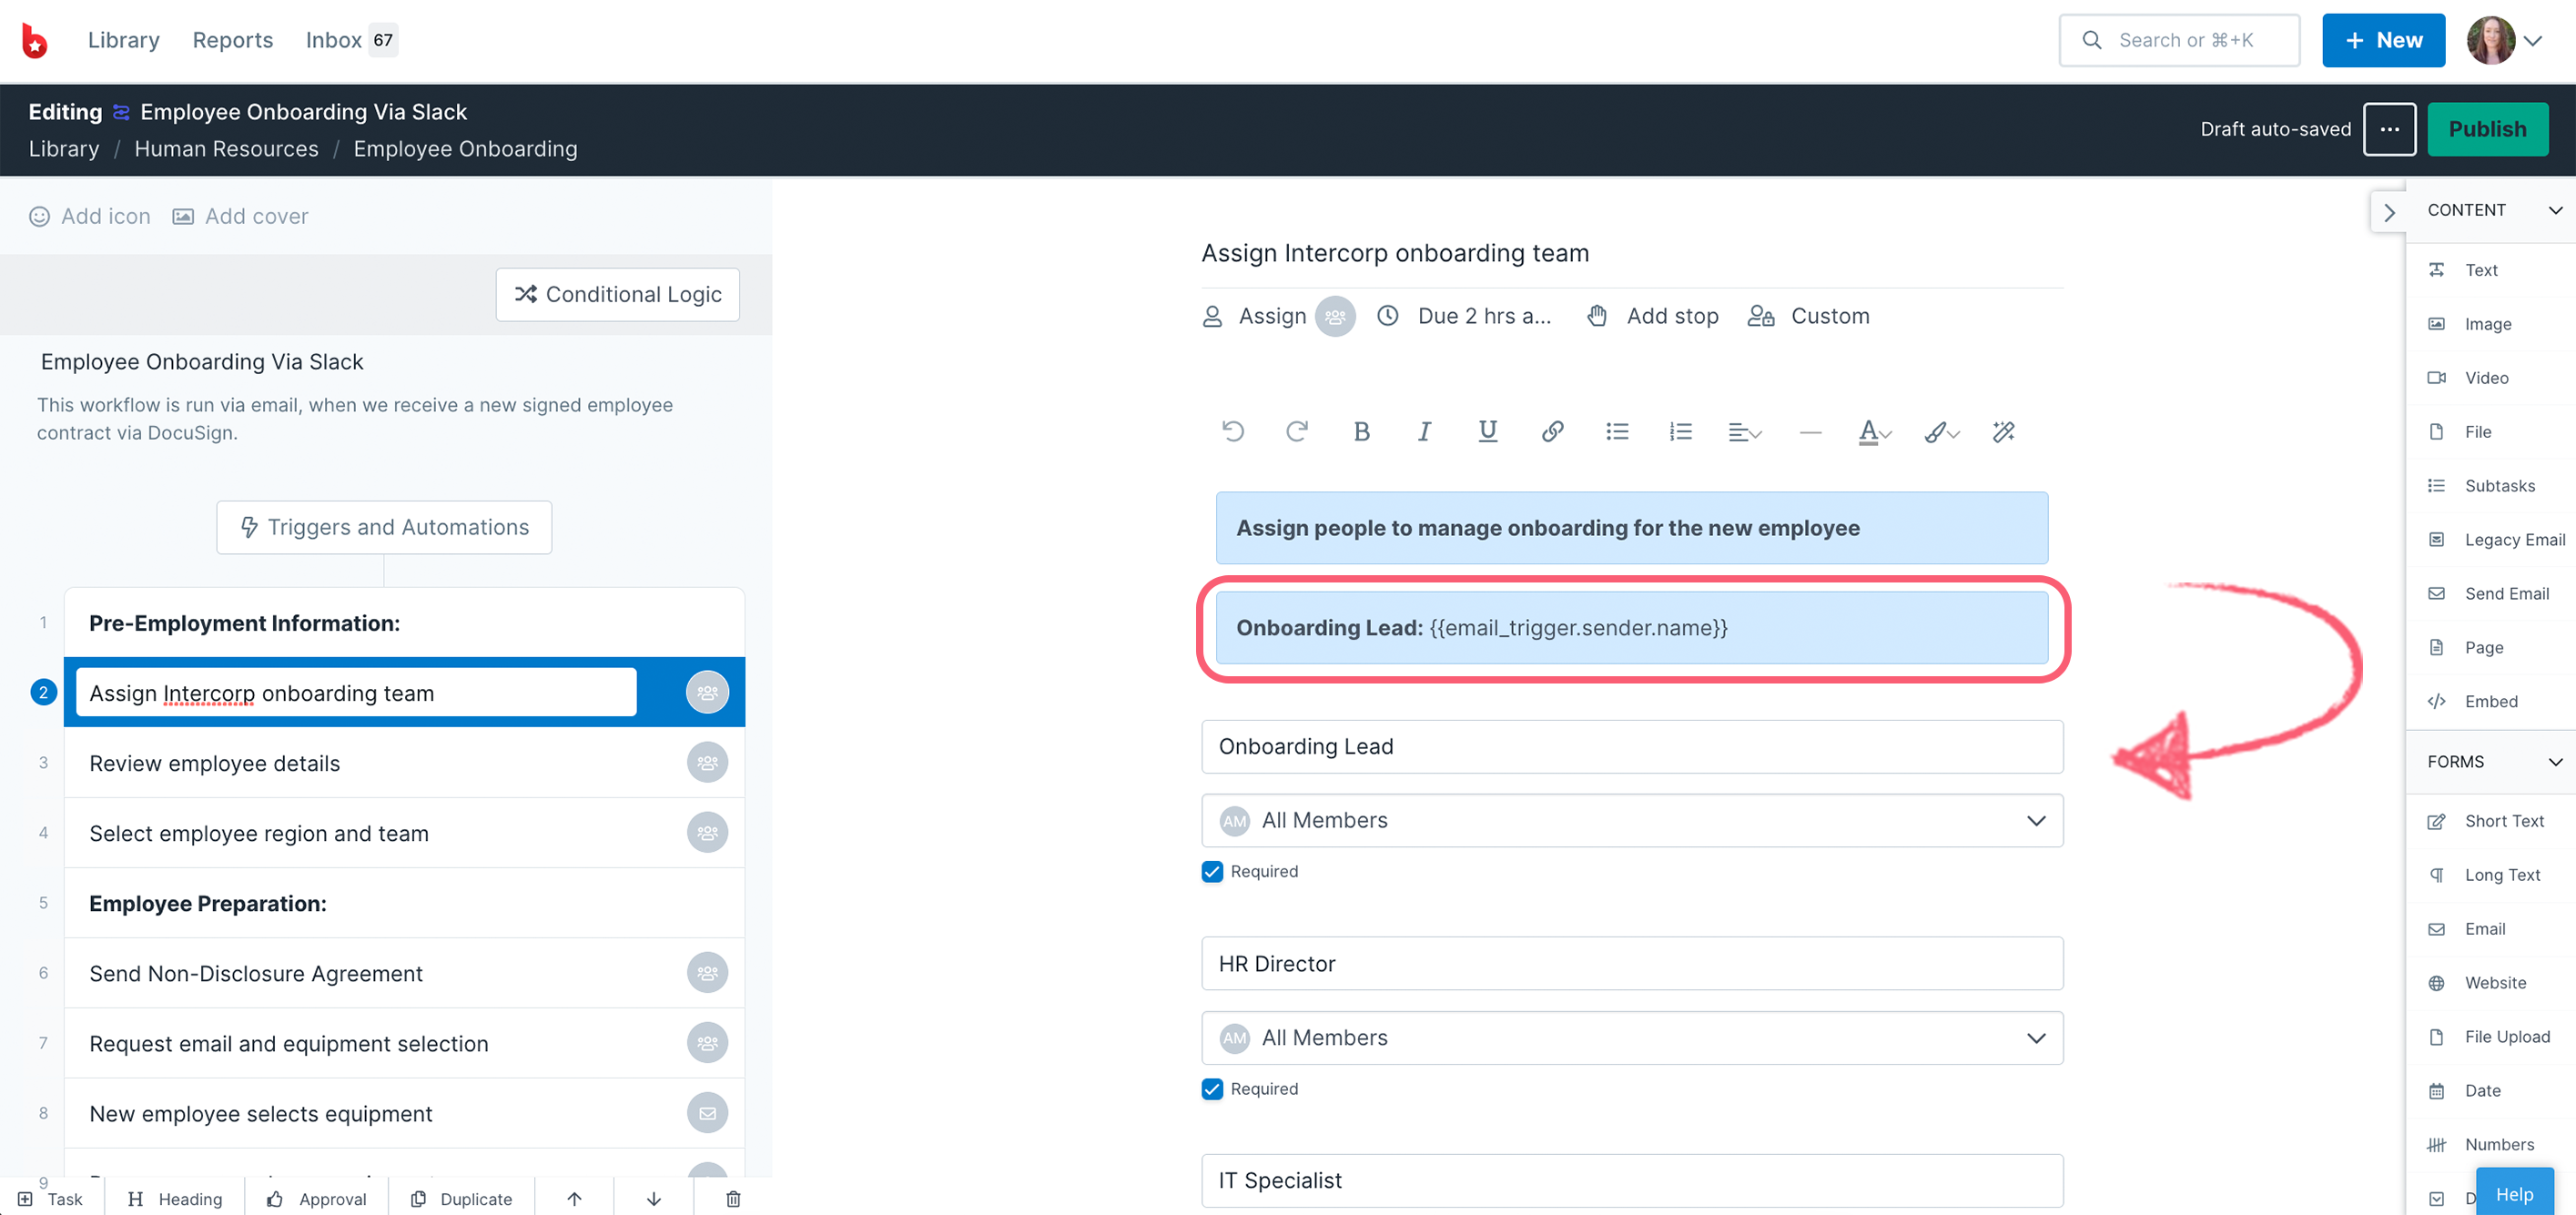
When the workflow run is active, this lets the person working on it know who to assign as the onboarding lead. They can type the name of the person into the Onboarding Lead field.
Using a role assignment with the user form field will assign and notify that person once they have been selected in the user field.
When you’re done editing, publish your workflow.
Start by viewing a workflow that you’d like to run when you receive a certain email.
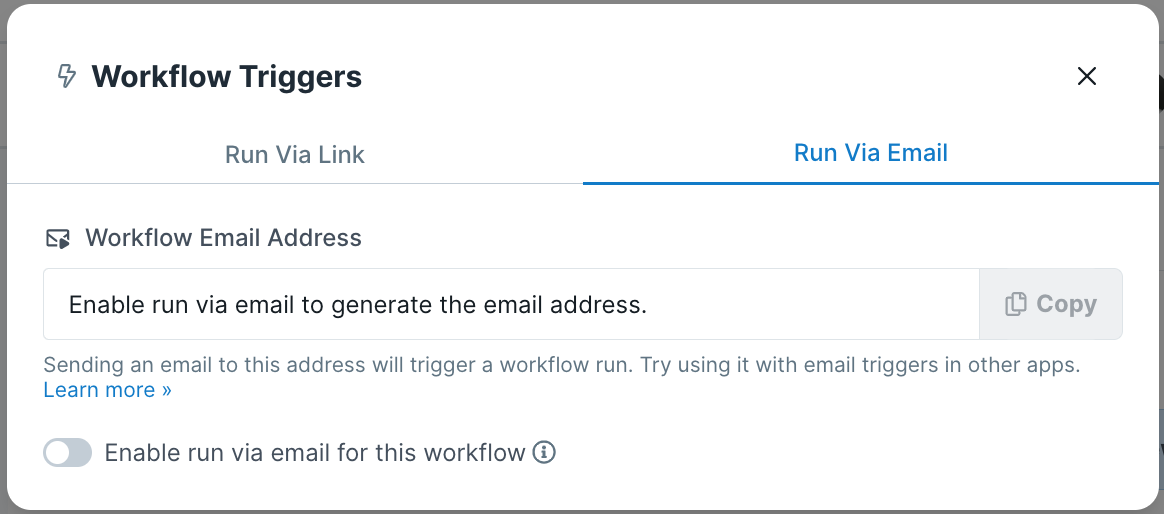
Click the Triggers & Automations area at the top of your task list and select email, shown below.
When the modal opens, turn on the Enable run toggle switch to on and copy the workflow email address.
Now you’re ready to send a test email.
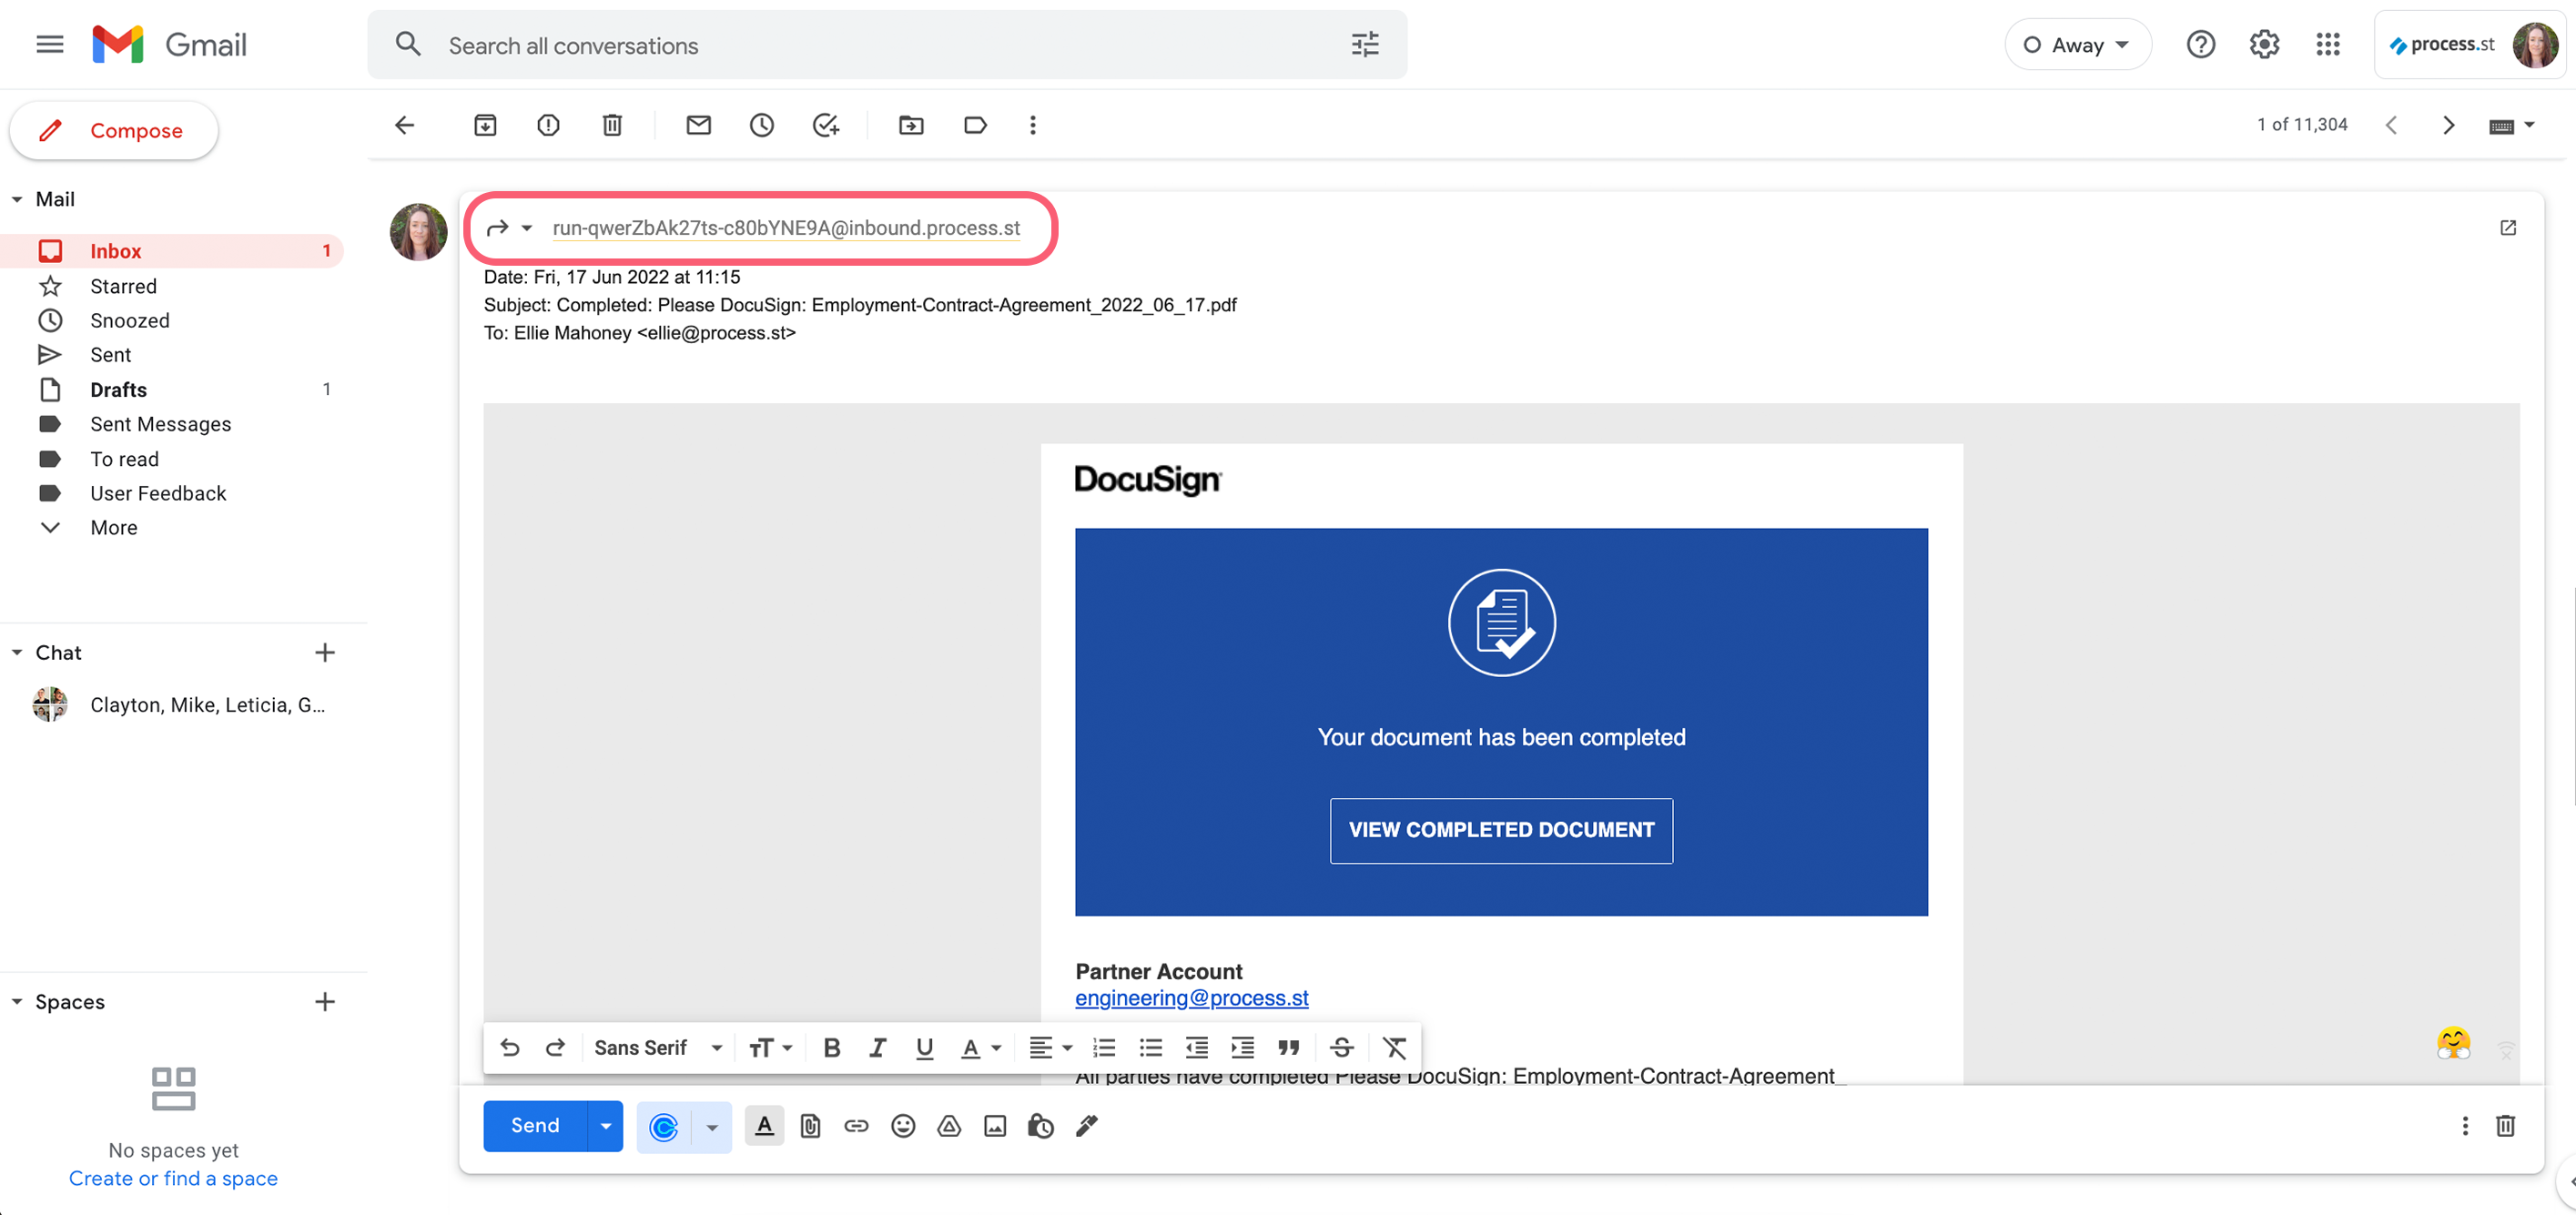
In this example, we’re forwarding an email from DocuSign that we received when a candidate signed their contract.
Search for the email you’d like to use to run your workflow. Click to forward the email and add your workflow email into the To field.
When the email is sent, the subject of the email, the body of the email, the sender name and their email address, will appear in the variable fields you added in the workflow run.
In our email, we’ve deleted parts of the email body before sending it. This is how it appears in our workflow run.
The workflow run name is automatically generated for you, so you can either change it manually, or set up an automation to do this for you (more on this below).
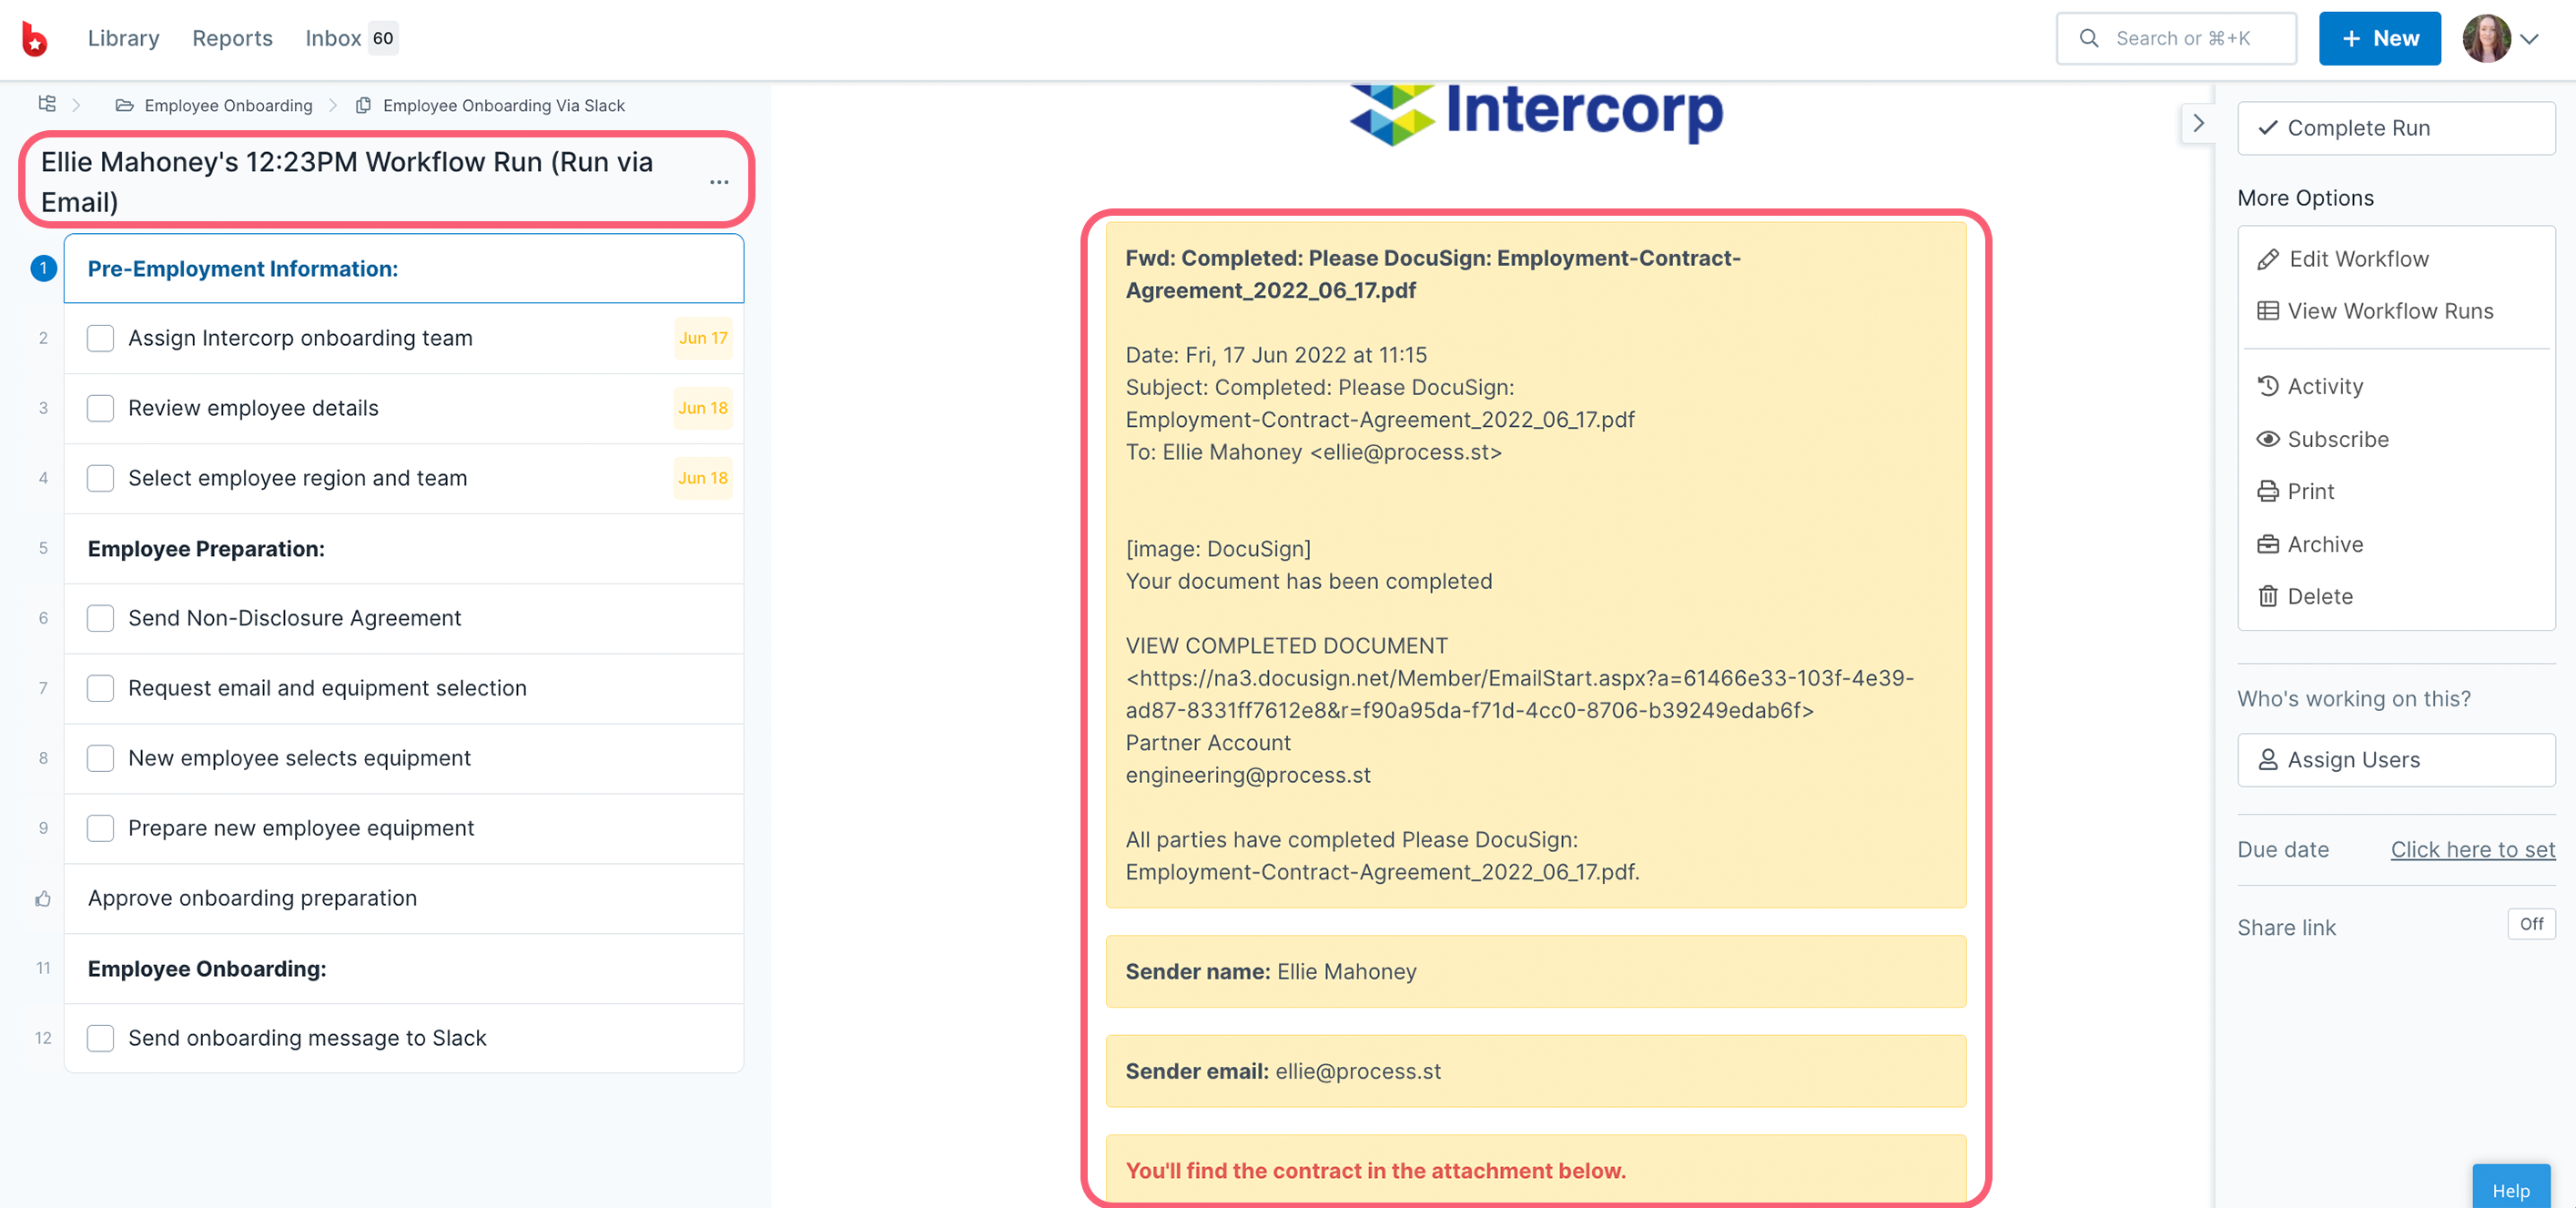
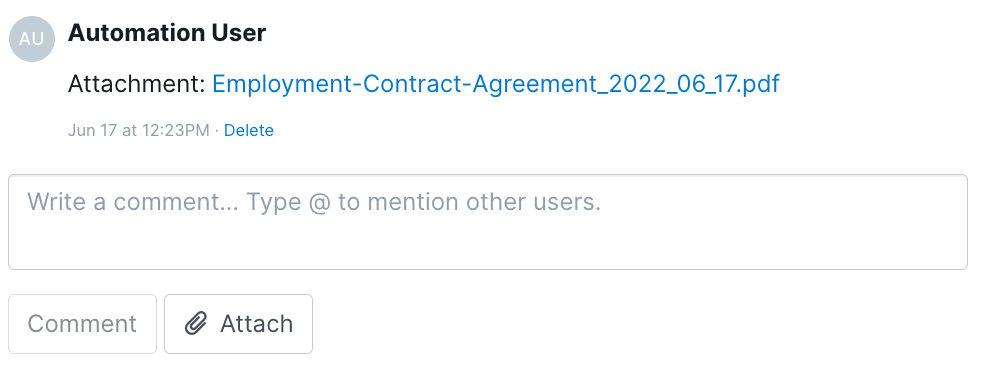
The contract (which was an attachment in our email) will be attached to the comments on the first task. Click to download it.
You can find details of the workflow being run and the file attached in your workflow run activity log as well as your organization activity logs.
You can set up an automation or email filter to search for emails containing a certain phrase, or for emails being sent from a particular email address.
Once the email arrives in your inbox, the automation will automatically forward it to run your workflow.
Since your workflow run name is generated automatically when run via email, it’s likely you’ll want to rename it.
You can add steps in a Power Automate flow or in a zap in Zapier, to update your workflow run and change its name.
If you’d like to disable this automation at any time, you can toggle the email trigger to the off position, to prevent it from running.
If you have any questions about using this feature, please reach out to our Support team.
Help us improve this help center.


