






Introducing Form Fields
Form automation is the use of form fields and integrations to collect structured data inside a process and pass it into the systems that use it. This is automation turning your checklists into databases.
It’s been a long time coming but we are beyond excited to announce that you can now add form fields to your process checklists in Process Street.
Form fields allow you to collect and store important data within set fields in your checklists.
For example, if you were running a client onboarding checklist, you could set up form fields to record the client’s name, email address, contact number and CRM ID. Better still, all of these can be recorded automatically by using our API or by integrating your apps with Zapier.
This could all be a little much to take in, so let’s start with the basics and then move on to some examples of how you can use them in your existing processes. If you want to know how to automate your processes with the information you can now store in your checklists, read on.
What Are Form Fields?
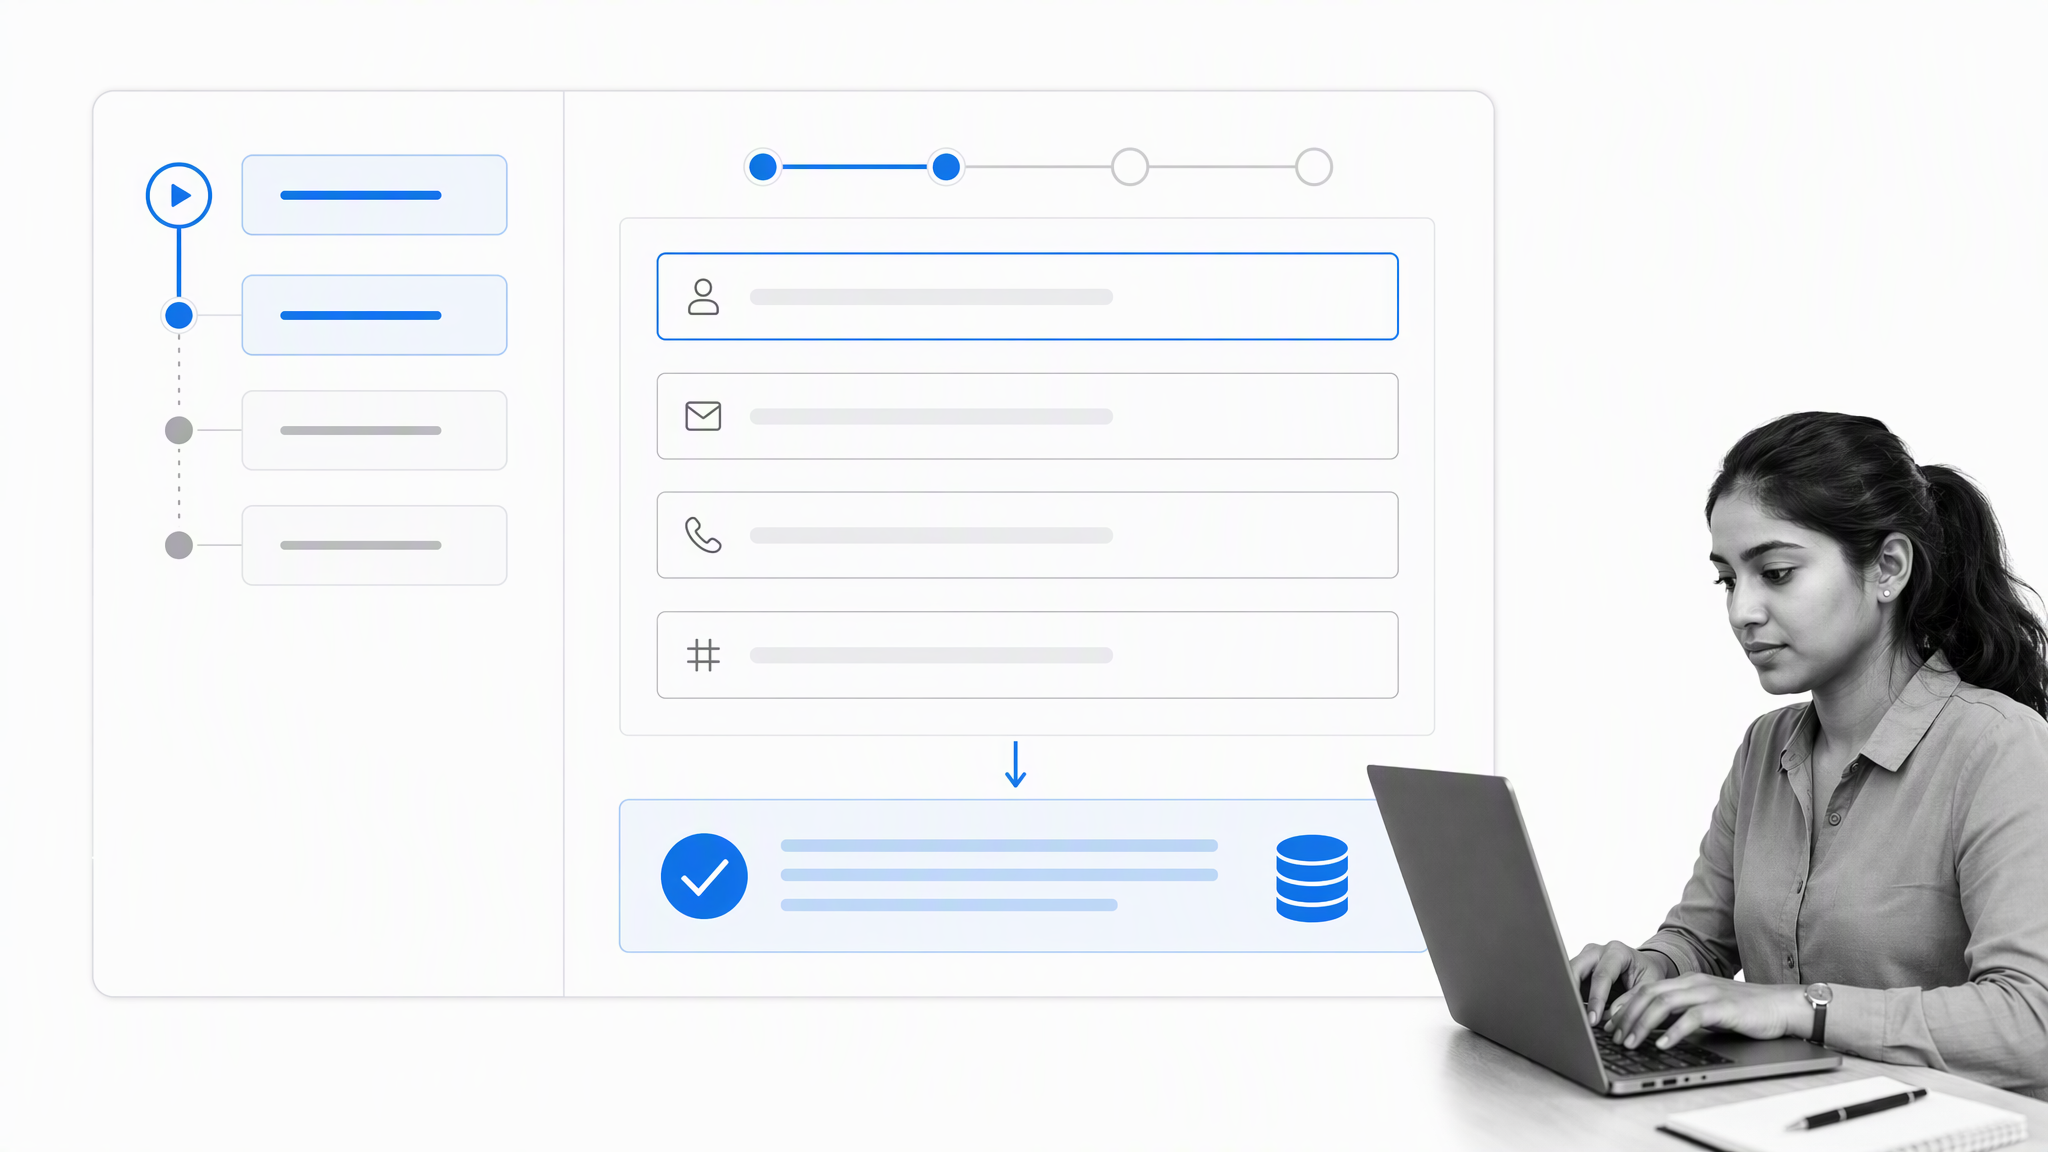
Form fields allow you to collect data as you are working through checklists, view and export that data plus pass it to other apps via Zapier or our API.
You could use form fields to collect things like the client name, email address or the type of package they purchased. Plus you can get much more complicated by auto-generating emails, blog posts, documents, contracts, invoices and so much more.
Forms can be filled in by team members while completing the process or auto-populated via an integration (for example a purchase on PayPal or a trigger from your CRM).
Check out the video below to see a detailed example of forms automation in action.
Types of Form Fields
Single Line Text
Kicking off our form automation update is the single line text field. As the old saying goes, big things come in small packages.
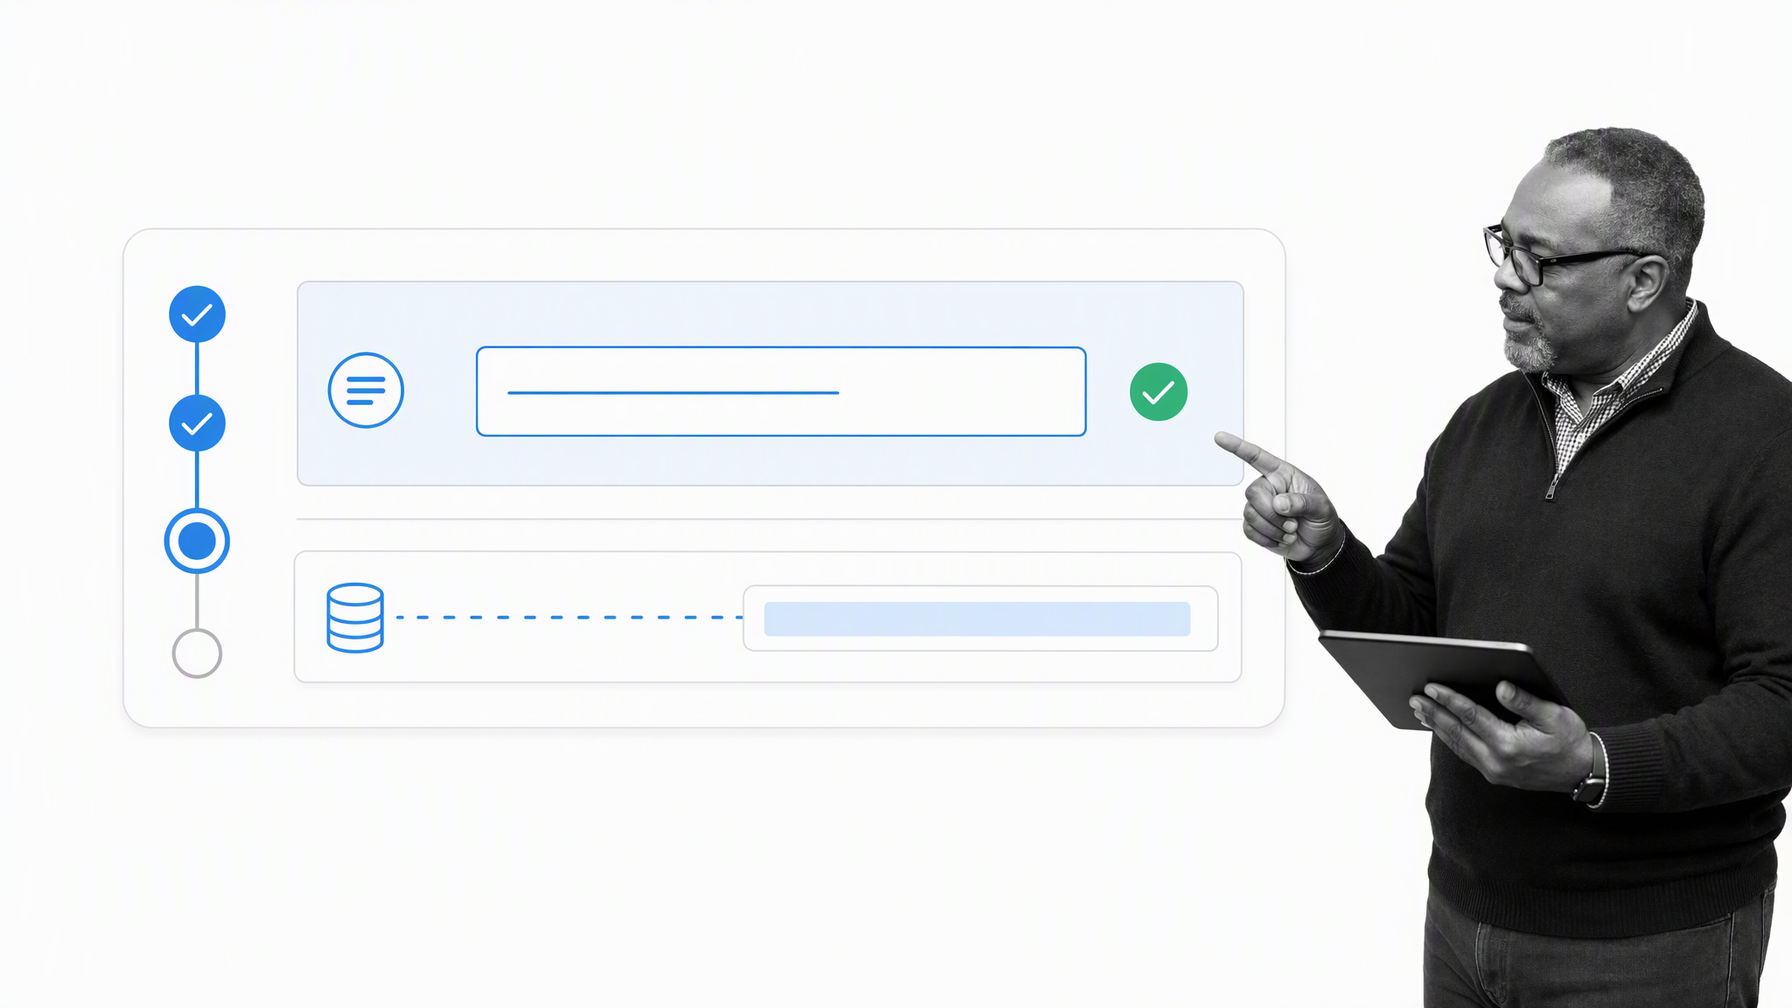
The single line field is suited for what it says on the tin; being filled with information which is guaranteed to not be more than a few words, such as a client’s email address or name. Don’t underestimate the power of these few words, as with a little creativity you can store almost any data you desire.
From brief titles for bug reports to names and emails of clients and employees alike, give the single line a chance to prove itself – you won’t regret it.
Paragraph Text
Who’d’ve thunk it? Paragraph form fields are perfect for text which won’t fit in the single line segments, such as additional client details or a house address.

To put it bluntly, if you love to be specific about as much as possible, or have a process which requires an in-depth description of a topic such as a bug report or order details, this will quickly become a house favorite.
File Attachment
This is one of my personal favorites; the file upload field. Yes, I know that makes me sound a little dull, but hear me out!
As you would imagine, this field can be used to record a copy of pretty much any file you desire. This means that you can record contracts (pre and post signature if you’re willing to scan them in), stock orders, invoices, photos, Excel sheets and more, all within the checklists you use to create or check these files!
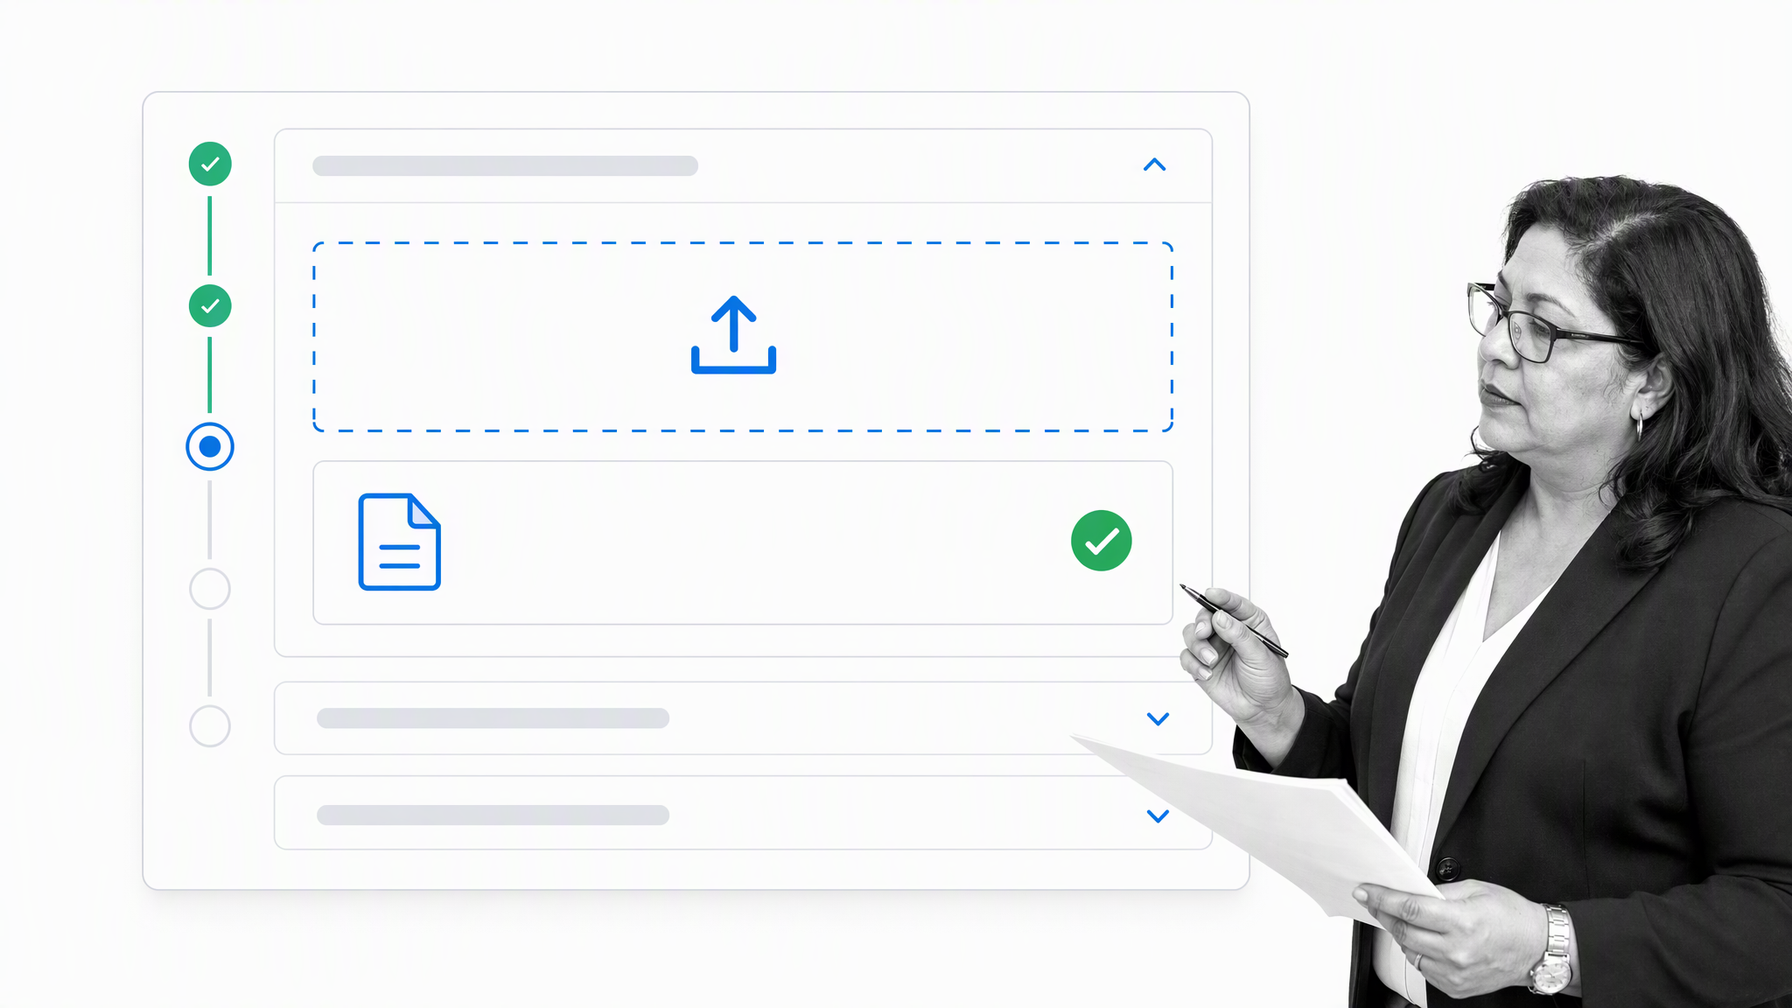
When using a mobile device, the file form field lets you attach photos and videos directly from your device, perfect for building or machine inspections.
You can also dump files in there via triggers from Google Drive, Dropbox or other cloud storage providers.
Date
Let’s say that you wanted to run a checklist regularly, or had a process which made it necessary to record the date of a particular event. Whilst before you could either name or comment on your checklists according to important dates, now all you need to do is insert a date form field in the appropriate task. By giving the date a title in your templates, you also give sufficient context to any date that will be filled out in later checklists.

For example, if you’ve ordered some stock, you could create a date field in the “Make the order” task to record the date and time that the order was placed. The same goes for when the stock arrives, when an important document is signed, the date of hire for an employee; in fact, if you can think of a situation where the date is relevant, you’re now covered within your checklist.
Dropdown
Everyone loves to have a choice, so we thought it would be a good idea (as some of you have requested) to introduce multiple choice into templates. Have you ever wanted to set a task which could be completed (or, at least, filled out) in a number of different ways? Well, dropdown form fields allow you to do just that. Just select a label for the dropdown and fill in the options which will be available in them during a checklist, and away you go.
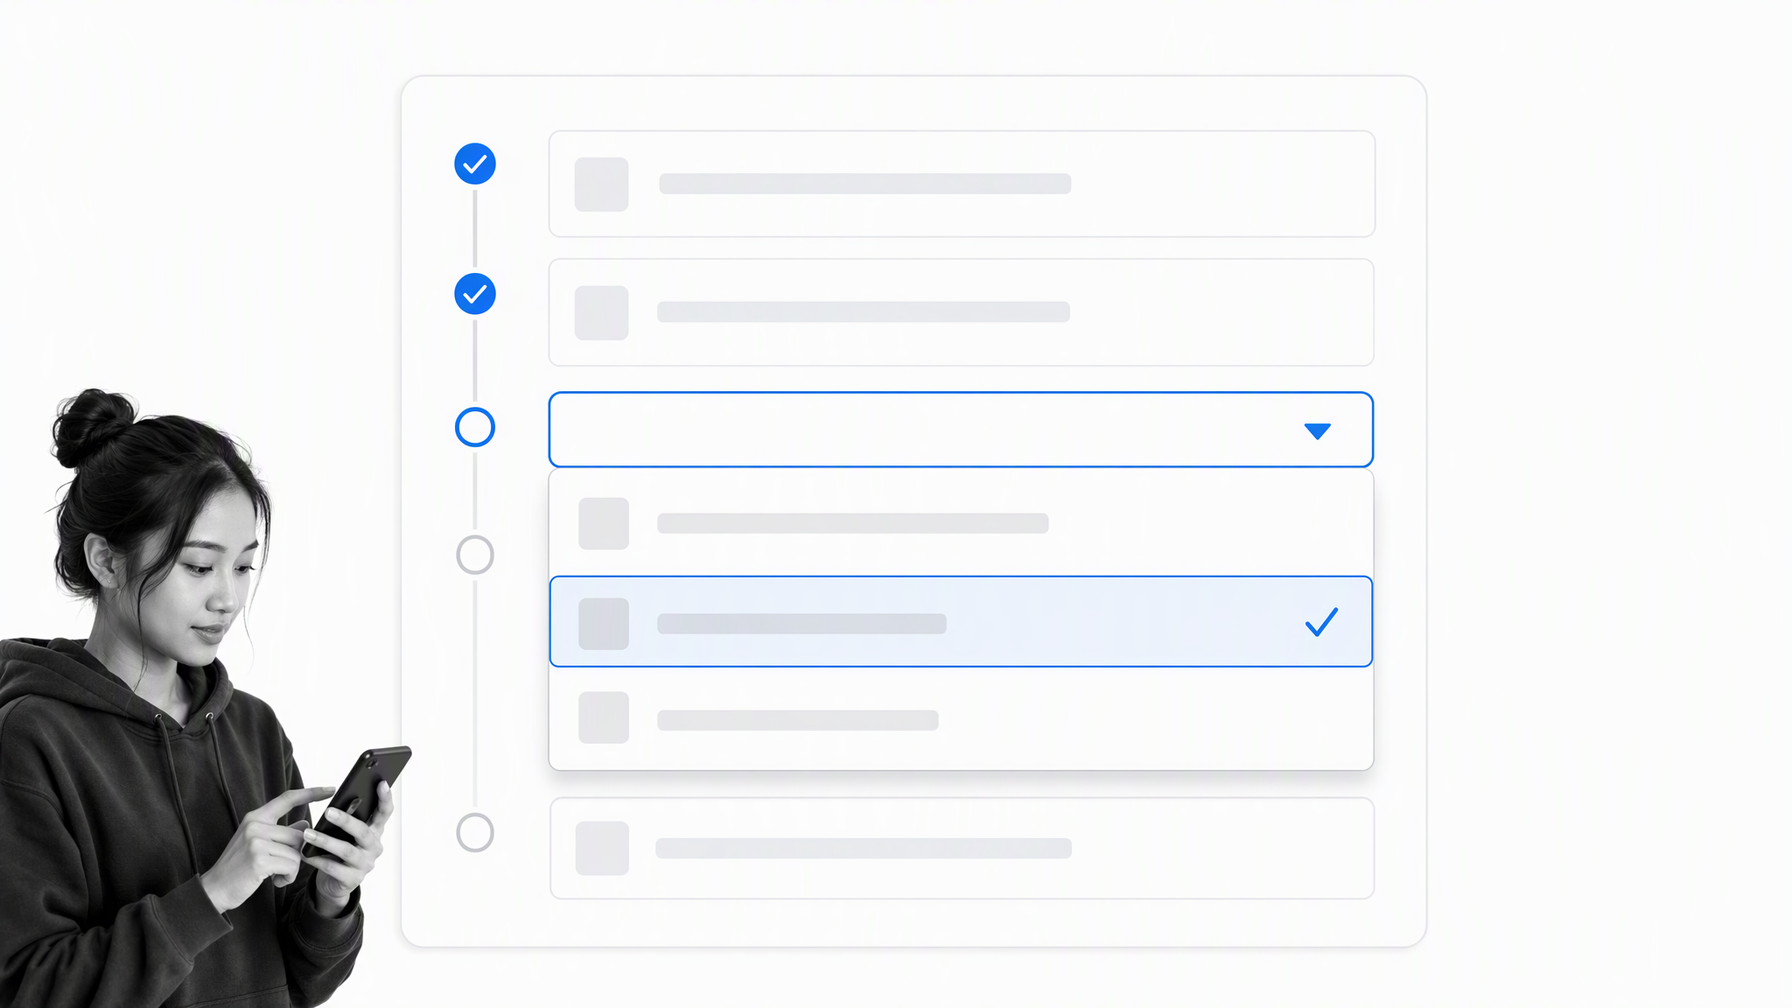
For example, you could label the dropdown with “Order Status” and fill in the selectable options with states such as “Order placed”, “Dispatched”, “Received”. Alternatively, you could record the progress of a project or employee, the happiness of a client or the priority of any issue you desire.
Multi-Select (Sub-Checklists)
While not technically a form field, sub-checklists can be used in the same way as a multi-select field, and can also be used to trigger events in Zapier or the API. This can be useful for approval steps or creating conditional logic (you can use Zapier to launch other checklists in PS based on the selected sub-checklist).

Hidden
The hidden form field could, perhaps, be a little trickier to understand, but that doesn’t mean you should leave it to gather dust. The first thing to understand is that the hidden field does not behave in the same way as the other fields.
This field is not actually manually editable; as in, you cannot fill it in by hand when running a checklist. Instead, you must integrate this field with another app to automatically shift over the relevant information (ideally, a piece of information that will never change).

Another aspect to keep in mind is that this field will not be visible outside of the edit template view. This field is designed purely to aid you in recording information which can be used to integrate your checklists and form fields with other apps.
Due to the fact that emails are sometimes best entered by hand, the hidden field is instead more suited to record such details as a customer’s ID in your CRM, or (if you’re careful with your integration) an order number. Essentially, anything that can serve as a unique identifier is perfect to be shipped straight over into your hidden fields.
How To Use Forms In Templates
Combined, these form fields extend the usability of templates and checklists a hundred fold. Rather than having to record important details in the comments of your checklists and potentially lose track of data, every single piece of useful data can be permanently stored to give full context and documentation to each instance of your workflows. Not only that, but upon revisiting a checklist for either later completion or information checks, you can find everything in one place rather than having to open every other app under the sun.
Need to see the documentation for an instance of sub-par customer support? You can locate the precise conversation, customer, their ID, what was said and any attachments sent all within that single run of your support checklist. Now, isn’t that much easier?
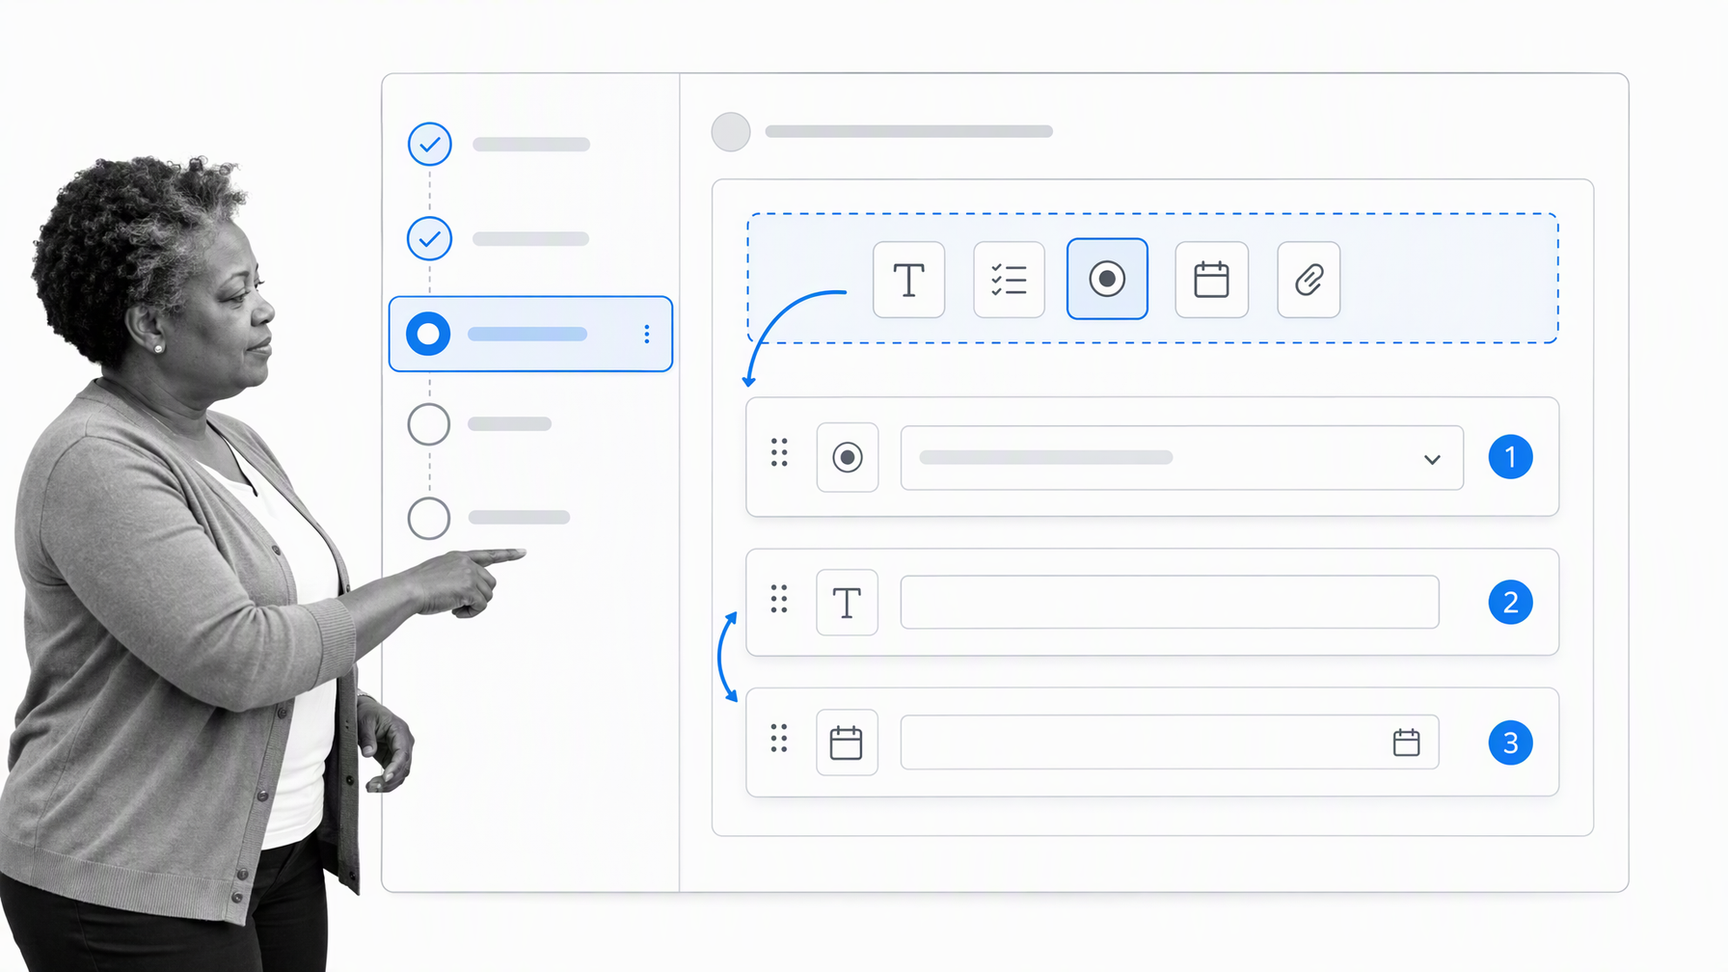
To insert a form field into a template, go into the editing view and click on the form field button, as shown below.
This will bring up a sub-menu where you can select which form field you wish to put into the template. Click on your choice to add it, then go ahead and fill it in.
One last thing to bear in mind when adding these form automation fields to templates is that you can re-order them within your tasks as you can any other widget, such as text or images. Either drag and drop them into their new position or use the arrows on the left-hand side of the widget to move them up and down one space at a time.
Form Automation with Zapier
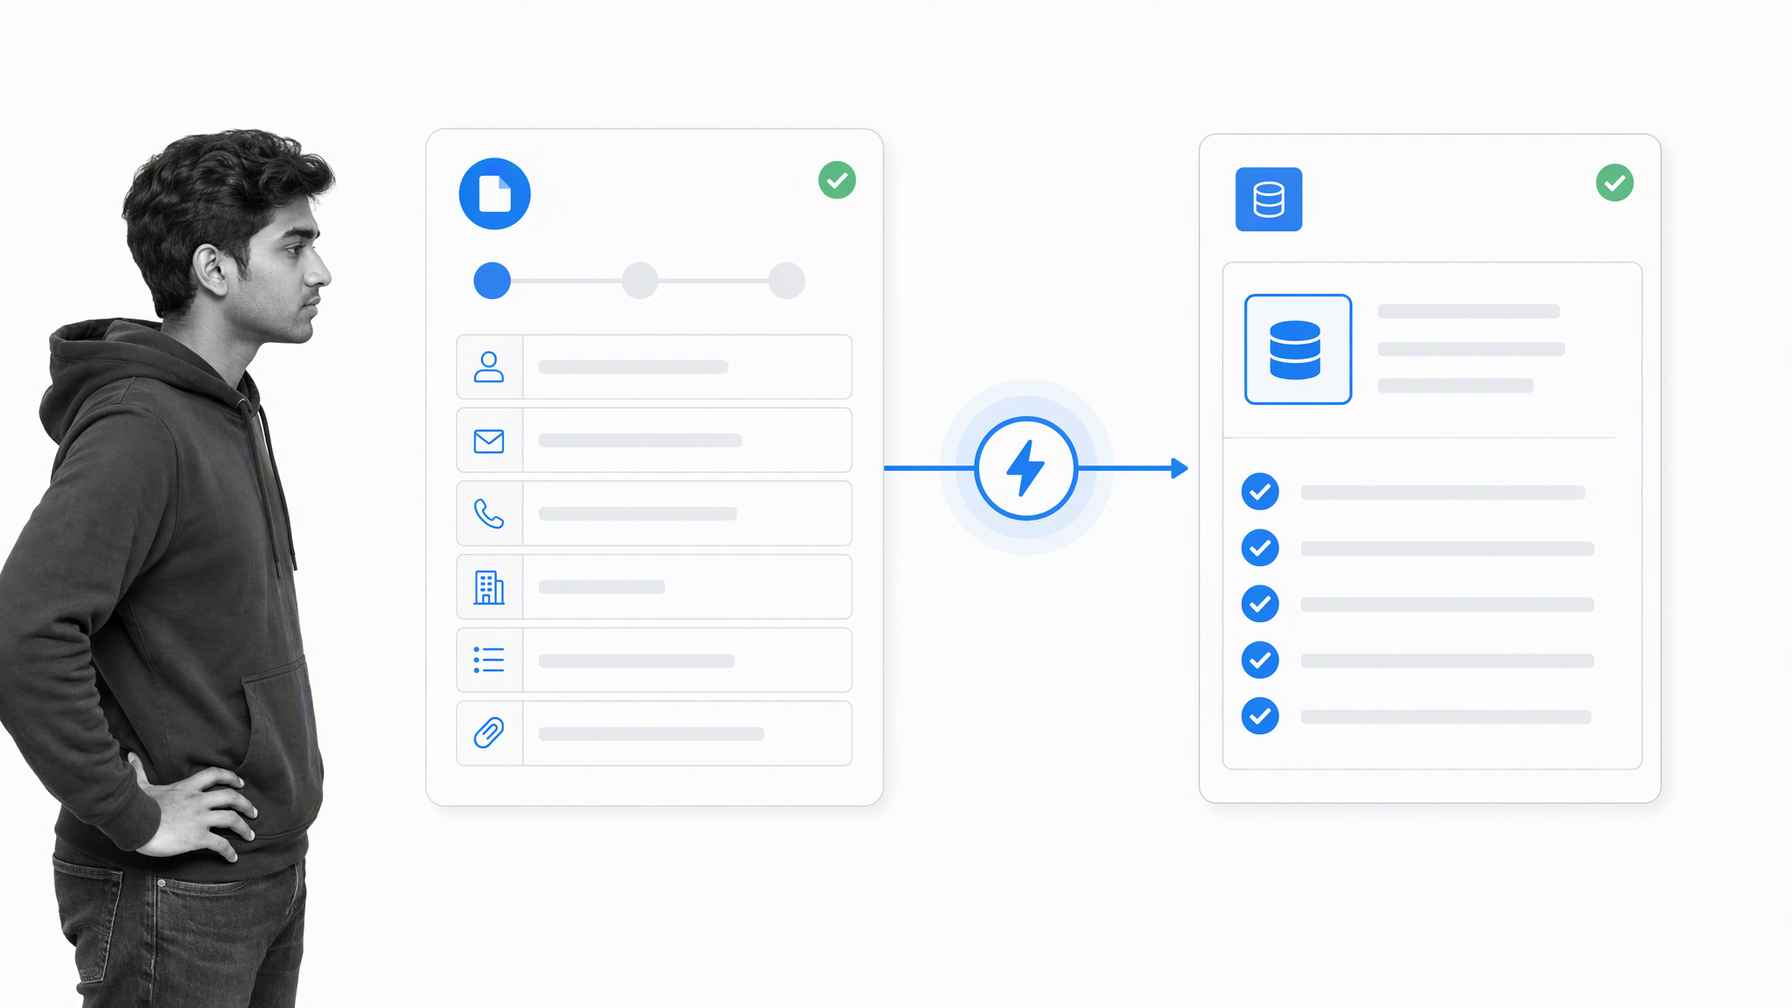
Here’s where forms get really exciting. Those of you who have been following us for a while should know by now that we pretty much love Zapier and process automation in general, but this takes it to a whole new level. Process Street events, such as completing a task or creating a checklist, could trigger a Zap, while the values stored in form fields could be mapped into the resulting actions.
This means that you can run a client onboarding checklist and, once a certain task is ticked as complete, automatically shift all of the data in the relevant form fields into a new customer entry in your CRM. Alternatively, you can detect a change in a lead’s status in your CRM and shift over all of their data into a checklist’s form fields, ready to send out to HelloSign, now Dropbox Sign, Mailchimp, or any other app you should so desire!
Accessing the Data from your Forms
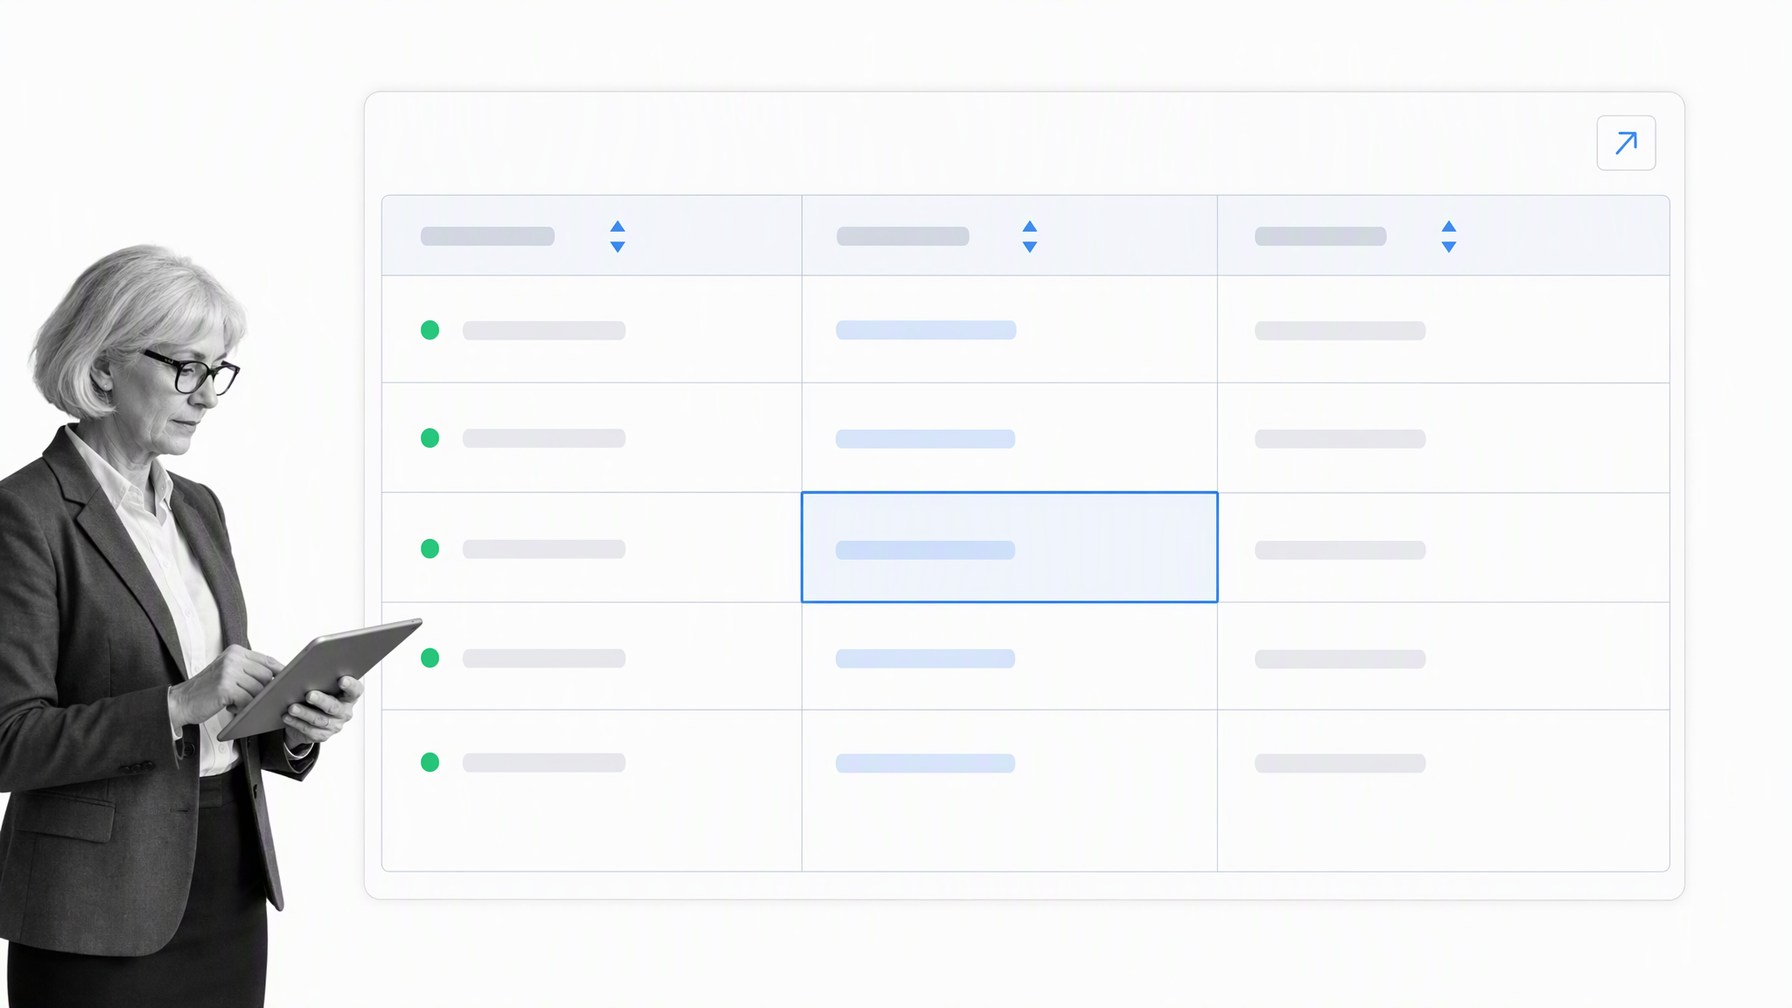
At launch, users could view form data in checklists and pass it to other apps. Process Street later added CSV export and a sortable table view for workflow-run data.
Getting started with form automation
For current setup instructions, see the form fields guide and the Zapier integration guide. For a broader view of connecting workflows with other systems, read the process integration guide.
You can also explore the business process automation guide, business process automation examples, and workflow automation guide.
Form automation FAQ
Form automation definition
Form automation collects structured information inside a repeatable process and passes that information into the tasks, records, and connected systems that need it.
Form fields in the original launch
The announcement covered single-line text, paragraph text, file attachments, dates, dropdowns, multi-select behavior through sub-checklists, and hidden fields.
Current Process Street form instructions
The current form fields documentation covers today’s field types, setup steps, and automation options.