Dynamic due dates allow you to affect a task’s due date based on varying factors unique to each of your workflow runs.
Set deadlines for tasks based on when other tasks are completed, the date the workflow was run, or from any date form fields in your workflows.
This lets you link deadlines and tasks together in a really powerful way.
You can also set dynamic due dates to be weekdays only, avoiding overdue tasks over the weekends. This automatically pushes the due date to the next business day following the date you originally set.
Users: To add or edit dynamic due dates, you must be an Administrator or a Builder who has been given ‘edit’ access by your Administrator.
You can set dynamic due dates based on these five different triggers:
These rules automatically adjust the due date of tasks as various actions are completed or details are filled out.
The trigger selector groups options into three categories: Popular shortcuts (such as the previous task and workflow run dates), Date fields (all date form fields in the workflow), and Task checked (a list of every task before the current one, so you can pick a specific task).
You can set dynamic due dates to trigger before one of these items:
You can also set dynamic due dates to trigger after one of these items:
First, select the workflow you wish to edit and click Edit in the top right corner to open the workflow editor.
Next, select the task you want to add a dynamic due date to, then click “Due” in the center panel. This opens up the dynamic due date control modal where you can set the rules for your due date. If you’d like to have due dates on business days, check that box (as shown below).

In this example, we’ve selected the due date to be set 1 day after the previous task is checked off.
Once you’ve set your dynamic due date, click “Save” to finish and then save changes to your workflow to finalize these changes.
Note: If you use a date form field with no time selected in your workflow run, the default time for the date field will be 8am PT. You will need to calculate your before/after rules for Dynamic Due Dates based on this time zone.
You can multi-select tasks to enable you to add dynamic due dates to more than one task at a time.
Multi-select consecutive tasks – Hold down the ‘Shift‘ key (Windows & MacOS) and use your mouse to click on a task at the beginning and end of your task list, and all those tasks will become highlighted.
Multi-select separate individual tasks – Use the ‘CTRL‘ Key (CMD in MacOS) to individually select multiple tasks at a time. Hold down the ‘CTRL’ key (CMD in MacOS) and use your mouse to click all the tasks you want to select (or un-select).

Choose your required dynamic due date settings and click “Save“.
Click “Clear selection” to return to normal view and then “Publish” your workflow to finish.
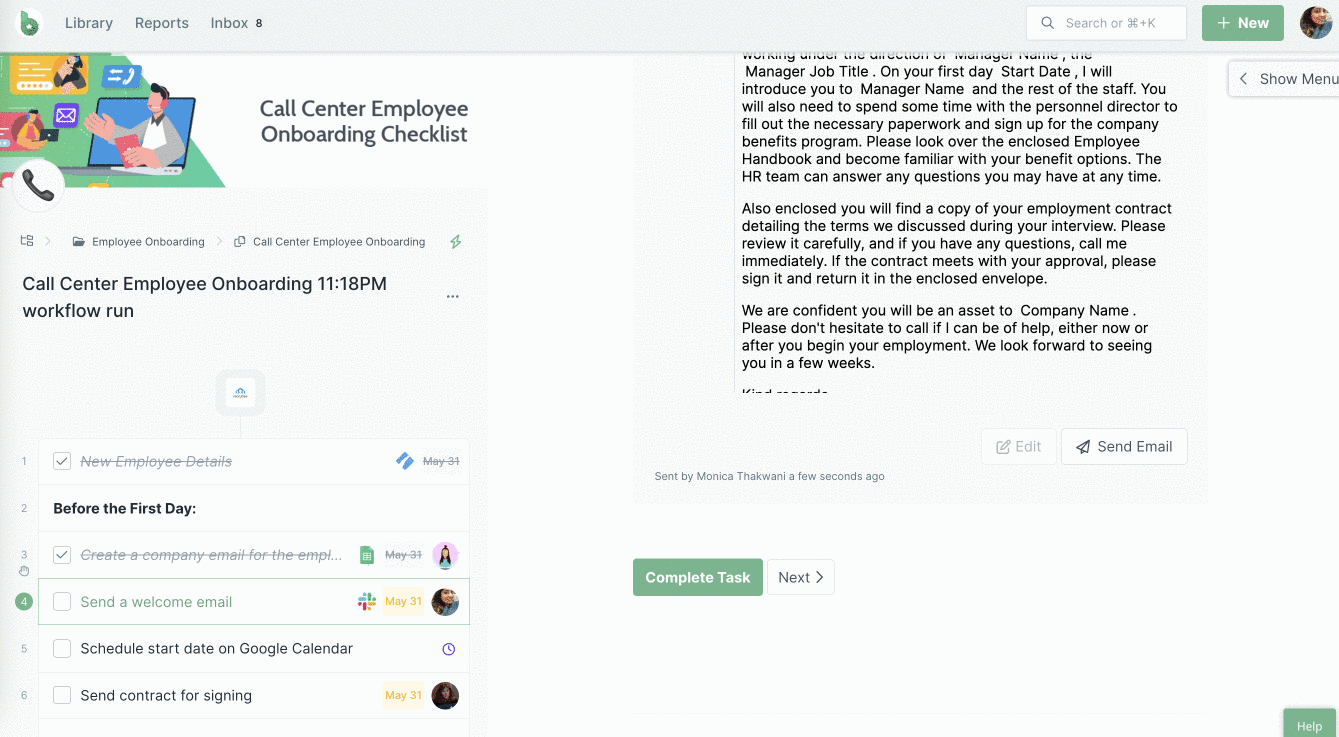
Tasks that have dynamic due dates set on them show a purple clock indicator in the workflow and the editor, for easy identification.
There are a number of ways to change the dynamic due dates you have set previously.
Once you have set dynamic due dates in your workflow, you can easily change them in the workflow editor, if needed.
Click on the task/s in question, then click the dynamic due date you set previously to open up the control panel. Make your changes and click “Save” to fix the changes. Then publish changes to your workflow when finished.
You can also overwrite dynamic due dates on active workflow runs, on a task-by-task basis.
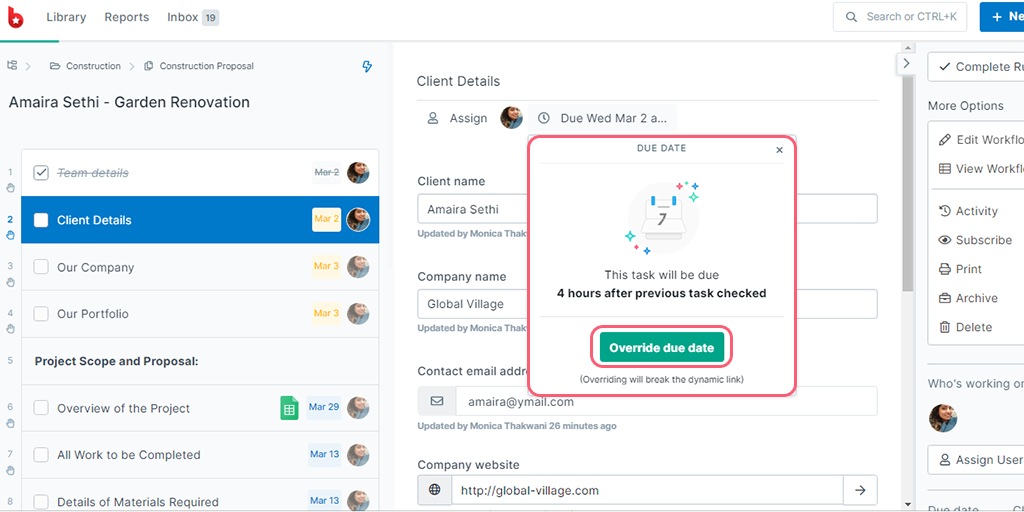
If you decide to override the due date in this way, it will break the dynamic link between any date fields or the date the workflow was run.
You will see the purple clock indicator on tasks that have dynamic due dates set even in active workflow runs until the due date has been activated.
You can also override the due dates for tasks from your Process Street inbox, by using the snooze function.
Hover over the task/s you’d like to snooze and you’ll see a checkbox appear, as shown above. Put a checkmark against all the tasks you’d like to snooze. When you select a date to snooze these tasks to, this effectively overrides the dynamic due date.
Note that this method also works for snoozing approval tasks and whole workflow runs.
Help us improve this help center.


