Your user profile controls the way that you see and use Process Street.
In your personal profile settings area you can manage your profile picture, user name, your primary email address and timezone, as well as see which groups and organizations you are part of.
It’s also where you can set up and manage your personal email notifications.
Users: Admins, Builders, Users and Guests all have their own profile settings page.
To access your profile settings, click your profile picture (or your initials if you don’t have a profile picture yet) in the top right of your screen.
From the drop-down, click on “My Profile“.

Your ‘Profile‘ tab gives you access to all of the most important aspects of your settings.
From here, you can:

Note: When uploading a profile picture, the file size must be less than 2 MB.
The ‘Notifications‘ tab allows you to control the email notifications you receive from Process Street.
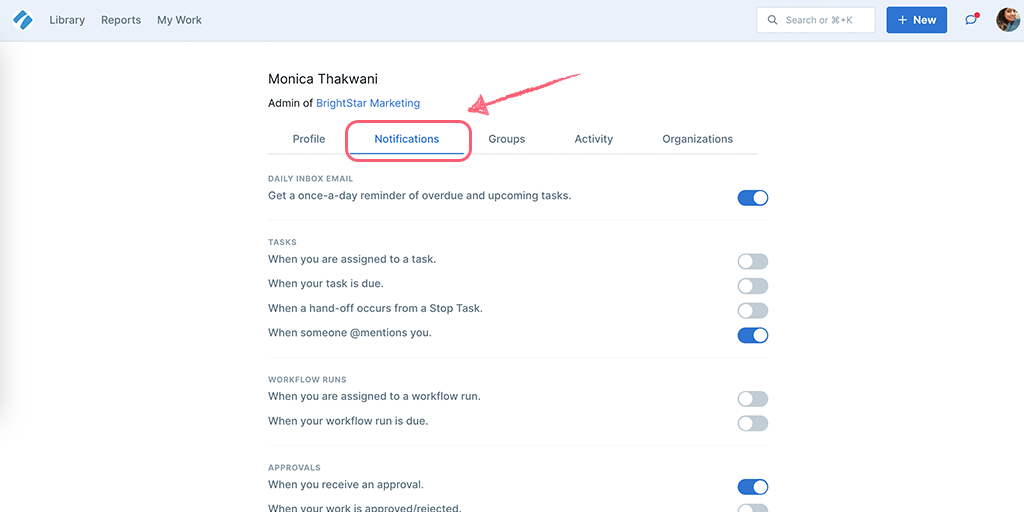
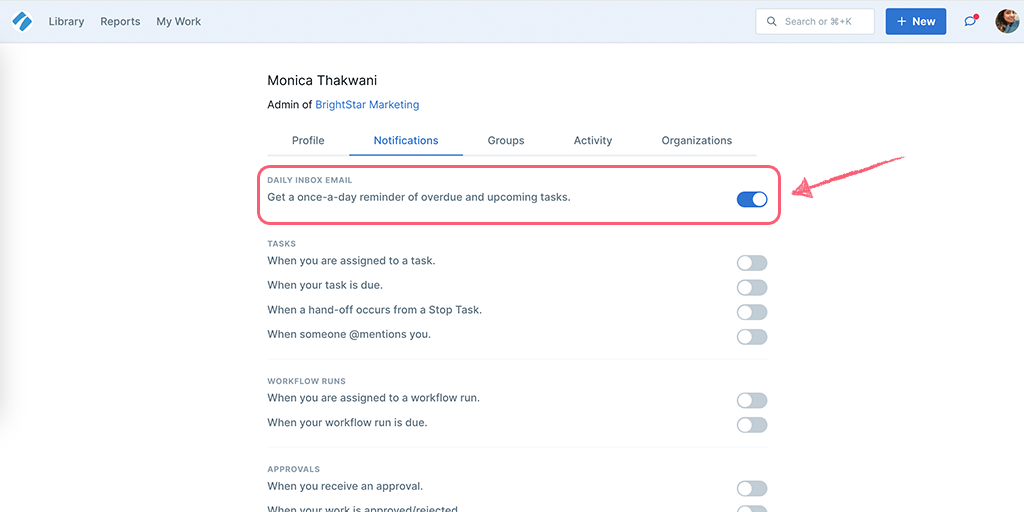
Your notifications tab includes an option to opt-in or out of daily My Work reminders of upcoming and overdue tasks. You can also opt-in or out of all email notifications.
To ensure that the required email notifications reach you, your admin has the ability to turn these notifications on or off at the organizational level.
If you’re a part of multiple organizations, the organization-wide email notification settings will be applied to all the organizations you’re a part of.
However, you can still choose the notifications you want to receive in each organization. To do so, switch to that organization, go to your user profile settings and adjust the notifications, as shown above.
The ‘Groups‘ tab allows you to view all of the groups that you are a part of.

If you are an admin, you can add yourself to groups. If you are a builder you need an admin to do this for you. Find out who your admin/s is/are from the users page.
The ‘Activity‘ tab allows you to view all of your activity across all organizations, workflows, workflow runs, tasks, forms, and pages. This is great for keeping track of any changes that you have made regardless of when or where they were made.

Admins can see the activity of other users from the organization management area.
The ‘Access‘ tab shows a summary of everything you have access to, including workflows, pages, forms, and files. Use this tab to quickly find items shared with you or check your access level on a specific item.
The ‘Acknowledgments‘ tab lists any acknowledgment documents assigned to you. From here you can see which acknowledgments you’ve completed and which are still pending.
Note: The Acknowledgments tab is only visible when your organization has the acknowledgments feature enabled.
The ‘Organizations‘ tab allows you to view all of the organizations that you are a part of. These can also be accessed by clicking on your profile picture and then clicking ‘Manage Organizations‘.
From here you can:

Help us improve this help center.


