The Send Email widget allows you to add pre-written, formatted emails directly into your workflow runs.
With a single click, users can send emails that include data automatically populated from form fields, eliminating duplicate data entry.
You can craft emails using a rich text editor (or HTML for advanced formatting) or opt for plain text mode.
Users: Only Administrators or Builders with Edit access can add or manage email widgets in workflows.
Search for the workflow to which you want to add the email widget. Click your workflow’s name then click “Edit” in the top center of your screen.
Once there, click on a task where you would like to add the widget. From the right side of your screen, you can drag and drop the “Send Email” widget into place in the center of your screen, or click on it to add it.
Once it’s in the center of your screen you can drag and drop it into position or use the up and down arrows on the left side of the widget to position it.
Now you’ll have four options to create your email:
In the workflow editor, add a new task and ensure to name it according to your process. If you have an existing task, you can use that too.
Drag and drop the Send Email widget in your task and fill in the To, From, and Subject fields. Then click the AI icon > Generate with AI and watch your email being generated, including variables.
Note: The task name and subject field act as prompts for AI to generate your email.
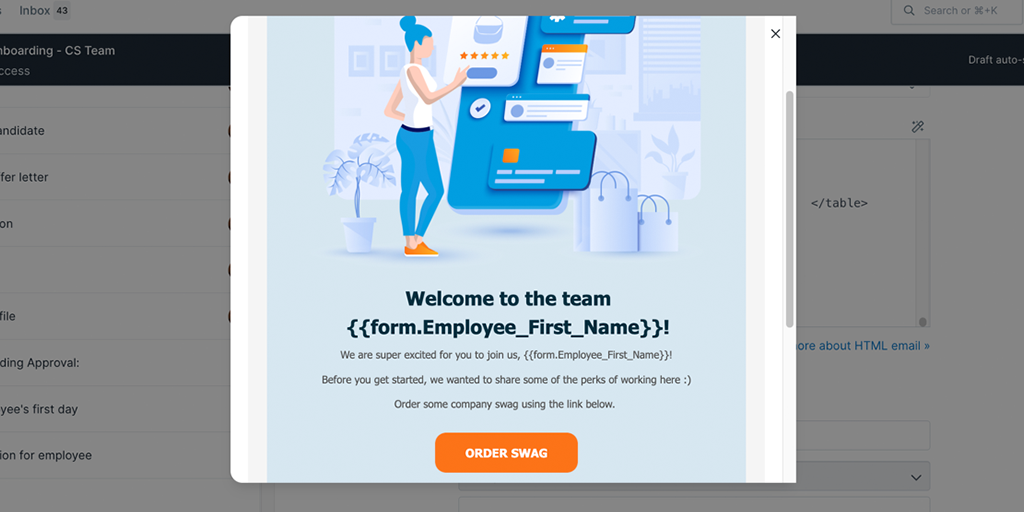
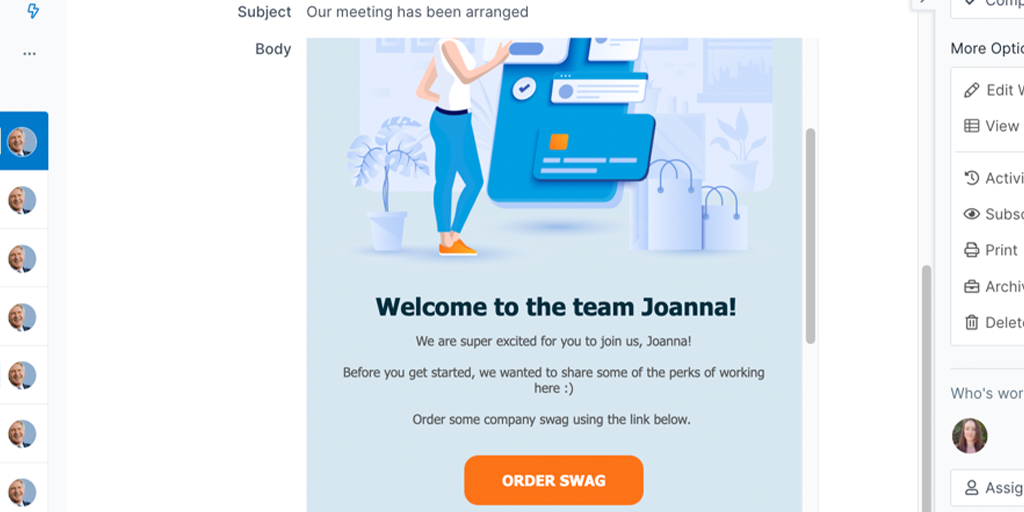
Create emails with formatting, images, links, buttons, email signatures, or links to your social channels and website with HTML Code.
Here are some free HTML formatting tools that you can use to build your emails, before pasting the code into the email widget.
If you add HTML Code you can preview it, but you won’t be able to view it in the rich text tab. Stay in the HTML tab and click “Preview” before saving changes to your workflow.
Test your email by using the “Send Test” button at the bottom of the widget. Remember that this will send a preview of your email to your email address. Only when you have run the workflow will the email be sent to the person you defined in the “To” field.
Pro tip: How to add an image from your Google Drive into HTML Code. e.g. Original URL: https://drive.google.com/file/d/0B6wwyazyzml-OGQ3VUo0Z2thdmc/view.
Copy the ID from the original URL (the characters in bold) and use it in this URL: https://drive.google.com/uc?export=view&id=0B6wwyazyzml-OGQ3VUo0Z2thdmc.
Pro tip: If you’re unable to embed a gif or image into your HTML code, try downloading the gif/image and uploading it into the HTML editor as an image.
You can choose to use the rich text editor instead of HTML.
Note: You cannot switch from HTML back into the rich text editor.
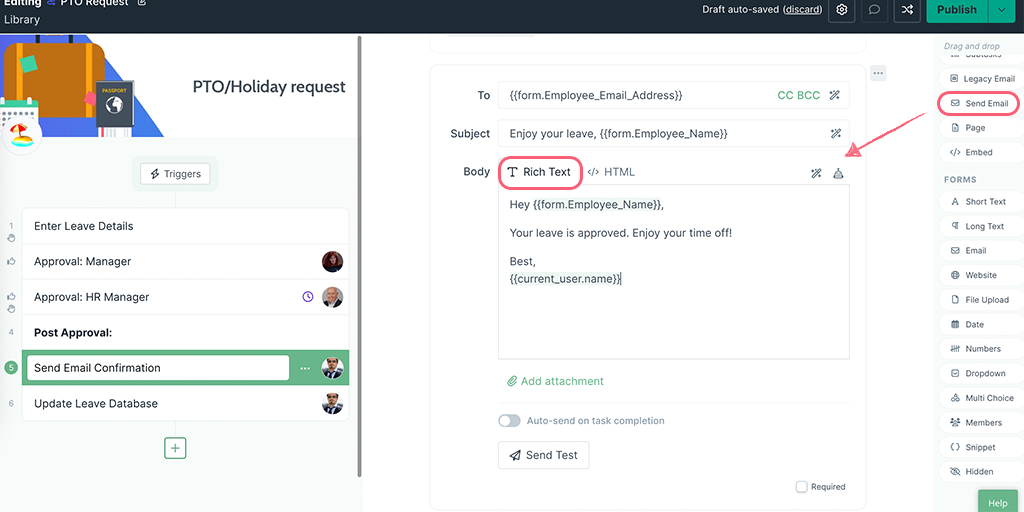
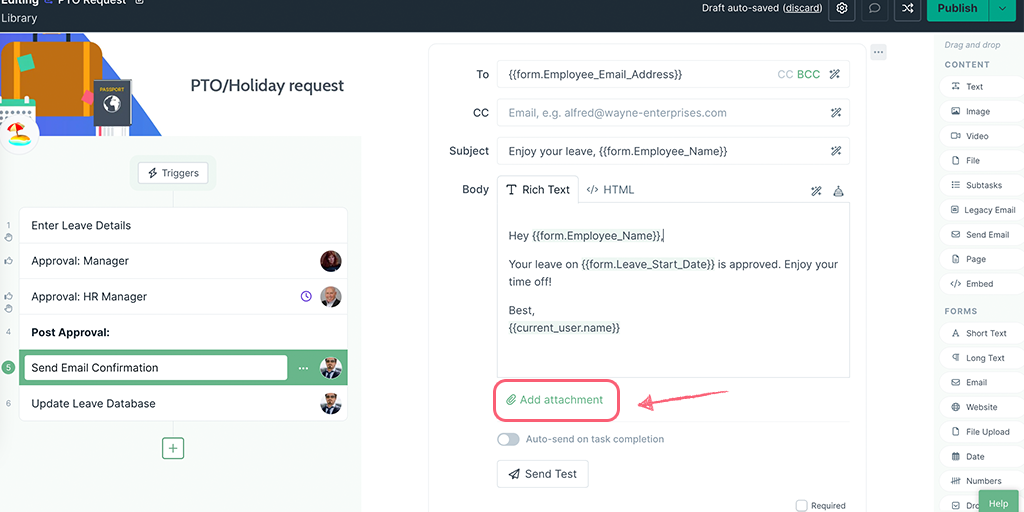
In the editor, you can fill in any static information you’d like to always appear in your email by using the appropriate fields, like the subject line and the body of the email (shown in the example above).
Use the magic wand tool to add {{variable fields}} like the person’s email address, first name, or the current user’s name.
If you use the File Upload form field as a variable in the email widget, make sure to avoid symbols like &,*,#, etc. in the file name as characters are not supported as of now.
Pro Tip: If you’d like to share a workflow run with someone via your email, you can use the variable {{run.url}} and hyperlink it. That way when you run the workflow, you can turn on the workflow run share link, and send your email.
Note: If you are using a members form field in your workflow, you will only be able to assign the email addresses of admins and Builders as a variable (but not Users).
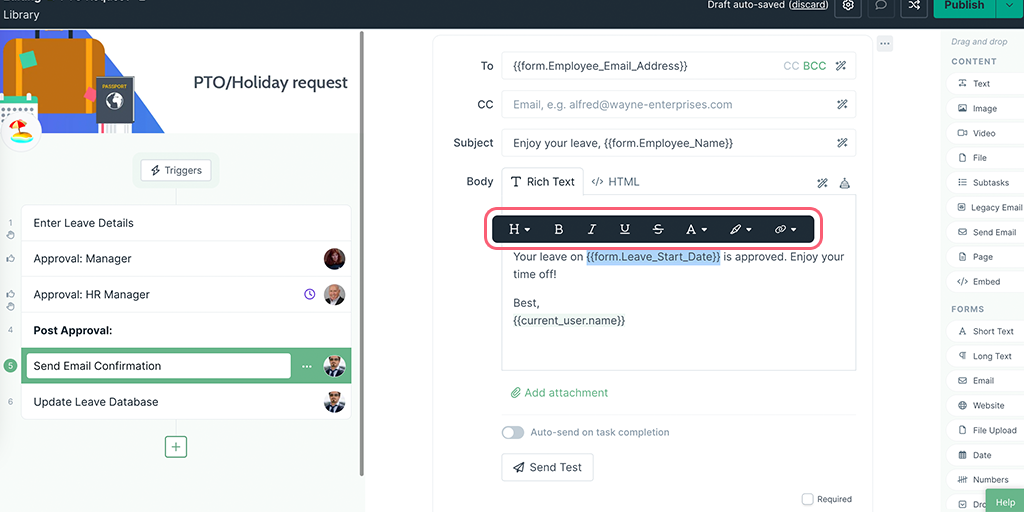
Select the text you’d like to format and use the tool menu that appears to choose font size, color, bold, underline, strikethrough, background color, and add hyperlinks.
Test your email widget by clicking the “Send Test” button at the bottom of the widget. Remember that this will send a preview of your email to your email address. Only when you have run the workflow will the email be sent to the person you defined in the “To” field.
Note: You can use the “Settings Cog” to choose between creating your email in rich text or HTML (which sends the email from our domain) or creating it in plain text (which sends the email from your preferred mail client). You can also choose to allow the workflow runner to edit the email before sending it if you’ve created it in rich text or HTML.
Whether you create your email in rich text or HTML, you can add an attachment to the email as shown below.
When sending rich text or HTML emails, you can control who receives replies by setting a Reply To address. When a recipient hits reply in their email client, the reply goes to the address you specify instead of the person who sent the email from the workflow run.
To set a Reply To address:
Note: The Reply To field overrides the default behavior, which sends replies to the user who sent the email from the workflow run. To keep that default behavior while using Reply To, add the {{current user.email}} variable in the Reply To field.
Note: The Reply To field is only available for rich text and HTML emails. Plain text emails use mailto: links and open in the sender’s email client, so Reply To does not apply.
If you use Custom Sender Domain, Reply To works alongside it — replies can go to the same address shown in the From field, or to a different address entirely, giving you full control over your email communication flow.
Run your workflow and head to the task with the email widget in. Fill out any form fields that you’re using as variables in your email.
Click “Send” to send your email directly to the recipients you specified.
You’ll see a date and time stamp and the name of the person who sent the email. The details of the email being sent can be viewed in the workflow run activity log and the user’s activity log.
Note: When testing your emails, if you don’t select a “To” address this will automatically default to send you the test email.
Once you have created your email, you can configure it to go out automatically when its associated task is completed.
You can send emails from your company’s domain when you use the send email widget with our Custom Sender Domain feature.
Custom Sender Domain allows you to send all notifications emails and all emails sent via the send email widget from your company domain (i.e. from company.com instead of process-street-mail.com).
In the case of notifications (like assignments, approvals, etc.), instead of having the emails come from [email protected], you can instead have them come from [email protected] (the part before the @ symbol is totally customizable).
In the case of the send email widget, instead of having emails come from [email protected], you can instead have them come from [email protected] (the part before the @ symbol is totally customizable).
This feature is available on our Enterprise plan. If you’re interested in accessing this feature, contact your account manager or our support team. You will need to setup some DNS records to activate this feature.
What email address is the email sent from?
Emails are sent from [email protected] unless the Custom Sender Domain feature is enabled, in which case they will come from your company email address.
What happens when someone replies to the email?
By default, replies go to the user who sent the email from the workflow run. If you set a Reply To address, replies go to that address instead. This applies to rich text and HTML emails only — plain text emails open in the sender’s email client, so standard reply behavior applies.
Can I send emails from my own domain?
Yes, you can use the Custom Sender Domain feature. Alternatively, you can click on the settings cog and select Plain Text to send emails from your preferred email client instead (like Outlook or Gmail).
Why is my HTML preview blank?
There’s likely something wrong with your HTML code. Try editing your HTML and preview again.
Do I need to specify my email client of choice?
If you’re creating your email using rich text or HTML then, you don’t need to specify your mail client. However, if you use plain text mode, you need to specify your mail client.
Did my emails get sent right away?
If you have more than 10 recipients or are sending a lot more emails than normal, there may be a small delay in sending, it could take around 1 hour.
The sent at date/timestamp means the date the email was sent.
I was using the legacy email widget, can I still send emails in draft mode?
For customers using the legacy version of the email widget, you can continue using it in existing workflow runs, but for all new workflows and runs, you’ll see the new version. We will be deprecating the legacy send email widget in the future.
Learn more about how the other widgets work:
Help us improve this help center.


