Process Street is built for collaboration. Inviting others to join your organization lets you assign work, share workflows and pages, and track progress together.
Inviting other users allows you to share Workflows and Pages with them and track the progress of any Workflow runs or tasks they have been assigned to work on.
You can invite users as Builders, Users or Guests and, if you need, you can promote users to Admin status.
Users: Only Admins can invite users via the organization settings page. Builders can invite users from active Workflow runs or when editing a Workflow.
In order to add other users to your organization in Process Street, you will need to invite them to work with you.
Start on your organization manager page. Click your profile picture in the upper right corner of your screen, then click “Settings” to access this page and navigate to the “Users & Guests” tab.
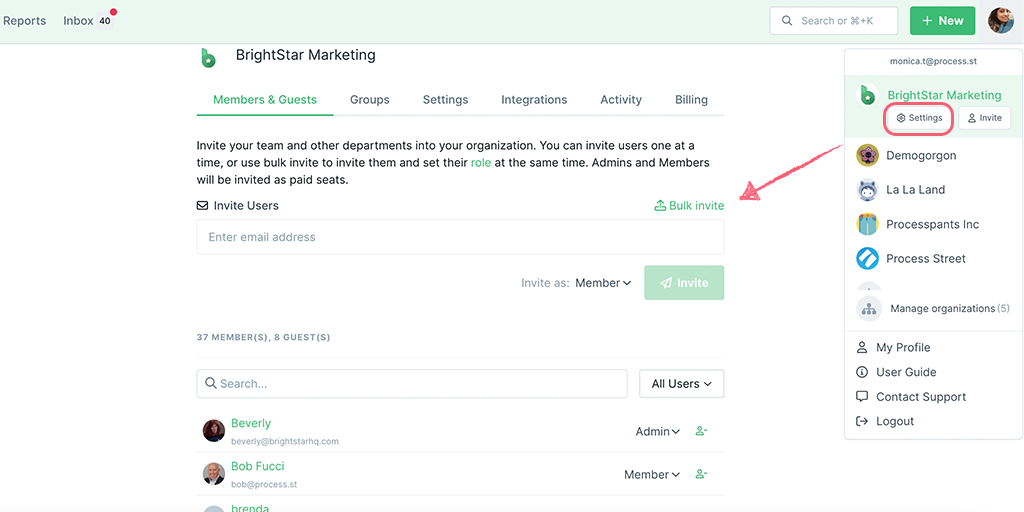
Next, you need to decide if you’d like to invite your users as Builders, Users or Guests.
This will be determined by how much access you’d like to grant each user. For example, Builders can edit and create new Workflows, Users can create or view pages, and Guests can work on tasks you have assigned to them.
You can get granular about the access your team has to your folders, Workflows, runs, tasks and pages. Learn more about user permissions and discover the difference between builders and users.
Type the person’s email address that you would like to invite in the field shown below, then click “Invite”.
Note: On paid plans, if you have already reached your limit, you will be billed pro-rata for each new person, at the point you invite them. Check your current subscription rate from your billing page to see how adding a person might affect your cost.
To invite a User, follow the same steps above, but this time select “Invite as User” from the dropdown.
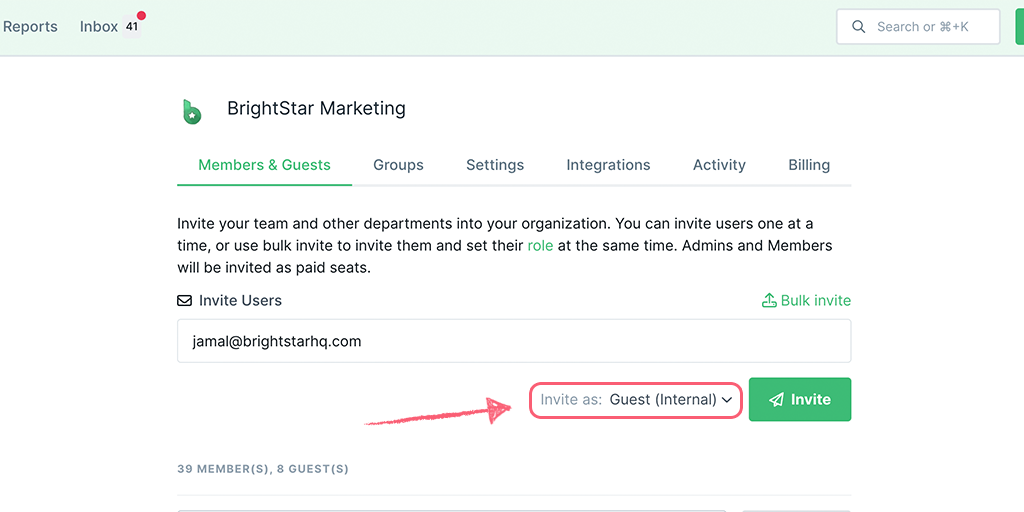
To invite a Guest, type the person’s email address in the field shown below and select “Invite as Guest” from the dropdown.

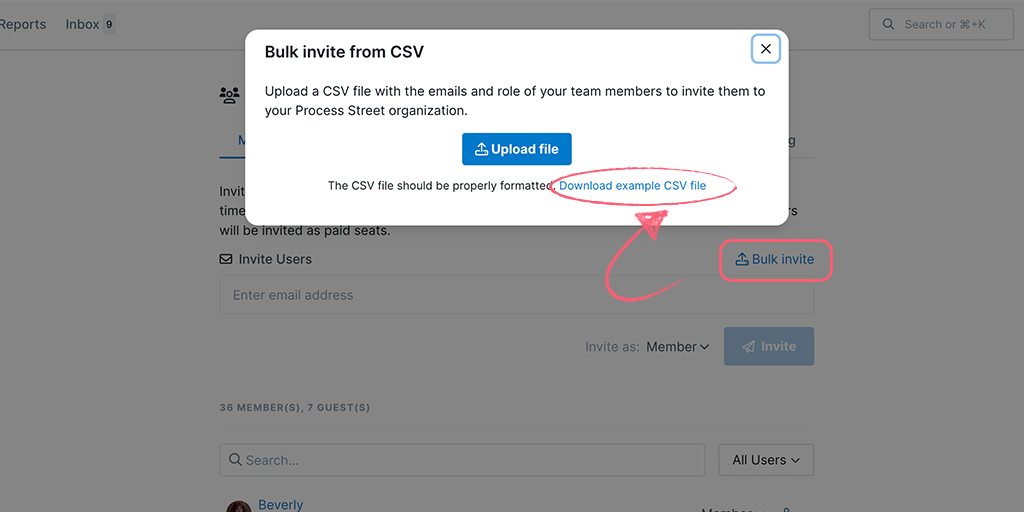
You can use the Bulk Invite feature to invite multiple users at once by uploading a CSV file.
To do this, navigate to your organization settings and go to the Users & Guests tab. Click on Bulk Invite above the Invite button and Download the example CSV file as shown below.
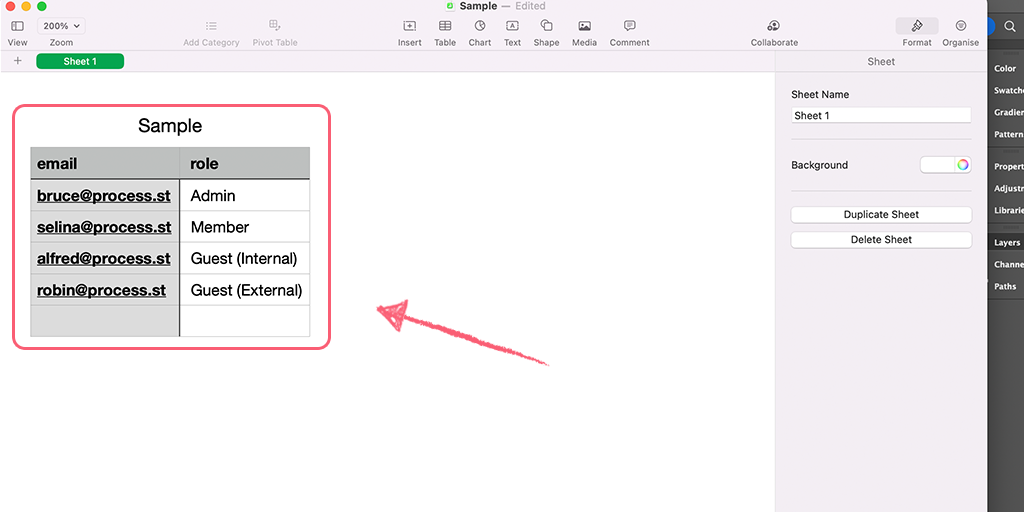
You can enter the names and email addresses of the users you want to invite in the CSV file that you downloaded and save it.
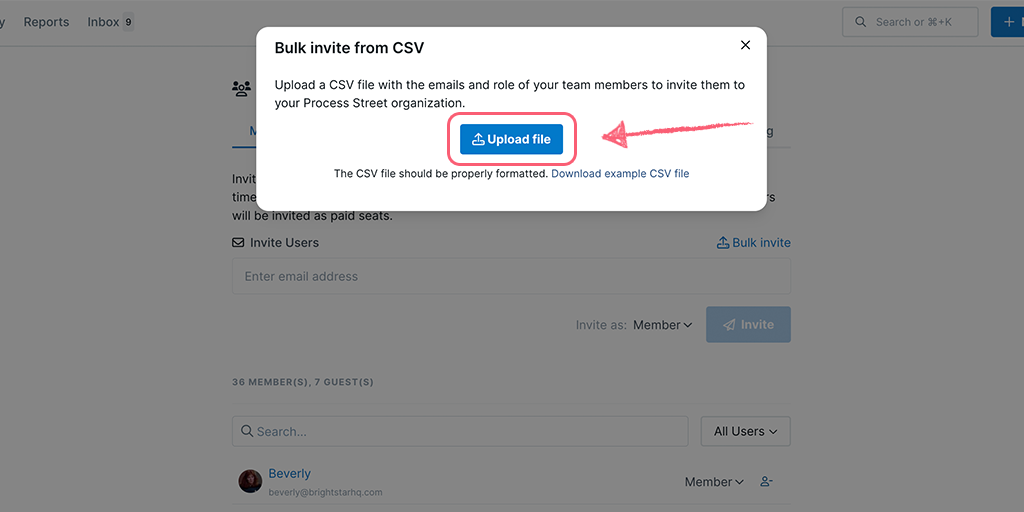
Then come back to your organization settings and Upload the CSV as shown below.
When assigning users to tasks in your Workflow editor, you can invite a user as a Builder at the point you assign them to the task.
You can invite Guests to whole Workflow runs or to tasks on active Workflow runs when you assign them for the first time, as shown below.
To invite a new Guest to an active Workflow run, head to the right-hand panel and click “Assign Users“.
Type their email address and hit enter to invite and assign them at the same time.
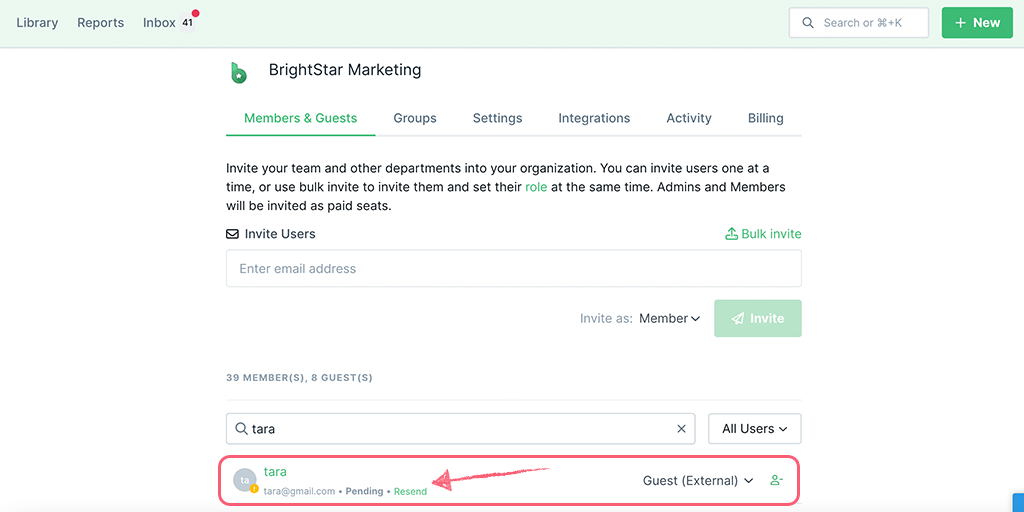
Once you have invited new users, you will see they are immediately added to your user’s list in your organization settings area, with “Pending” next to their name. Once they have accepted your invite this note will disappear. If they don’t accept, you can resend their invite from this same page.
Note: Only admins can resend invites.
For any new users you invite, there are two steps they need to take to accept your invite to join your organization.
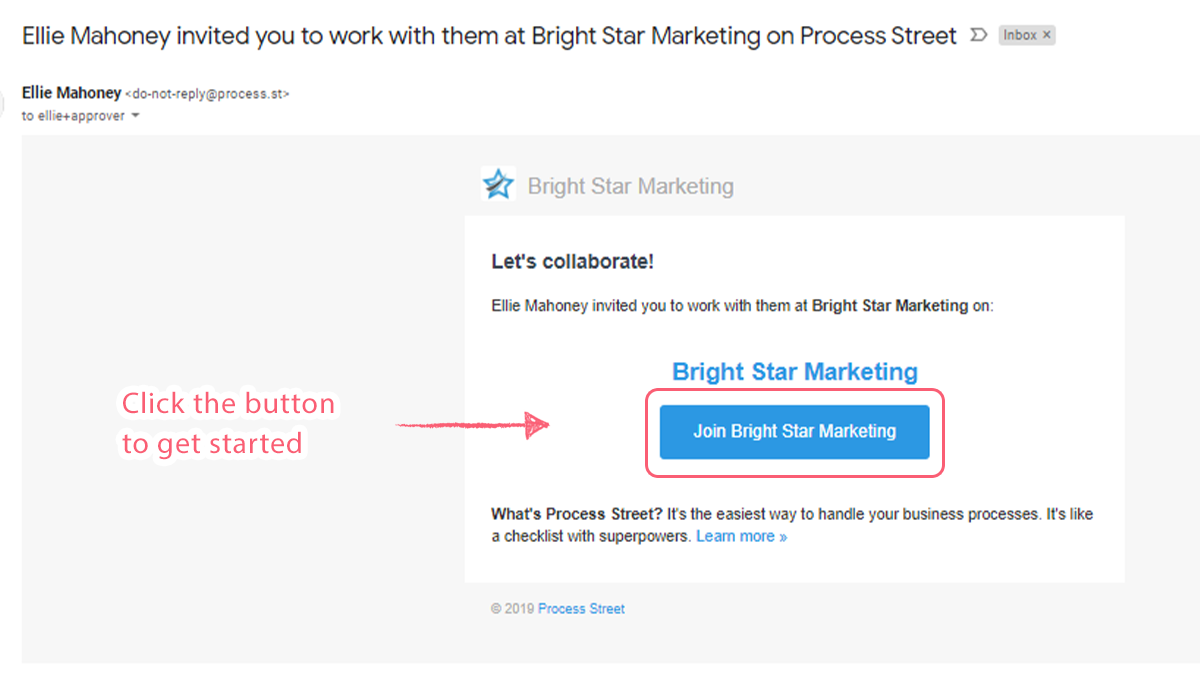
First, they will need to click on the blue button in the invite email you sent them, to access your organization in Process Street.
 Next, they will need to log in to Process Street (if they haven’t done so already). They can use their email address and a password, or log in via Google or SSO.
If the person you invited hasn’t followed both steps to accept your invite, you will see an orange warning symbol next to their name in your Users & Guests tab.
You’ll also see “Pending” next to the “Resend” link.
When this happens they may not have seen your email invite, or it might have gone into their spam folder.
Ask them to check to see if they can find your email. The subject line of the email will be “{ your name} invited you to work with them at {your organization name} on Process Street”
If they still can’t find it, you can resend the invite. Click the link shown above to “Resend” the invite email.
If you need to change a user type at any time, you can change the selection from the dropdown shown below.
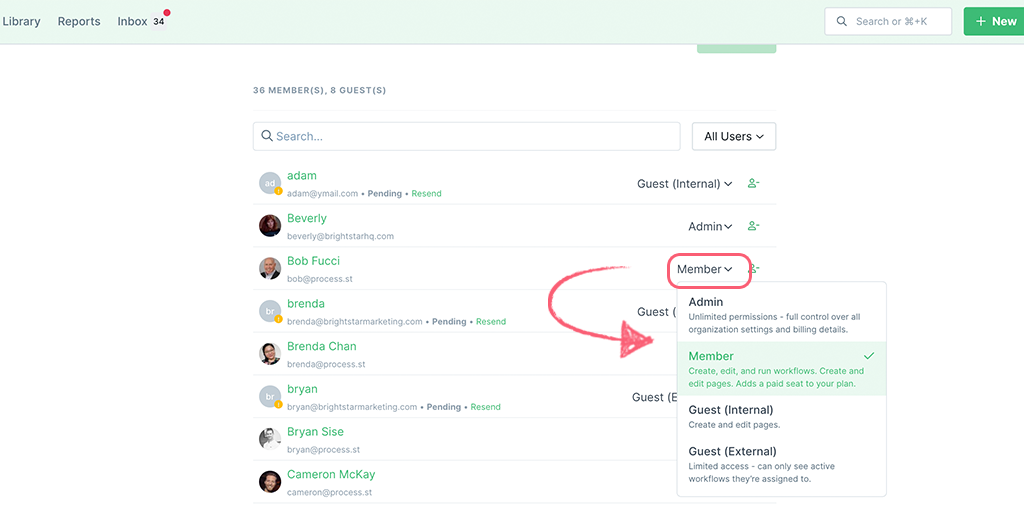
A flash notification at the top of your screen confirms the change you just made.
Note that Admins have access to your whole organization, including billing and the ability to change your subscription.
Help us improve this help center.


