Task Permissions allow you to hide specific tasks from view for selected users, which effectively makes parts of your workflow runs private.
For example, you can share certain tasks in your process with external users that you’d like them to complete while keeping the rest of your tasks just for your internal team.
You can control the permissions on tasks for:
Users: In order to add or change task permissions, you must be an Administrator or a Builder who has been given ‘edit’ access by your Administrator.
When sharing your workflow runs with others you may not want them to see all the tasks within your process, only the ones you’d like them to complete, for example:
When creating or editing workflows, you can select individual or multiple tasks on which you can set permissions.
You can choose from three permission settings for each task:
Let’s start with an individual task.
First, click on the task you’d like to check permissions for, then click “Permissions” or the lock icon in the top center of your screen. You’ll see a box appear which contains the permission options for this task, as shown below.
If you want someone outside your organization (i.e. a Guest or anyone with a workflow share link) to see this task, then change its permission to View and Complete. If you do not want this task to be completed by anyone in the organization, you can change the permission on All Organization to View only.
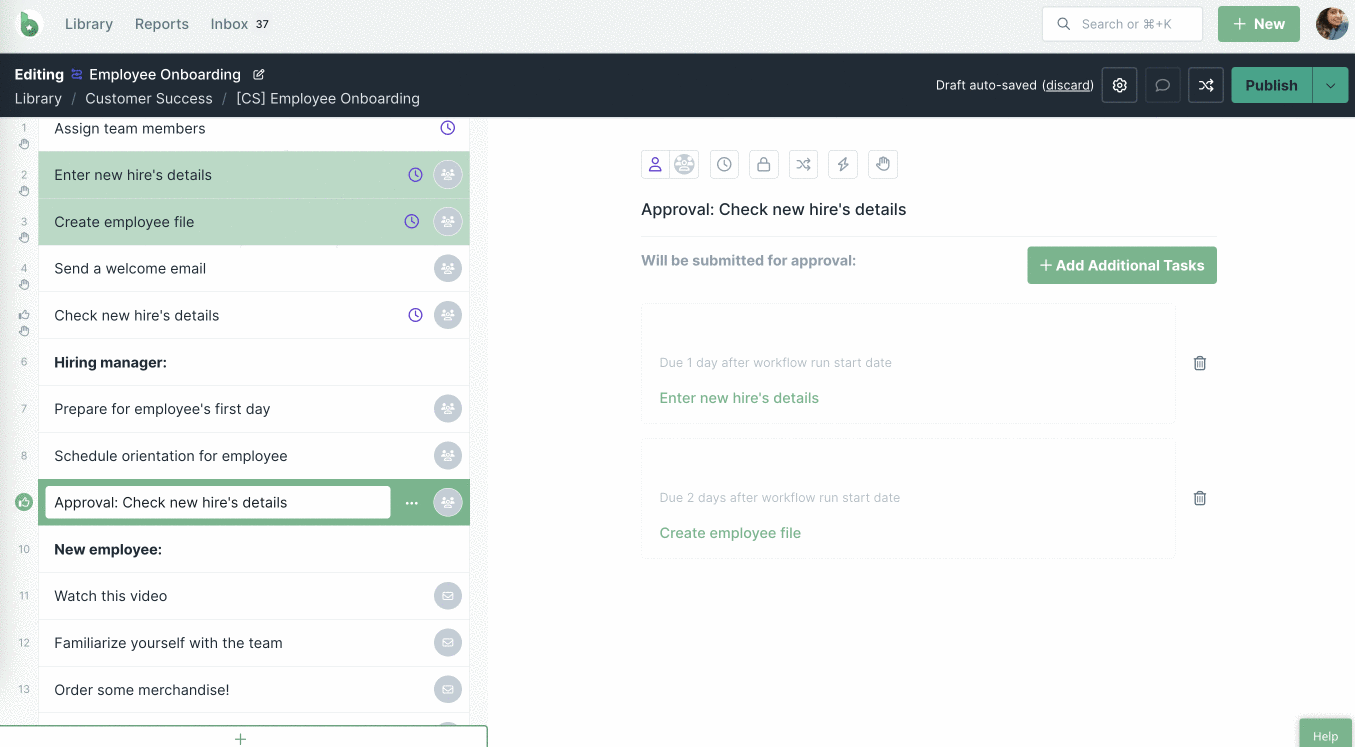
Note: When you set task permissions, the lock icon in that task turns purple, and hovering over it will show you the permissions you set for this task.
Now you need to turn off visibility for all the other tasks (or headings) in your workflow. This is important, otherwise, the person you share your workflow with will be able to see all your tasks.
Multi-select consecutive tasks – Hold down the ‘Shift’ key (Windows & macOS) and use your mouse to click on a task at the beginning and end of your task list, and all those tasks will become highlighted.
Multi-select separate individual tasks – Use the ‘CTRL’ Key (CMD in macOS) to individually select multiple tasks at a time. Hold down the ‘CTRL’ key (CMD in MacOS) and use your mouse to click all the tasks you want to select (or un-select).
Now you can set permissions in bulk, via the permissions button in the center of your screen, as shown above.
All Organization: Turning on this permission toggle will make your tasks visible to everyone in the organization. Users with edit permissions to the workflow will be able to edit and complete these tasks whereas users with view permissions to the workflow will be able to view and complete them.
All Guests: Turning on this permission toggle will make your tasks visible to any guests added to your organization and they will be able to complete these tasks.
Share link: Turning on this permission toggle will make your tasks visible to any anonymous users that have access to your workflow run via the share link and they will be able to complete these tasks.
Publish changes to your workflow and make sure to test your settings by running your workflow, turning on the share link, and viewing it in a private browser tab or via incognito mode. This allows you to test what the person with your share link will see.
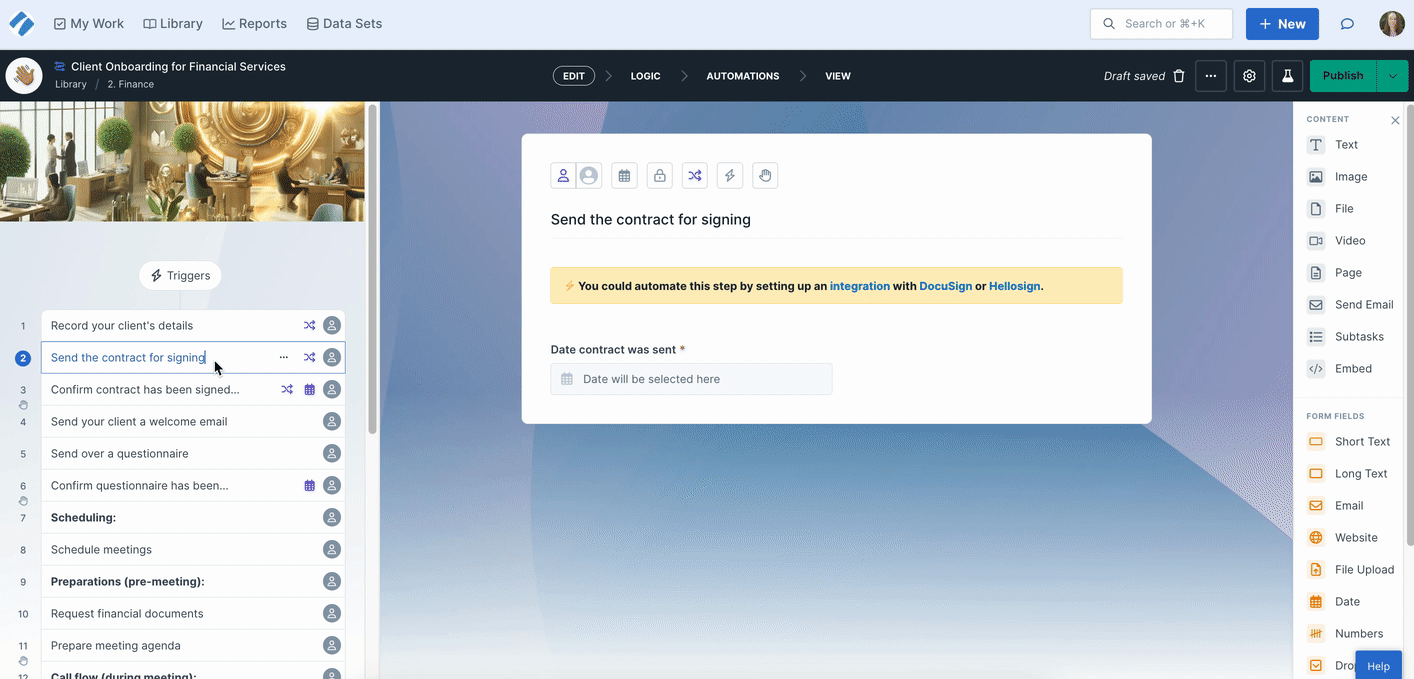
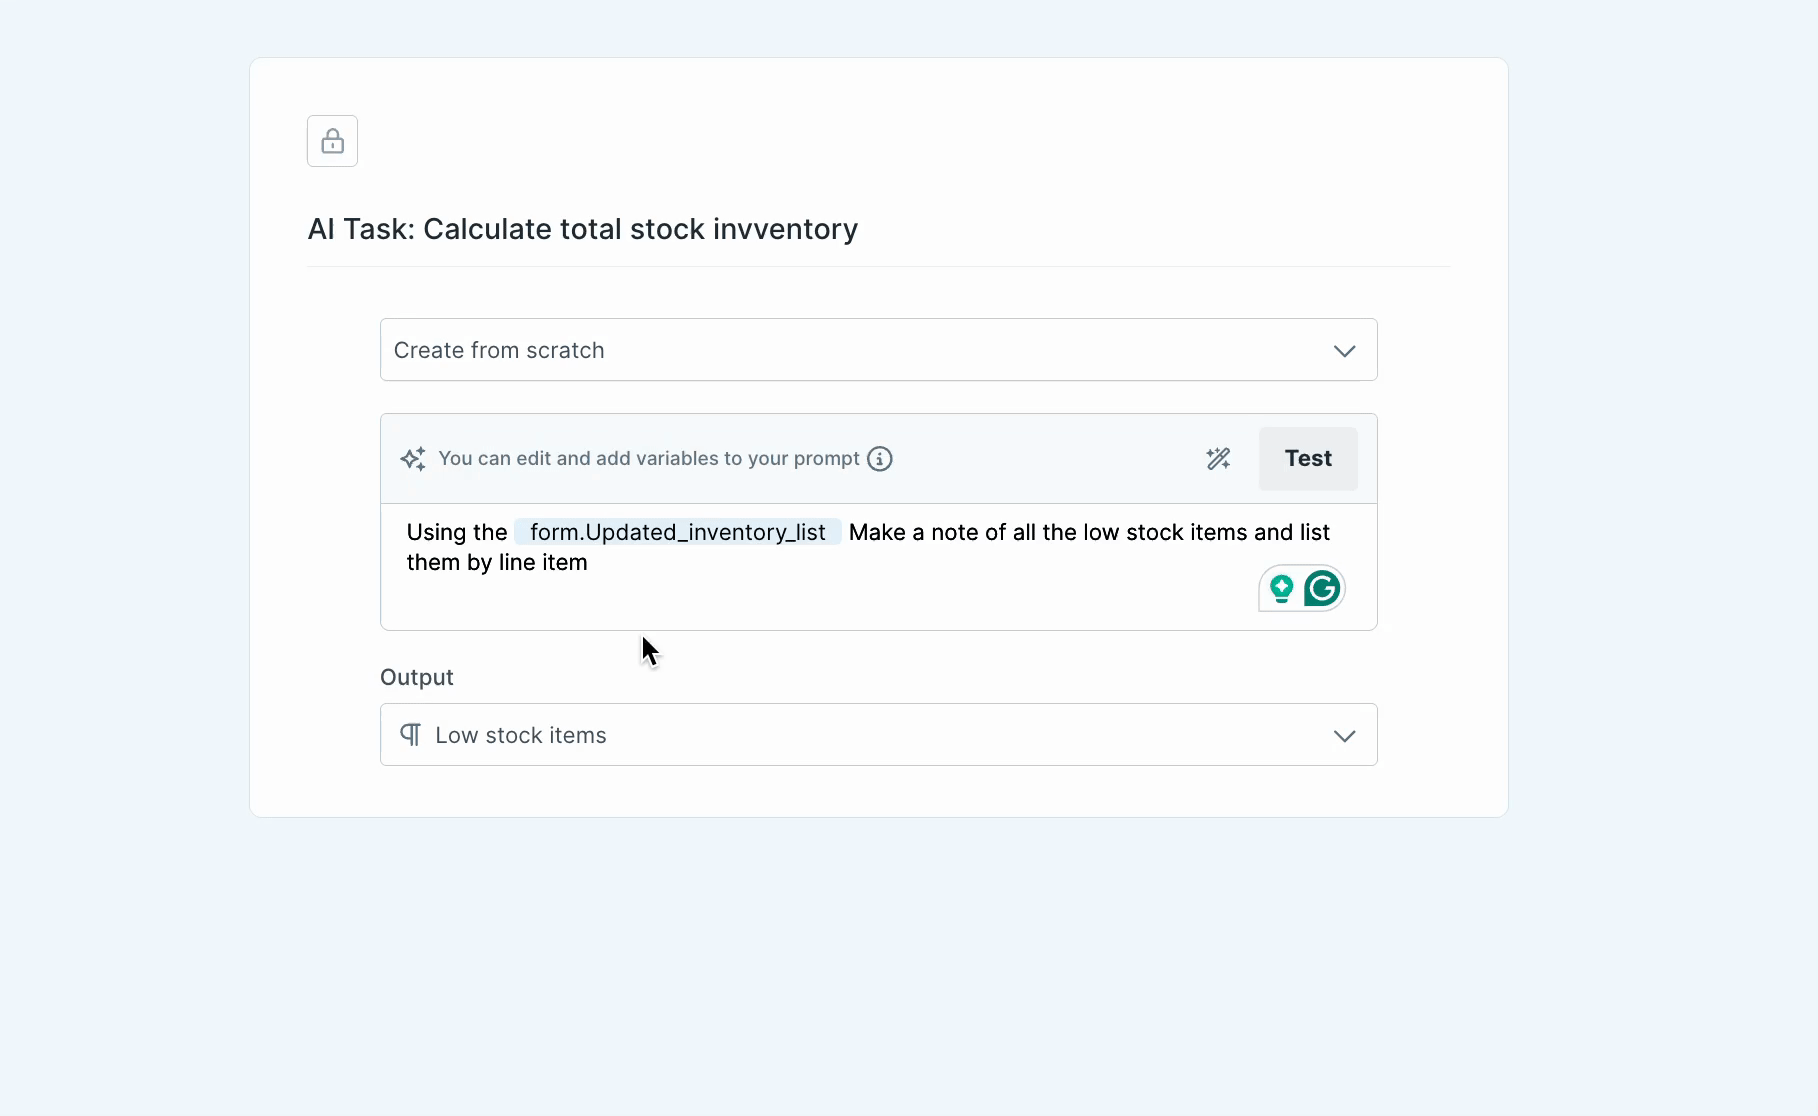
You can set task permissions on Code Tasks and AI Tasks to hide them from your workflow runs, as shown below.
You can customize task permissions with any combination that you need on any or all of your tasks.
In the example below, the permissions are set to View and complete for All Organization but View only for All Guests and No access for the Share link. This means that the task is visible to all your builders and they can complete it too. But your guests can only view this task without completing it and it’s hidden to anyone viewing the workflow run via a share link.

Note: “All Organization” includes any Builders or Users in your organization (excluding Guests and Anonymous).
Below, we have the permissions set to View and complete for All Organization only. This means this task is visible to all builders (and admins) and they can complete it but it’s hidden from your Guests and anyone viewing the workflow run via a share link (they can neither see it nor complete it).

You can create any set of permissions that you’d like, allowing you to give visibility of different tasks to different users.
You can choose to give individual members permissions on tasks, instead of the users from the default groups above.

Start by setting the task permission for All Organization, All Guests, and the Share link to No access.
Click “Add new permission” and then select the individual user/s either from the dropdown or by typing their name or email address in the search box. Click their entry to add them then set their permission to View and Complete.
Note: You can only add new permissions for Admins, Builders, or Users.
You can also set permissions based on a role in your organization or your workflow.
For example, you can grant permission to the person who runs the workflow (the Workflow Runner) or to any email form field you add to your workflow such as “HR Manager” as shown below.
You could also use a role within your company by adding a Members form field into your workflow. This allows you to choose colleagues from your team or groups.
It is important to keep in mind that Admins in your organization will always have access to view all tasks inside of a workflow run, regardless of what permissions you have set. It is not possible to restrict their permissions.
Learn more about the different types of user permissions.
Help us improve this help center.


