Process Street allows you to continually improve your workflows as your business evolves.
Your team can keep working without interruption with quick editing and live updates.
The ability to change processes over time and continually improve them as needed gives your business great agility and flexibility.
Users: Only Administrators or Members with ‘edit’ access can make changes to workflows.
You don’t need to worry about building perfect workflows straight out of the gate since you can build minimum viable versions and then iterate on them as many times as you need.
Start from your library and search for your workflow there, then click the Edit button next to its name to go straight to the workflow editor. You can identify this by the dark focus bar at the top of your screen.
If you have a lot to choose from, use the search box at the top right of your screen to find the one you’d like to make changes to and click the eyeball icon to preview the workflow, then click Edit.
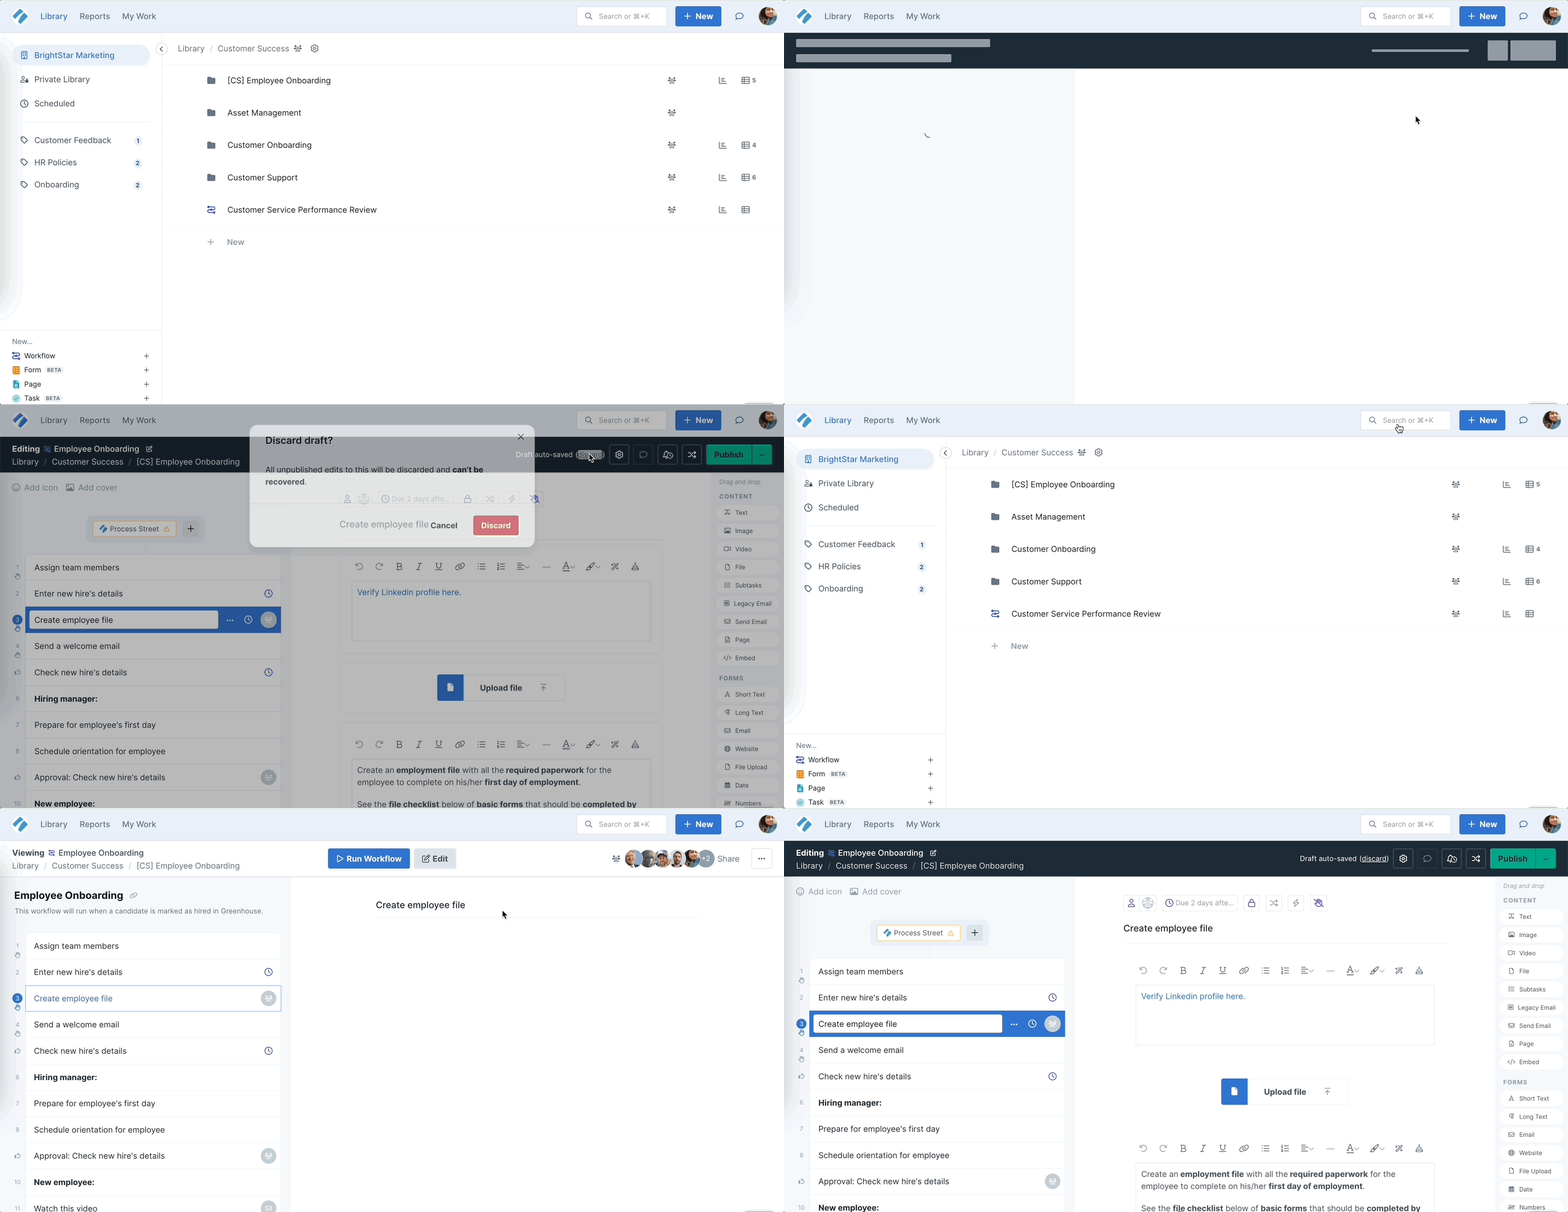
You can add all sorts of useful components to your workflows. Follow the links below to find out how to add these widgets:
And how to add these powerful features, to make your workflows truly dynamic:
Don’t forget that if you remove anything from your workflow when editing it and then publish the changes, this will impact any active workflow runs you have, as soon as they are updated.
Before publishing your changes, think about how your changes might impact dynamic features like conditional logic, role assignments, or dynamic due dates .
Any changes you make to your workflow when editing will auto-save while you work, so don’t worry if you have to step away, you can come back and finish making changes, then publish them when you’re done.
Note that if you step away without publishing your changes, these will not push through to workflow view mode, or any active workflow runs until you click “Publish”.
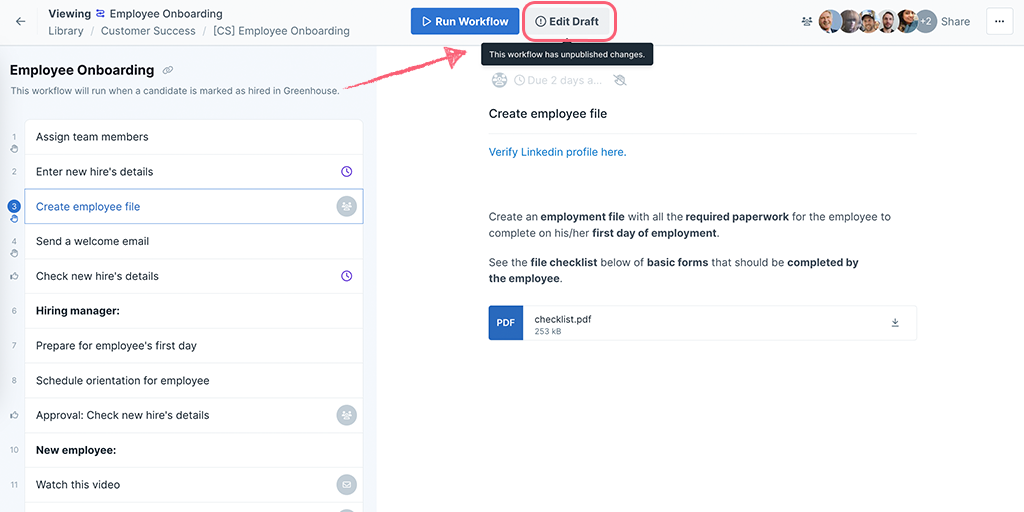
Once you have finished editing, click “Publish” in the top right corner of your screen to push your changes live, as shown below.
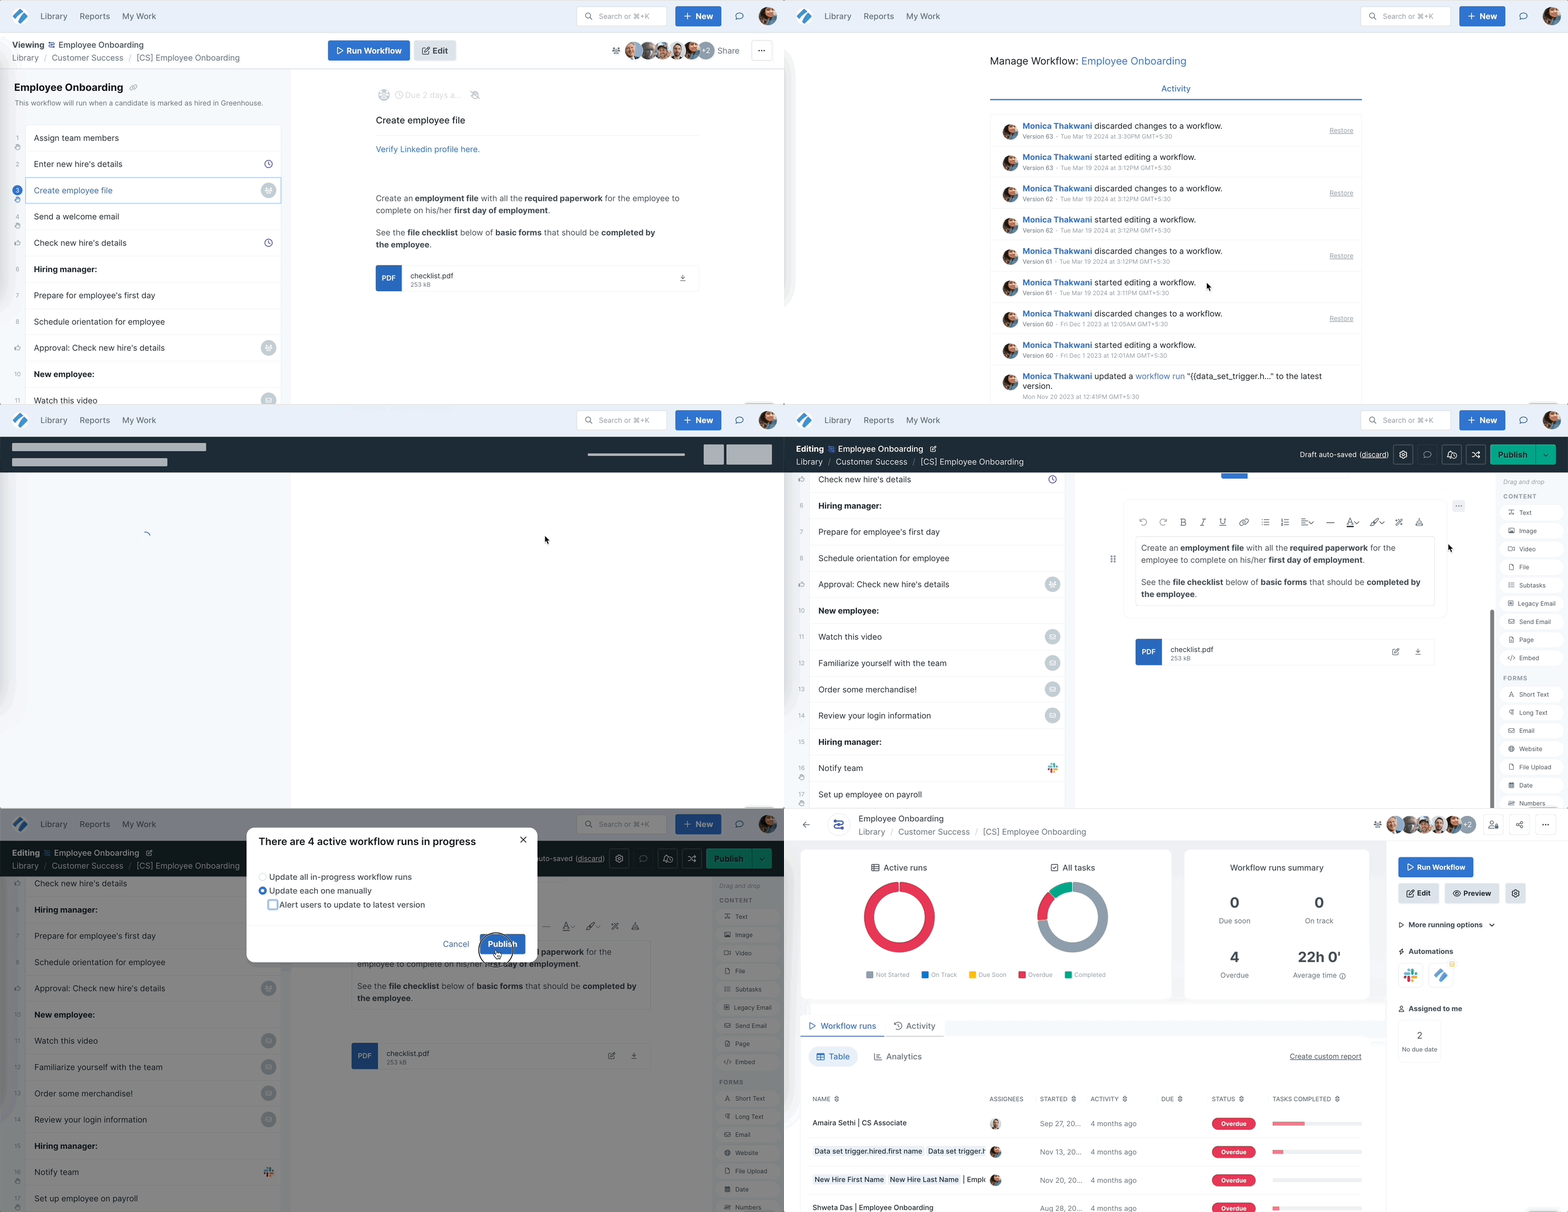
In a workflow, if you’ve published changes but no longer want them and you haven’t updated your workflow runs to the latest version, you can revert them.
You can do this from the workflow activity feed. This is an audit log of the changes made to your workflow, including when a workflow run was assigned, updated, or deleted. This is different from the one in your organization settings area.
When viewing your workflow, click the meatball menu and click Activity. Scroll to the version you’d like to revert to and click Restore.
Now for the really powerful part of making changes to workflows, you can push those changes immediately to your active workflow runs.
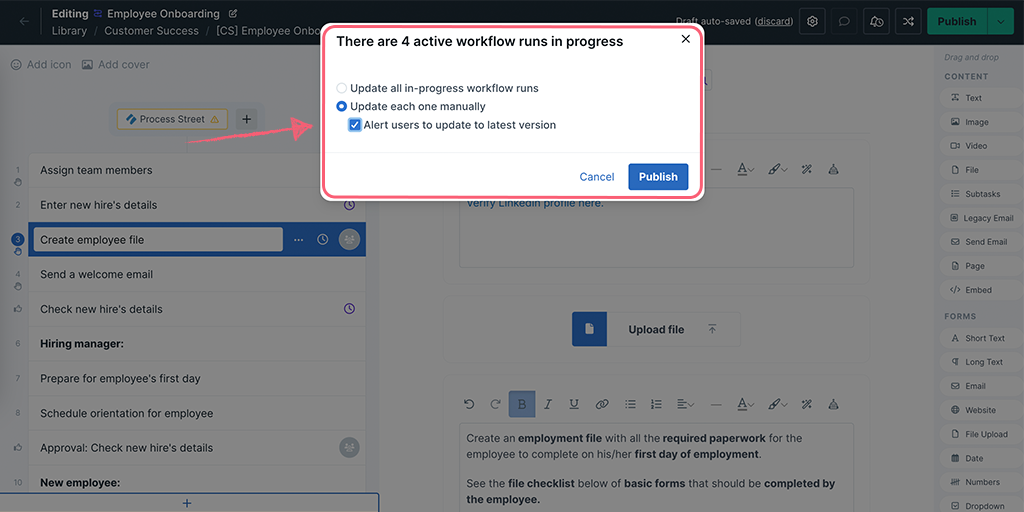
You can choose to update all active runs at once or let users update each run manually. If you don’t want your team to update each run manually, you can disable the ‘Update to latest‘ alert.
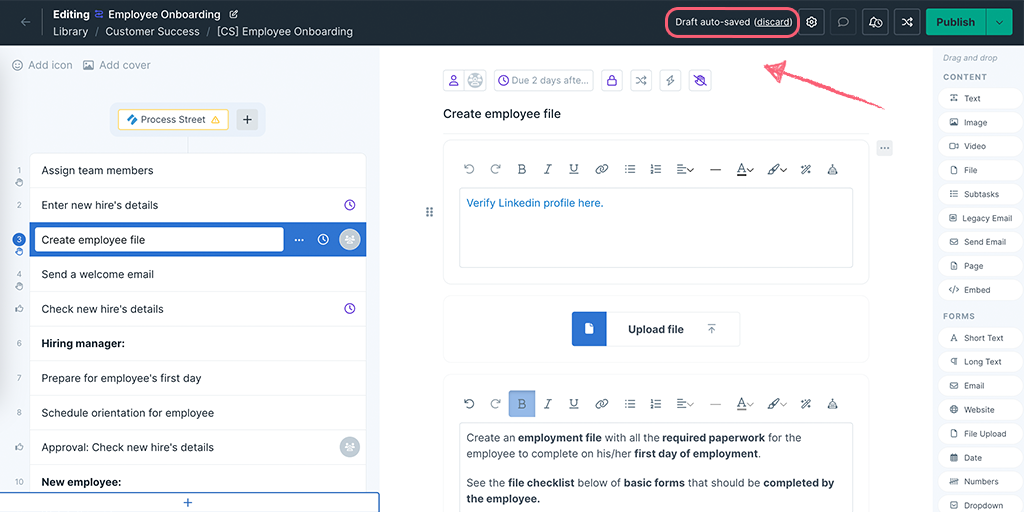
Note: If you click the “Discard” button in the focus bar, this removes any of the fields, tasks, or headings you added or changed since the last time you saved your workflow.