We’re going to walk you through how to build a simple workflow from scratch and run it in less than 5 minutes.
But wait… There’s an even quicker way! Discover how Process AI can create your first workflow with just a few clicks.
Users: In order to create or edit workflows, you must be an Administrator or a Full Member that has been given ‘edit‘ access by your Administrator.
In the example below, you’re going to work on a simple process for opening the office. You can follow along with the instructions below, or start working on a different process that is more important to you, using these steps for guidance.
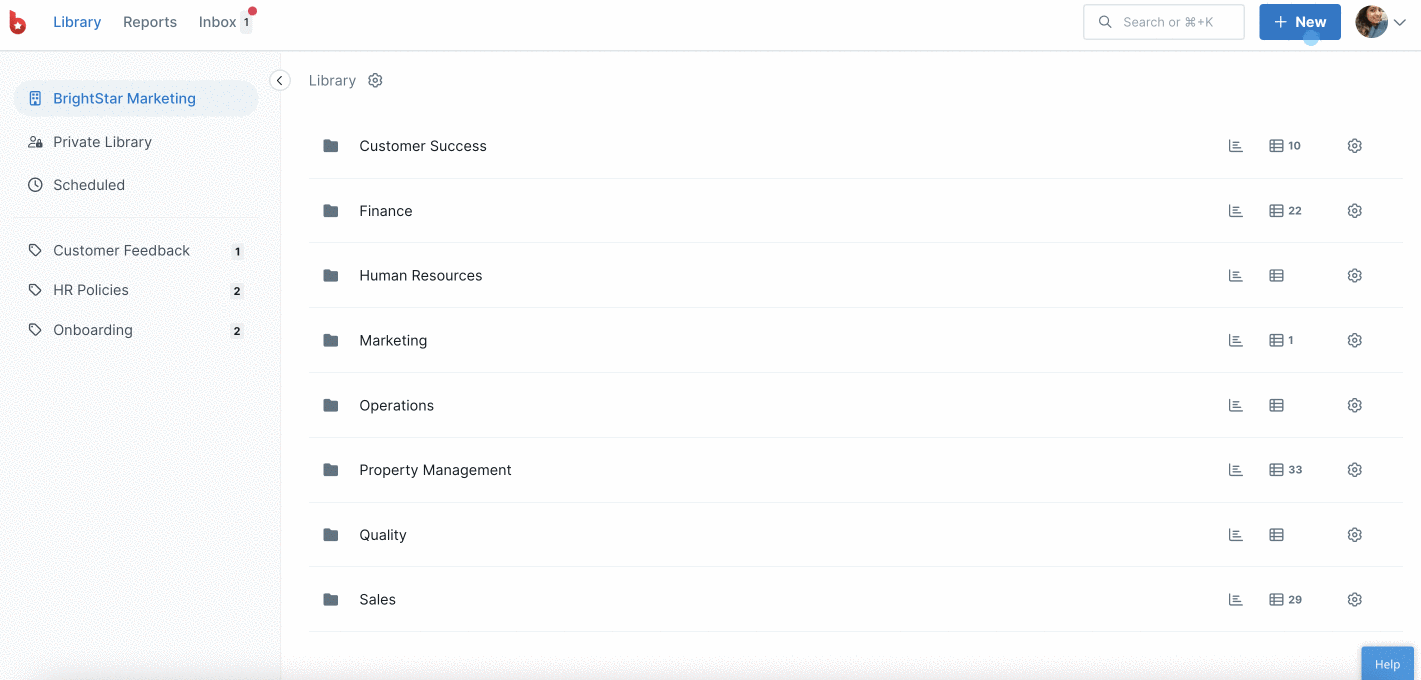
Login to Process Street and navigate to your Library.
Click the “New” button in the top right corner of your screen, then click “Workflow” as shown below.
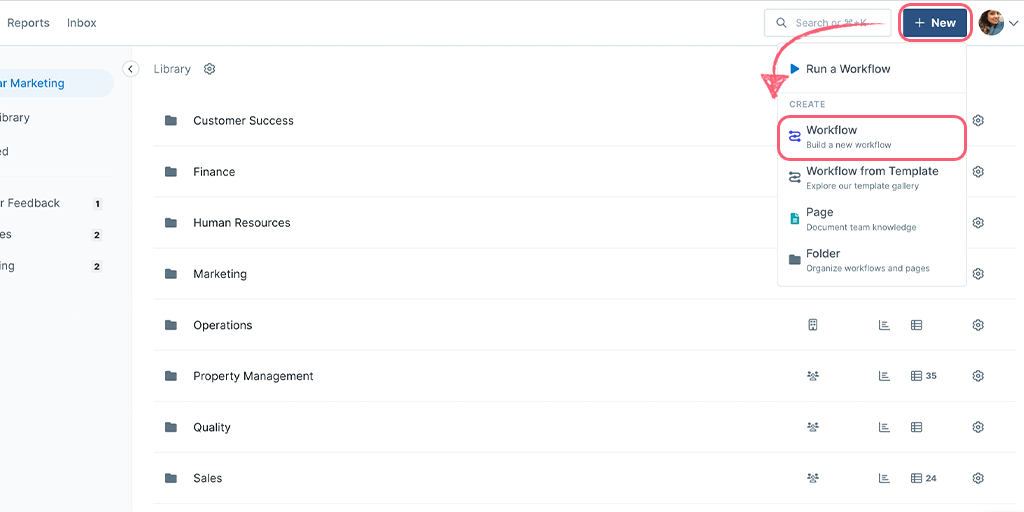
Note: If you don’t see the “New” button, you may have collapsed the side menu on the left of your screen (click “show menu” to open it). Or you may need to ask your Administrator for ‘edit’ permission or to grant you permission to a folder in which to create your new workflow. Only admins can create new workflows in the home Library folder.
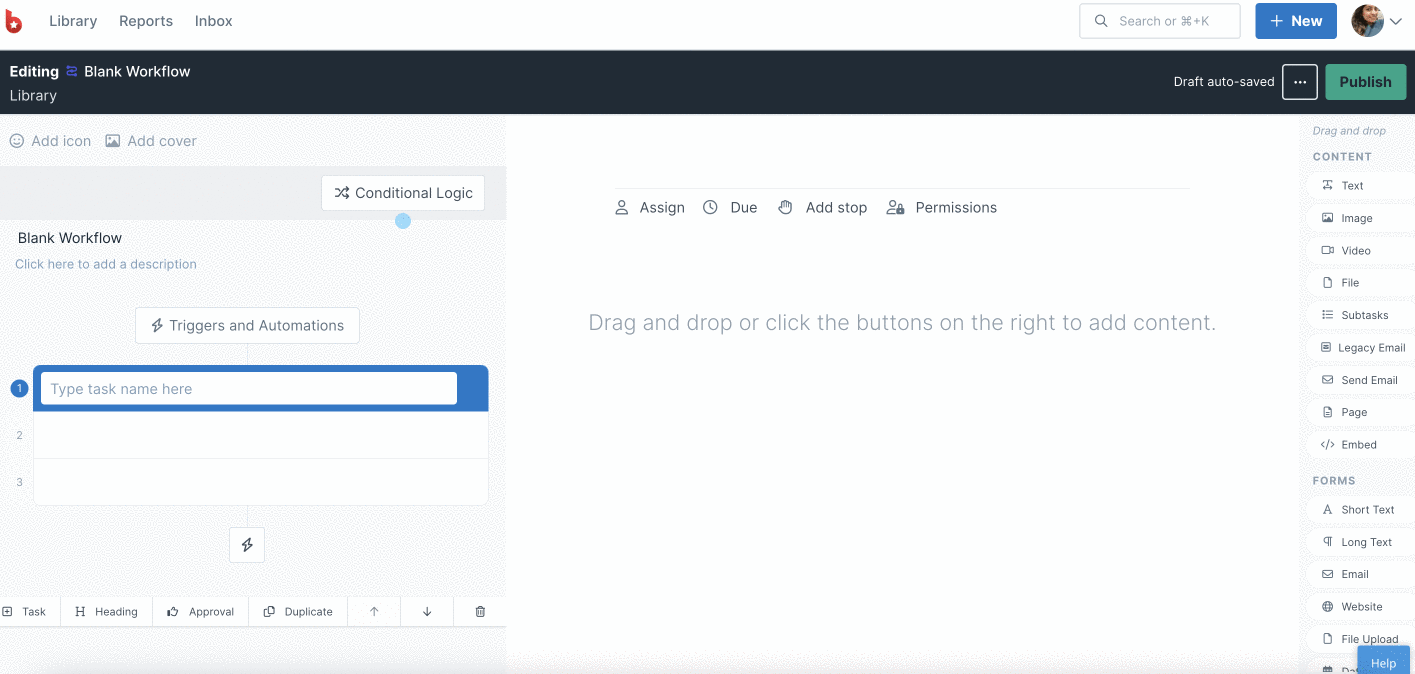
When the workflow editor opens up and you will see this view below. Highlighted are the parts you’re going to focus on to start building your workflow.
![]()
We’ve pointed out the key parts that you need to focus on right now since we will share with you how to add extra features and functionality later on.
Now let’s change the name of your workflow.
Click on the words “Blank Workflow” and change it to “Opening the office”.
Click “Publish” over in the top right corner of your screen.
Next, you’re going to edit your workflow so that you can add some tasks. Tasks are the steps in the process that you need each person to follow when they open the office.
Click “Edit” in the top-right corner. This takes you back inside the workflow editor.
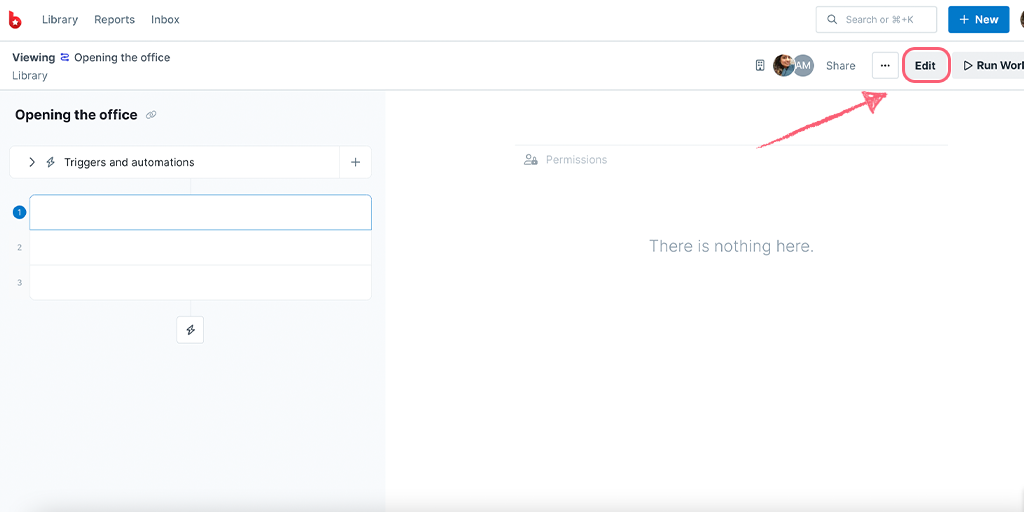
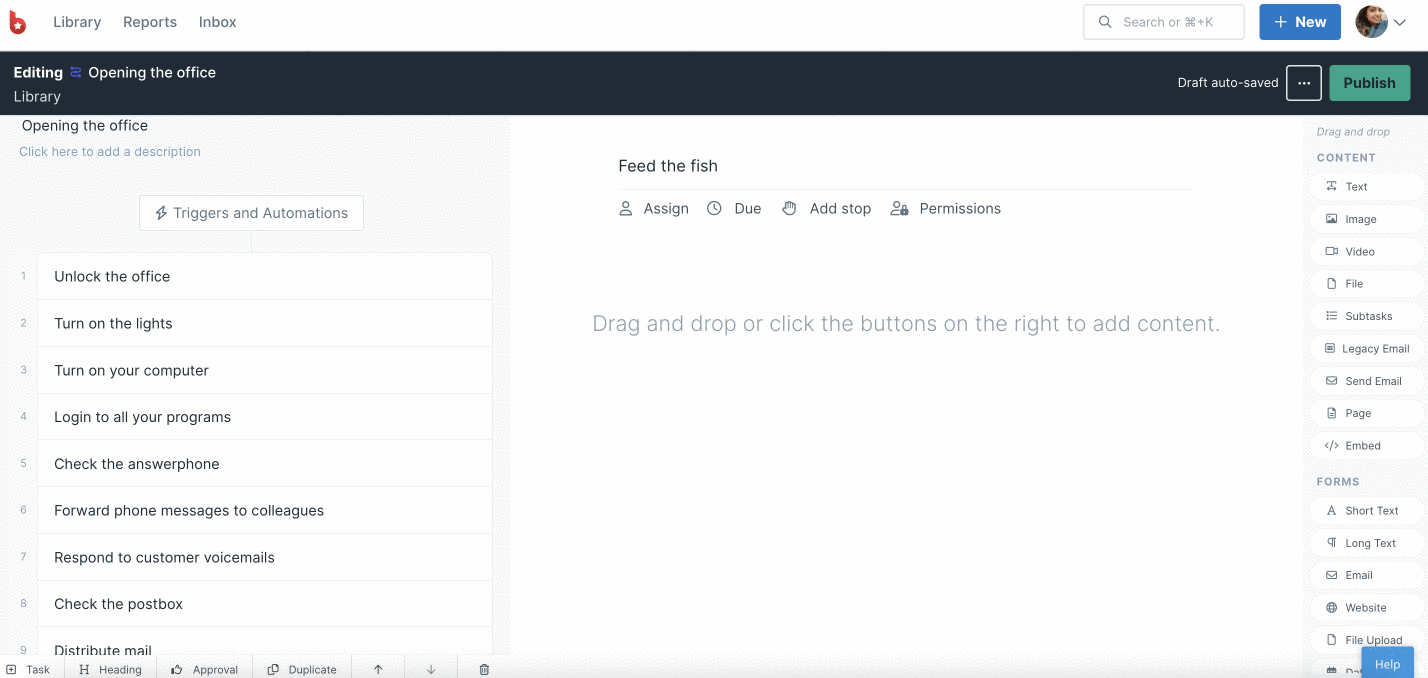
Now you can see that you already have three blank tasks in your workflow. You could start typing in the names of your tasks, but you’re going to do something a little different. Find out more below.
To add tasks you have three options:
Options 1 & 2 require you to type the name of the tasks manually, one at a time, whilst option 3 allows you to add a list of pre-written tasks in one go, this is what you are going to do next.
Copy the list below and paste it into Task 1. These become your new tasks:
Unlock the office
Turn on the lights
Turn on your computer
Login to all your programs
Check the answerphone
Forward phone messages to colleagues
Respond to customer voicemails
Check the postbox
Distribute mail
Check your email
Feed the fish
In the example below, we’re copying the same list, but this time from a Google Sheet. Now you can see how easy it is to start building a workflow when you already have some of the steps documented elsewhere.

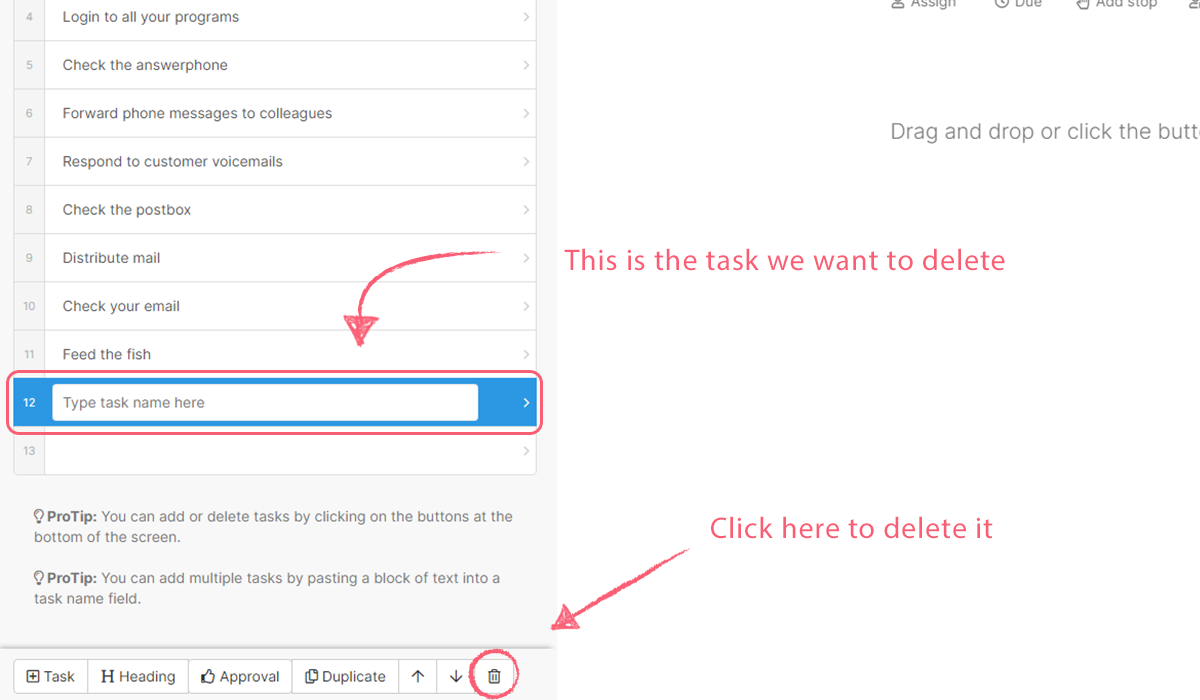
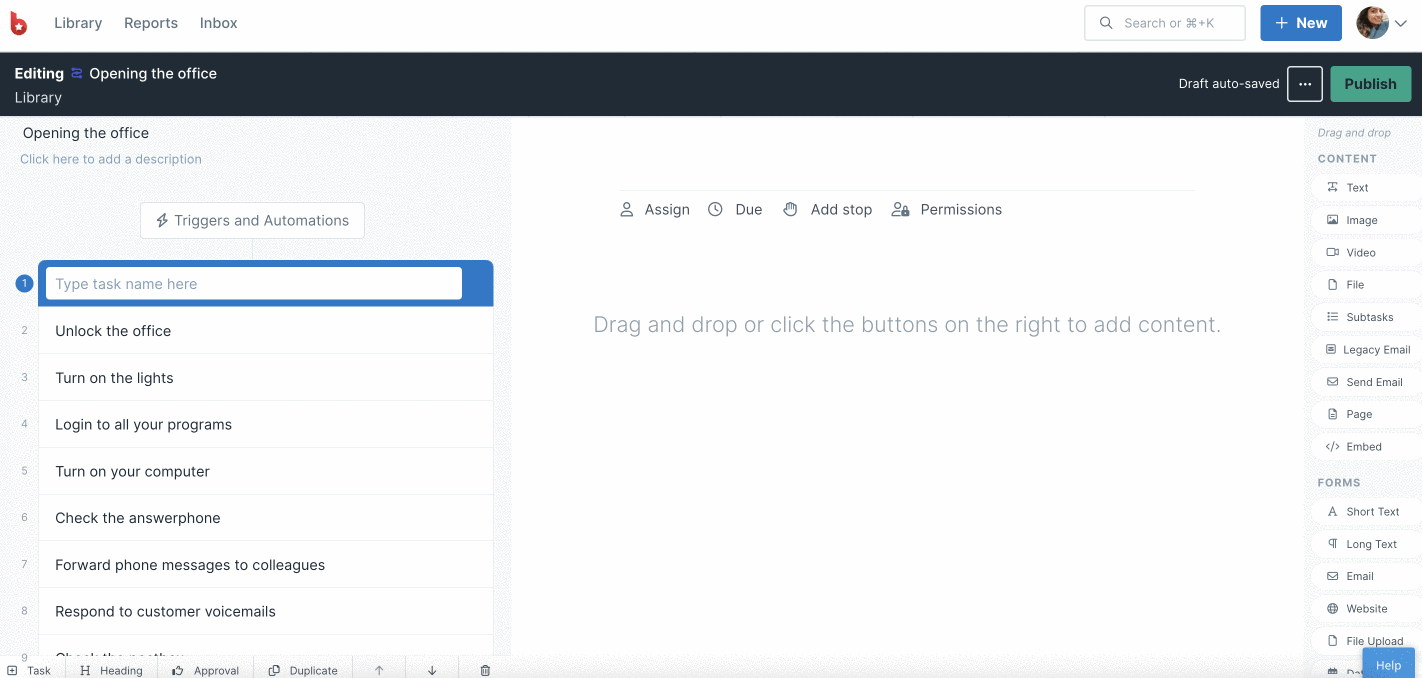
If you find you have some empty or blank tasks that you don’t need, you can delete these easily.

Now you’re going to rearrange some of the tasks you just added.
Select the tasks you want to move and either use the up/down arrows in the task menu (bottom left corner) or you can drag and drop them into place, by placing your cursor over the Task Number, which is located to the left of each Task Name.
When you hover over the task number, you’ll see this icon appear: ![]() Now you can drag and drop your tasks into place.
Now you can drag and drop your tasks into place.
You can also multi-select more than one task, to move blocks of tasks up and down (use your Shift, Ctrl or CMD key to do this).
Notice that your work is auto-saved as you make changes.
Headings are a simple way to break your workflow or tasks into sections.
Let’s take a look at how to add two headings into your list of tasks.
Add a heading by clicking on the Heading button in the task menu at the bottom left of your screen, and then give it a name: “Outside the office”. The recording above shows you how to do this.
Keep the colon : at the right side of your text e.g. Outside the office:
Now you’re going to add another heading, and name this one “Inside the office:”
Pro tip: If you add a colon : to the end of a task, it turns it into a heading. Remove the : and it turns back into a task.
Drag and drop the two headings into place, or use the up/down arrows in the task menu to move them.
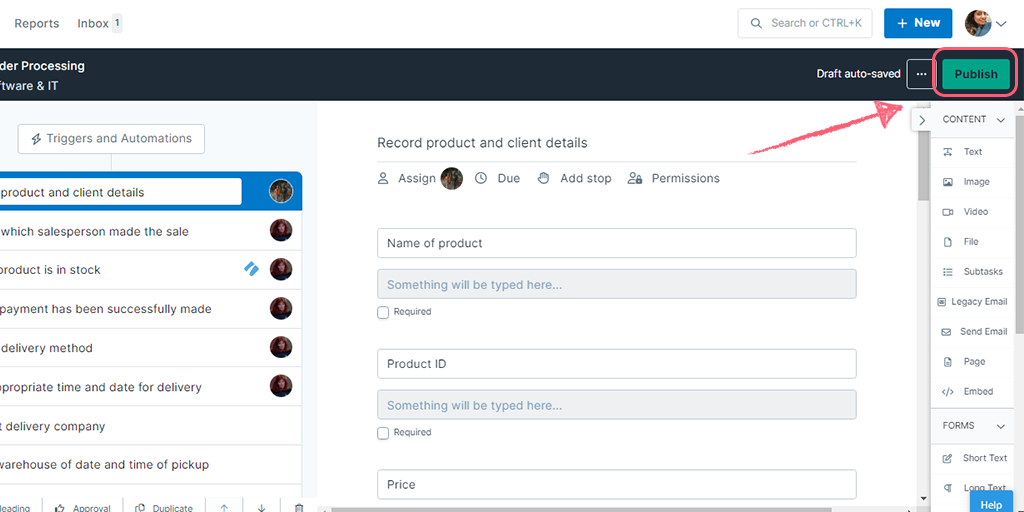
Publish changes to your workflow by clicking on the green button (in the top right corner of your screen).
Now you’re ready to run your workflow! This allows you to work through the tasks, checking them off as you go.
Once you publish changes to your workflow, you will see the “Run Workflow” button in the top right corner. Go ahead and click it.
Now you need to give your workflow run a name. Write in “Open the office + Today’s day” (e.g. Open the office Monday) and click the green button underneath to run your workflow.
Once your workflow run is open, you can start to work your way through, checking off all the tasks, until it is complete. You’ll know it’s complete when you see a shower of confetti.
That’s it! Well done, you’ve built a simple workflow and run it 🙂
Now you can run it again for different days of the week from the same workflow, or build another workflow and run that one as well.
Process Street’s capabilities extend far beyond simple workflows and runs like the one you just created. These are the basics of adding tasks and headings into your workflow, but you can do much, much more!
The features you can use will depend on which plan you’re on and which features you’d like to use. Trial users will have access to all features and can choose a plan upon purchase.