Reports in Process Street allow you to see, manage and create saved views for all of your workflow runs in one place.
Users: Admins, Members, Guests (Internal) and Guests (External) can see Reports. However, what they can see is determined by the permissions you have set on workflows and workflow runs.
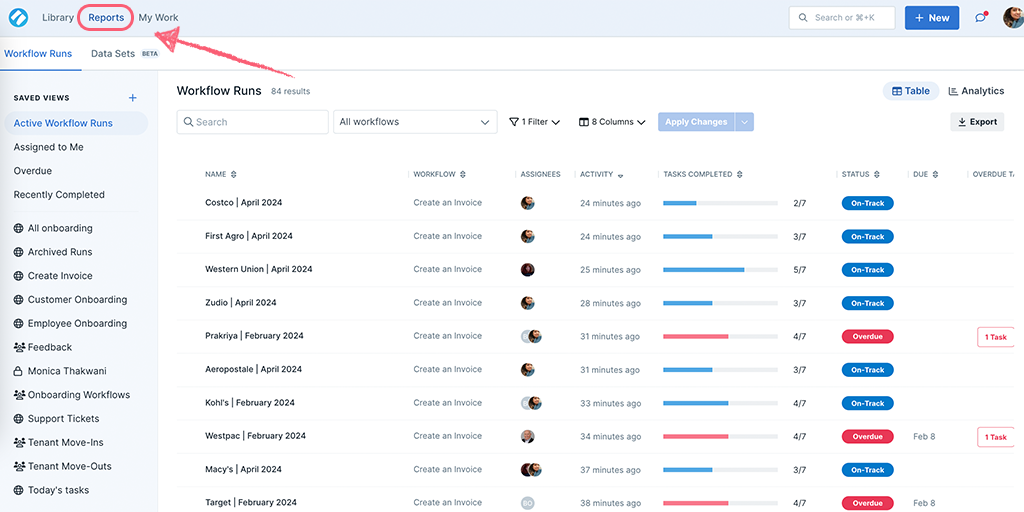
Navigate to Reports by clicking the button shown below.
To help you get started, we’ve created some default saved views for you. You’re welcome 🙂
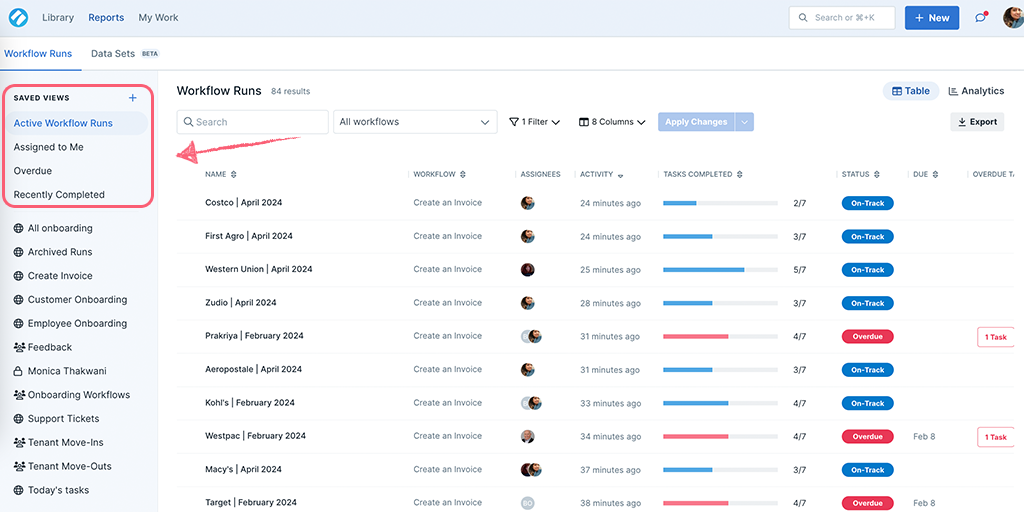
Note: It is not possible to edit or delete default saved views. You can, however, make changes to the column headers, filters, and workflows and then create a new saved view from a default. Essentially this makes a copy of the default which you can then edit and save.
You can create a saved view for anything you want, for whatever is important for you to see in your organization, or for whatever is essential for you to do your job.
There are two ways to create a new saved view. You can create one from scratch, or create it from an existing view.
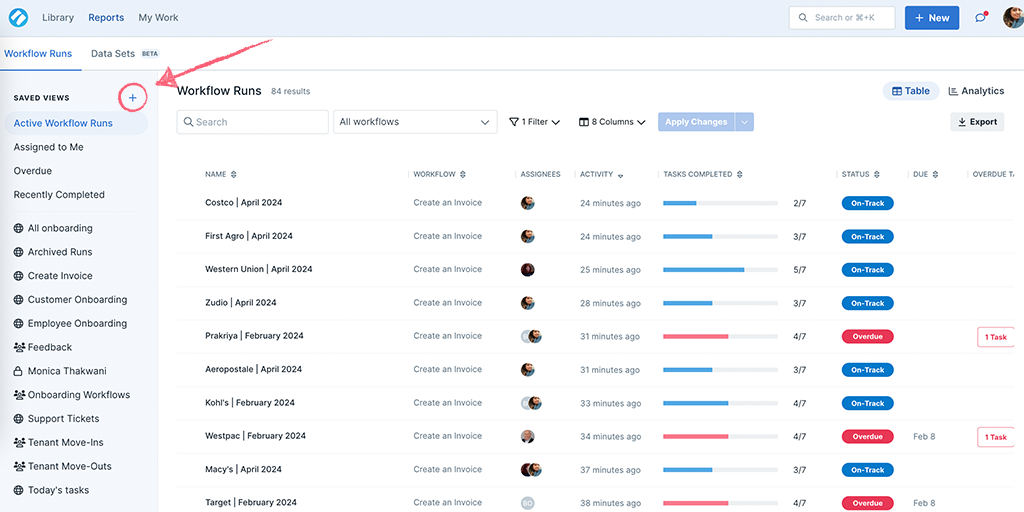
To create a brand new saved view, look over to the menu on the left side of the page.
You can also create a new saved view from an existing view, or a default saved view.
There are no limits to the number of saved views you can create or the number of workflows you can view workflow runs from.
Note: Saved views are created in alphabetical order. If you want to reorder them, you can add numbers in front of your saved view names.
When you select only one workflow from the workflow dropdown menu, this allows you to view and select the tasks and/or form fields from that workflow, in addition to the standard column headers.
You can select all the tasks or form fields that you want to see as columns by checking and unchecking the boxes next to their name. Once selected, they will appear as column headers in your view. You can drag and drop these columns to rearrange them then save the view when you’re done.
Use the scroll bar at the bottom of the page to navigate multiple tasks and form fields.
Tasks will show a tick if they have been completed, or blank if not. Form fields will show the data collected within them e.g. an email address, a website URL, or a contact name. Tasks or fields hidden by conditional logic will have an icon of an eyeball with a diagonal line across them.
You’ll see several column headings that you can use to create a saved view that works best for you. All the columns you see are optional, so you can select the ones you want to see and hide the ones you don’t.
To hide or show columns, click on the “Columns” drop-down in the center of your screen. Check or un-check the boxes next to the columns you’d like to show or hide respectively.
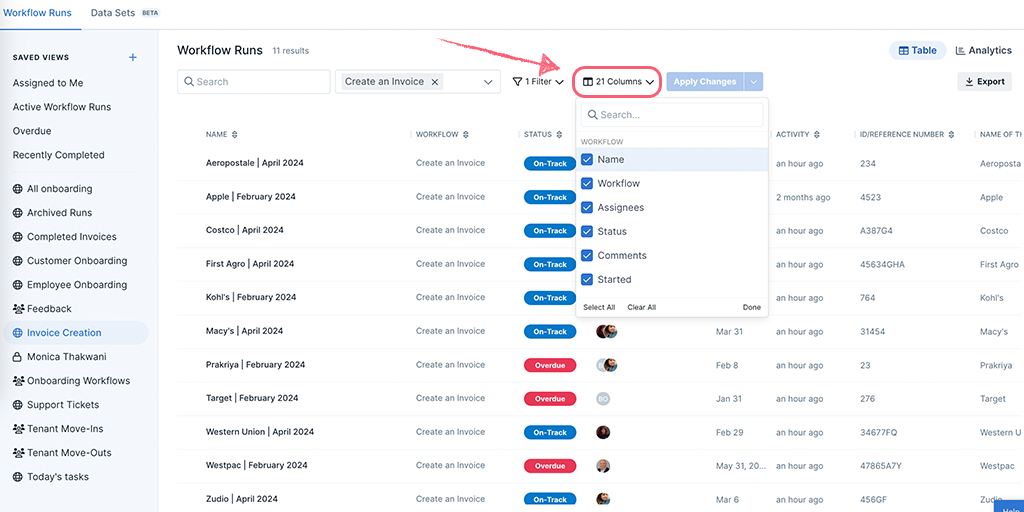
You can also drag and drop the columns into position, sort the data in the columns and re-size the columns to further customize your view.
This is a list of all the columns you can choose, and what they do.
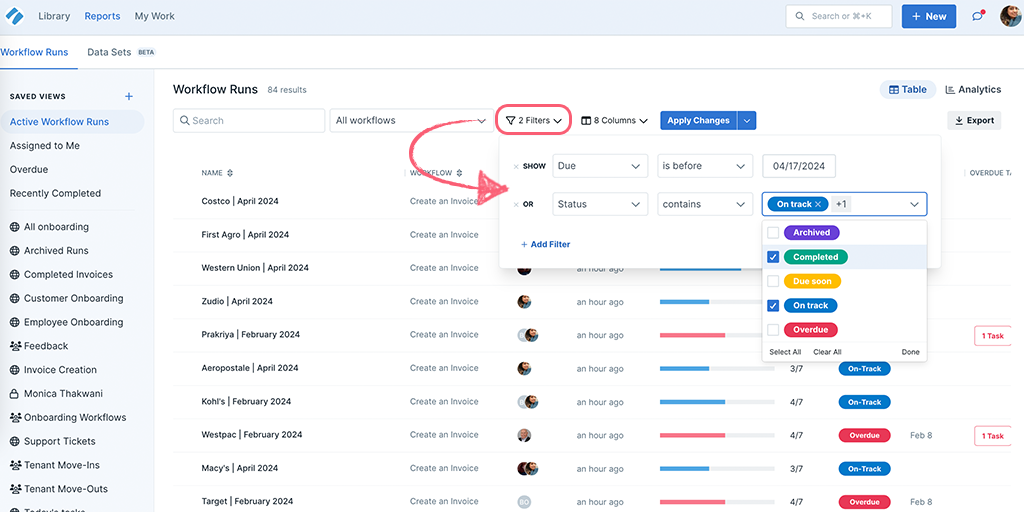
Filters allow you to generate a report with specific information, matching certain criteria. You can add multiple rules as filters or keep it simple, it’s up to you!
These are the different types of column filters you can apply, and what options you have.
You can easily change your view by editing or deleting these filters.
To delete a filter click the Filter button and click the x button next to the filter name on the left. To add a new filter click +Add Filter.
When you add a new filter, the default is to have a filter that searches for your first filter And a second filter. However, if you click on the word And it changes to Or, so that you can have the results of filter one Or filter two in your view. Then click Apply Changes to view the results.
When you’re done customizing, save your selection by clicking “Save View” and then click “Save” to finish.
Note: While using the date filter, the is between search criteria doesn’t include the dates you’ve selected in this filter. The results show only the workflow runs between the dates you’ve selected.
Use the search box in the center of your screen to look for workflow runs by name.
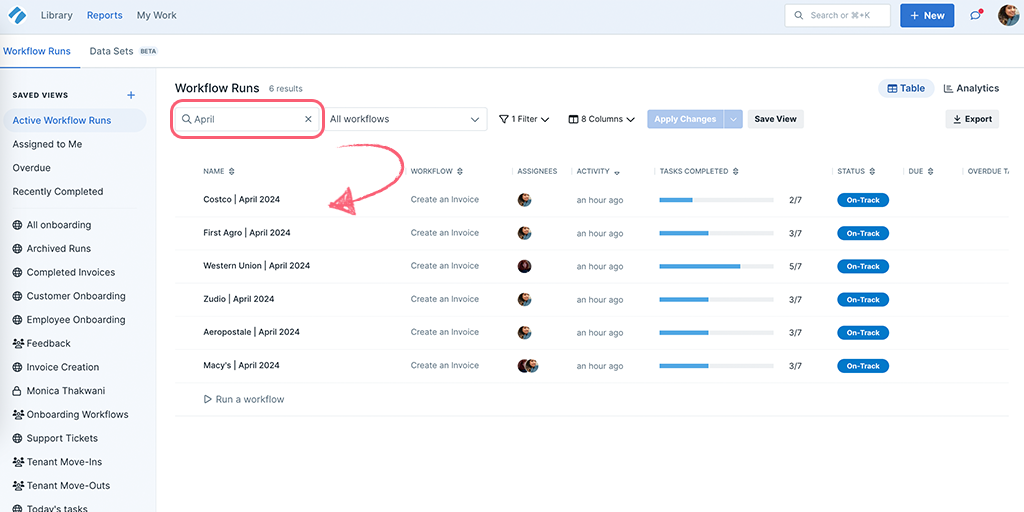
Note: You can only search for workflow runs by their names here. If you’d like to search for workflows, head to your Library.
You can set permissions and share a saved view when you create a new saved view, or when you edit an existing one.
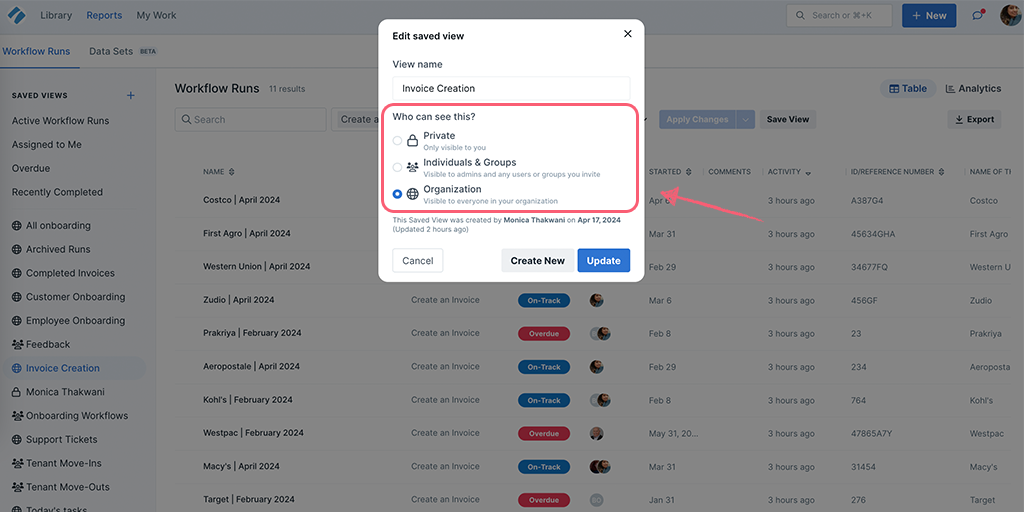
If you set a saved view to “Private” only you can see this view. Choose either “Individuals & groups” to share it with selected people, or “Organization” to share it with all admins and members in your organization.
If you choose “Individuals & groups”, select the team member with whom you want to share it. Under “Who has access?” type a name or enter an email address to search for a user or a group from the dropdown. When you’ve finished adding users, click Update to finish. The saved view will have a group icon next to it in the menu on the left of your screen.
If you select “Organization”, all admins and members in your Process Street organization will see that saved view when they open Reports. This saved view will have a globe icon next to it in the menu on the left of your screen.
Note: Only Admins can create organization-wide saved views.
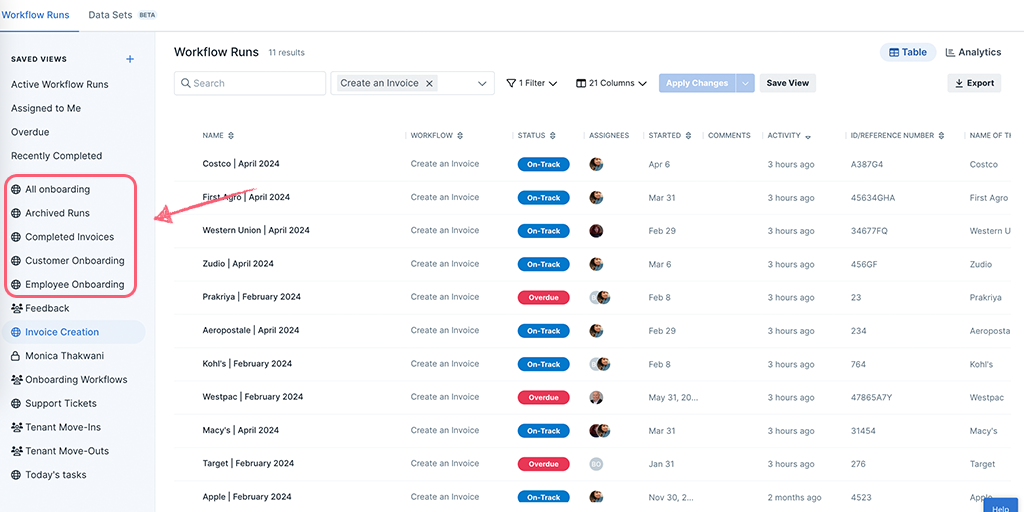
Shared saved views automatically appear for users in their Reports when they refresh their browser or log in (no email notification will be sent to inform them that there is a new saved view).
Note:
Select the saved view you’d like to change from the left panel, and start by changing or adding filters, moving column positions, selecting workflows, or column sorting.
Make all the changes you need then click Apply Changes, and click Save View in the center of your screen. Here you can also edit the saved view’s name and permission settings then click Update.

If you’d only like to edit the permissions on a saved view, click the cog next to its name in the left- panel. Make your changes and hit Update when you’re done.
Note: Admins can edit saved views shared with all users or those shared with individuals or groups. Any user that has created their own saved views can edit their own. Private views can only be edited by the user that created them.
First, make sure you have selected the correct saved view from the left-hand menu. Next, click the cog on the right of the saved view and then select “Delete view“.
Note: Admins can delete saved views created by any user (except for private views). Any user that has created their own saved views can delete their own, but they cannot delete views others have created.
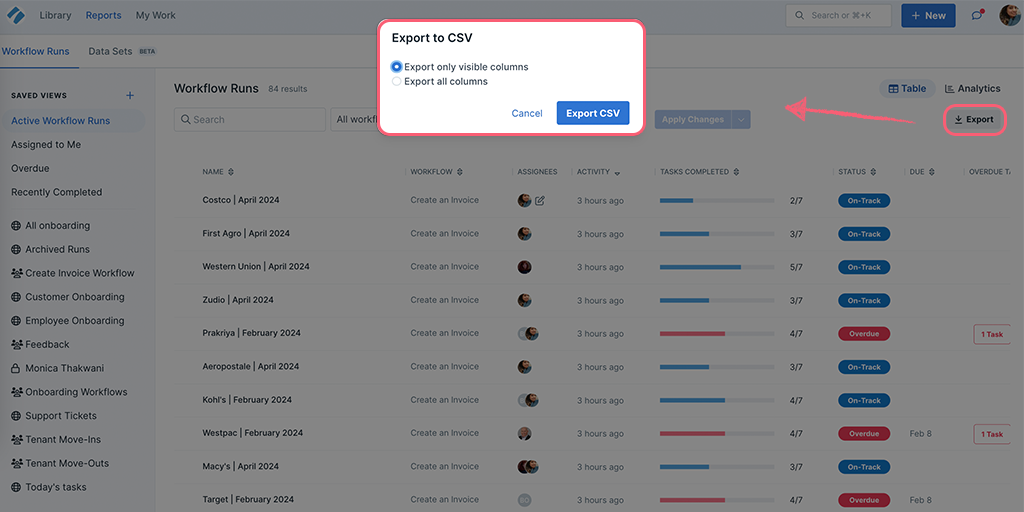
You can export workflow runs from any of your saved views in Reports.
First, select the view where you would like to export workflow runs from, then click on the “Export” button on the right of your screen. You can choose to export all columns or only the visible columns.
Once you click the export button, your CSV will automatically start downloading within your current browser.
If you don’t have permission to view workflow runs in a particular saved view, the CSV file will be blank.
Note: Timezones for all dates included in CSV exports are in UTC. To convert the UTC to your local time, please visit this site. Learn more about Managing Timezones.
Learn more about Reports in our Blog post: The Best Way to Keep Track of Your Team with Process Street.